Review:
Test Yourself: Which Faces Were Made by A.I.?
Portrait Poses
There are three basic positions for someone’s head and face in a portrait.
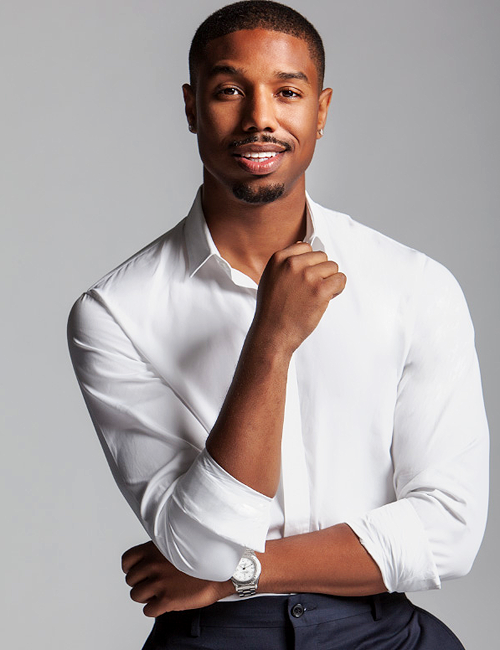
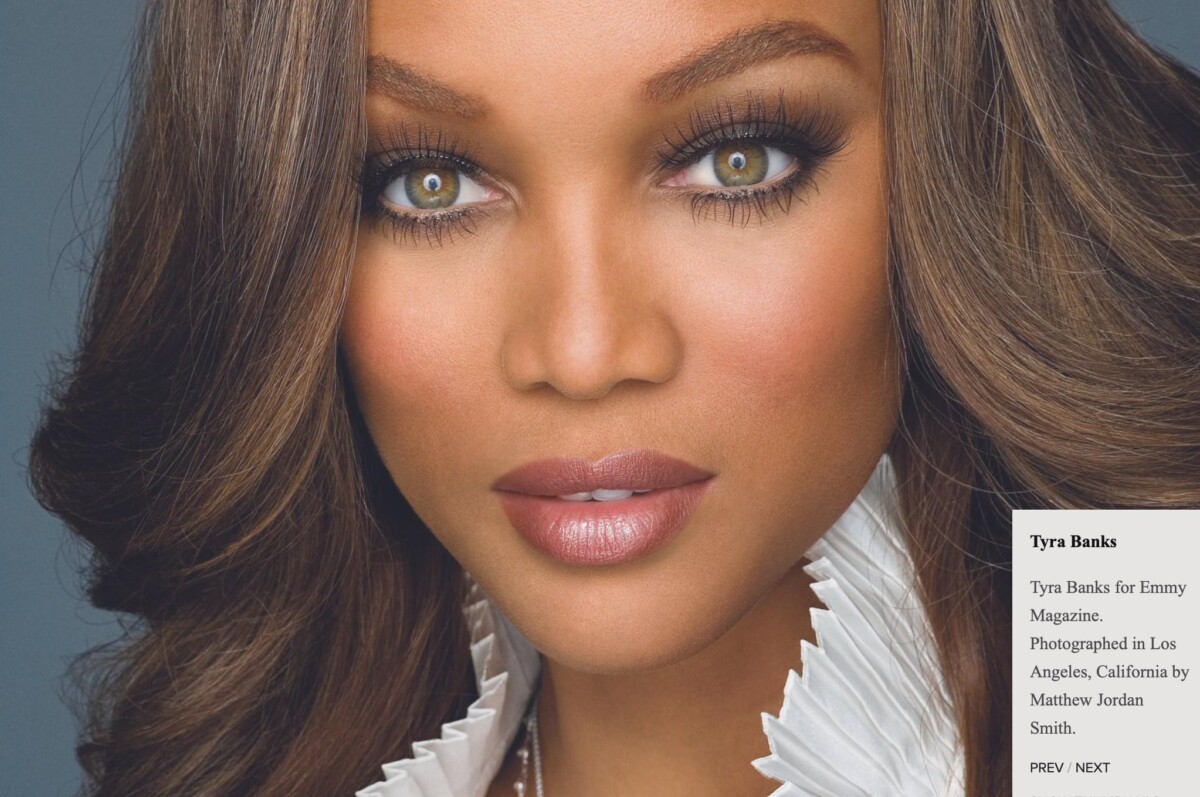
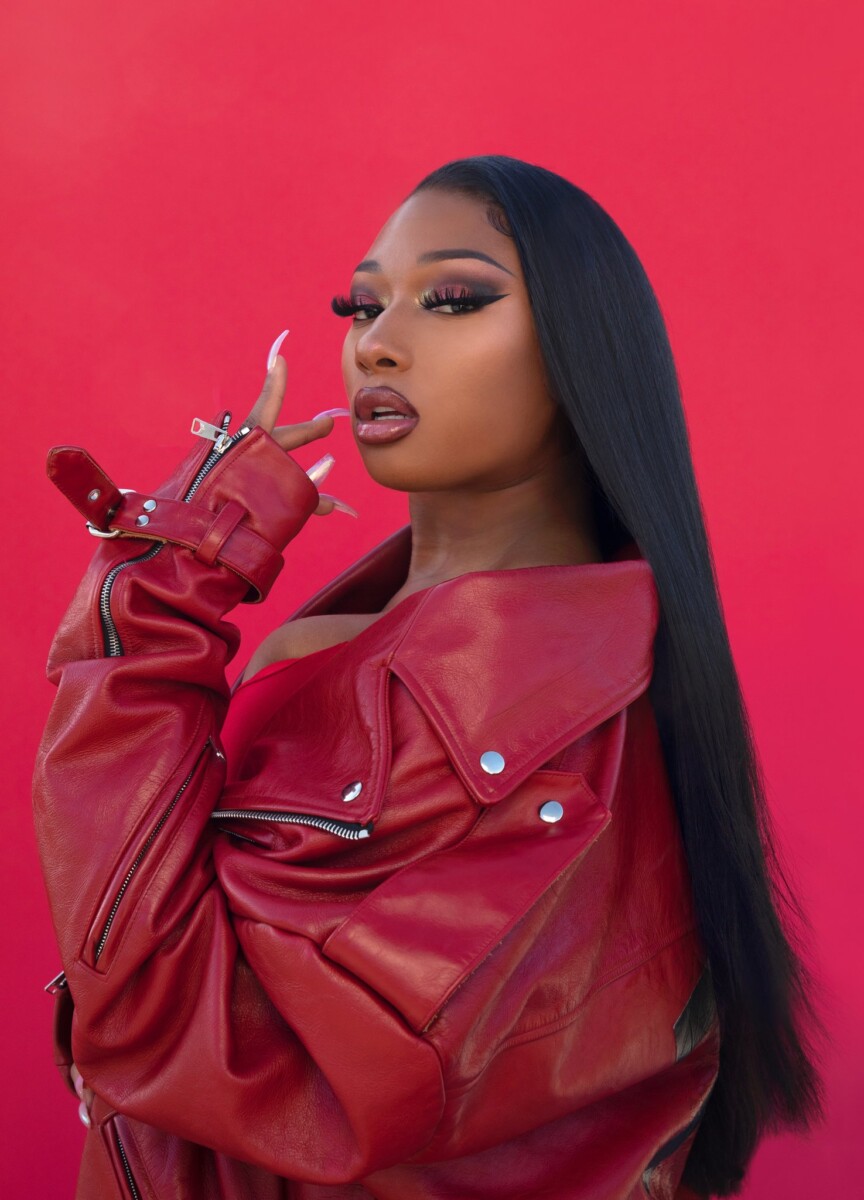
- Front view or face forward
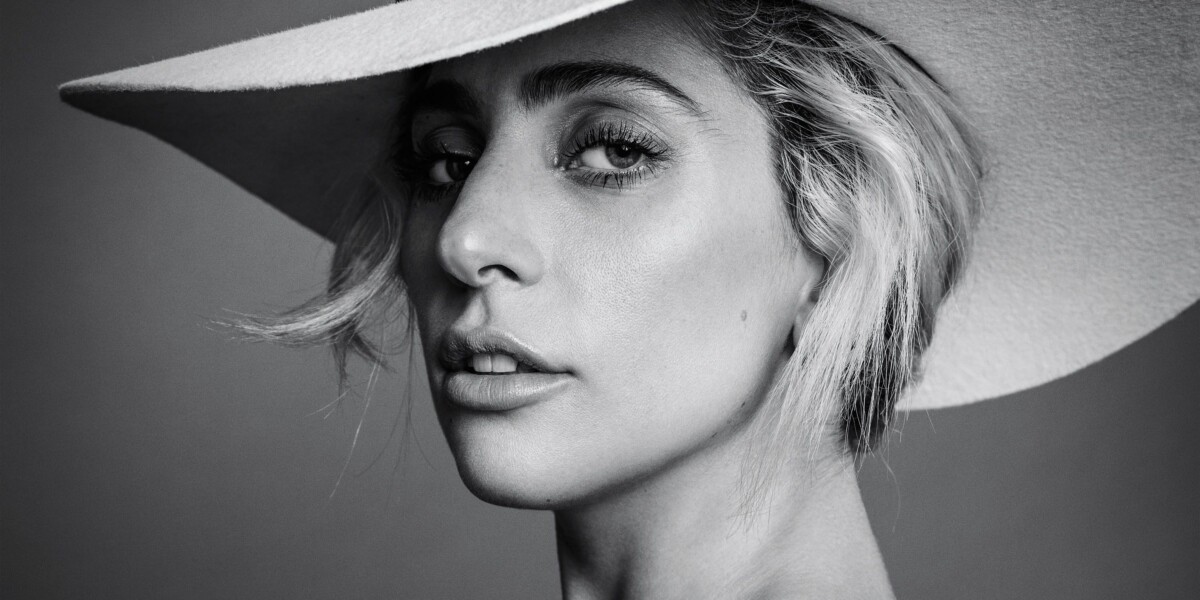
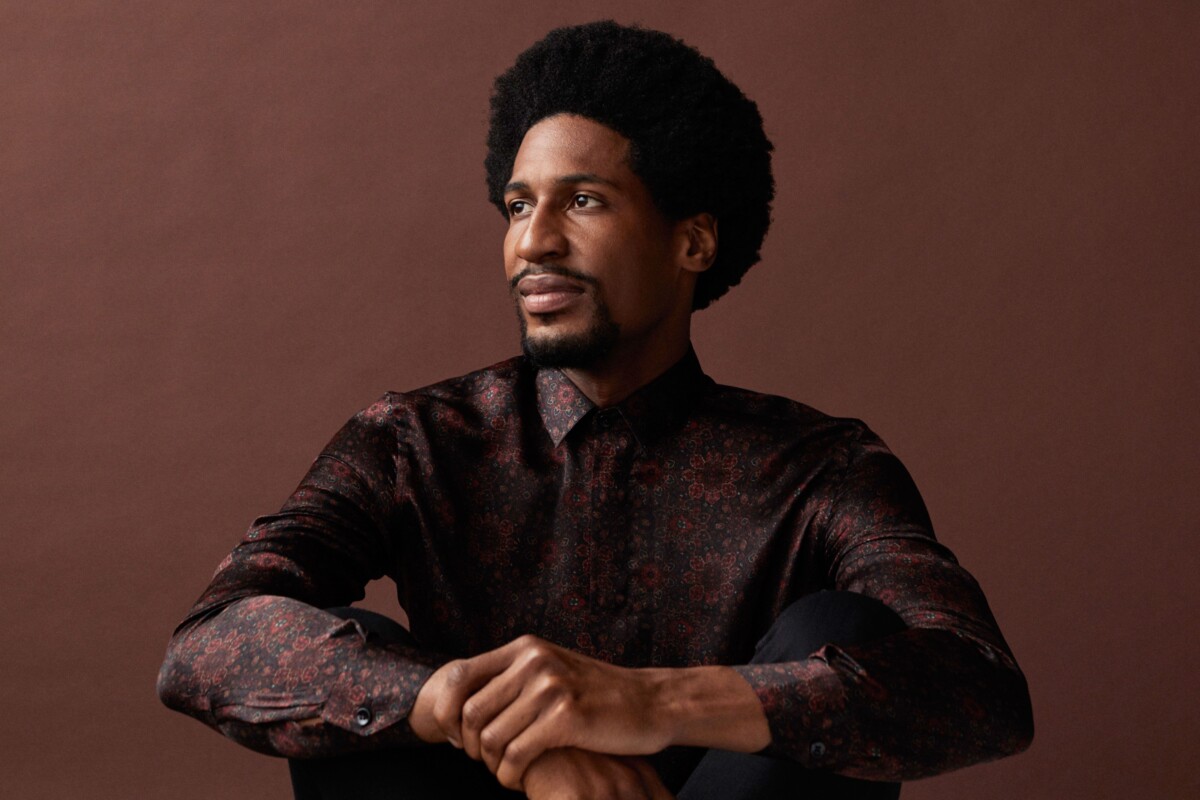
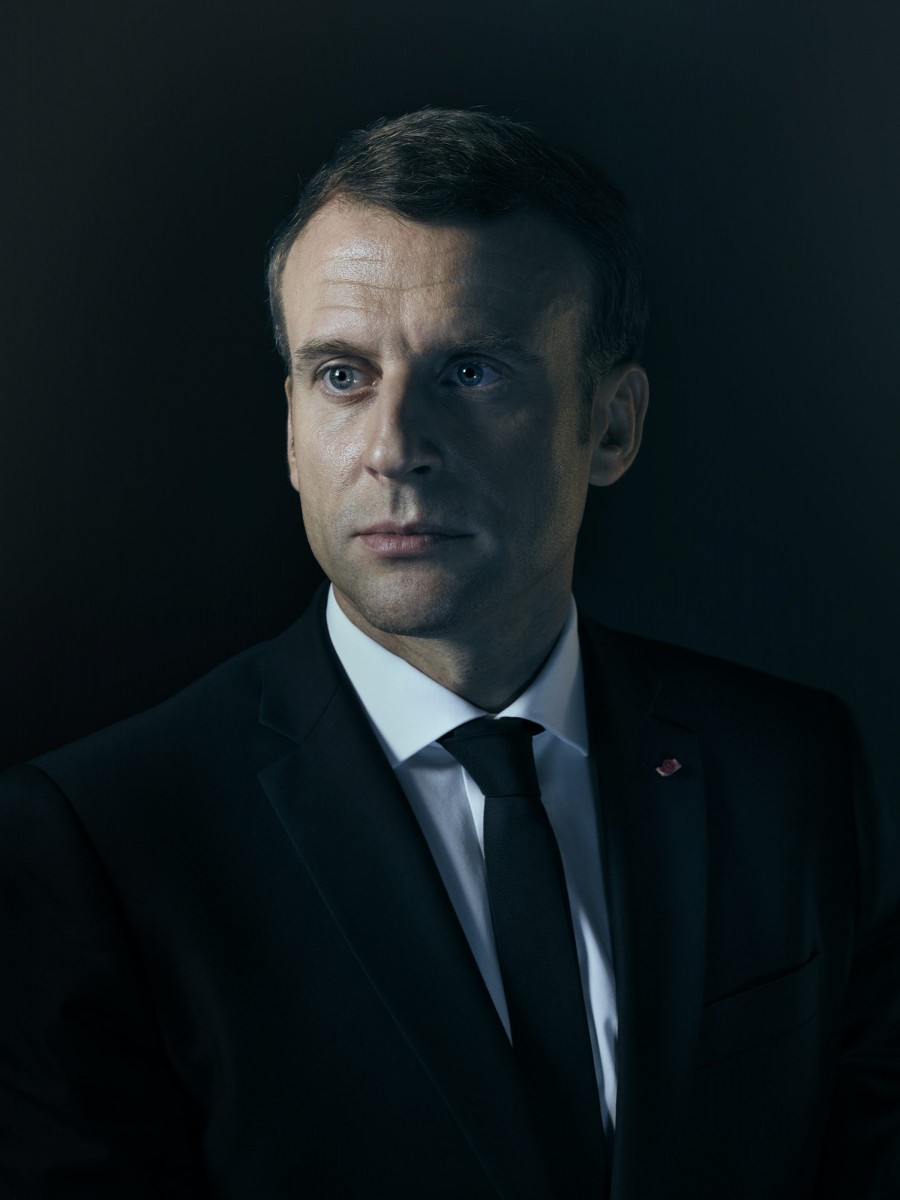
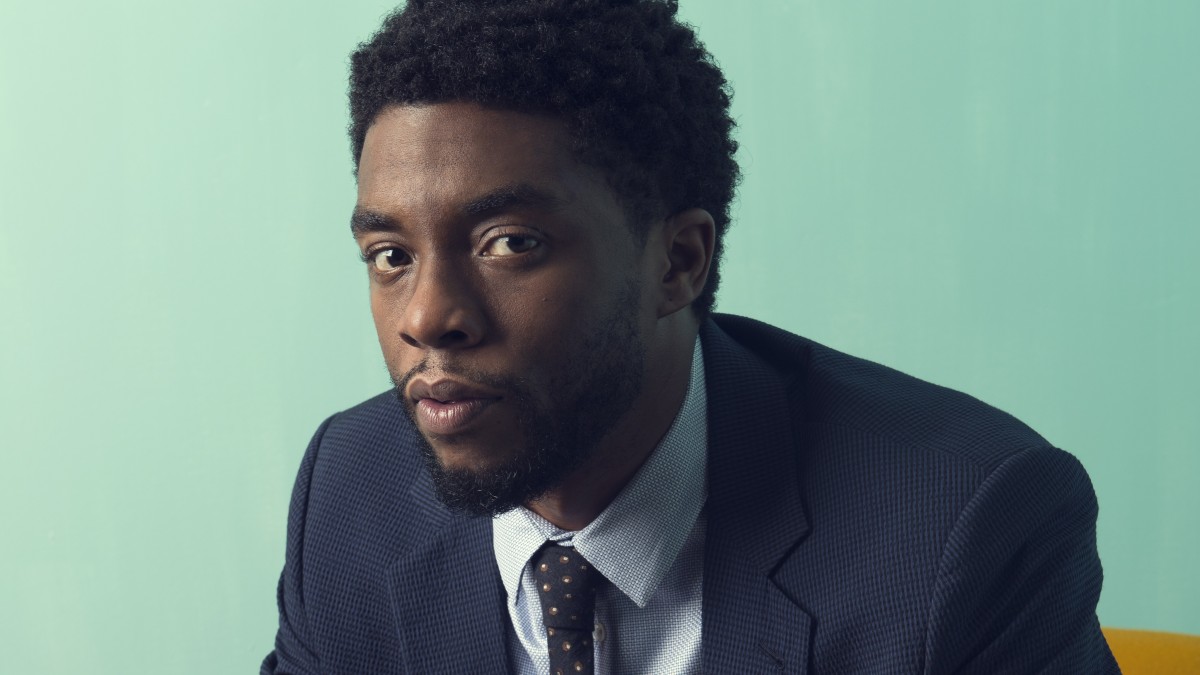
- 3/4 view
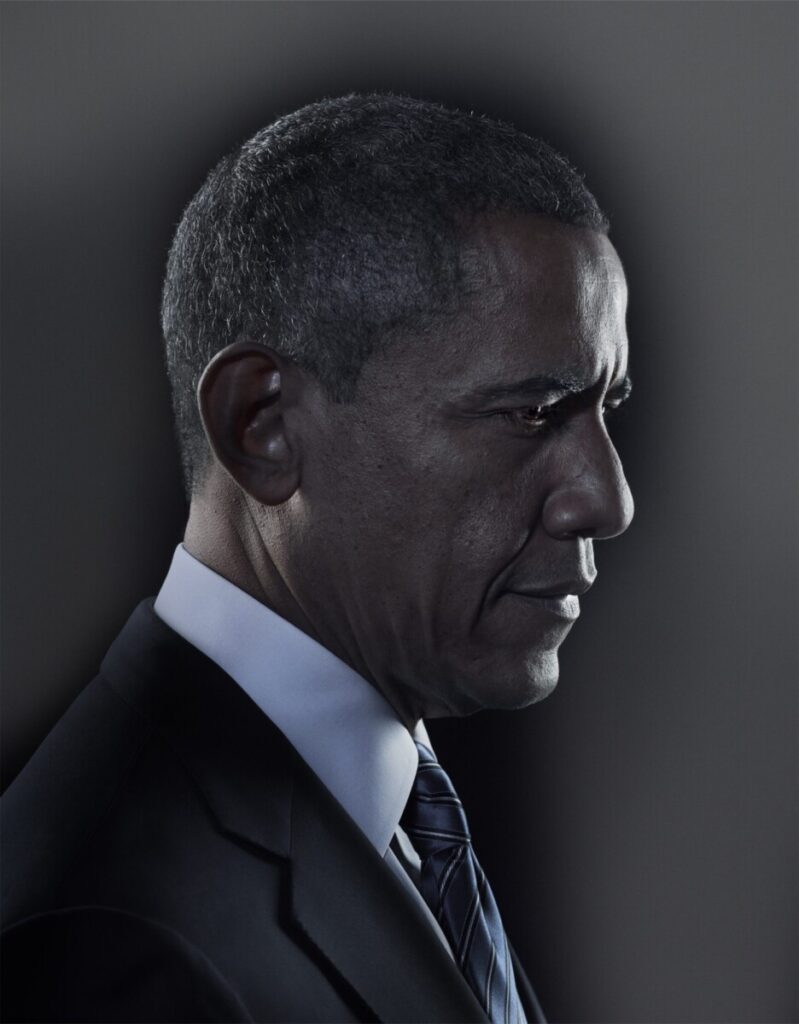
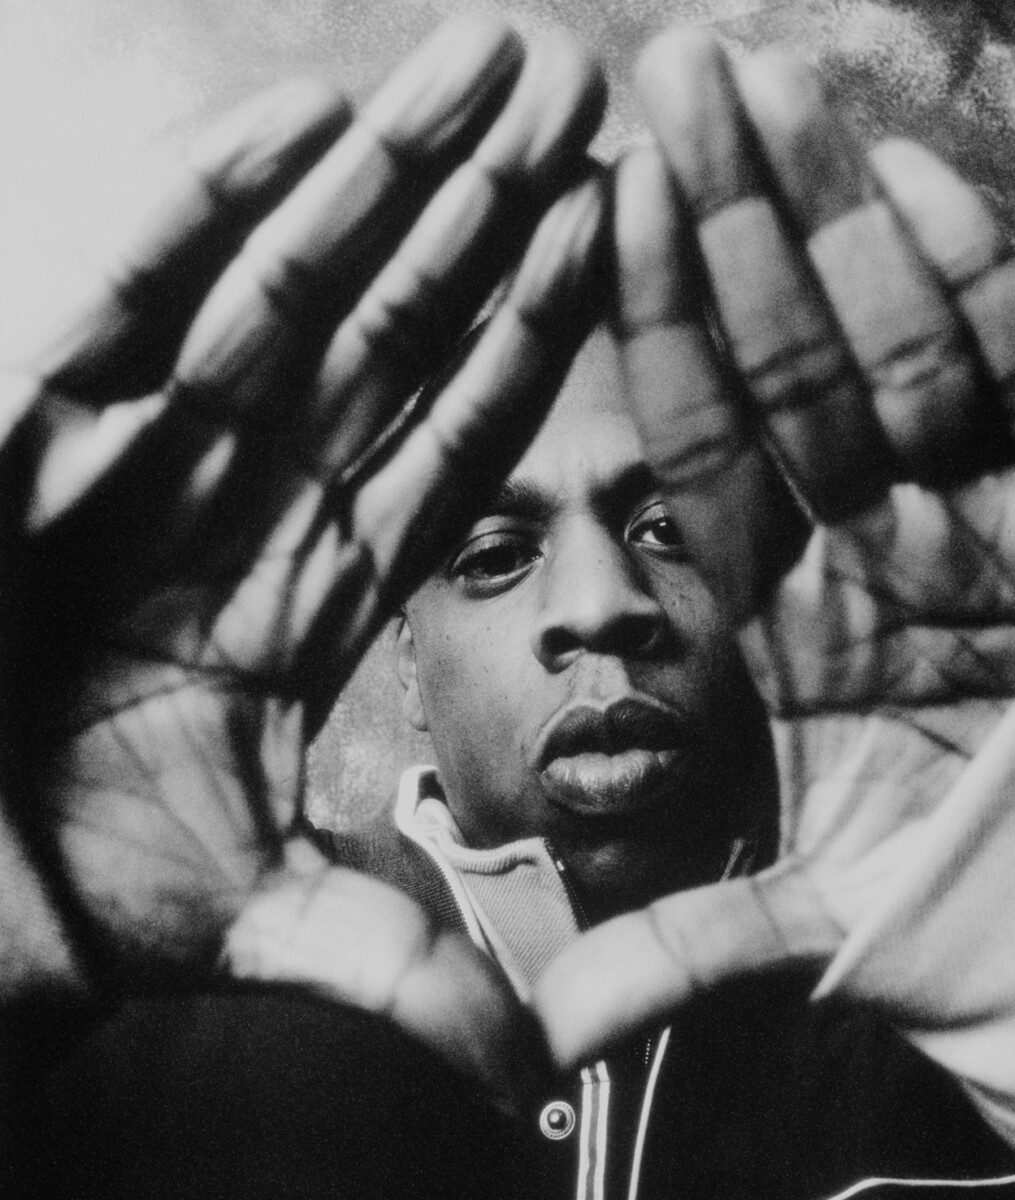
- Profile

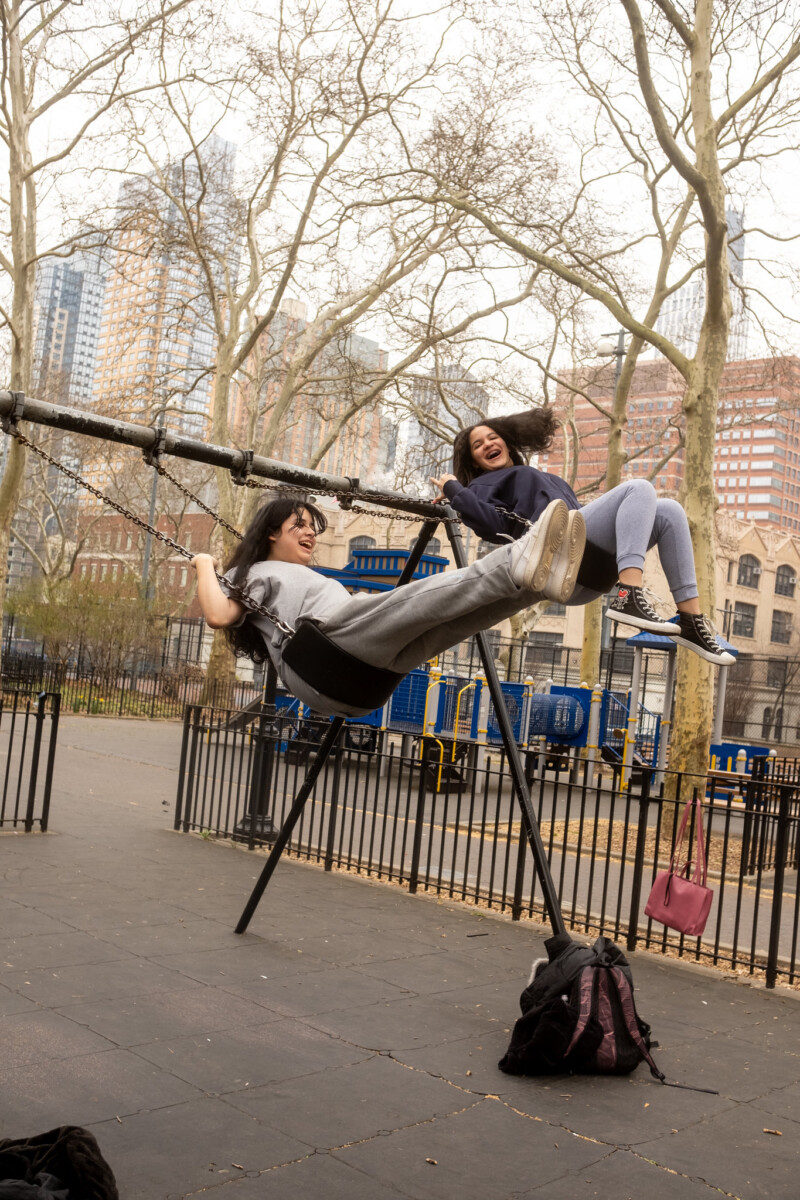
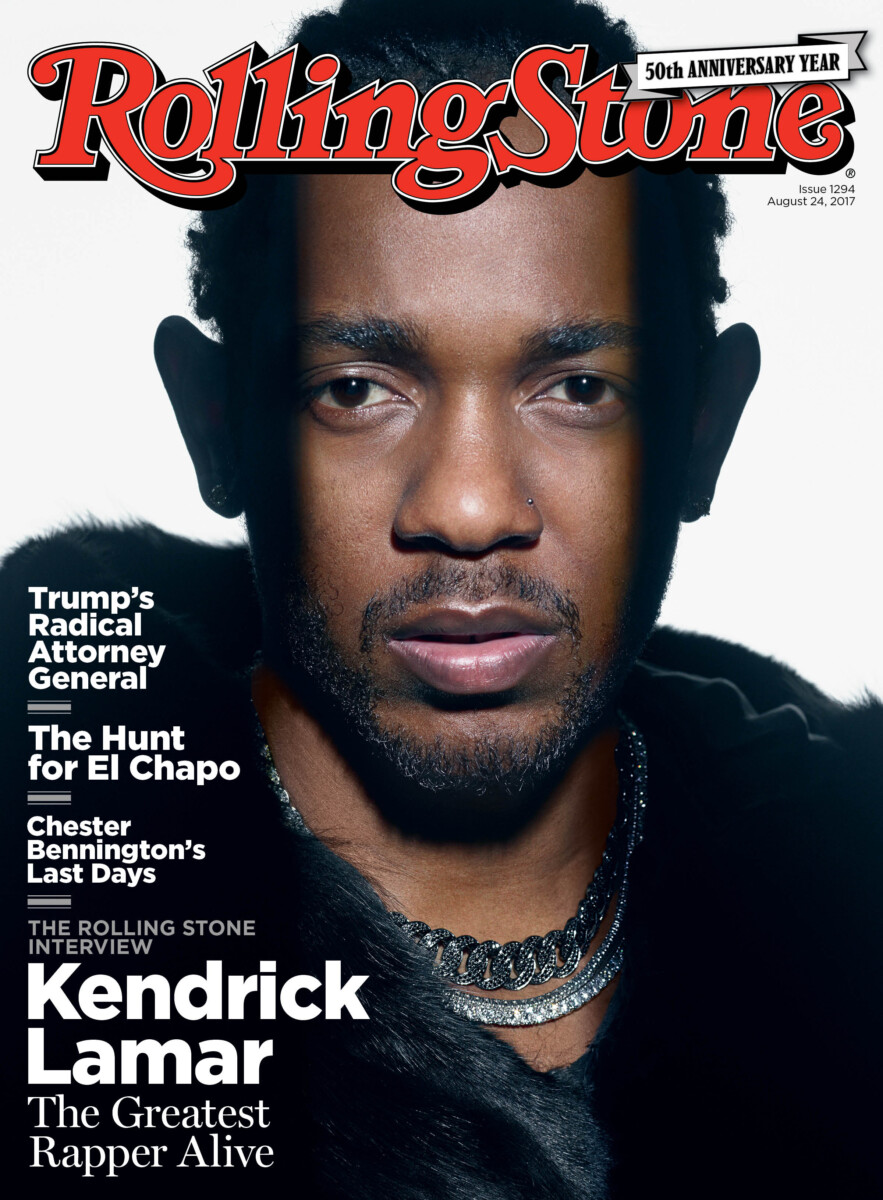
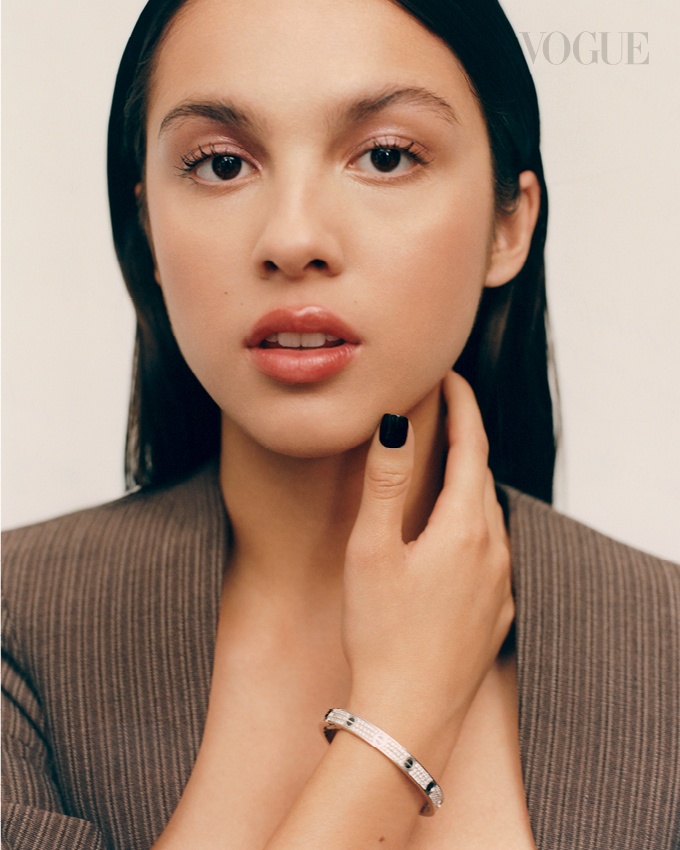
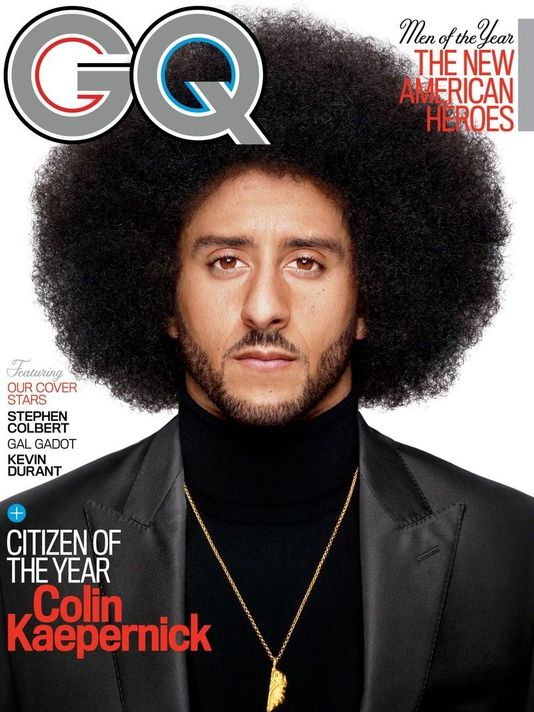
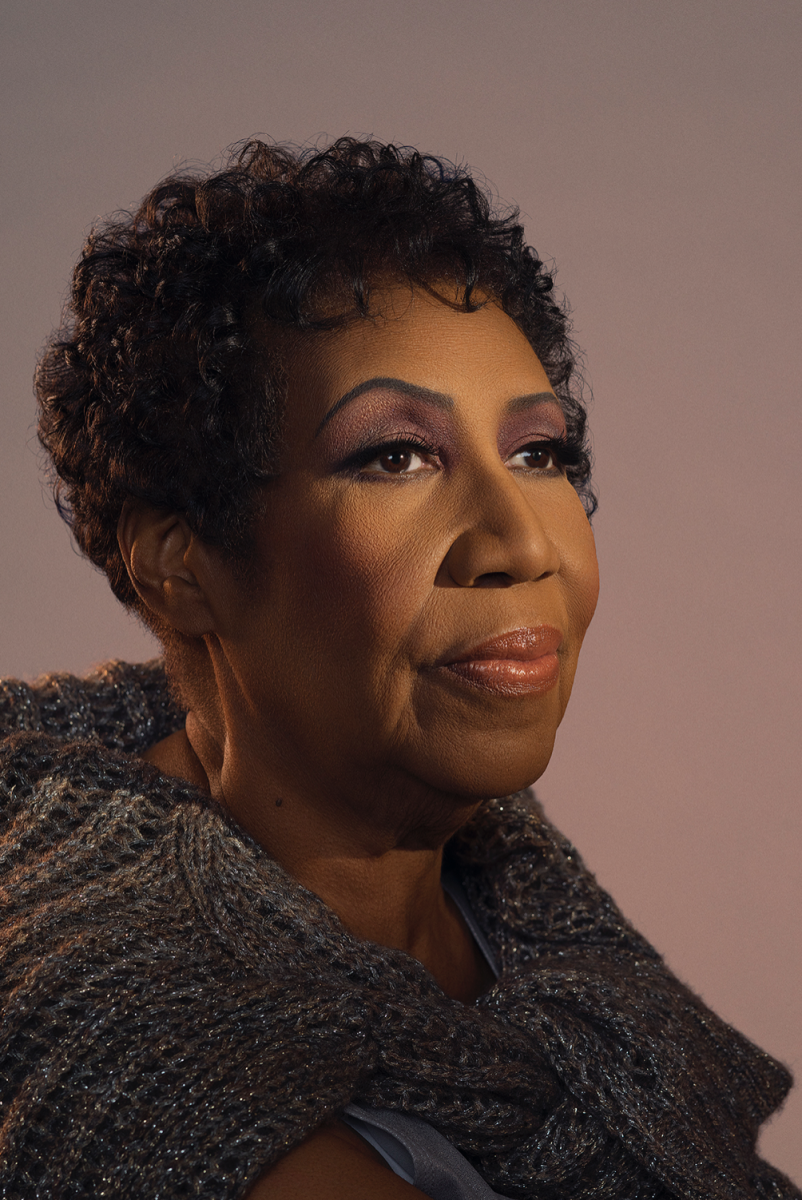
Front view.
Photographer: Celeste Sloman
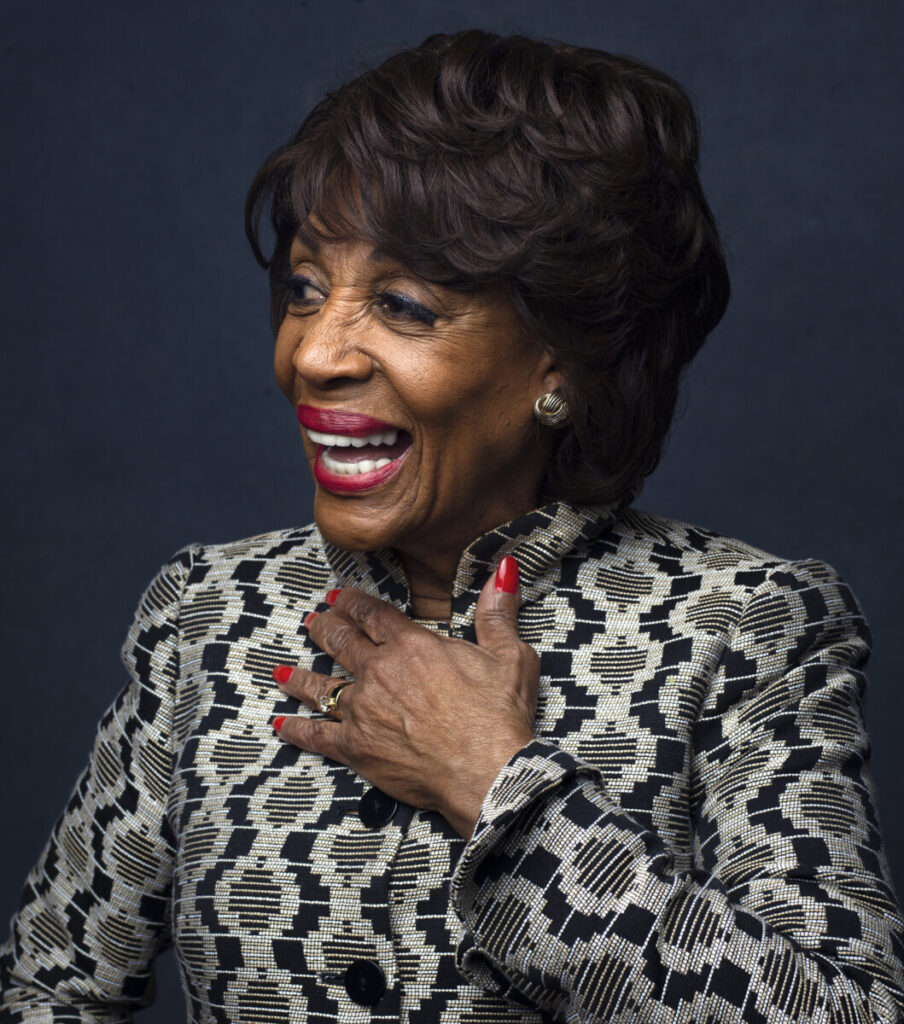
Photographer: Celeste Sloman
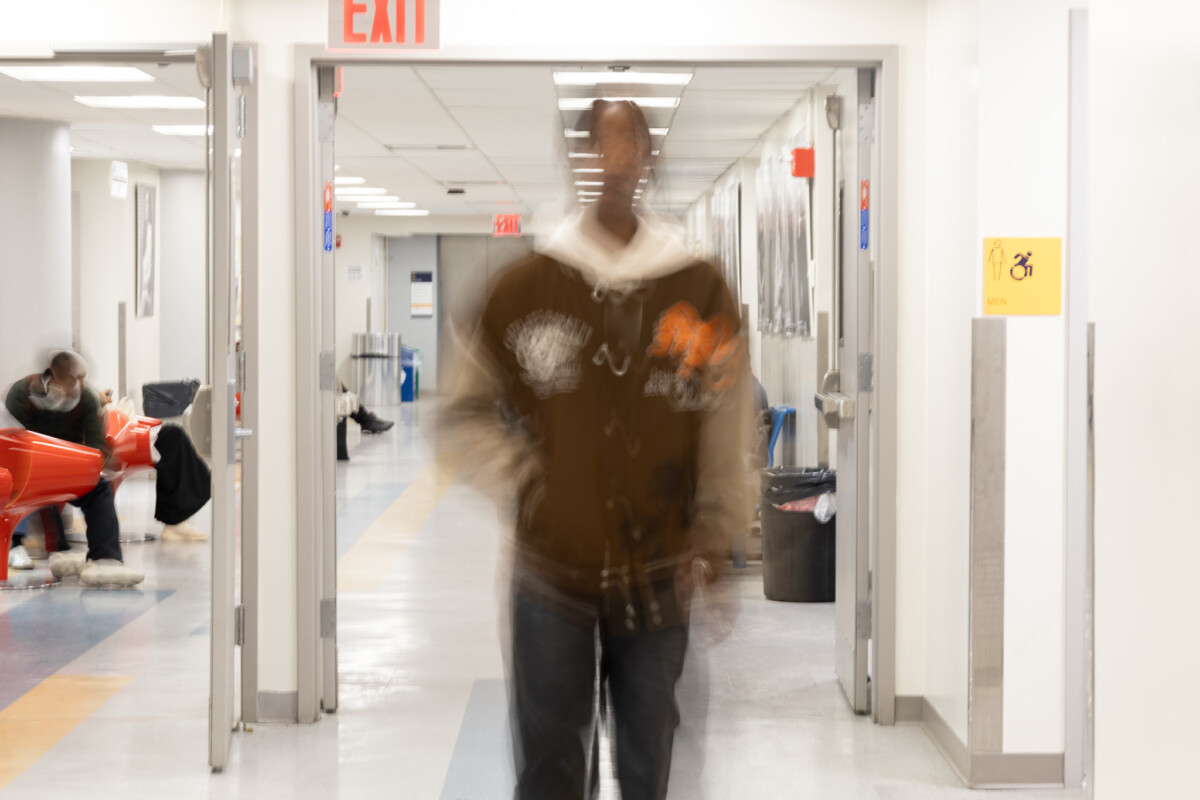
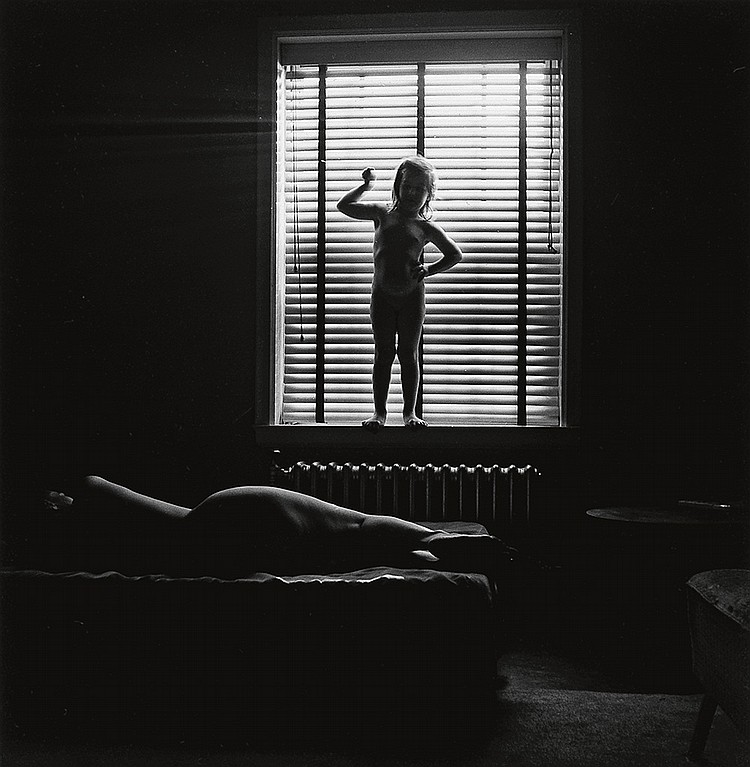
Photographer: Nadav Kandar
Portrait Lighting Styles
There are a 5 basic lighting styles for portrait photography. Each style is defined by how light falls on the face.
When the subject’s whole face is towards the camera, there are three basic lighting styles.
- Rembrandt Light – the model is face forward, main light is at 45 degrees and casts a light on the opposite side of the face to form a triangle on the cheek.
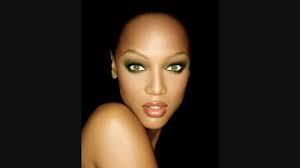
2. Butterfly Light, Clamshell or beauty or glamour light-model is face forward, front light.
3. Split Light-model is face forward, the main light is at 90 degrees to the camera and falls on one side of the face.
When the subject is in 3/4 view, there are two basic lighting styles.
4. Broad Light-light falls on the side of the face with the visible ear. Good for controlling the reflections on glasses.
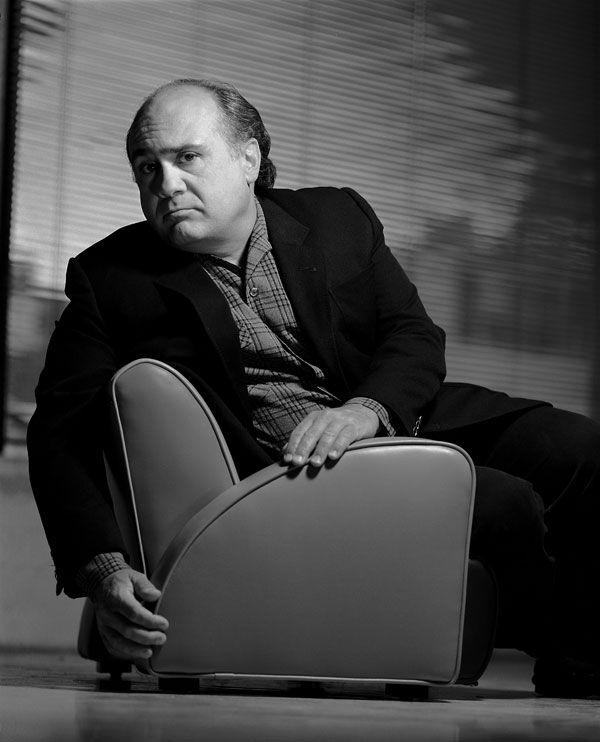
5. Short Light-the light falls on the side of the face with the features. (Not on the side with the visible ear.)

Both of these are examples of short light. Here the light is slightly behind the subject.

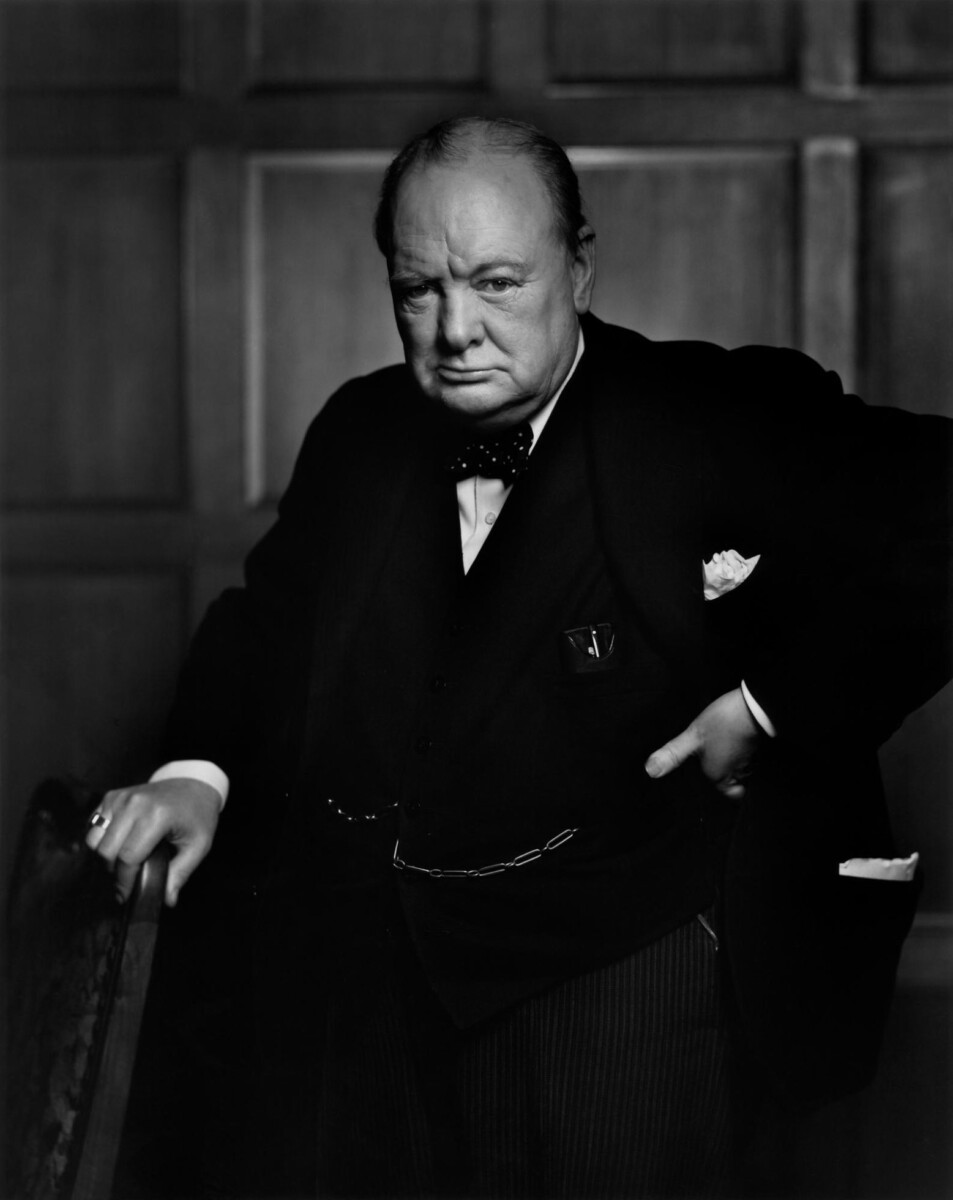
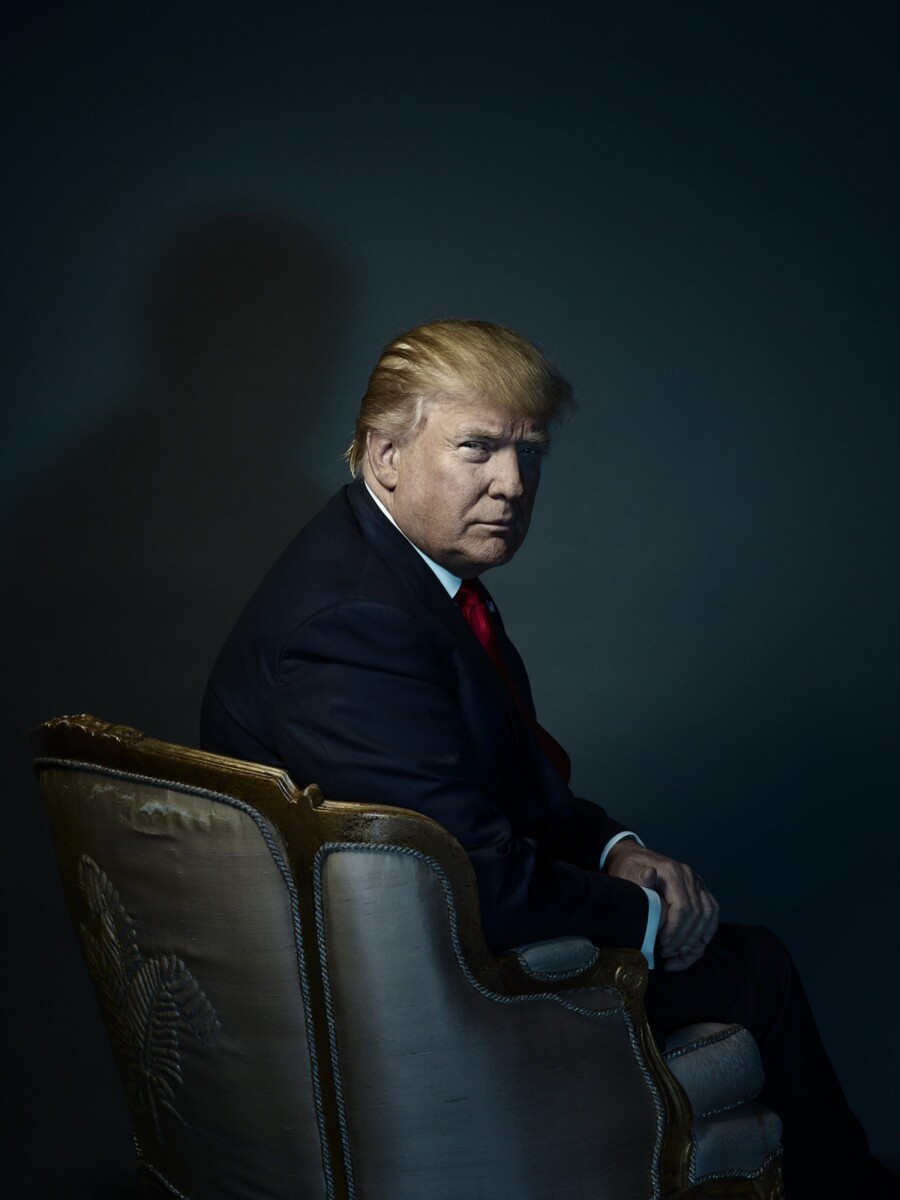
Left: Photographer-Yousef Karsh, Winston Churchill, 1941
Right: Photographer-Nadav Kandar, Donald Trump, 2016
Yousef Karsh
https://karsh.org/overview/portraits/#thumbnails
Nadav Kandar
https://www.nadavkander.com/portraits/portraits/single


Recent Comments