Due April 17, 12 pm, Noon. 4 pts.
A final project proposal of 300 words min plus a gallery of images for inspiration otherwise known as a mood board.
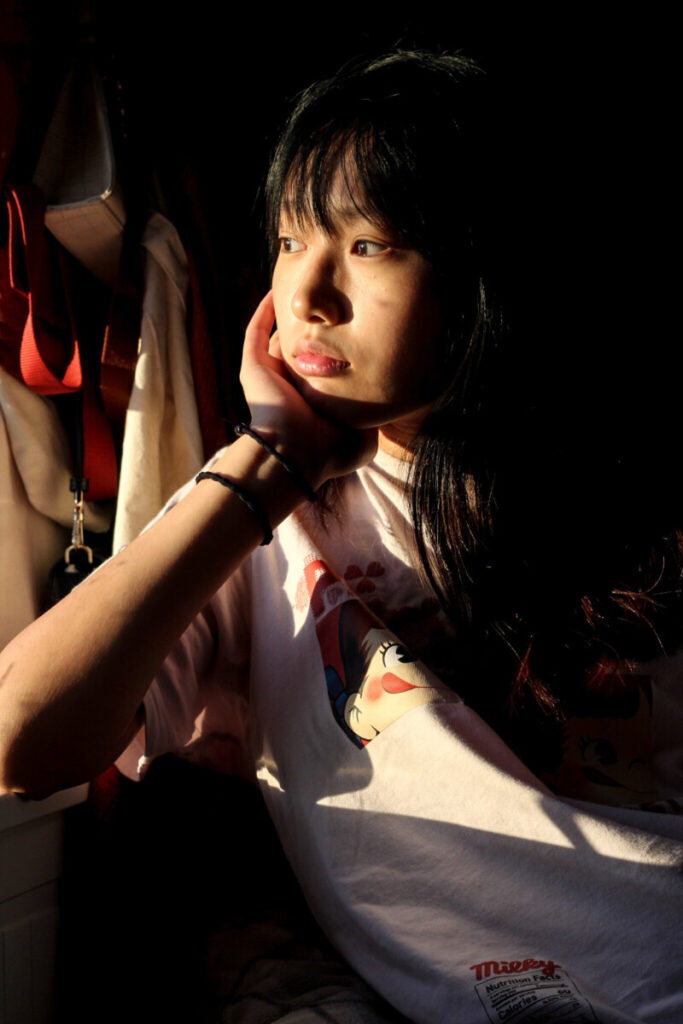
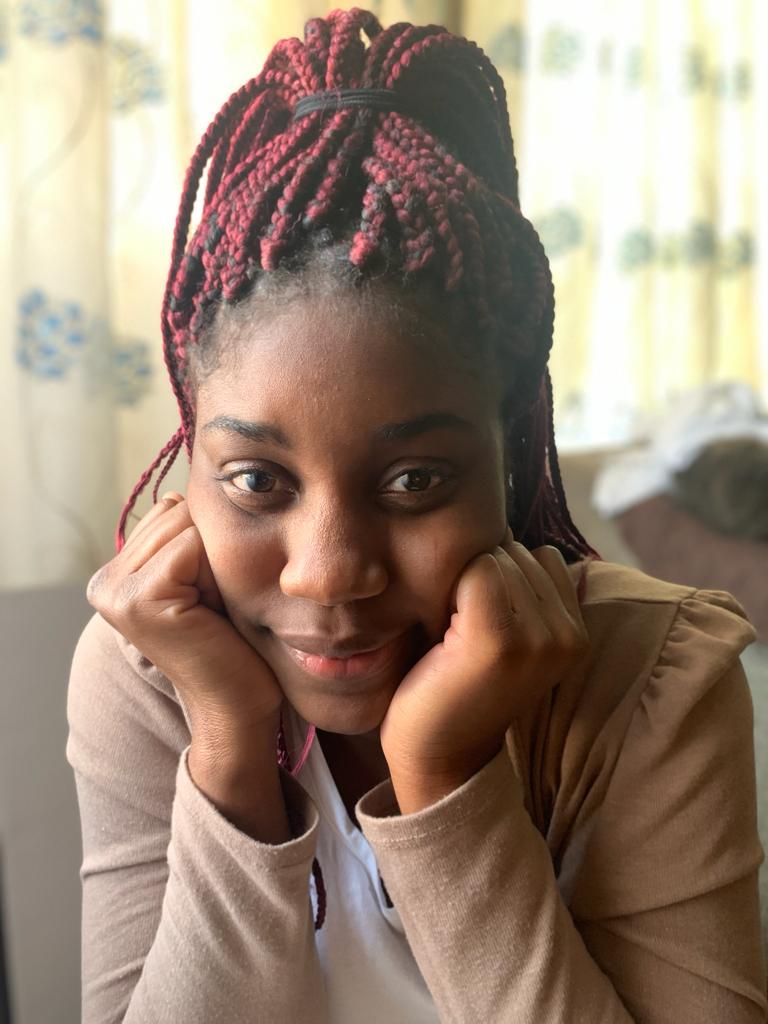
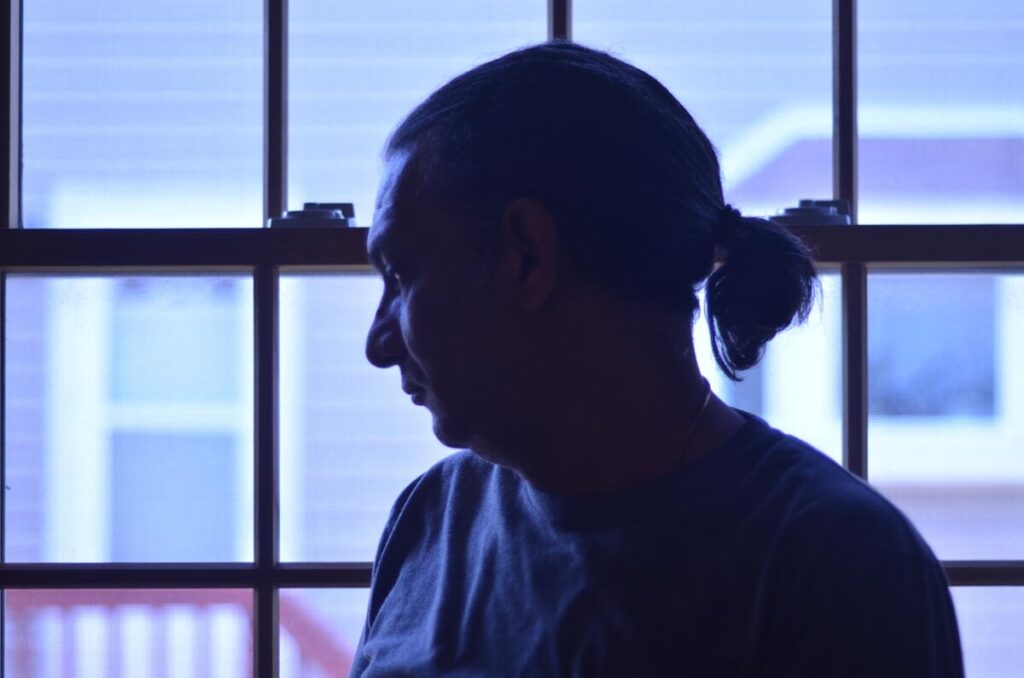
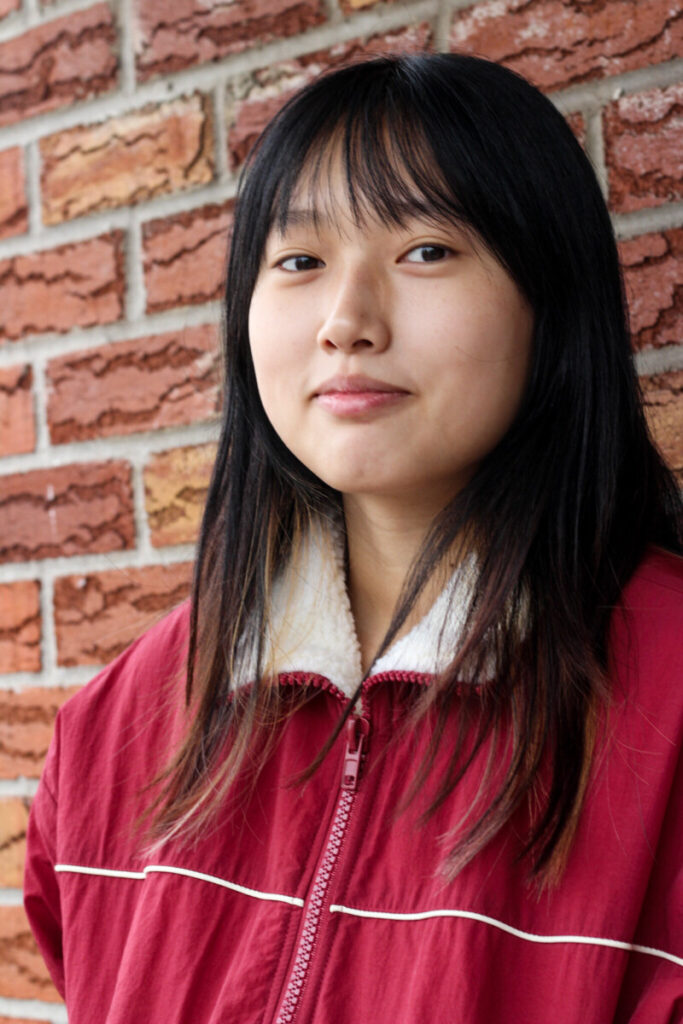
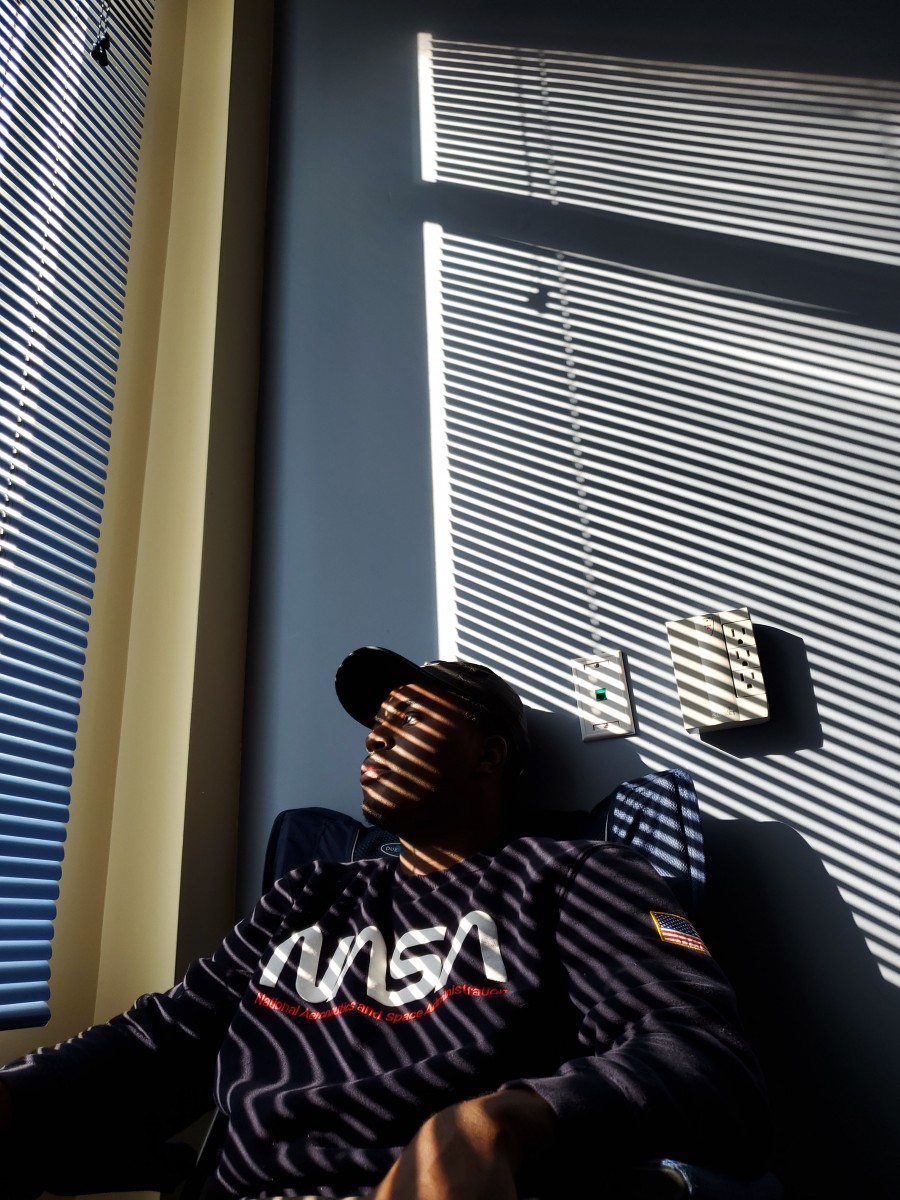
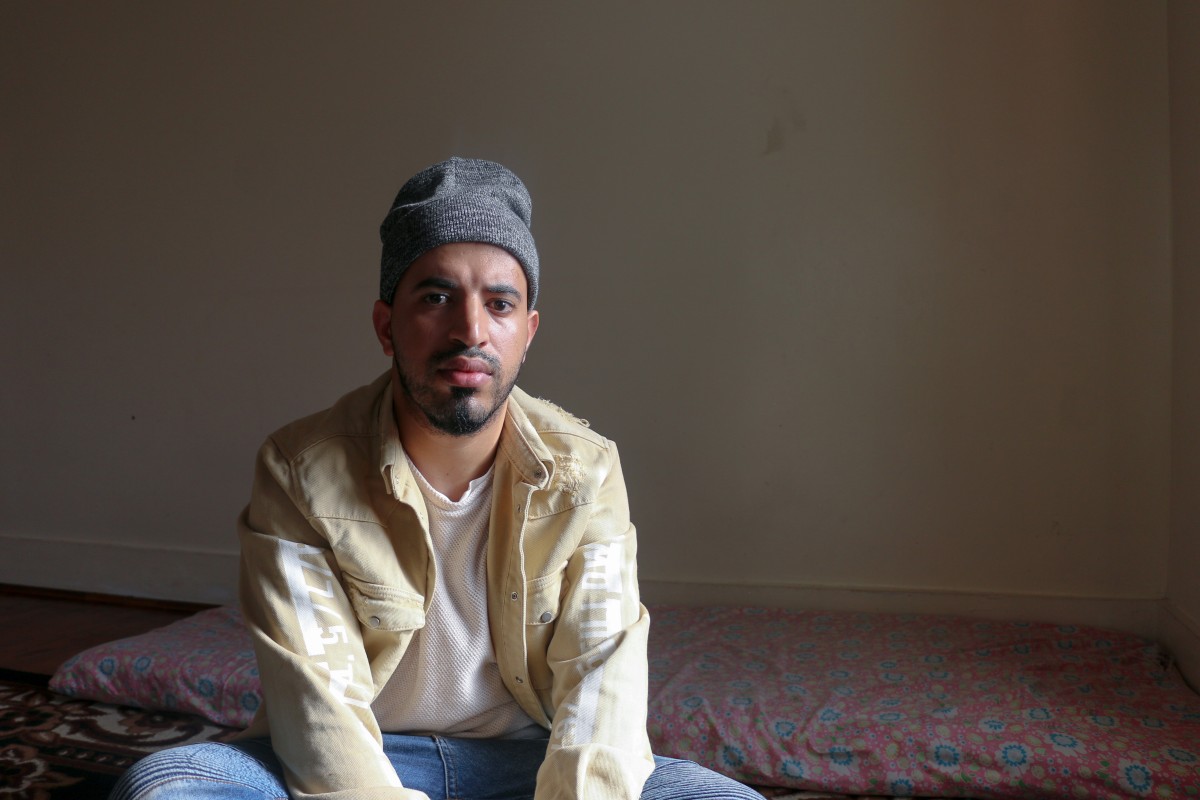
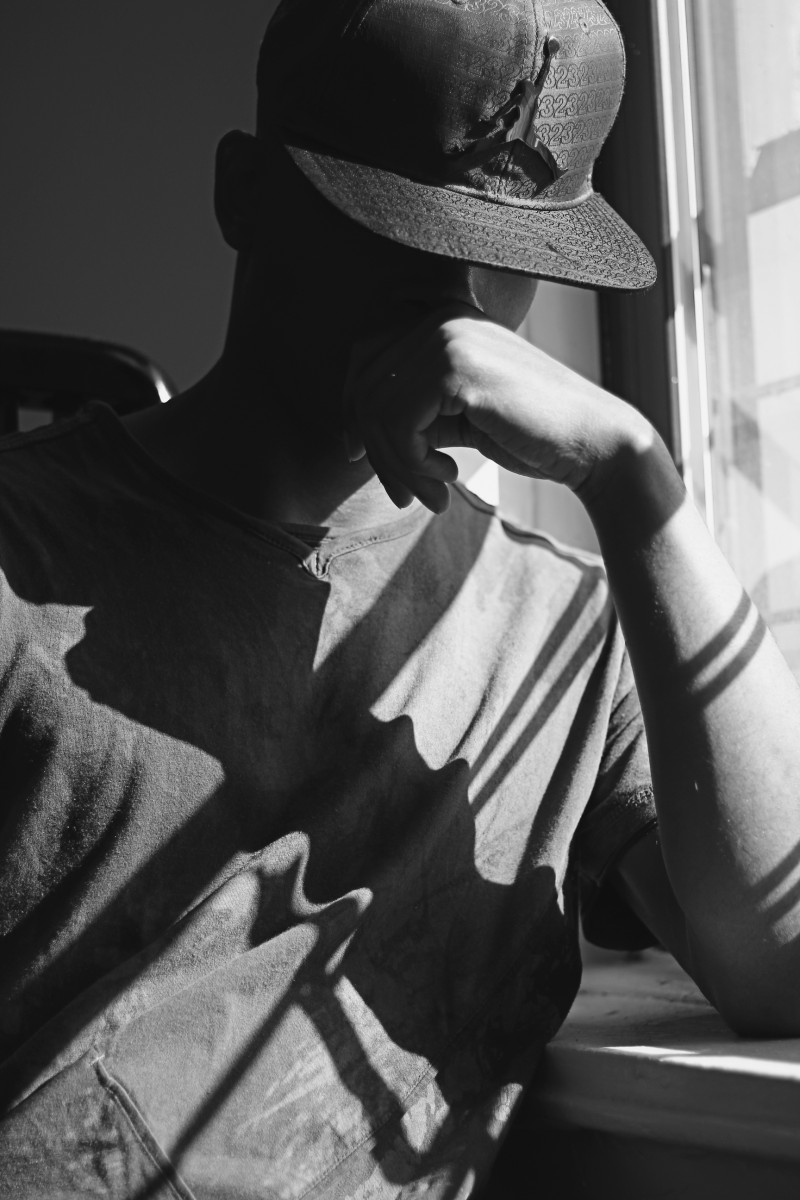
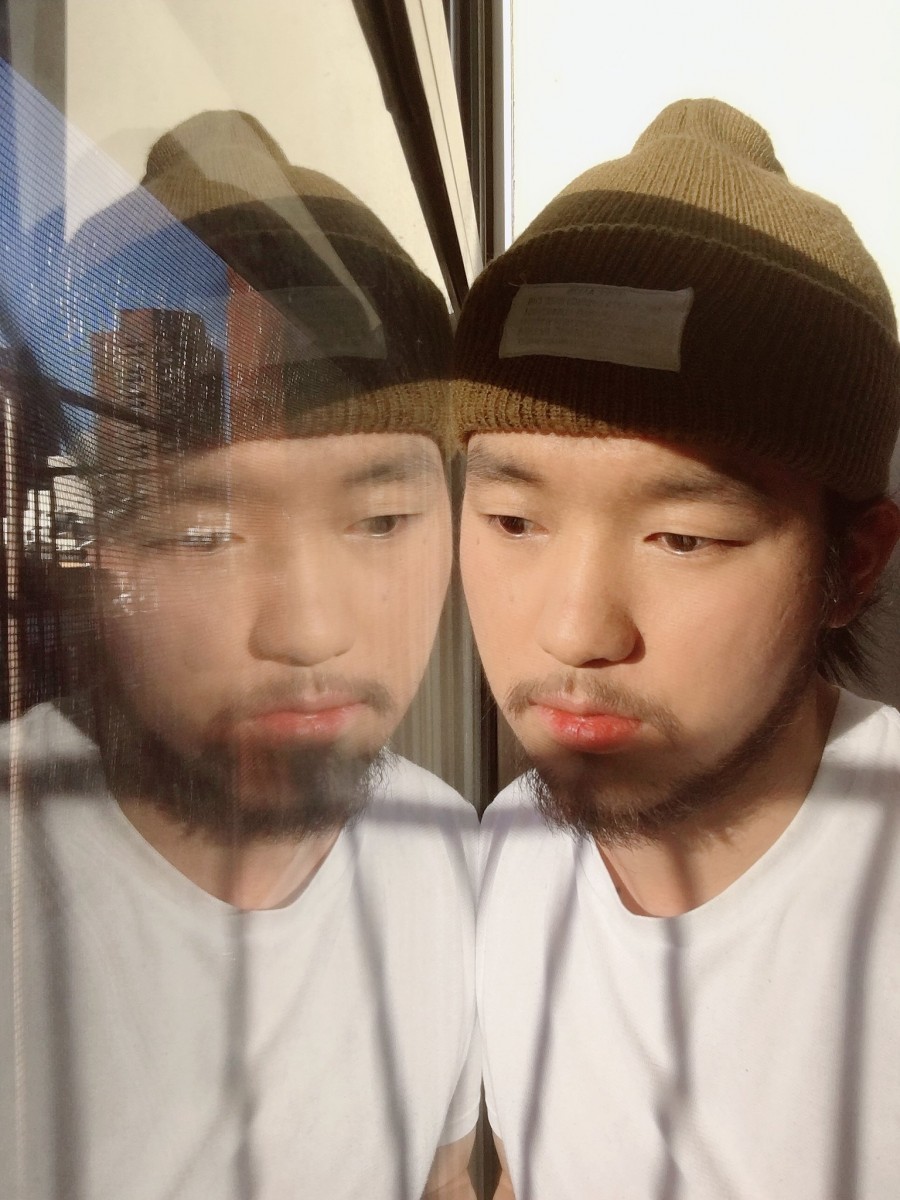
The goal of the Final Project is to create a series of 10 related images on a theme.
You may choose to do either:
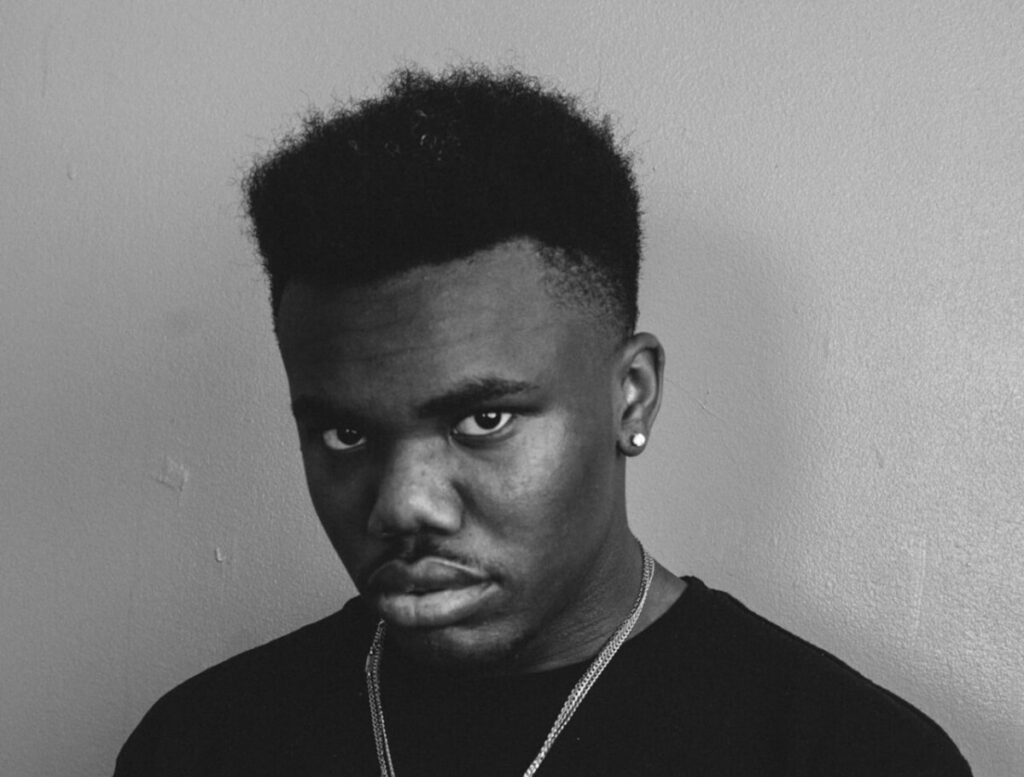
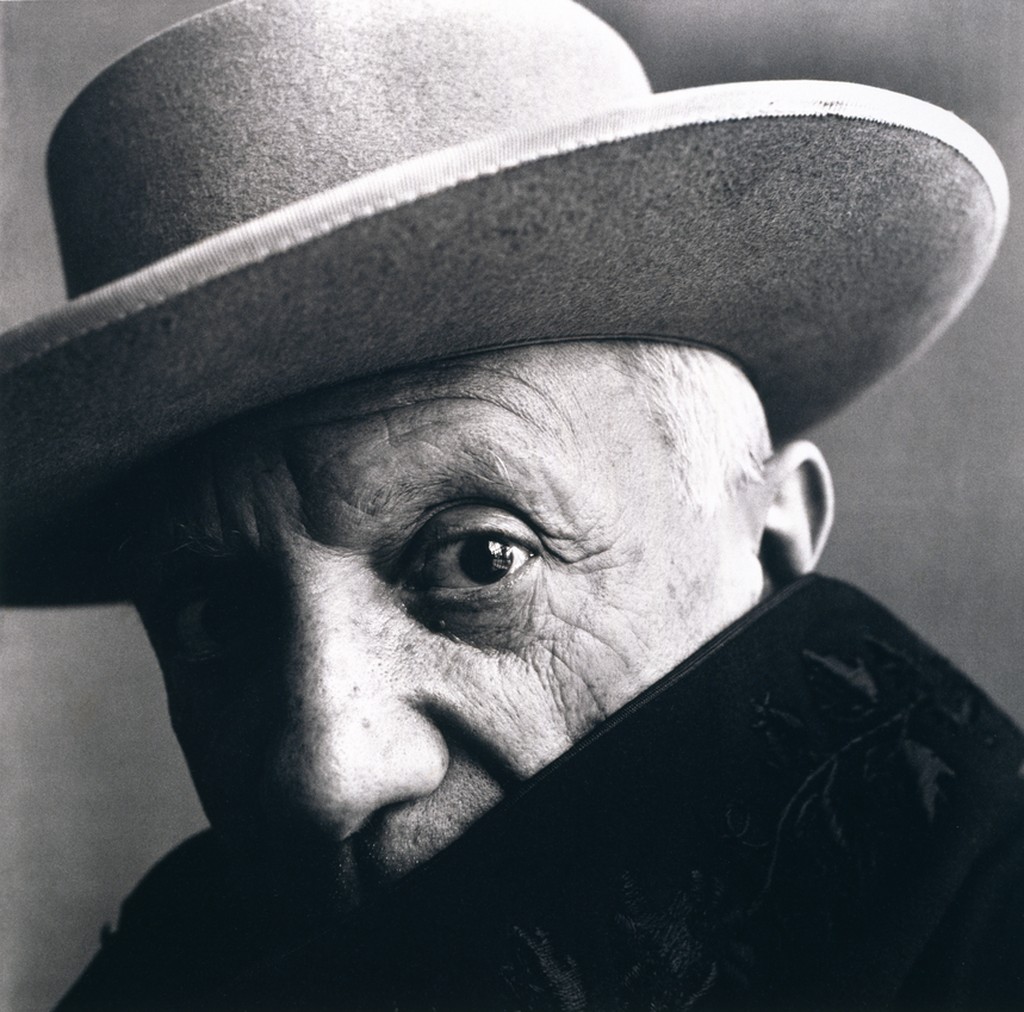
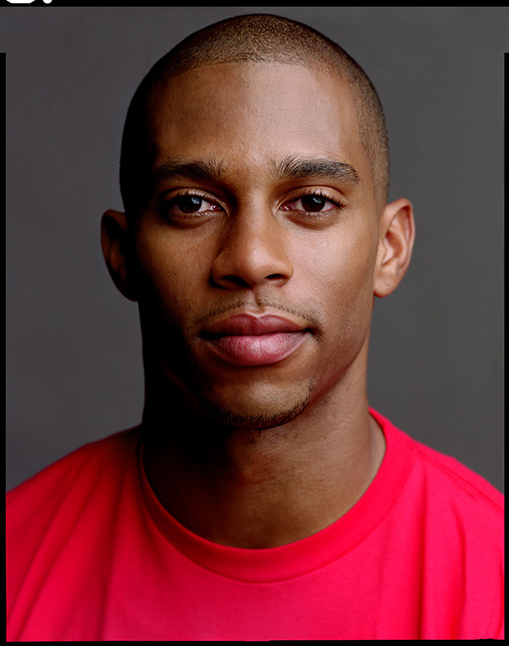
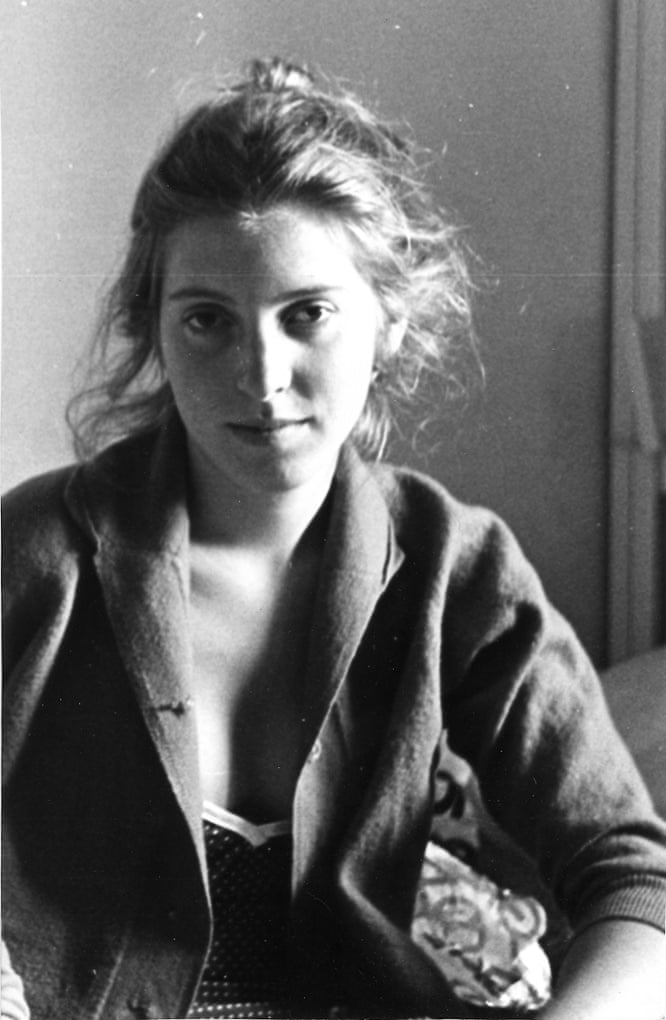
A series of portraits (not 10 pictures of 1 person but 10 pictures of 10 people) OR
A portrait of a neighborhood
OR another theme that you are passionate about: dogs, skateboarders, basketball players, street fashion to name a few possibilities.
Decide which assignment(s) you most enjoyed. What are you most interested in? Then consider: do you have people to work with? What is your schedule like and what is practical?
Final Project statement: Describe your project. What is your theme? What is the story you want to tell? What is the subject matter? Where will you shoot and when will you shoot? What kinds of techniques will you use?
Find a minimum of 6 images by 6 different photographers that show what you want your project to look like. Put them in a gallery in the post with your final project statement.
Category on OpenLab: Final Project Statement
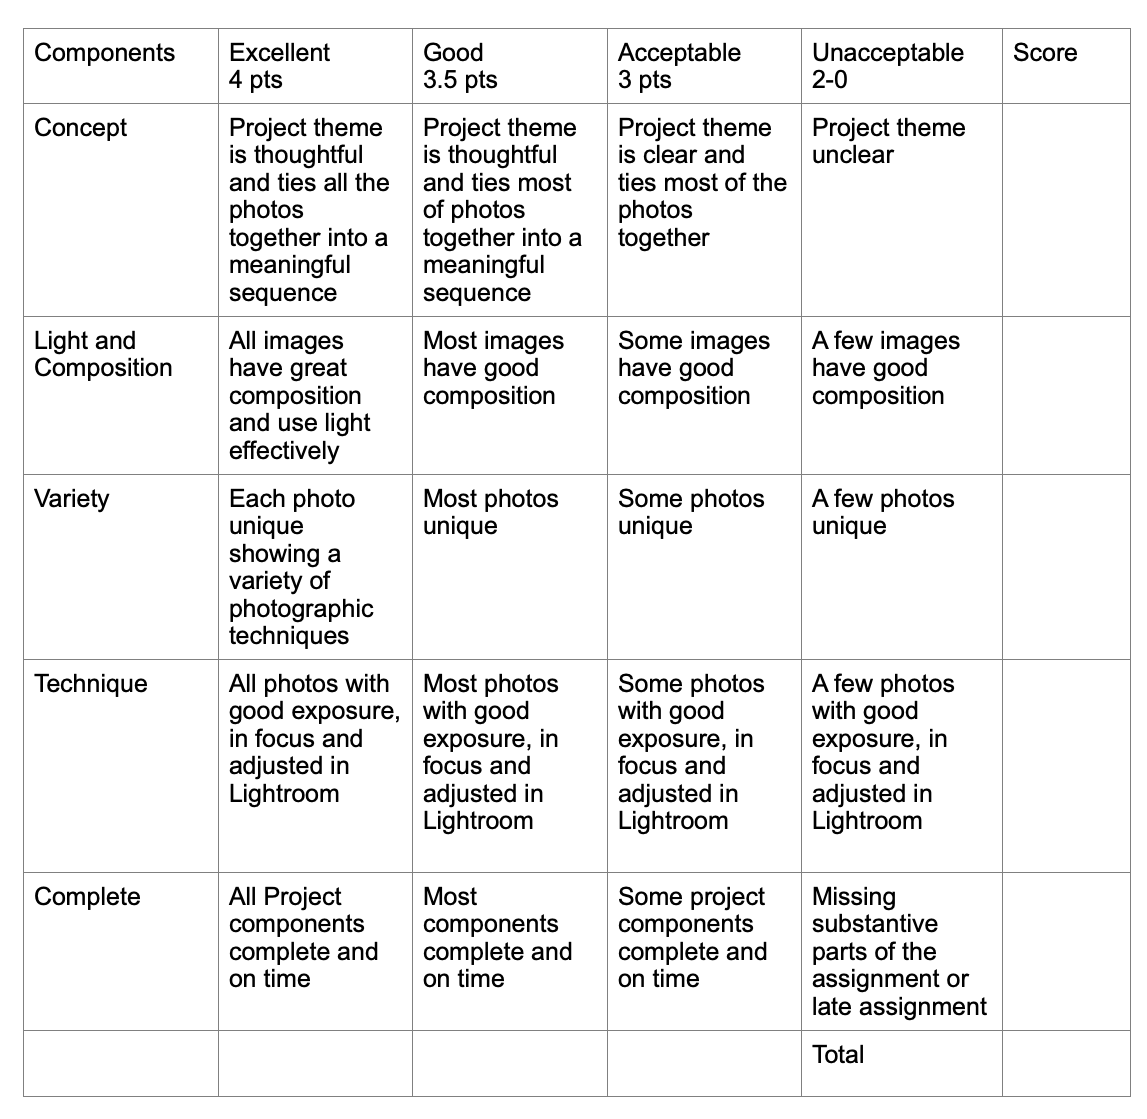
Grading Rubric
Deliverables and dates:
Due April 17 – a 300 word final project statement posted to Openlab with “a mood board”
Due May 8: Shoot 1 – minimum of 40 images in an album on Flickr
Due May 15: Shoot 2 – minimum of 40 images in an album on Flickr
Due May 22: Shoot 3 -minimum of 40 images in an album on Flickr PLUS
- final 10 images selected, adjusted in Lightroom, and posted to an album on Flickr
- a presentation to the class of the final images.
Total albums: 4 – 3 shoots of a minimum of 40 photos and a final album of 10 edited and toned images
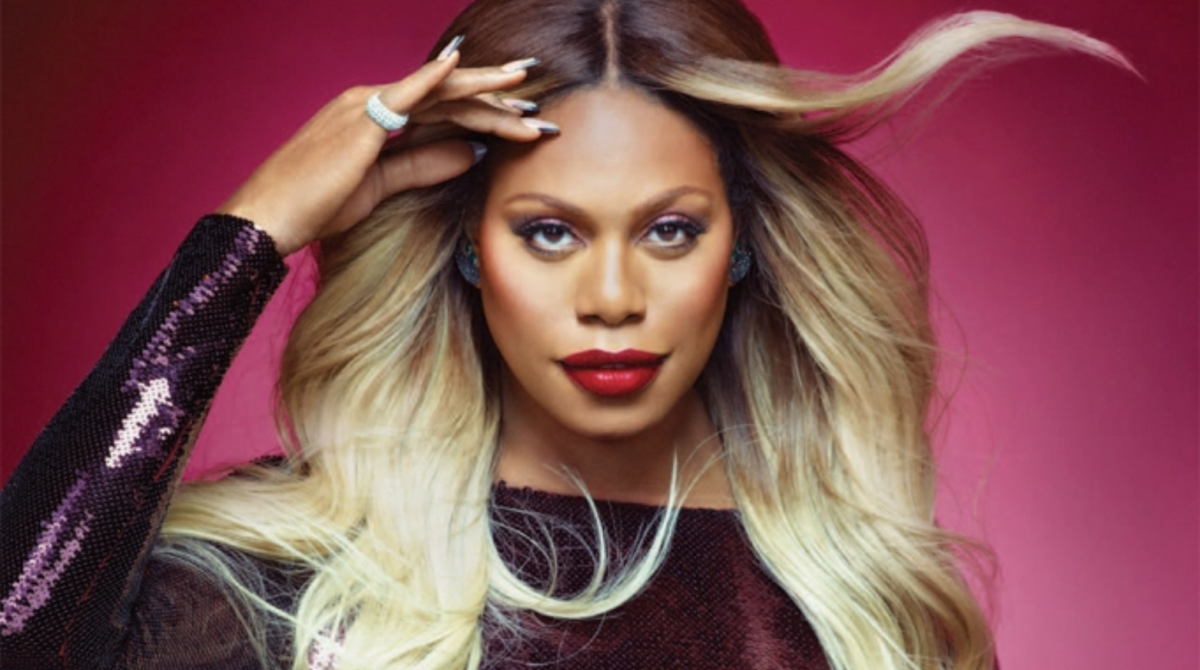
Examples:
Kalia Cruz

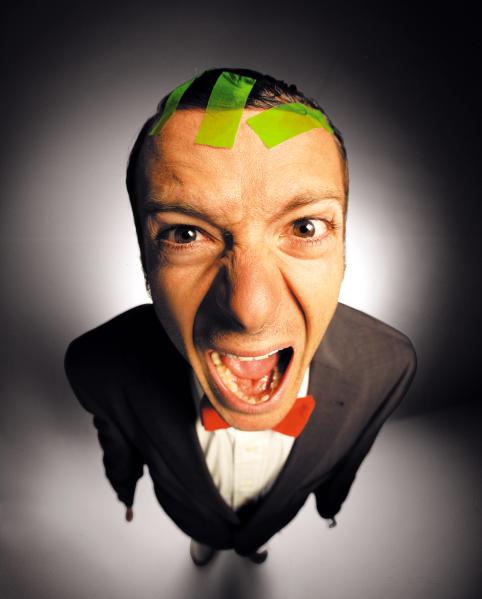
Xavier Vasquez

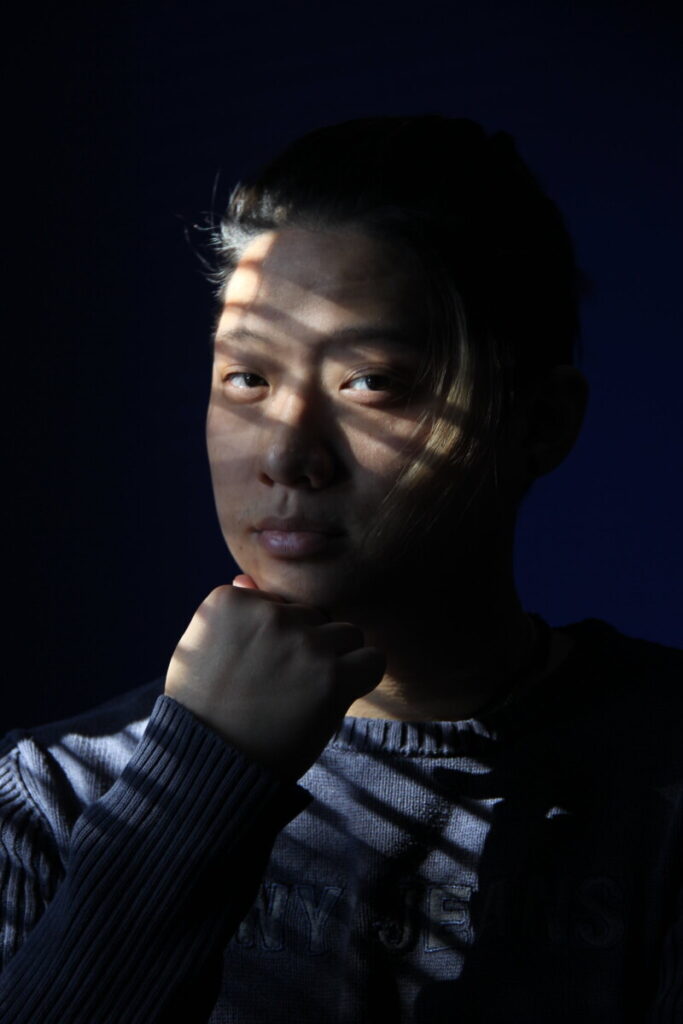
Enson Zhou

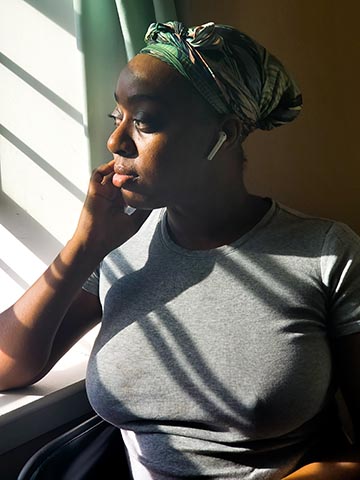
David Moya
Ifetayo Forrest


Recent Comments