Portrait of a place-Select a park or playground near you. You will take photographs in the same location two weeks in a row. Photograph there at different times of day to capture the place and the people who use it in a series of 8 final photos.
40 photos in an album labeled Shoot 1 on Flickr due Oct 19th at 2:30pm:
Portrait of a Place-Shoot in your location at 2 different times of day and or in different weather. Your shots should cover a wide range of approaches: long shots to close ups, people including at least one person in motion, animals and plants. Each photo should use light and composition in compelling ways.
2. Second set of 40 Photos in an album labeled Shoot 2 on Flickr due Oct 26th at 2:30pm.
3. 8 final photos adjusted in Lightroom in an album labeled Midterm on Flickr due Oct 26th at 2:30pm.
4. A brief presentation to the class of your project on Oct 26th.
Meet in the classroom in V111 at 2 pm or at 990 Washington Ave at the main entrance to the BBG at 3 pm.
Light and Dark
The word photography is rooted in Greek meaning “ writing with light “ One of the main concerns of photographers is how light illuminates a scene or subject. While we focus attention on light, it’s easy to not pay attention to shadows. Shadows, although dark, can be as dynamic as light. The shadows shape light, define texture, and act as compositional elements.
Contrast: The measure of difference between bright areas (highlights) and dark areas (shadows) in a photo
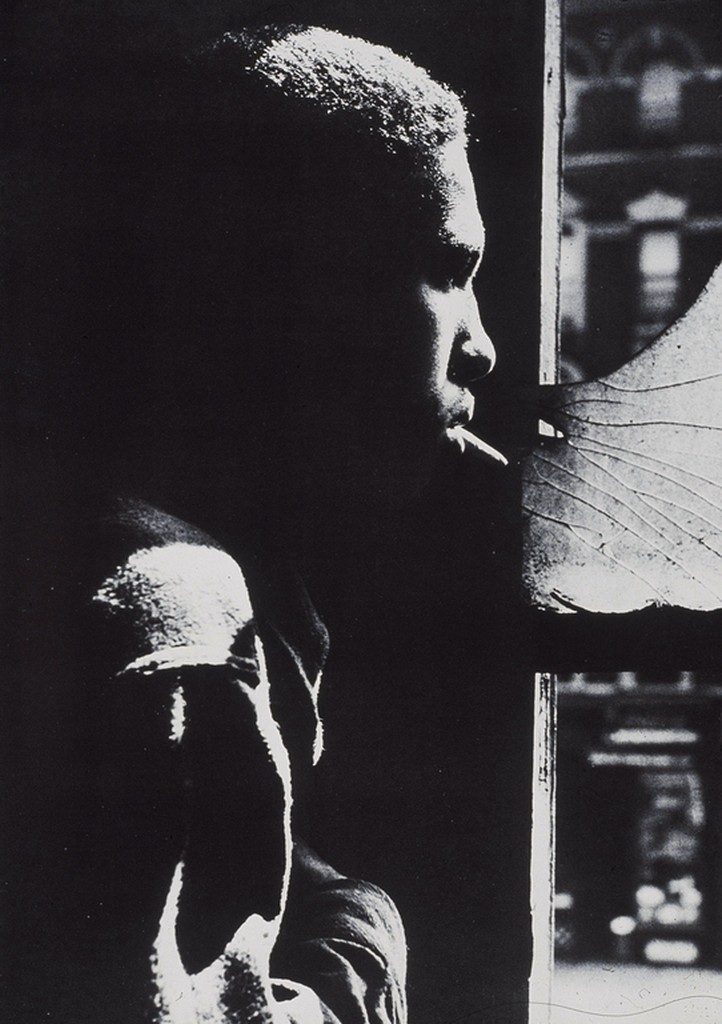
High contrast : Large difference between highlights and shadows. Mostly lights and darks without many mid tones
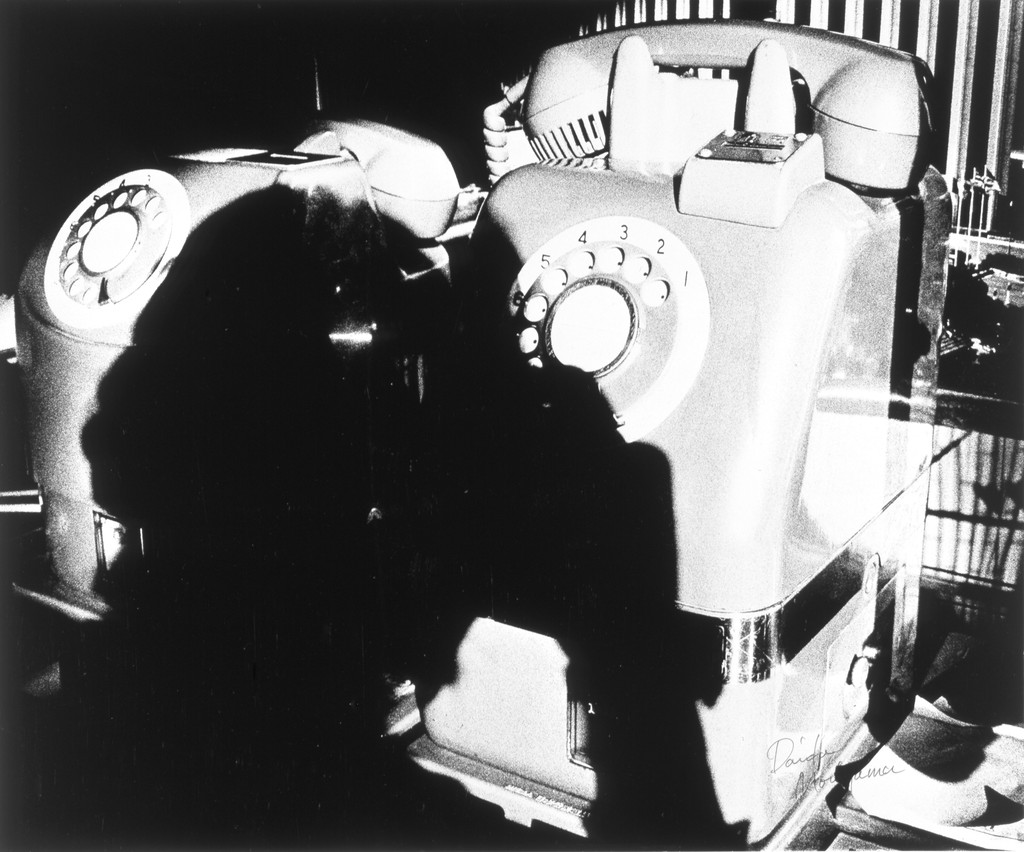
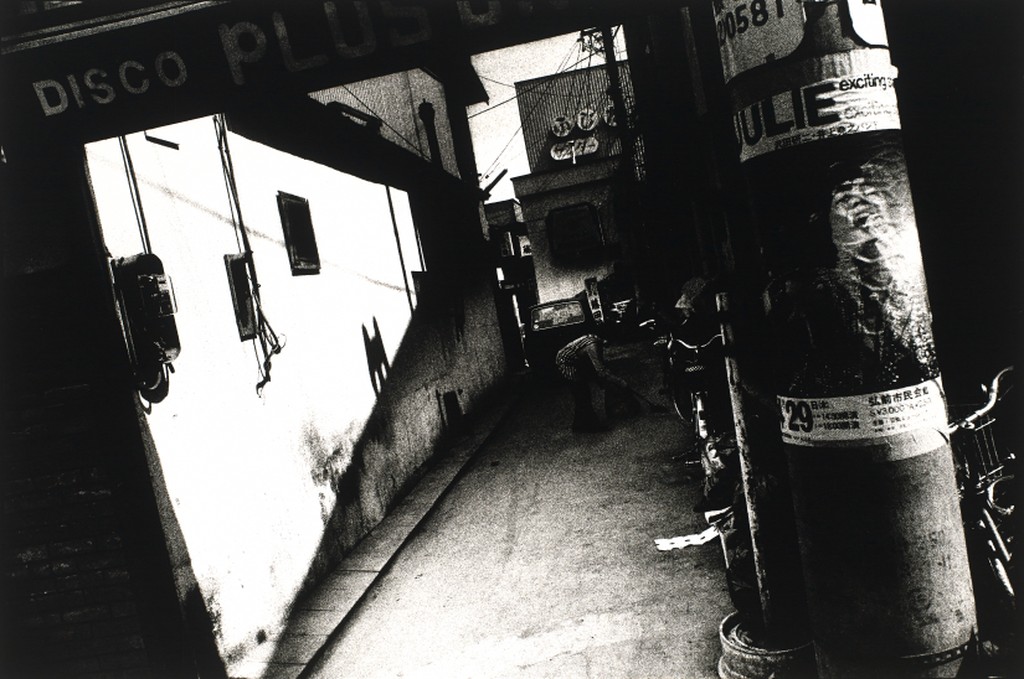
Photographer: Daido Moriyama
Low contrast : Little difference between lights and darks. Mostly mid tones.
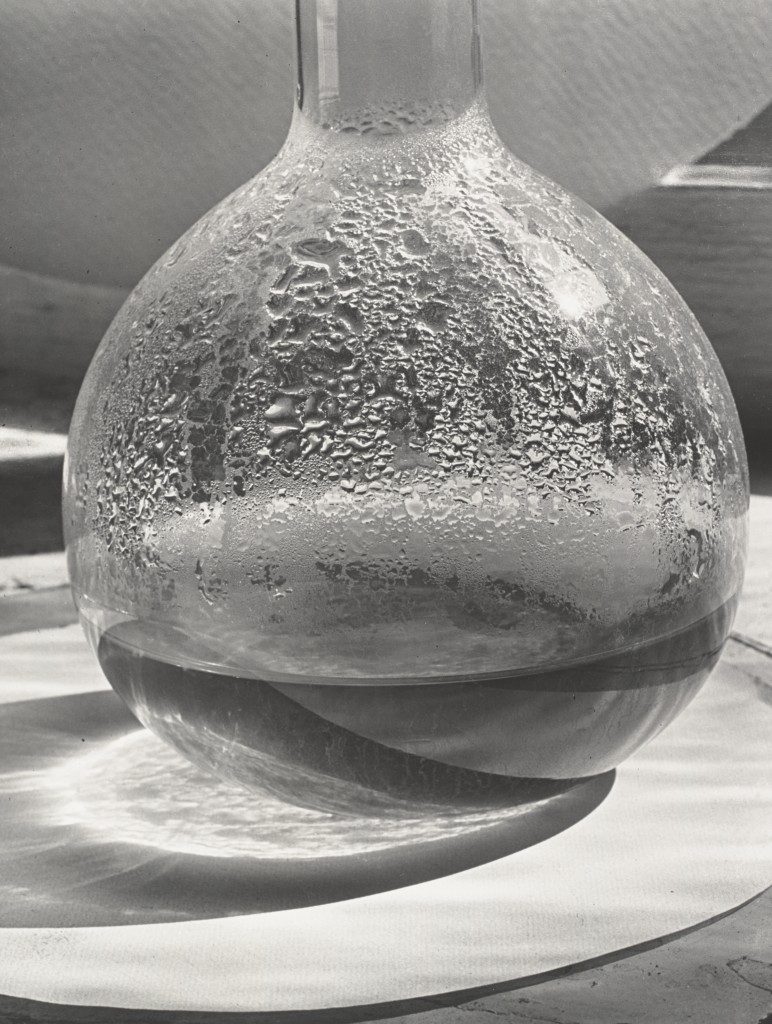
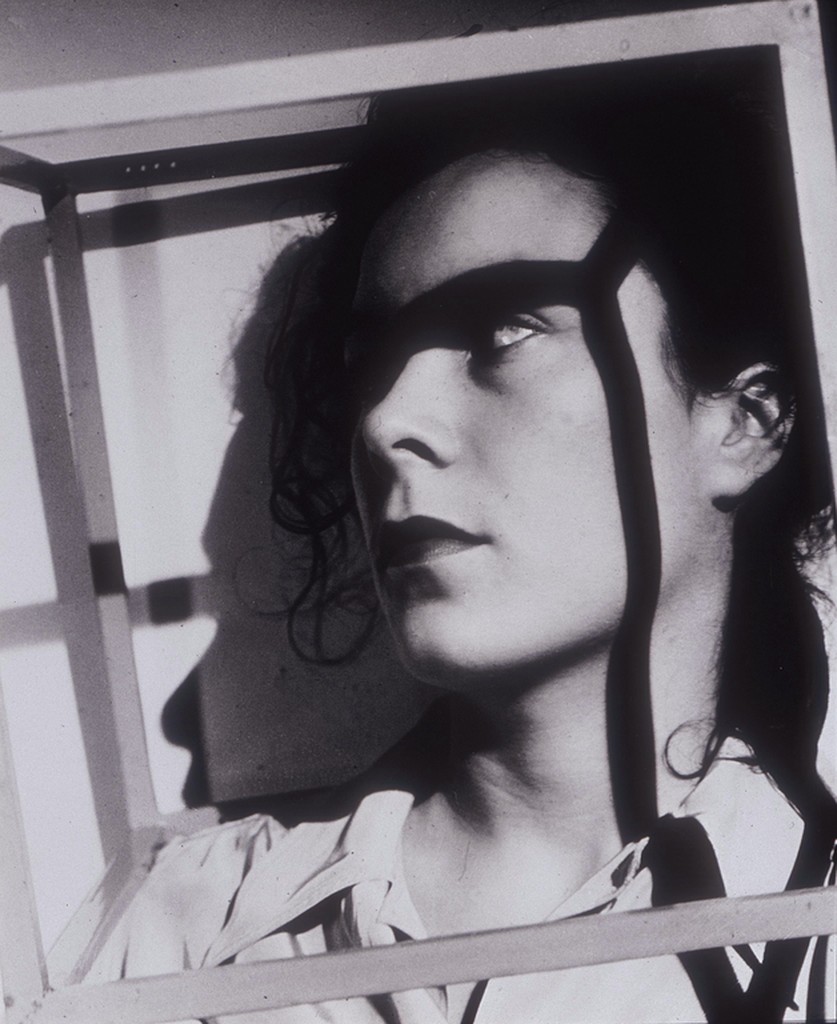
Sweating Glass, 1931, Photographer: Alma Lavenson
Shadows – dark areas in photo that can range from black with no detail to dark tone with detail
Uses of light and shadow: Light and shadow are complementary elements in photography. The quality and direction of light affect how a subject looks while producing shadows in various forms
Contrast and Drama : Shadows can be used to create contrast to produce a dramatic effect. Attention of the viewer is drawn to tonal contrast which can not happen without shadows. In this interplay of light and shadow, the lighting effect is enhanced by the shadows.
Shadows can be used to direct the viewer’s attention. Shadows can be be shapes that may be used as compositional elements to direct attention to the center of interest in a photo. Also shadows can surround a light area to make it a center of interest.
Reveal form: Using shadows will give form to subjects and make them look more three dimensional. The shadows don’t necessarily need to be black for this to happen. As long as one part of subject is light and one part is darker the photo will look more three dimensional. For dramatic effect, direct light will produce dark shadows. But for some subjects, dark hard shadows can be distracting or cause loss of detail. For subjects where detail is important, using partially diffused light will make soft shadows that will show form and maintain detail.
Reveal texture: Side light with shadow will show texture
Shadows can be shapes and patterns that can be used to complete a composition.
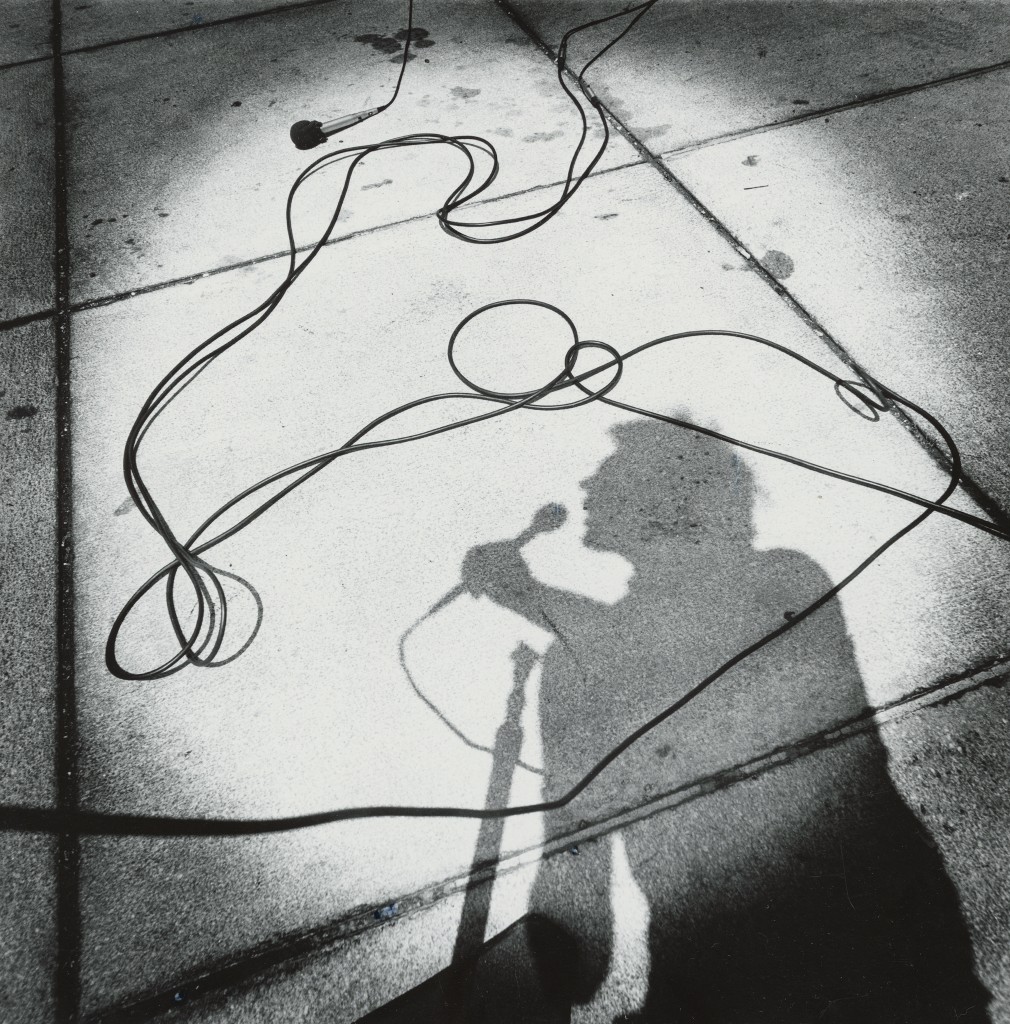
Calls & Messages 10:5, 1974 Photographer: Arthur Tress
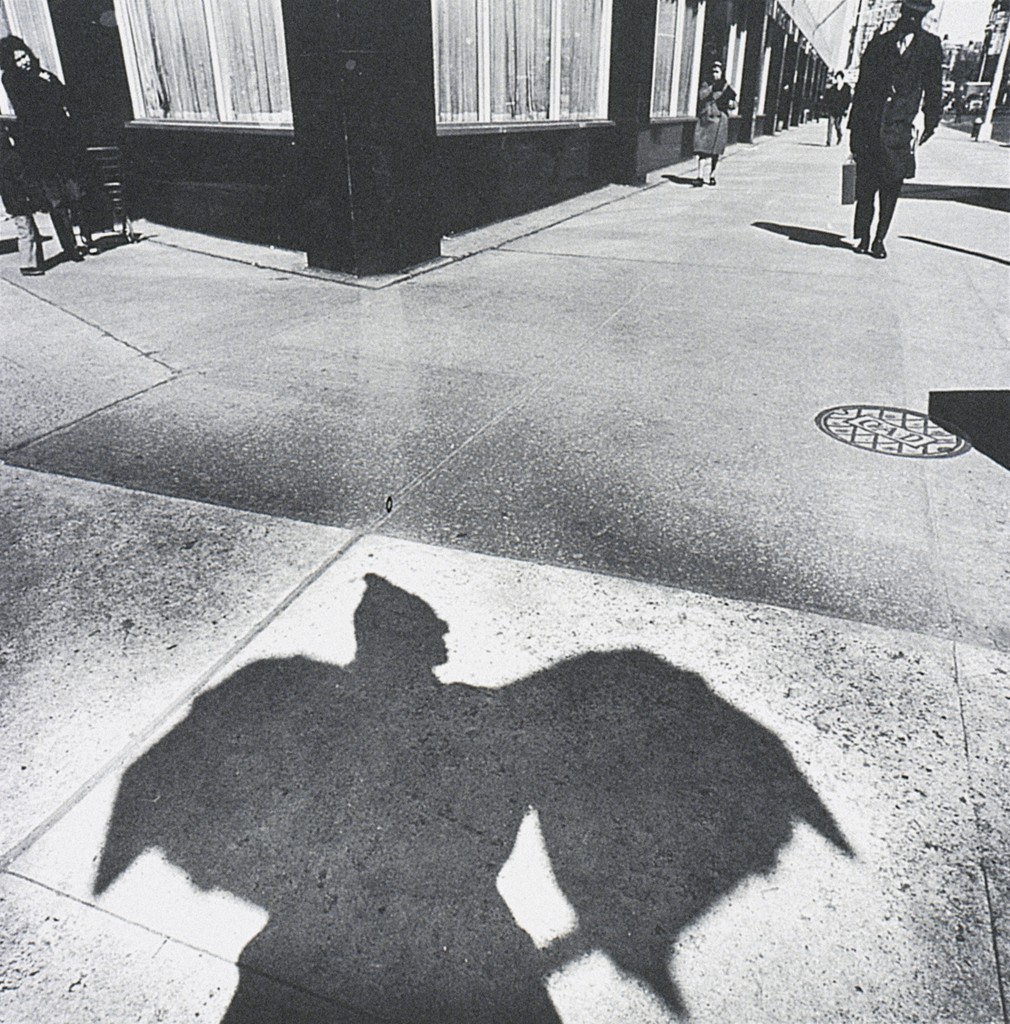
Shadow as Bird of Prey. 1973. Photographer: Arthur Tress.
Young Buddhist novice and his shadow. Laos. 2008. Photographer: Abbas.
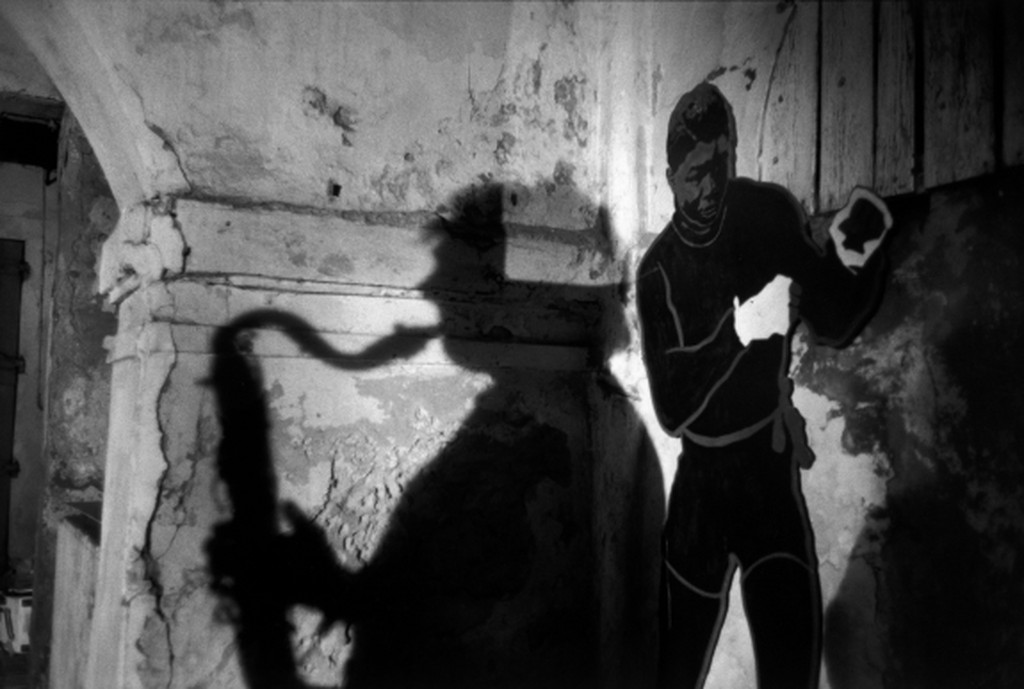
WESTERN AFRICA. 1993. Tour of the jazz musicians Trio. Photographer: Guy Le Querrec
GERMANY. 1933. Herbert List.
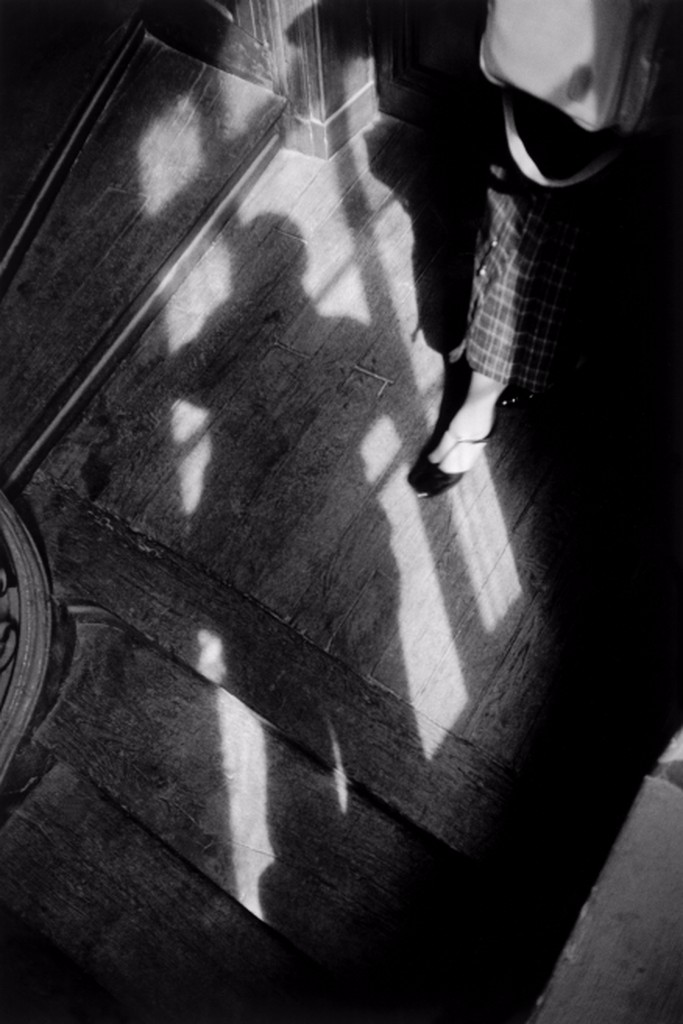
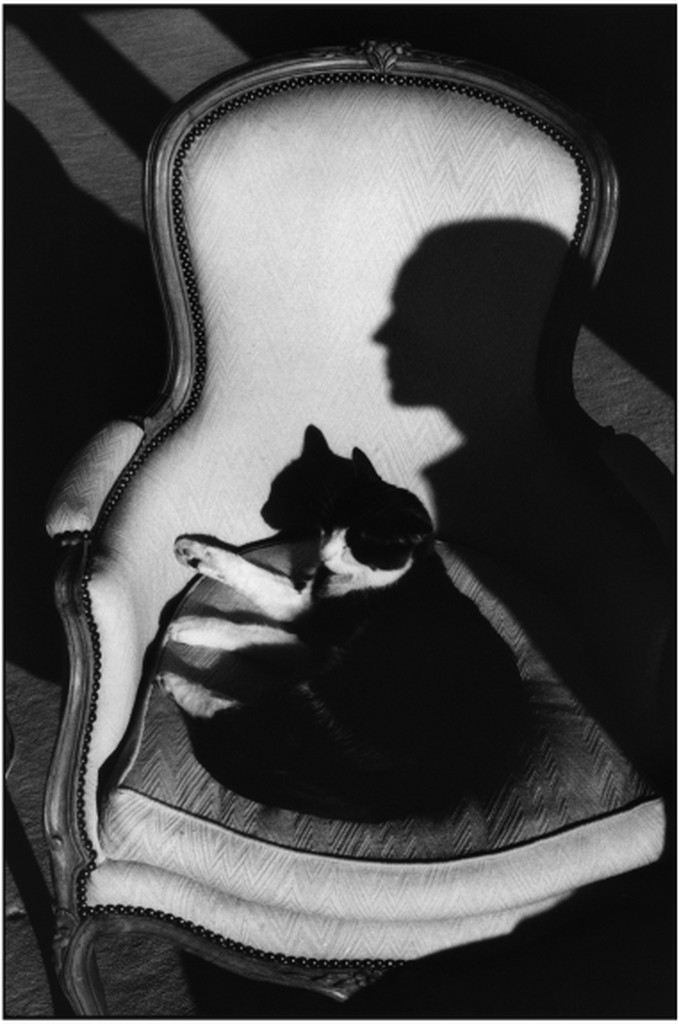
EUROPE. 1989. “Our cat Ulysses and Martine’s shadow”. 1989. Photographer: Henri-Cartier Bresson
Photographer: Daido Moriyama
ITALY. 1936. Photographer: Herbert List
How light falls on your subject is key to using shadows in photography. The best direction for a combination of light and shadow will be light coming from the side. For dramatic effect photograph when the light( direct light ) is at a lower angle which will produce longer dramatic shadows. For less dramatic effect, use diffused light.
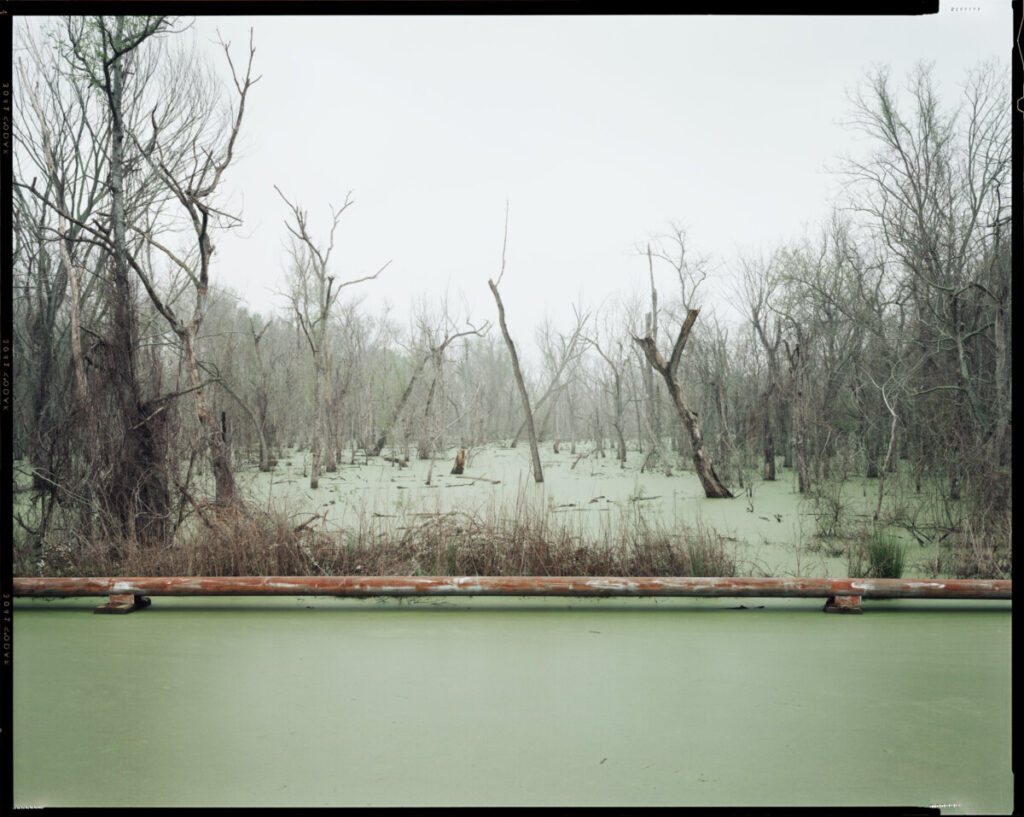
Exposing for photos that contain light and dark areas you will need to use exposure compensation. If there is large dark areas in the photo, the meter will over expose the light areas. In this case you need to use exposure compensation to lower the level of the lighter areas.
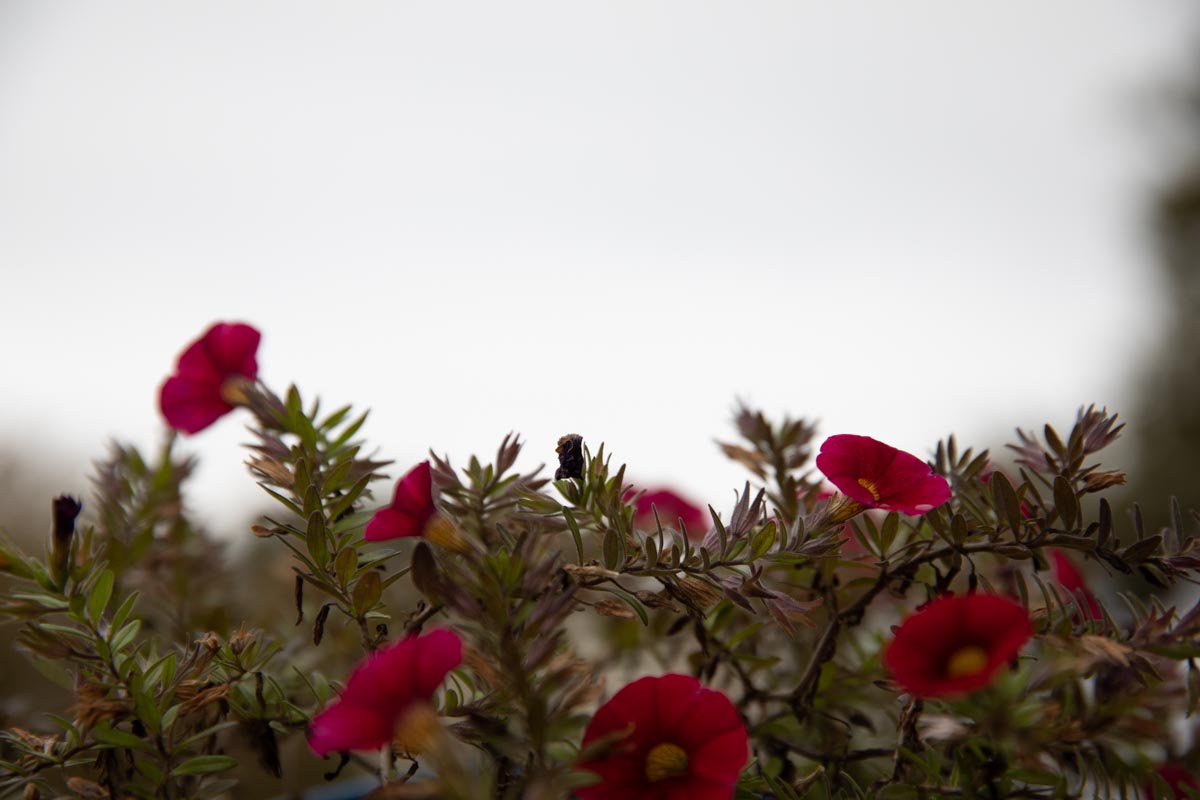
Our first visit to the BBG was on the last day of summer. Now, it is three weeks into fall. The assignment is to capture seasonal change. Post a minimum of 30 photos to an album on Flickr and send your best two the class group.
If there is direct sunlight, shoot at least 10 photos in which the shadows are the main subject. Use exposure compensation to make the shadows as dark as they appear to your eye.
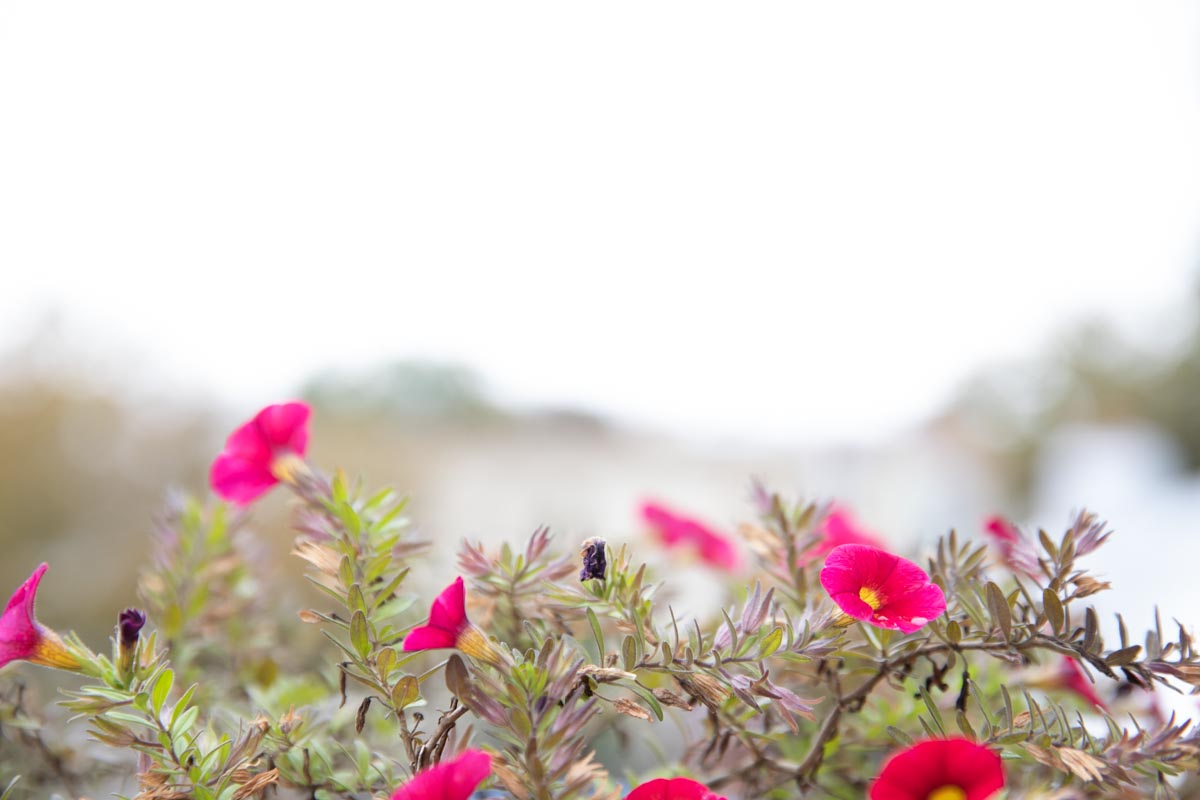
In some of the other photos, use shallow depth of field to isolate the subject from the background. Use a fast shutter speed to capture moving water in one of the garden’s fountains.
Use at least one of the following compositional principles in each photo: a frame within a frame, the rule of thirds, diagonals, leading lines, patterns, symmetry, and always think about the figure to ground relationships.
In other words, use everything we have discussed in class to make your photos as visually engaging as possible.
Backlight is one of the most common challenges for the camera meter.
Take at least 10 photographs of your classmates of other subjects against the sky.
• Use negative exposure compensation to darken the subject to a silhouette.
• Use positive exposure compensation to brighten the subject and over expose the background.
Landscape/cityscape photos
The sky is much brighter than the ground. Take at lease so photos showing a range of location shots of DUMBO, the park, the skyline with and without the sky. When your composition includes the sky use positive exposure compensation to take a second shot in which the ground and the buildings are well exposed ie brighter and the sky itself is overexposed.
Note that if you are shooting with a rebel, these cameras often cannot hold the detail in the bright areas. Take some photos with the sky to experiment but also think about ways to frame your photos so there is no sky.
Post 10 backlit shots and 10 cityscape photos to an album on Flickr.
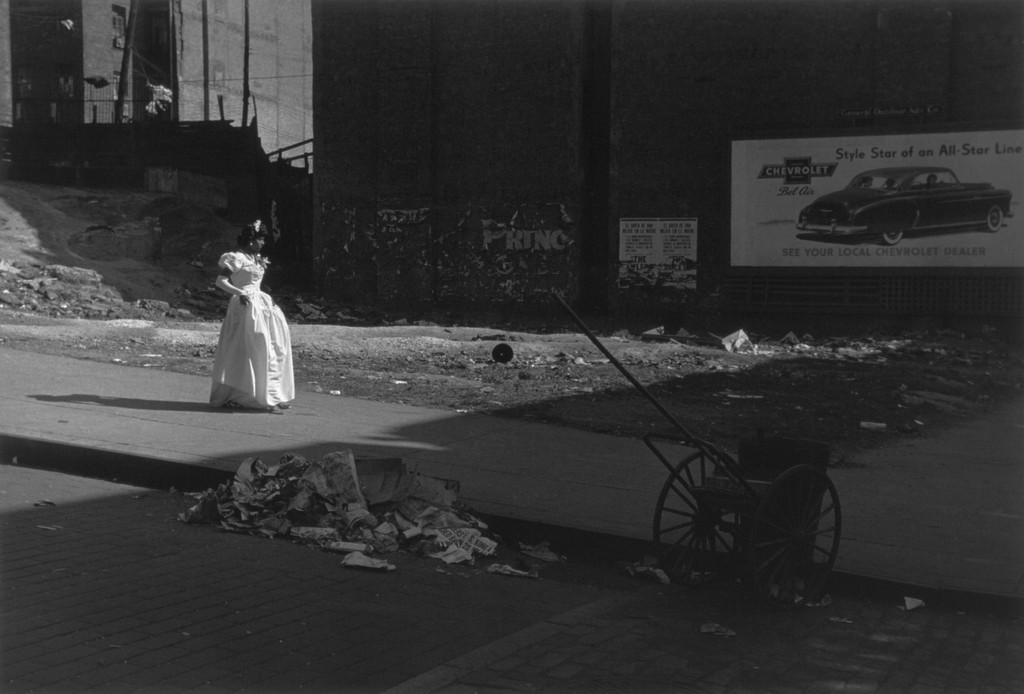
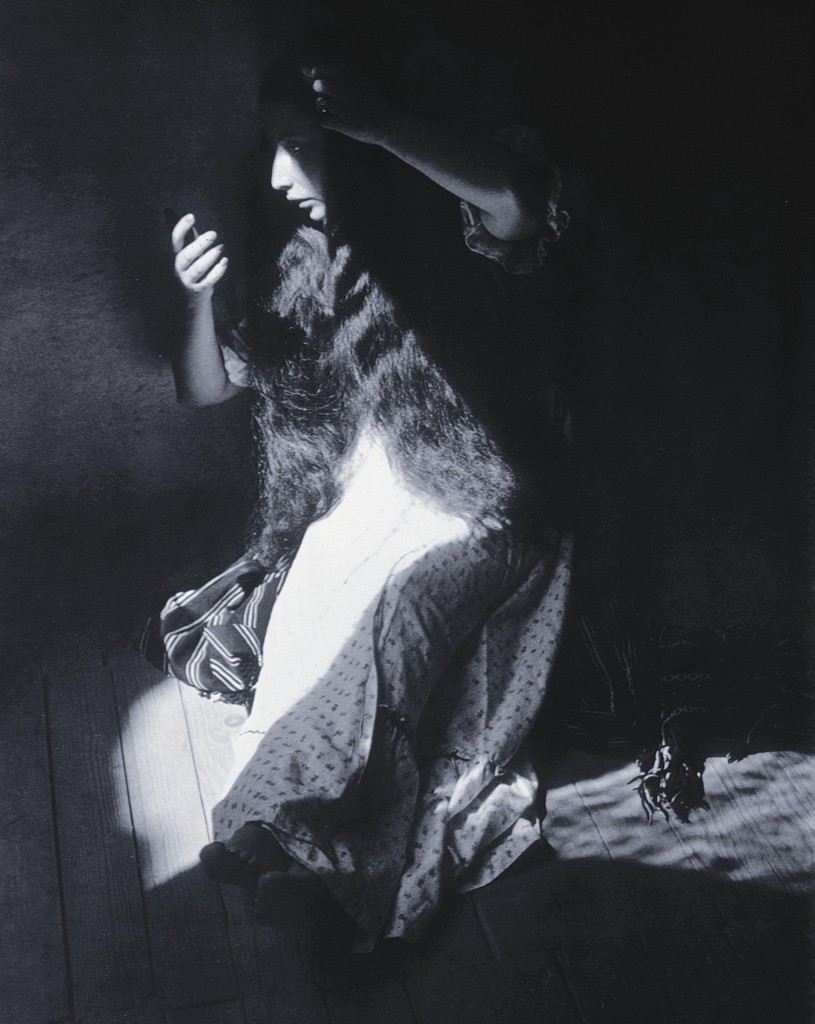
Portrait of the Eternal (Retrato de lo Eterno). Manuel Alvarez Bravo, 1932-33.
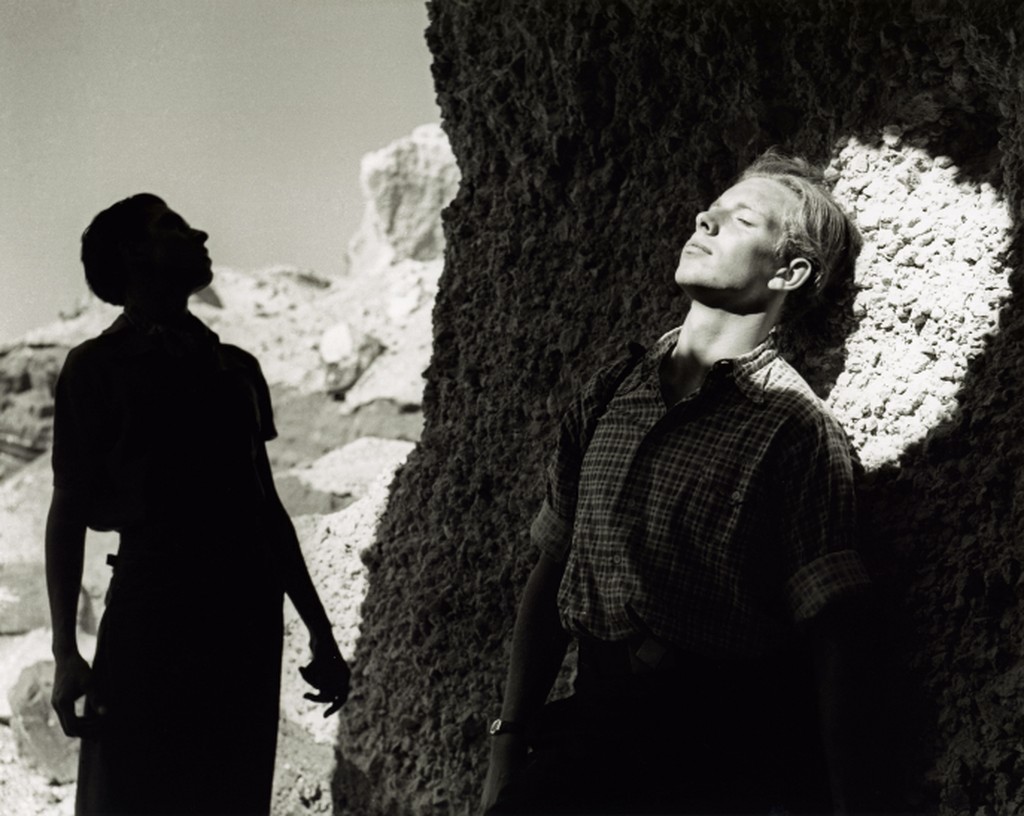
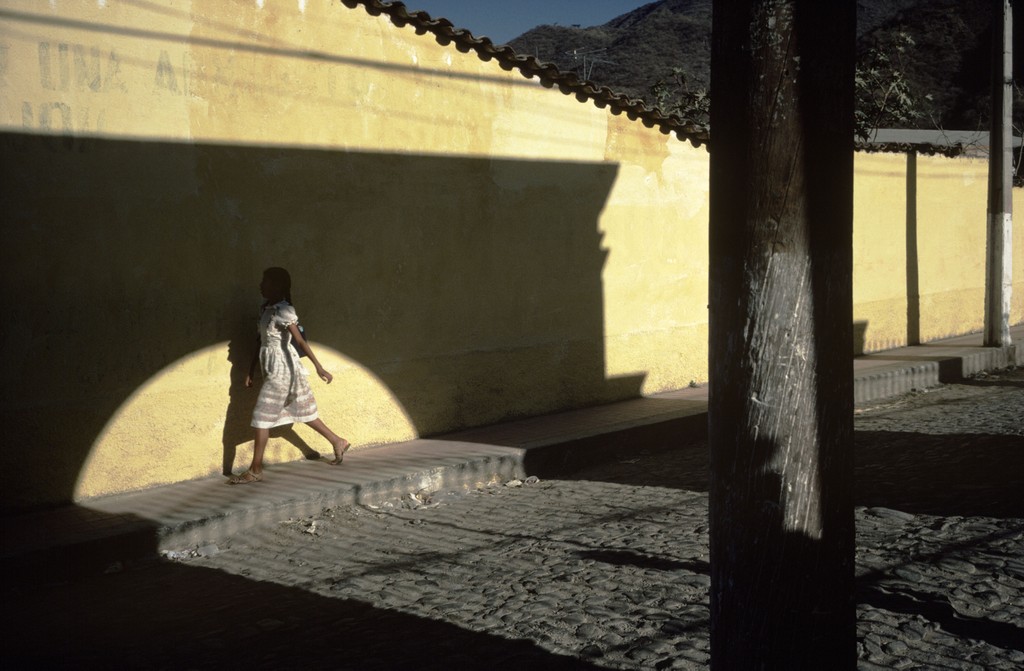
MEXICO. Ajijic. Alex Webb. 1983
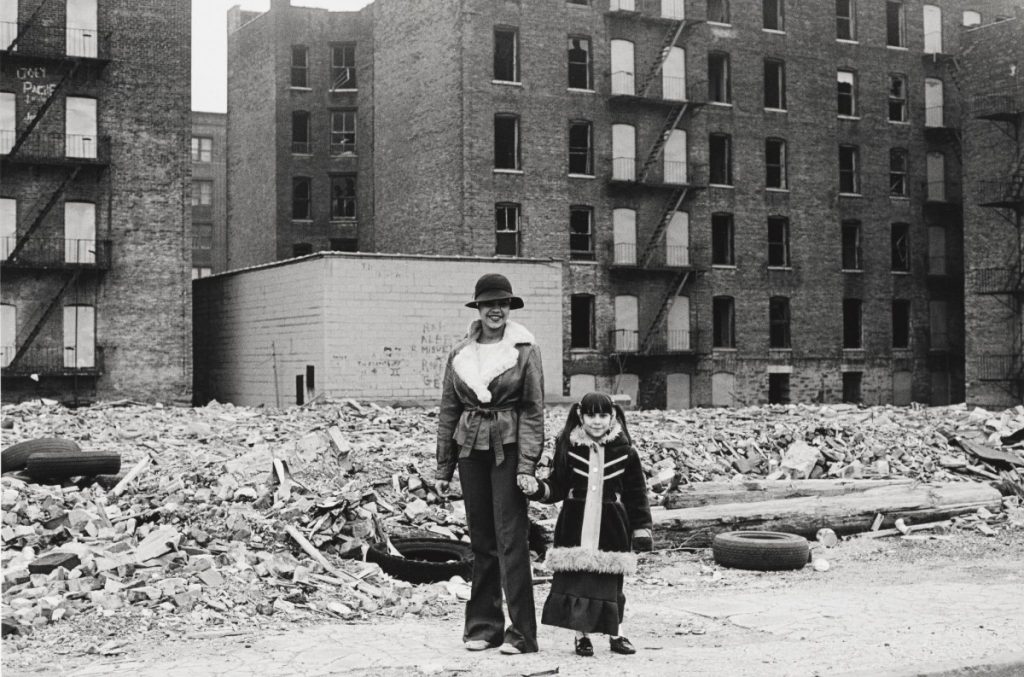
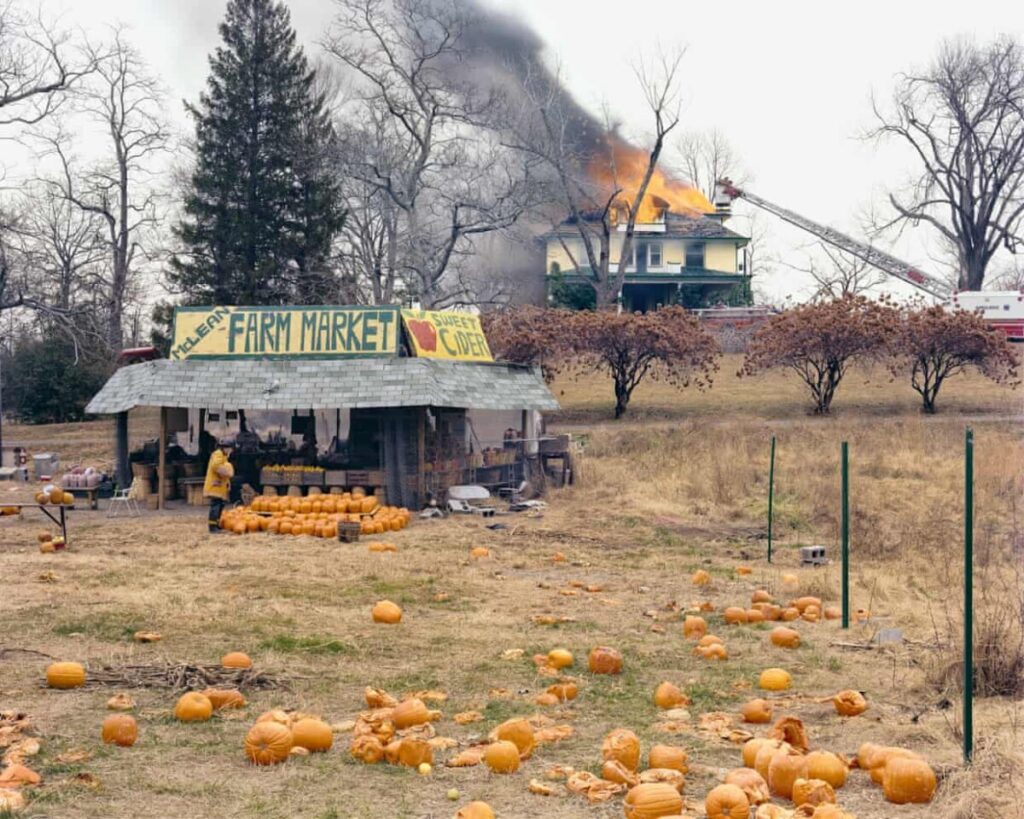
McLean, Virginia, December 1978 Photographer: Joel Sternfeld, 1978
Photographer: Renee Dikstra
Photographer: Mark Saviane
from Petrochemical America Photographer: Richard Misrach
Measuring the Light
Exposure is the amount of light that comes into the camera to create the photograph.
Exposure is made up of three components:
ISO-Sensitivity to light.
Shutter Speed-the length of time that the camera’s shutter is open during the exposure.
Aperture-how wide the cameras lens opens to allow the light to come in.
All three are measured in stops.
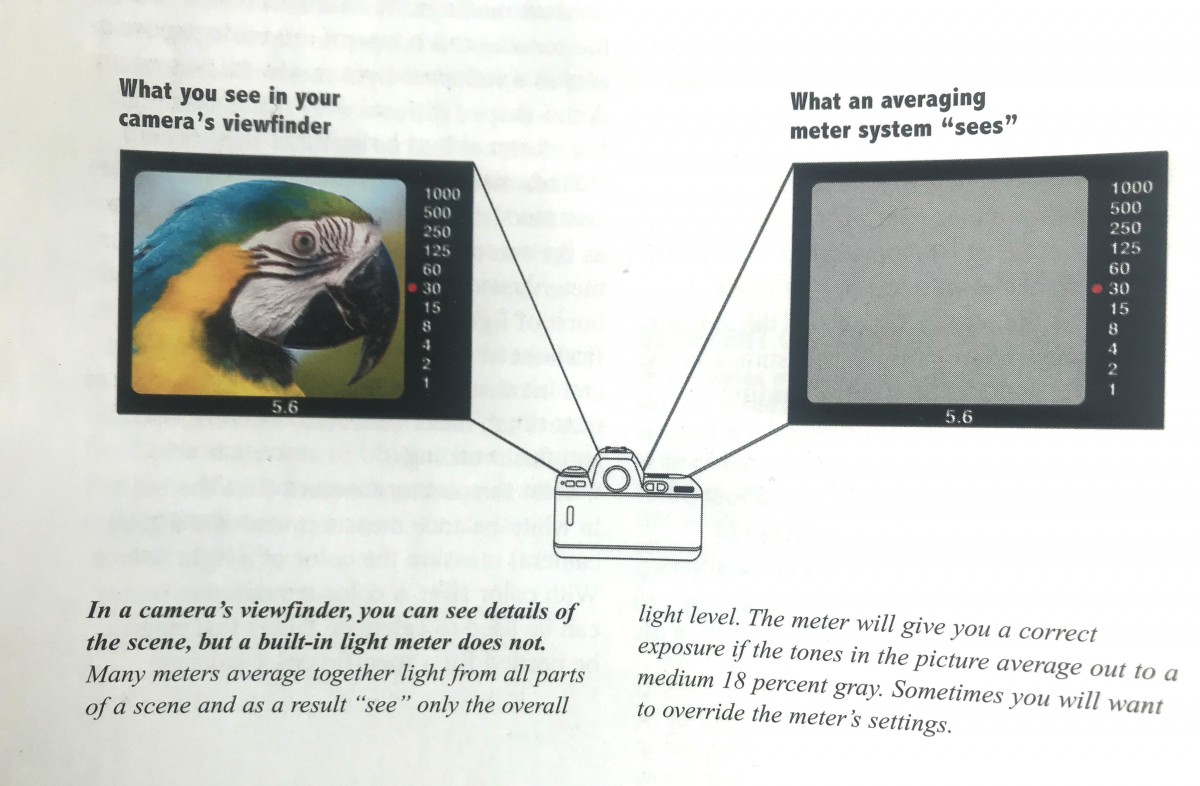
How your Camera Meter Works
Acronym: TTL – Through the Lens
The meter in your camera is a reflected-light meter.
A reflected light meter averages the tones in the scene and selects the aperture and shutter speed values that will make the whole scene medium gray.
Watch from :45 to 1:34 for an explanation of how your camera meter works.
What your camera meter “sees” From Photography, 10th Edition, Stone, London, Upton, P. 70
Challenges
There are certain predictable situations that will fool your meter.
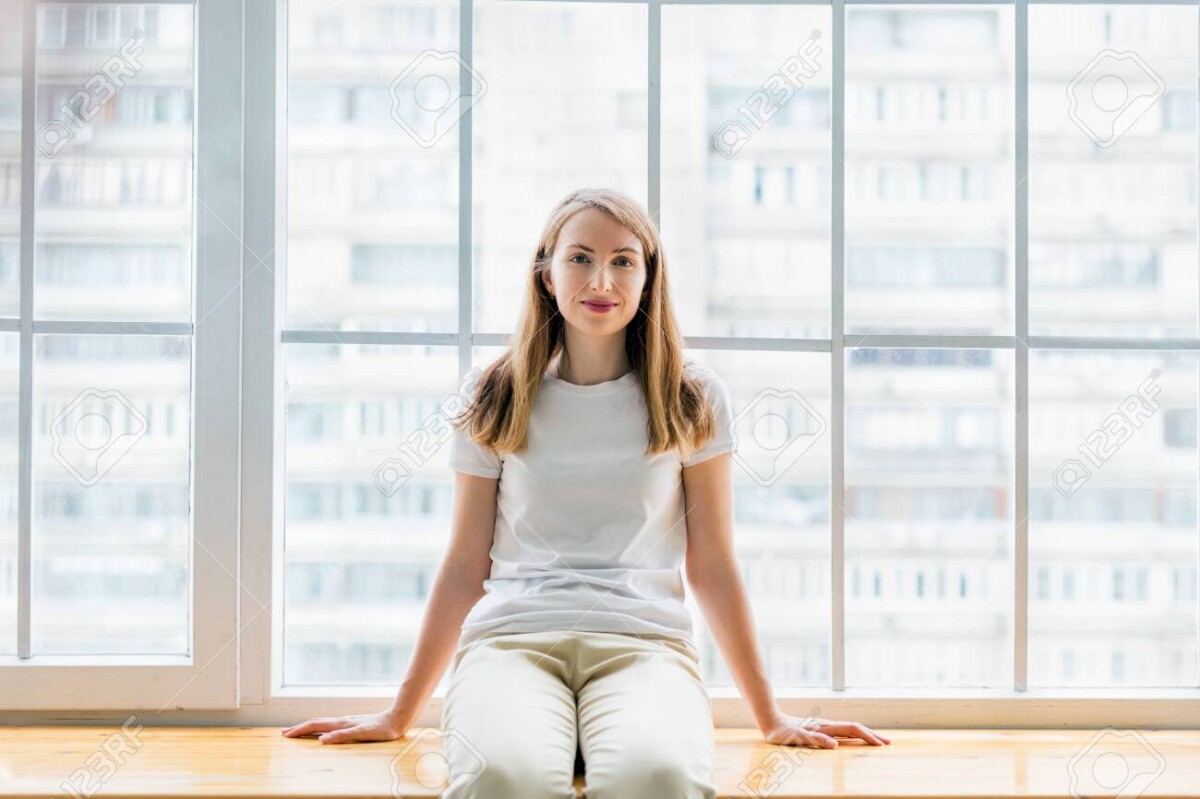
Backlight – a common example is a person against a window or against the sky. Add exposure to get the right exposure for the main subject and allow the background to be overexposed.
Photographer: Charles Schessler
Happy woman sitting in front of window. Portrait of young woman sitting on windowsill
2. Landscapes with sky. The sky is brighter than the ground and to get a good exposure of the land portion of your photo, often you need to over expose the sky.
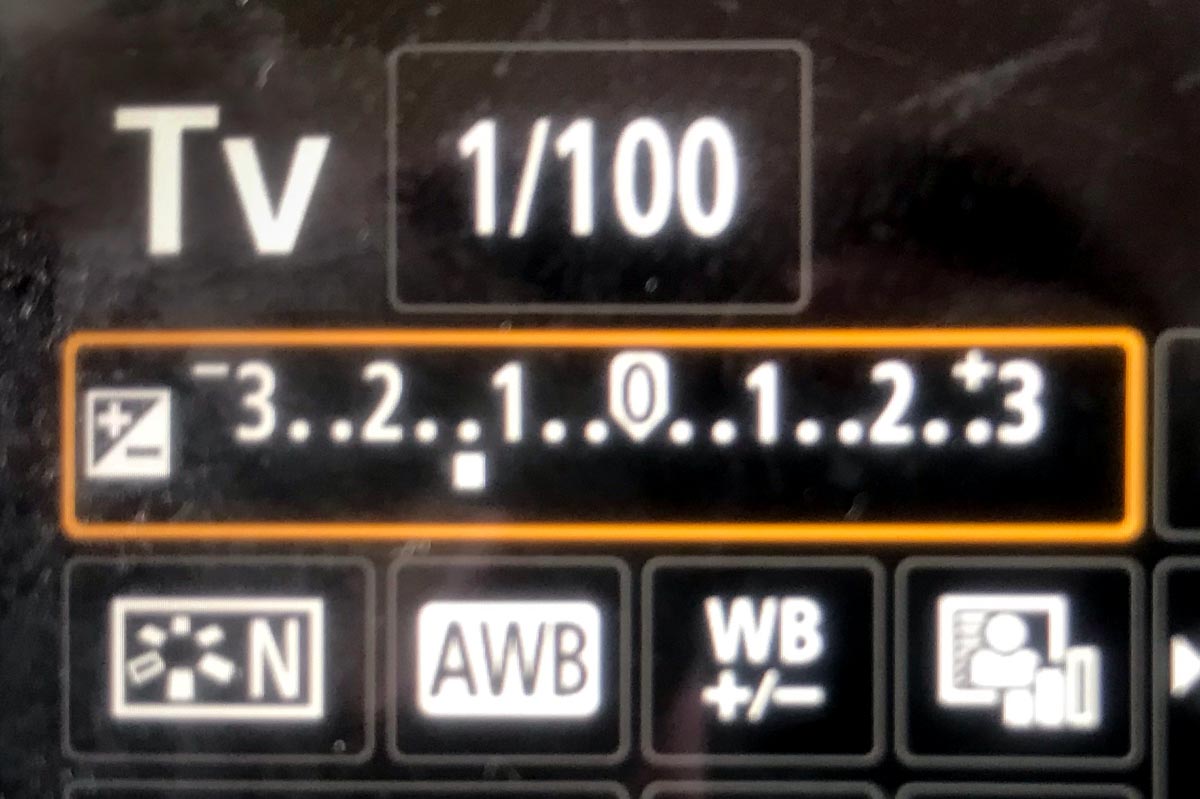
Tv reading with No adjustment
+2EV with expsoure compensation
3. Snow
How to control exposure
With a camera: Use Exposure Compensation set to plus to increase the light and set to minus to decrease the light.
Exposure compensation scale set here to minus 1.3
Exposure Compensation-a way to force the camera to make an exposure either lighter or darker than the meter reading. Good for backlight or extremes of light and dark.
With a cameraphone: Touch the area where the main subject is and then drag the little sun icon up or down to increase or decrease the overall exposure.
Using Exposure for Creative Effect
Sometimes, you don’t want the tones in your image to average out to a medium gray. You want to tones to be low key-mostly dark or high key-mostly light.


Recent Comments