Robin Michals | COMD 1340 Photography 1 DO97

Category: Class Topics (Page 1 of 3)

Week 14 – Digital Darkroom: Local Corrections

Review Global corrections

Global corrections adjust the entire file. In the Lightroom, it includes the controls under Light, Color and Effects. In Lightroom classic, this includes everything in the basic panel: White balance, Tone and Presence.

Local corrections

After you make global corrections, sometimes you will want to make corrections to part of your image. Generally, the brightest part of the image commands the most attention. Sometimes that is not where you want your viewer to look first so shifting the exposure of parts of your image can create the image you want.

The two main tools for local adjustments are the adjustment brush and the graduated filter.

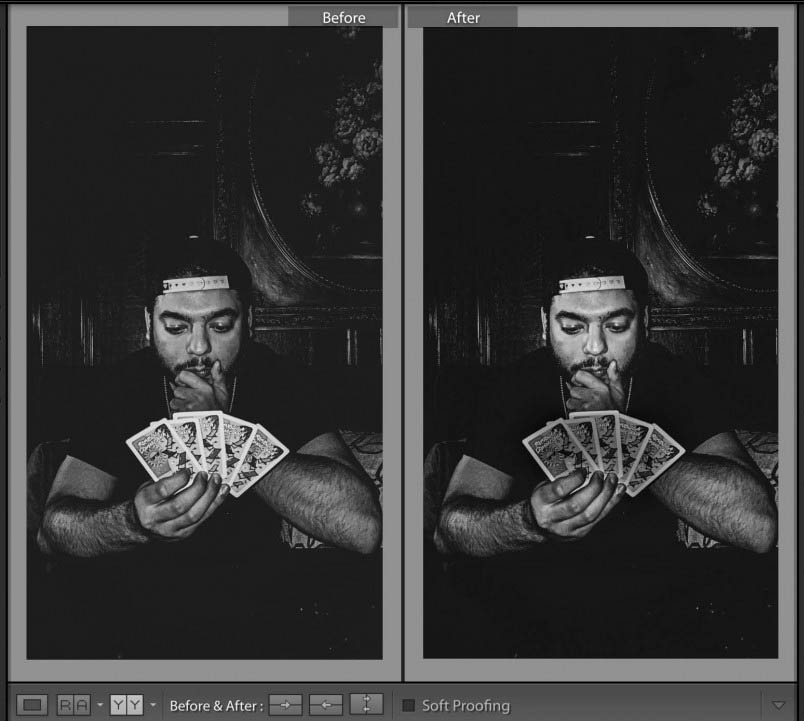
The important thing in this photo by Bryan Rodriguez is the face of the card player. However the cards are brighter and demanded too much attention. Using the adjustment brush, I darkened the cards. Creating a second adjustment, I lightened the face of the card player a little more. The goal was to bring more attention to the person’s face and less to the overly bright cards.

Lab exercises

Review Global Corrections

Local Corrections

Homework

Final Project

Due next week, December 14th:

3 albums each of a minimum of 30 photos

1 album of the 10 best photos of the 90 total, adjusted in Lightroom

a 3-5 min presentation of the final project – projected from the album on Flickr.

Presentation Guidelines

  1. Start by introducing yourself and your project. Then outline the big picture with a few sentences sentence such as, ” I photographed variations on the theme of windows. Most of the photos were taken in downtown Brooklyn.
  2. If you are showing 10 images, you have about 30 seconds to describe each photo. Tell us what your intention was, what interested you about the photo we are looking at, and give us information we may need to know to understand the photo. Tell us what makes it visually interesting ie the use of shallow depth of field or some other feature.
  3. How do you get to Carnegie Hall? Practice.
  4. Do not tell us about what you did to the photo in Lightroom.
Week 13 – Painting with Light

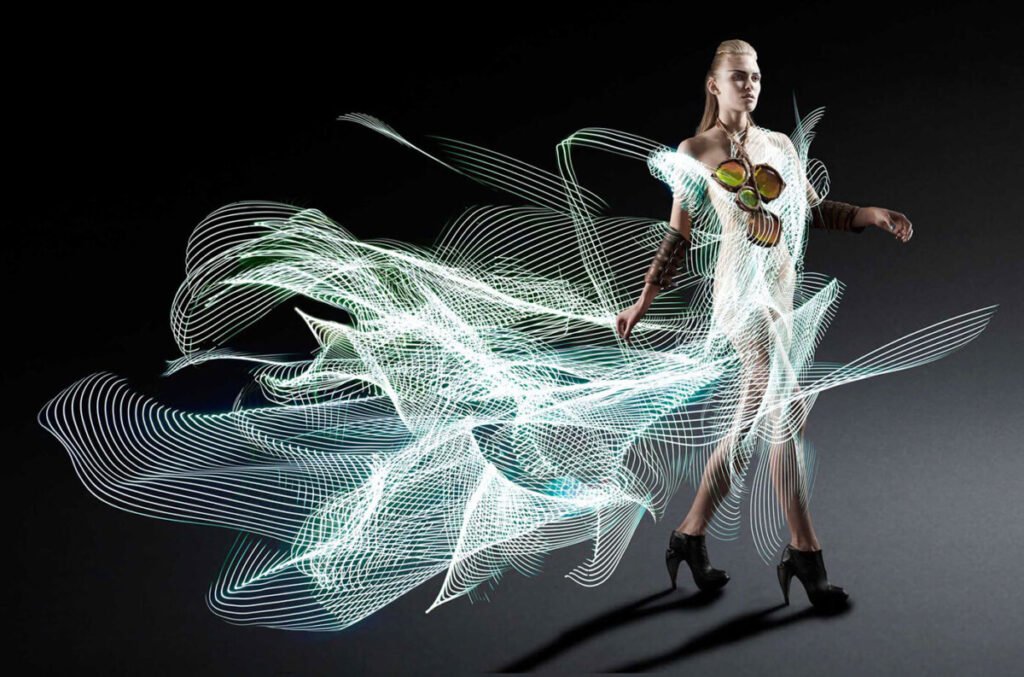
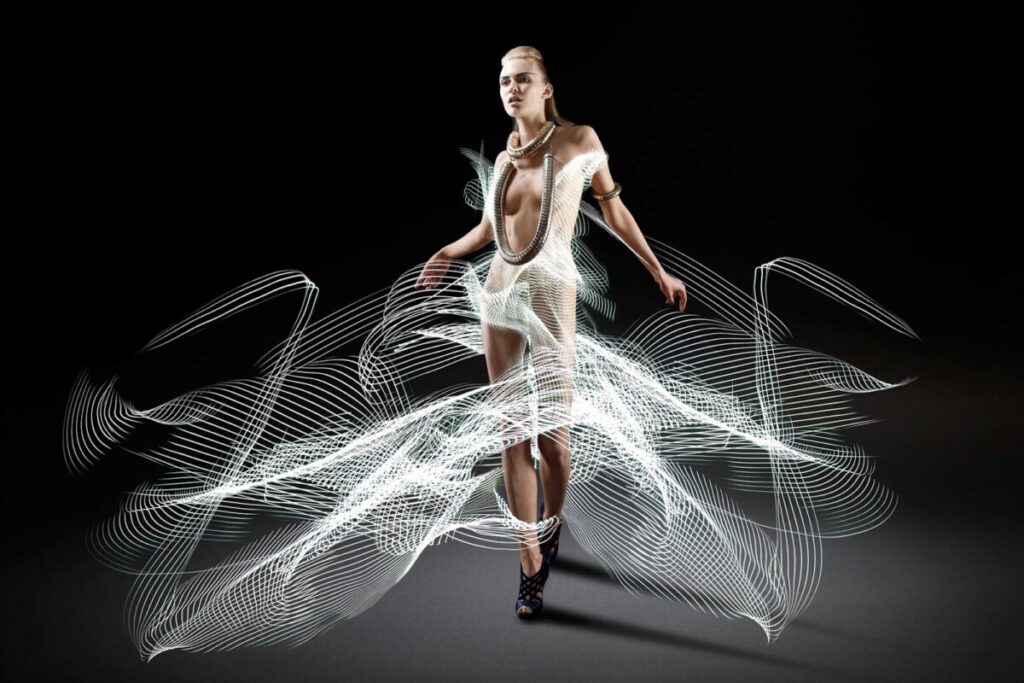
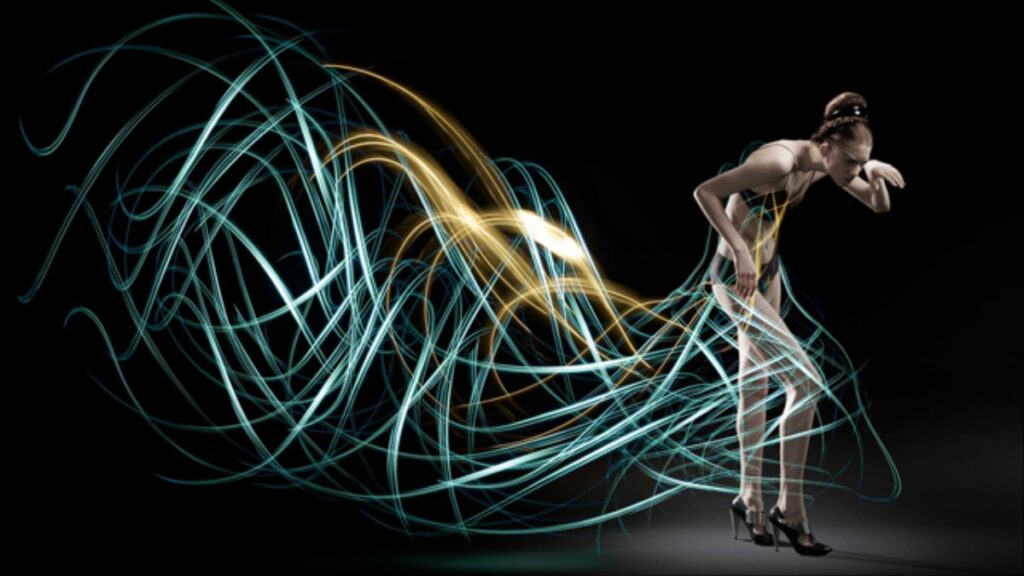
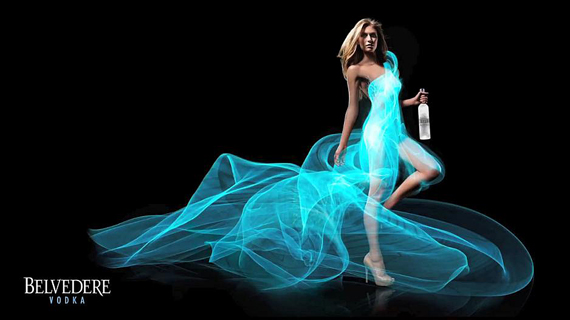
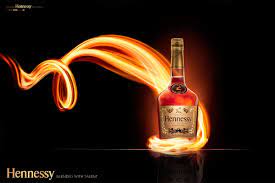
Inspiration: Atton Conrad

Sprint Campaign: http://lightpaintingphotography.com/?s=sprint 

Tripod use

  • Spread the legs out and make sure the tripod is stable. Use the height from the legs before using the neck of the tripod. Put one leg forward and the two legs on your side.
  • Put the plate on the camera and make sure that the lens arrow is pointing towards the lens. Insert the plate into the locking mechanism and make sure that the camera is secure.
  • Use the camera timer and DO NOT TOUCH the camera or the tripod during the exposure.

Considerations for painting with light: 

1. Use a tripod 

2. Use Manual as the shooting mode.

3. Set the ISO to 100

4. Set the aperture to f/11 as a starting point to get a wide range of depth of field. 

5. Set the shutter speed to 2″ as a starting point.

6. Use manual focus. Make sure the subject is in focus. To do this shine a light on the subject and use auto focus. Then flip the lens back to MF. Remember that if the distance of the subject to the camera changes, you need to refocus!

Mixing Strobe Lights or Flash with Painting with Light 

The aperture controls the exposure of whatever is lit by the strobe lights. 

The shutter speed controls the illumination of the background. 

Lab

Working with a light or lights, draw an image over time in the frame. Experiment with thin and thick lines, abstraction, words, and images.

Using a speedlite, add a person to your shot. the more the subject and the light painting interact, the more successful your photos will be.

Upload a minimum of 20 images to Flickr. Send your best two to the class group.

Quiz Review

There will be three technical questions. Possible topics: light quality and direction, still life lighting rules, roles of the main and fill lights, difference between a reflected and an incident light meter, portrait lighting styles, wide angle distortion, three-point lighting.

There will be a compare and contrast of two photos which will be graded on correct use of vocabulary including portrait lighting styles: Rembrandt, split, butterfly, broad and short light and rule of thirds, diagonal lines, leading lines, pattern, symmetry, figure to ground, contrast of light and dark, a frame within a frame, depth of field, angle of view.

Homework

Final Project

Week 12 – Portraits

Focal Length

The focal length of a lens is defined as the distance in mm from the optical center of the lens to the the sensor when the lens is focused on infinity. This varies on the camera and the lens.

Focal length controls: Magnification and angle of view

Focal length is described as short, normal ie close to human vision, or long.

Wide Angle Distortion-created when using a wide-angle lens AND the camera is very close to the subject. The object close to the lens appears abnormally large relative to more distant objects, and distant objects appear abnormally small and hence more distant – distances are extended. 

Focal length and proximity to the camera affect how a person’s face looks in a photograph. A wide focal length and proximity between the subject and the camera create wide angle distortion and will distort a person’s features.

Think about selfie sticks. What are they for but to get the camera away from your face? This makes the photograph look more complimentary to the subject. This is really important with a cameraphone because it has a wide angle lens. The center of the lens and the sensor cannot be very far apart given the thin design of cellphones.

When working with a crop-frame sensor such as a Canon 60d, approximately 65 mm will be the most flattering to your subject.

Lights

  There are three basic types of lights (these are the physical lights not portrait lighting styles):

  1. The Main or Key Light-This light provides the brightest illumination and casts the shadows

2. The Fill Light-this light brightens the shadows. It can be a reflector or an actual light.

This video shows how to use a reflector as the fill light.

3. The Separation Light or Background Light-creates separation between the subject and the background. This light can be aimed at the background or it can be aimed at the subject. If the later, it would be called a hair light. If accenting the edge of the face or shoulders, this light would be called a rim light or a kicker.

3-point Lighting

– standard lighting for portraits, video and film, uses all three: a main light, a fill light and a background light.

Lab Exercise

Two and Three Light Portraits

Homework

Final Project

Week 11 – Portrait Basics

Portrait Poses

There are three basic positions for someone’s head and face in a portrait.

  1. Front view
  2. 3/4 view
  3. Profile

Expression

For family photos a smile is a must but not so for a portrait. It is however important that your subject look comfortable. It is your job as the photographer to talk with your subject and make them feel comfortable.

Focus

When shooting a portrait, the subject’s eyes must be in focus. Full stop. period.

Portrait Lighting Styles

There are a 5 basic lighting styles for portrait photography. Each style is defined by how light falls on the face.

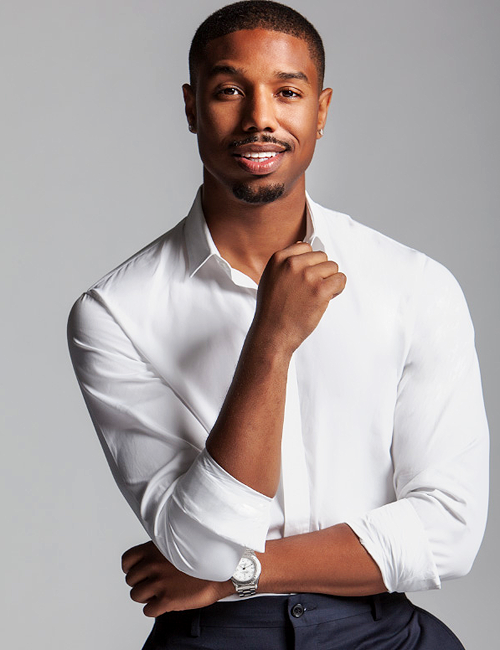
  1. Rembrandt Light – the model is face forward, main light is at 45 degrees and casts a light on the opposite side of the face to form a triangle on the cheek.

Rembrandt Lighting
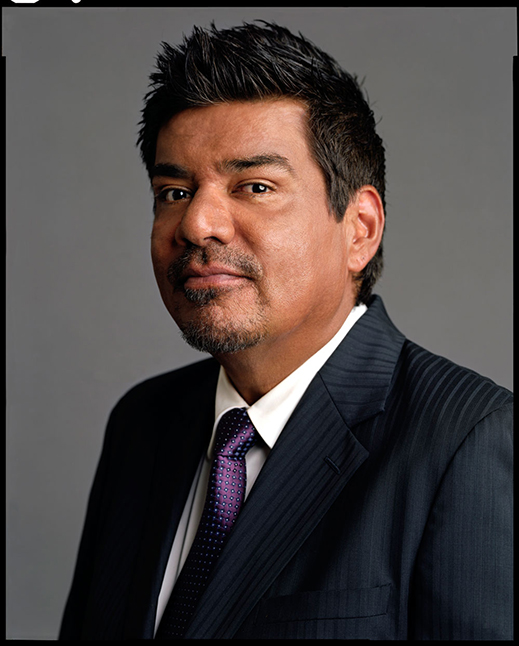
Michael B. Jordan. Photographer: Peggy Sirota

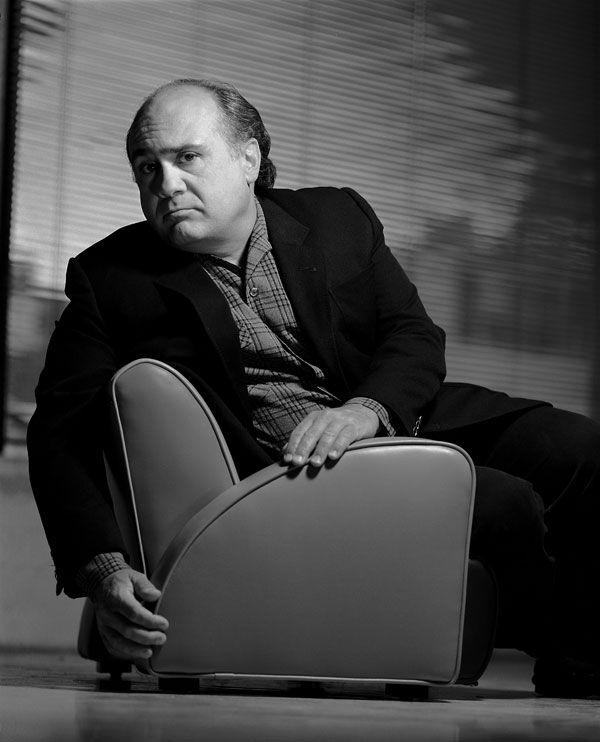
2. Broad Light-model’s face in 3/4 view-light falls on the side of the face with the visible ear. Good for controlling the reflections on glasses.

Danny Devito. Photographer: Gregory Heisler.

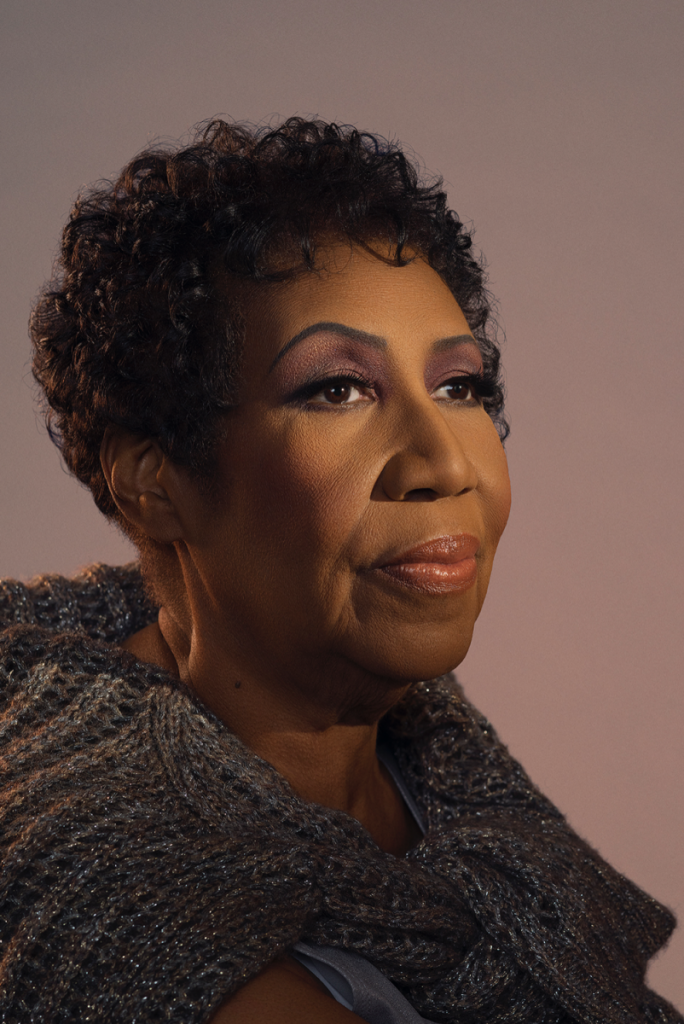
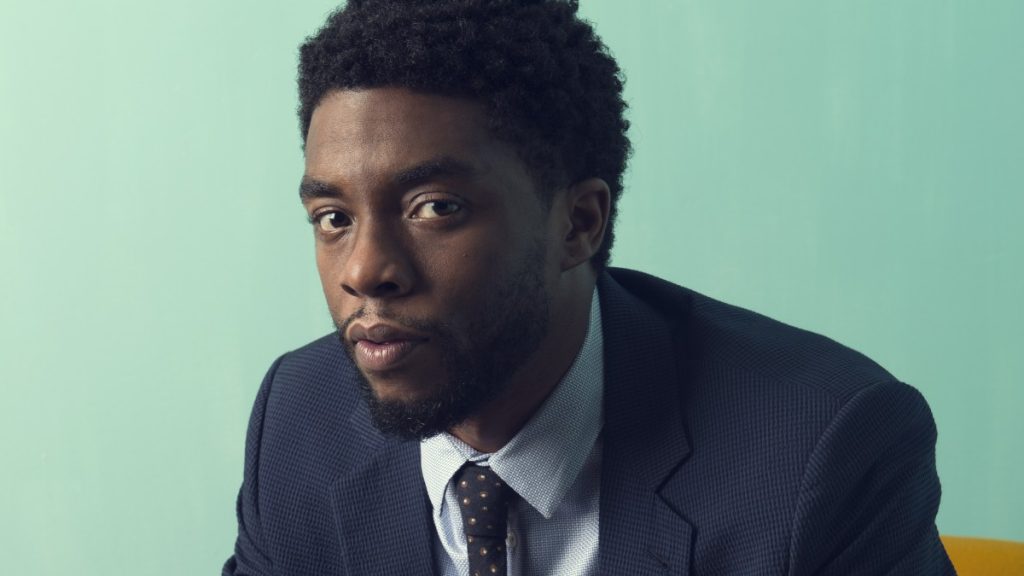
3. Short Light-model’s face is in 3/4 view, the light falls on the side of the face with the features. (Not on the side with the visible ear.)

Both of these are examples of short light.

Chadwick Boseman. Photographer: Caitlin Cronenburg

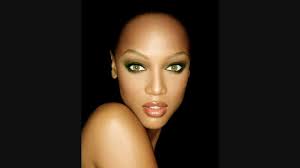
4. Butterfly Light, Clamshell or beauty or glamour light-model is face forward, front light.

Tyra Banks. Photographer: Matthew Jordan Smith

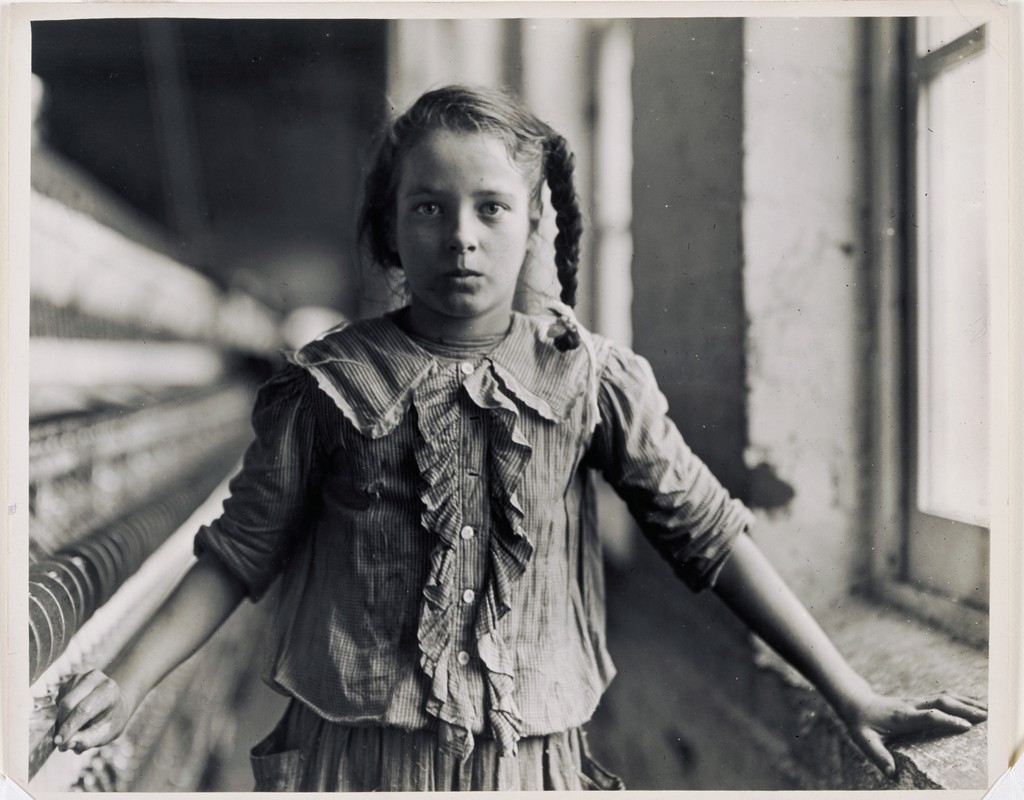
5. Split Light-model is face forward, the main light is at 90 degrees to the camera and falls on one side of the face. 

Lewis Wickes Hine (U.S.A., 1874–1940), One of the spinners in Whitnel Cotton Mfg. Co. N.C. December 1908.

Inspiration

Lab

Portrait Lighting Styles

Homework Assignment

Window Light Portraits

Week 10: Studio Photography

Review – Light Quality and Direction

Inspiration

Filippo Drudi – the Fork

Studio Lighting

Continuous lights – Always on. Can be tungsten, fluorescent, LED

Strobe Lights – Electronic flash. The light for the exposure is fired at the time of exposure.

White Balance

adjustment for the color of the light so that a white object will appear white

Metering

Reflected Light meter-measures the light as it falls on the camera. The camera meter is a reflected light meter.

Incident meter-measures the light that falls on the subject

Flash meter- is a form of incident meter but measures the light at the time of exposure. Use it to determine the correct aperture.

Three rules for still life lighting:

  • There should be one set of shadows.
  • the background should be far enough from the subject to light it separately
  • if you do have shadows, use them in the composition

The main light– casts the shadows.

The fill light – brightens the shadows.

Lab

Studio Photography

Homework

HW 8: Childhood

« Older posts

© 2025 COMD 1340 DO97

Theme by Anders NorenUp ↑