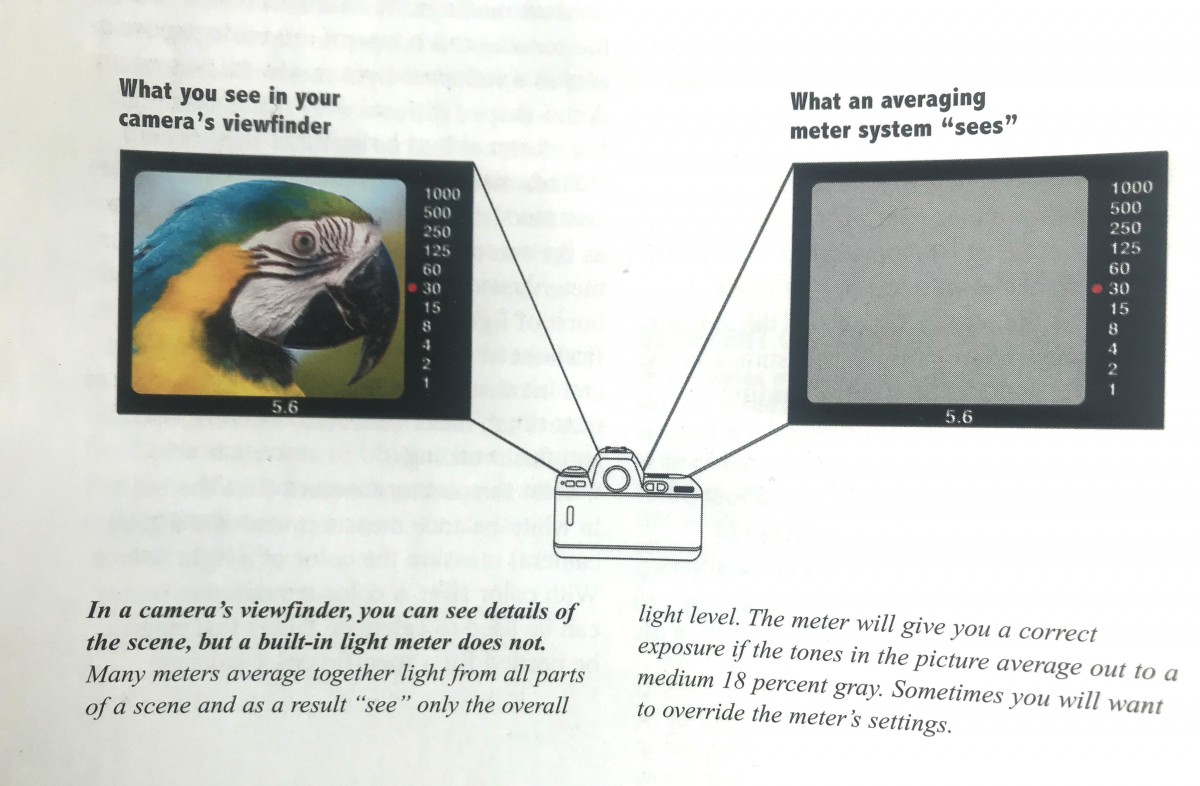
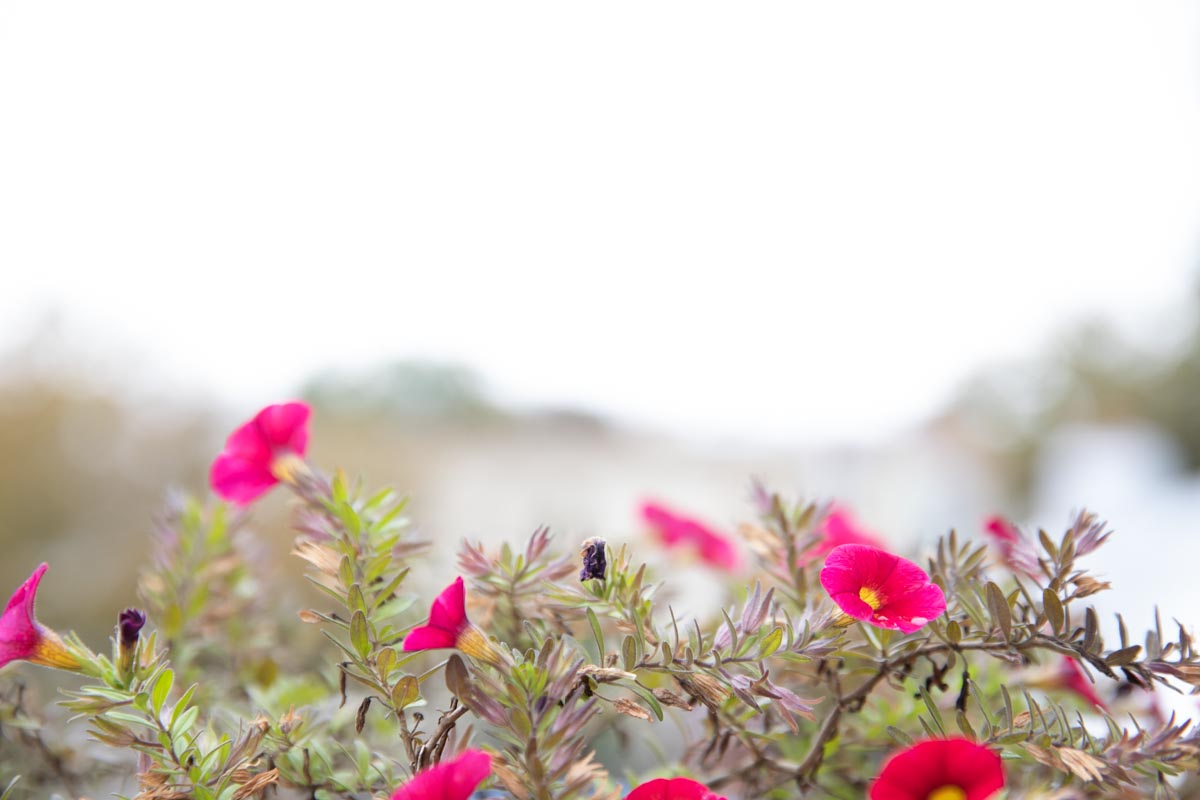
Light Quality
Direct light or hard light – the rays of light are nearly parallel and strike the subject from one direction creating hard edged dark shadows with little detail.
Examples: a spotlight, sun on a clear day, or a bare flash
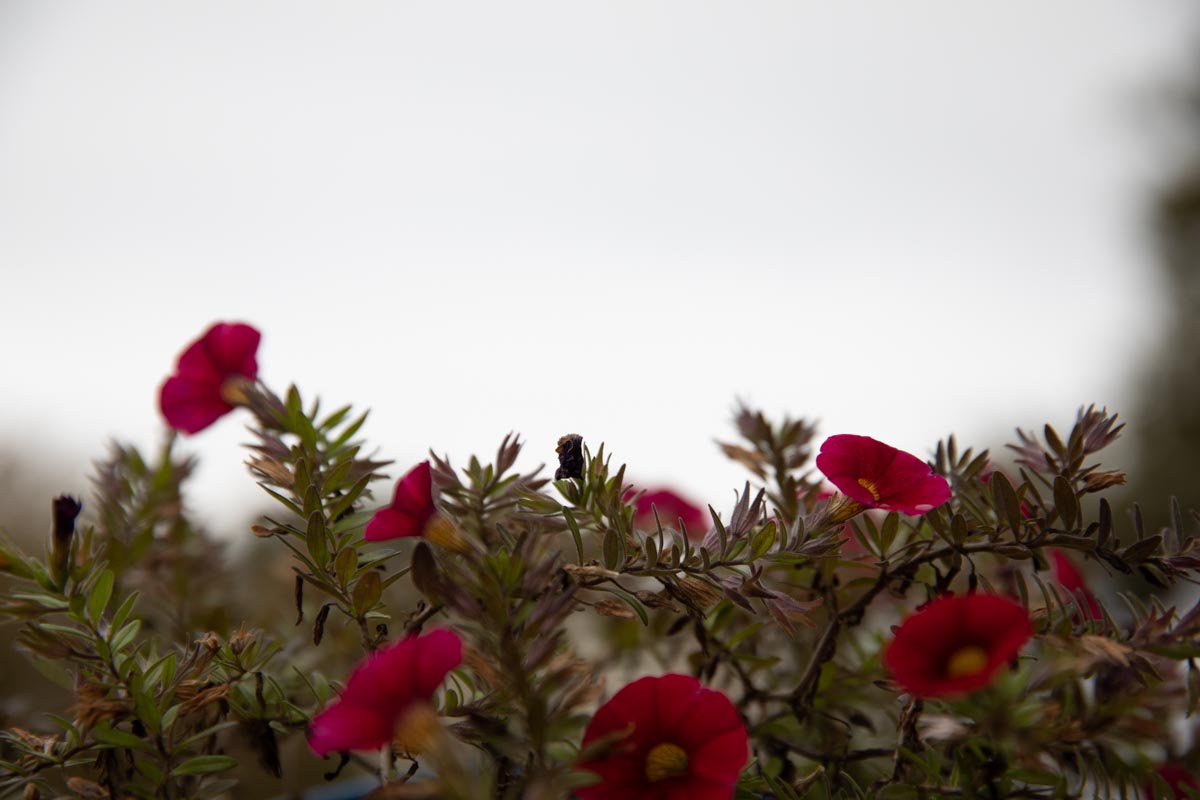
Diffused light or soft light– the rays of light are scattered and coming from many directions. It appears even and produces indistinct shadows. Examples: overcast daylight, a light covered with tracing paper or other translucent material.
Directional/Diffused Light. This light is a combination of directional and diffused light. The light is partially diffused yet it appears to come from a definite direction and creates shadows. The shadows are less harsh and contain more detail than in direct light. More subtle transition between light and dark areas. Examples: window light, sunlight on a hazy day, sunlight on a partly cloudy day or sunlight bouncing off a reflective surface.

Light Direction
Front light comes from in front of subject from the camera position and the shadows fall behind the subject not concealing any details.
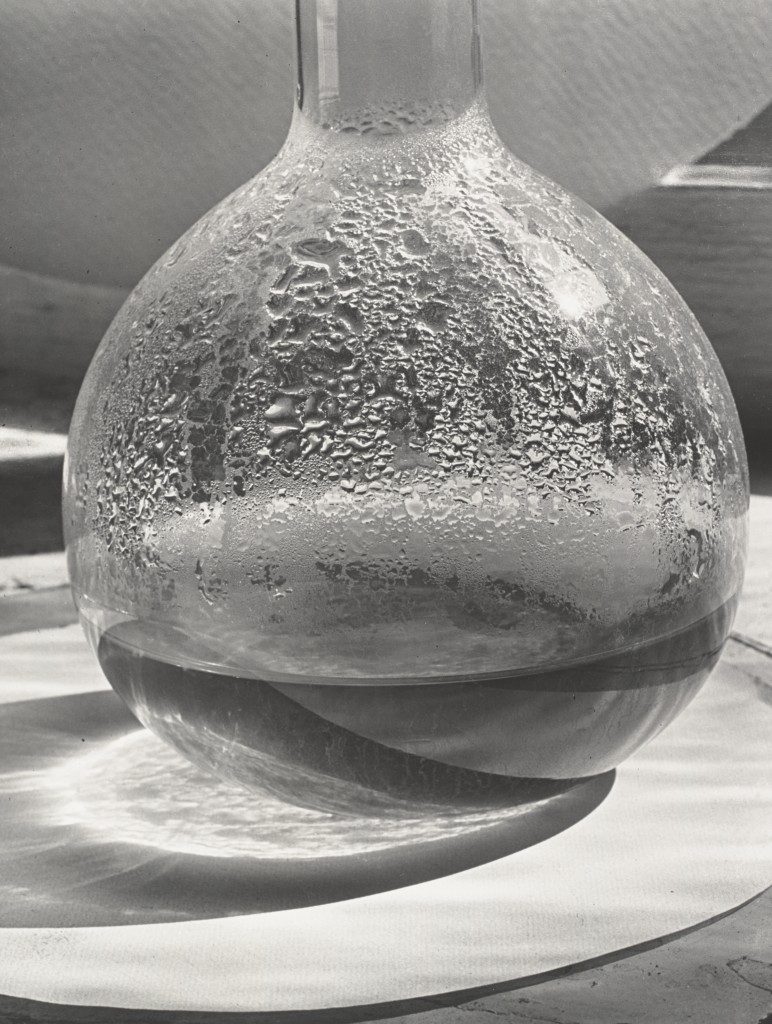
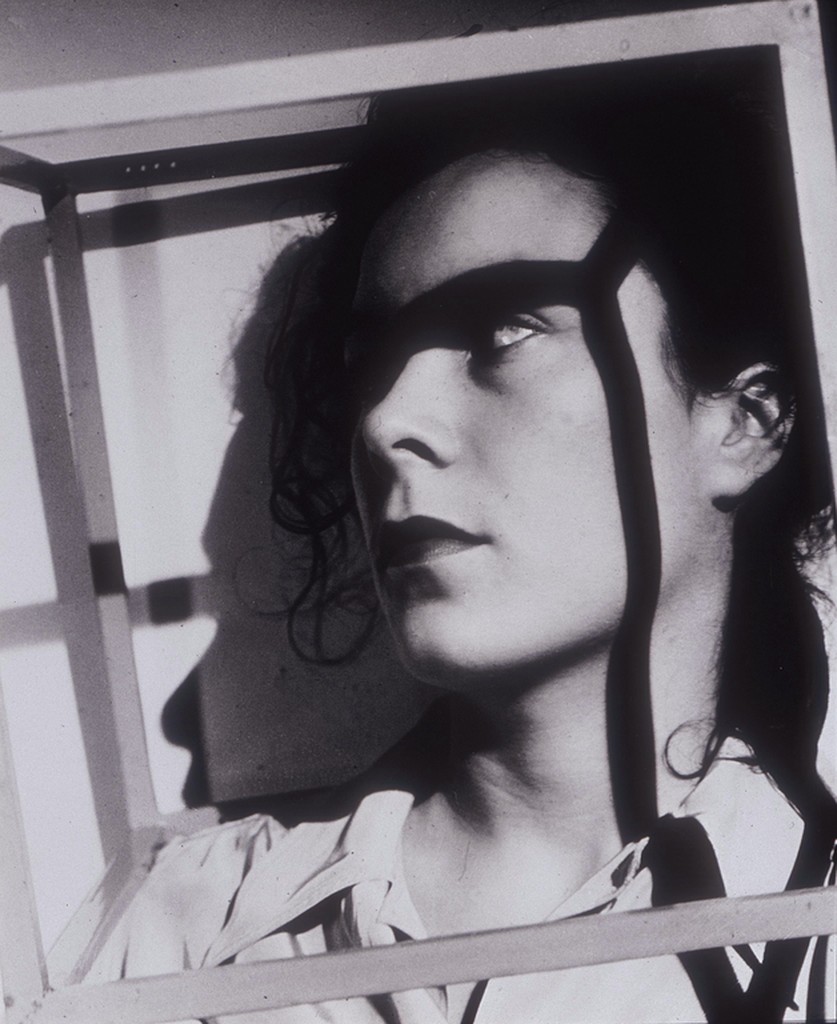
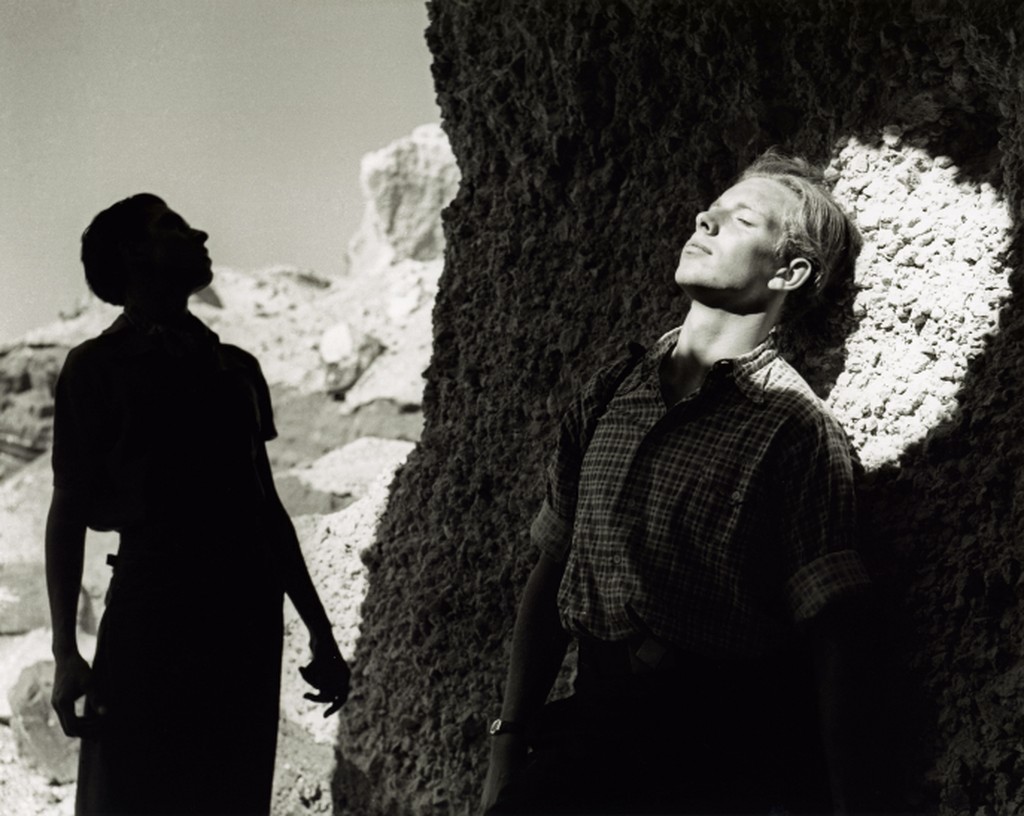
Side Light comes from 90 degrees to the camera. it adds dimension and texture to the subject.
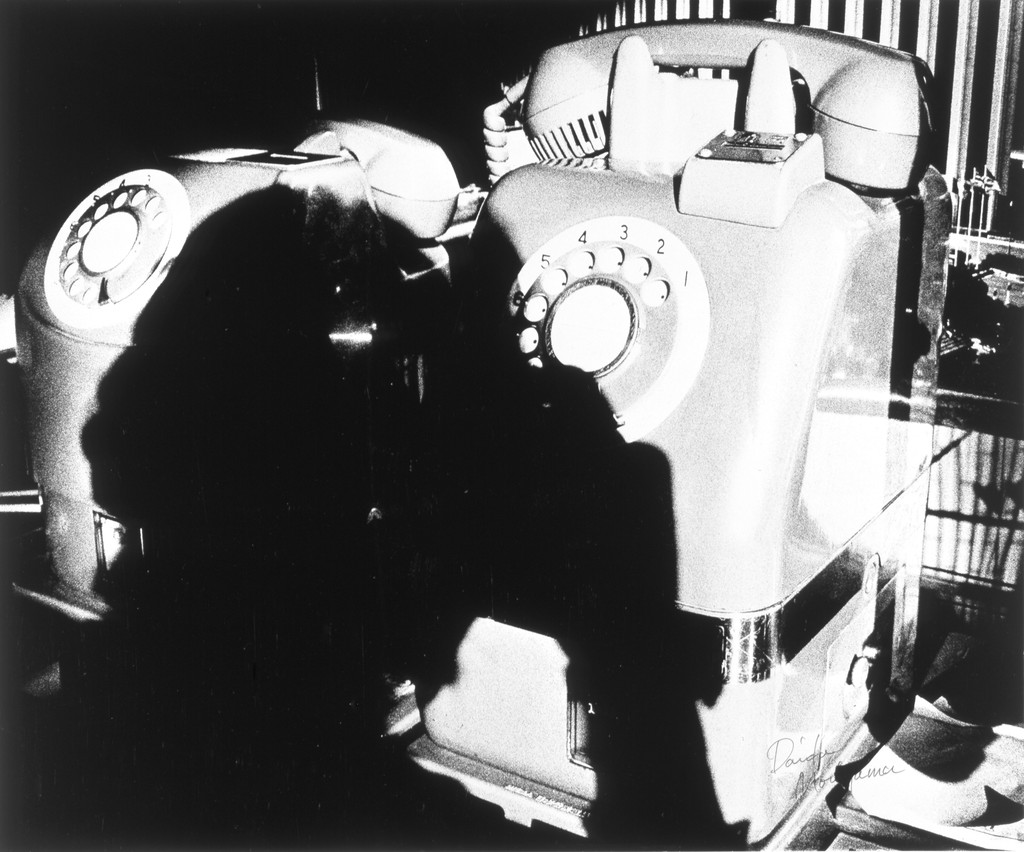
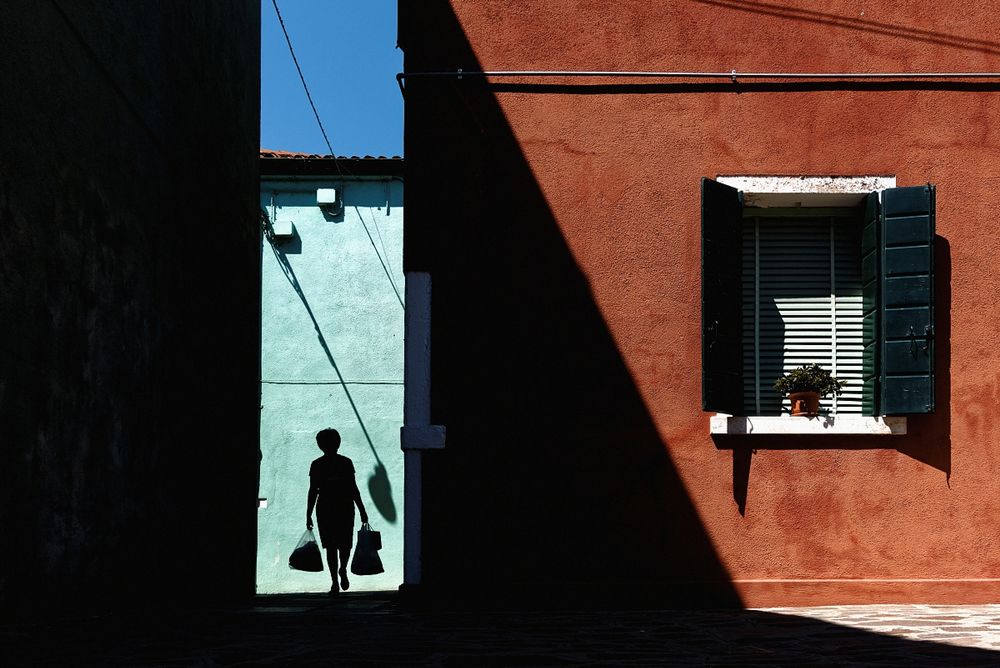
Backlight comes from behind the subject towards the camera.
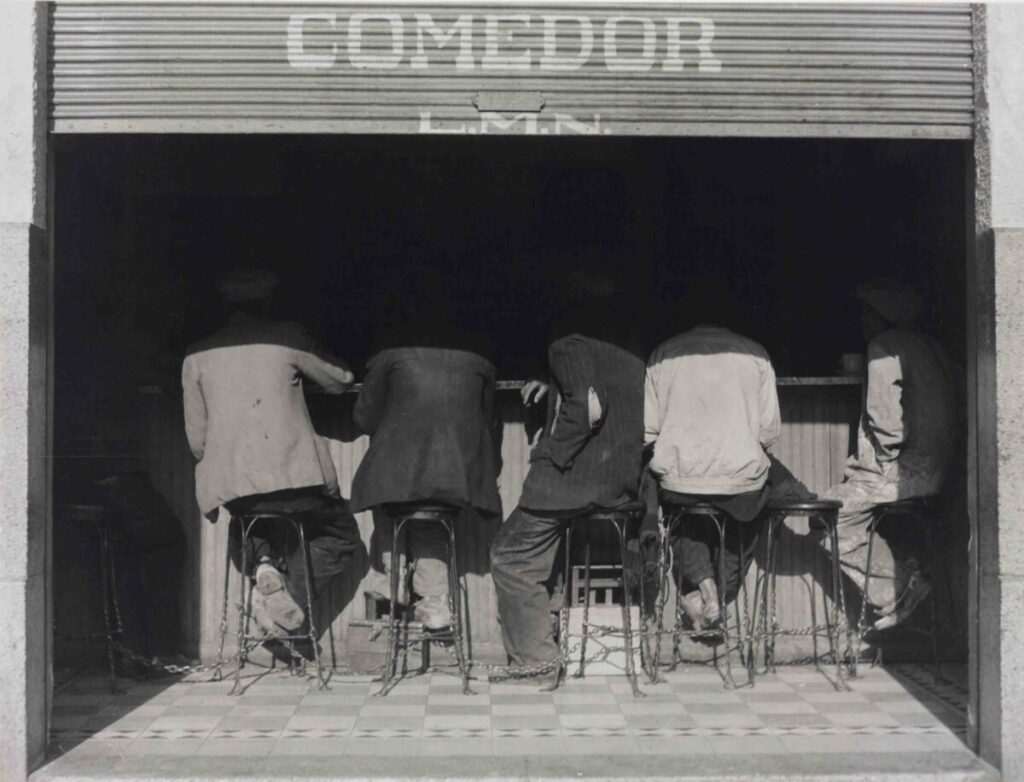
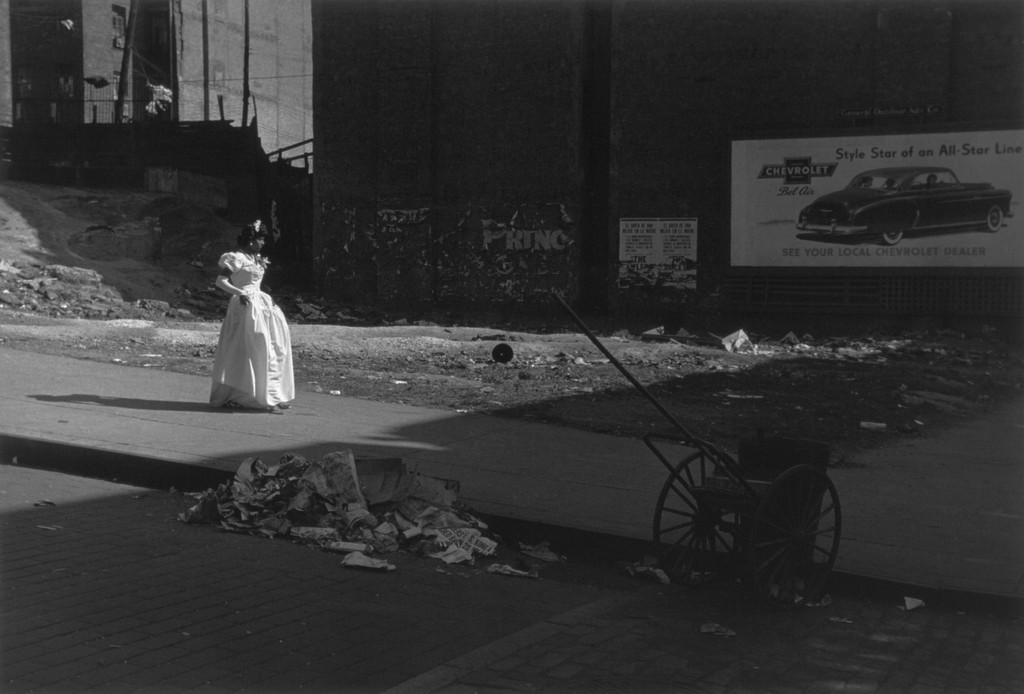
Front light
Photographer: Manual Alvarez Bravo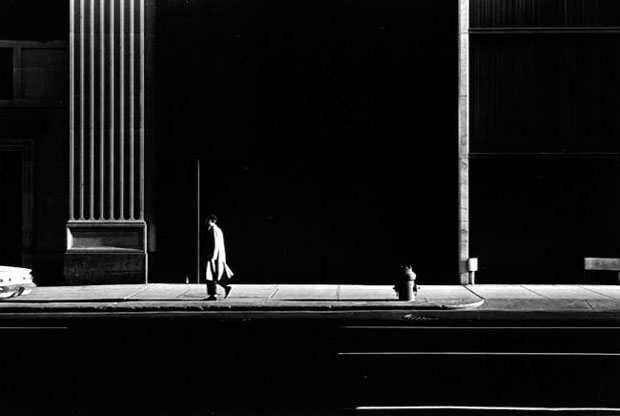
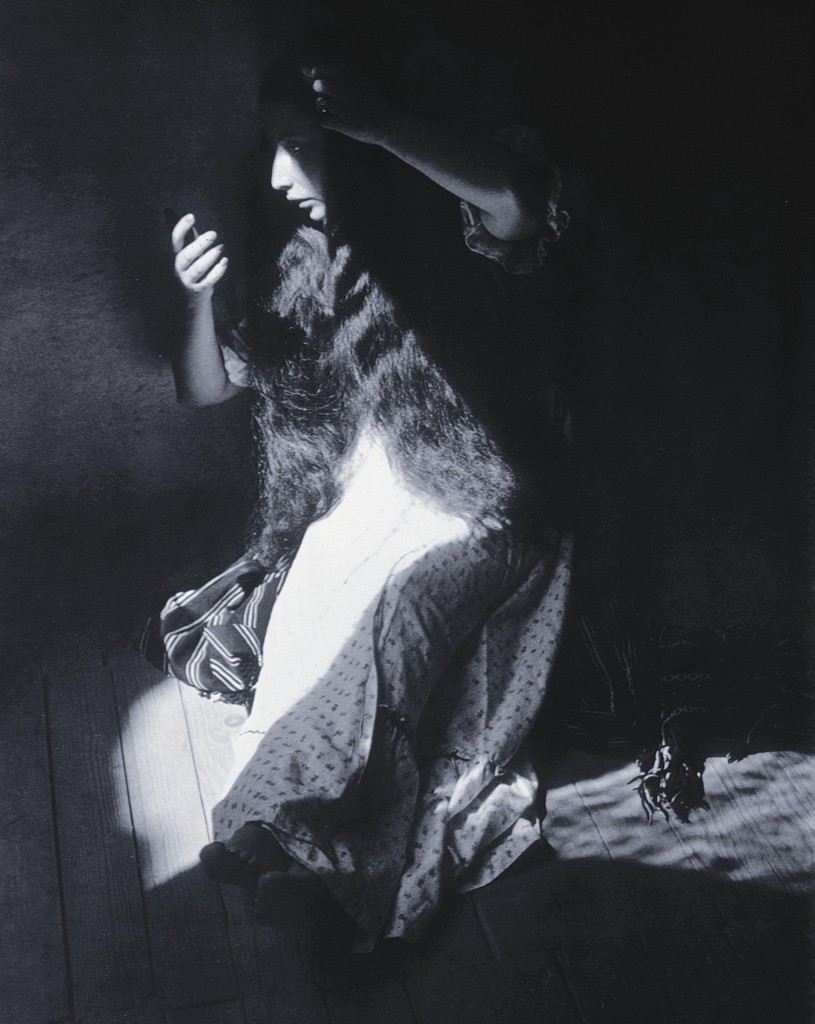
Side Light
Photographer: Ray Metzker
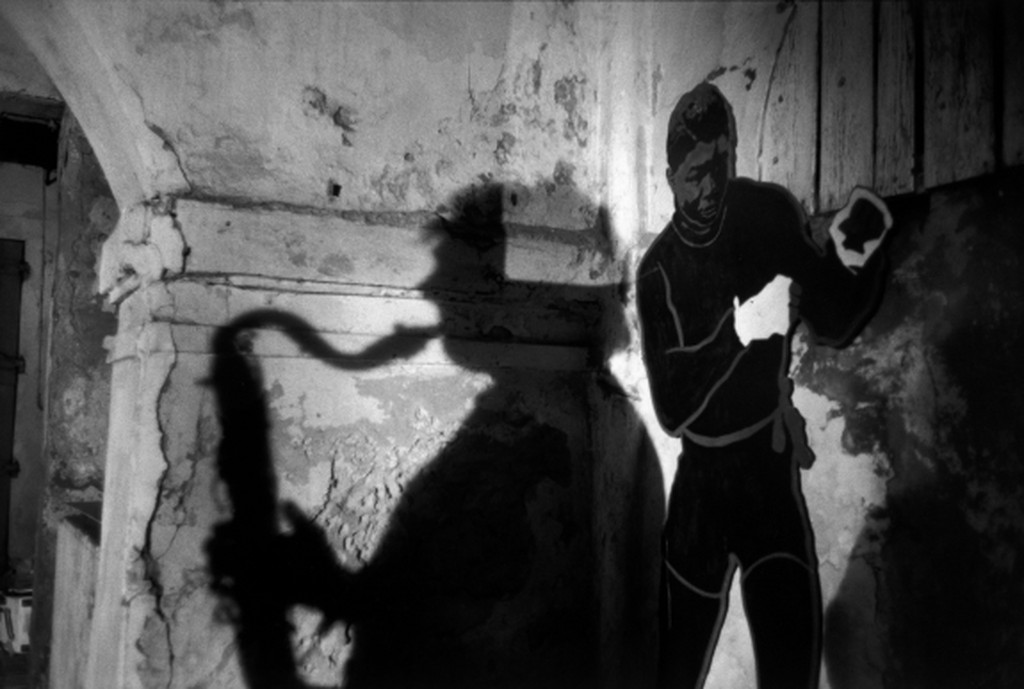
Backlight
Photographer: Ray Metzker
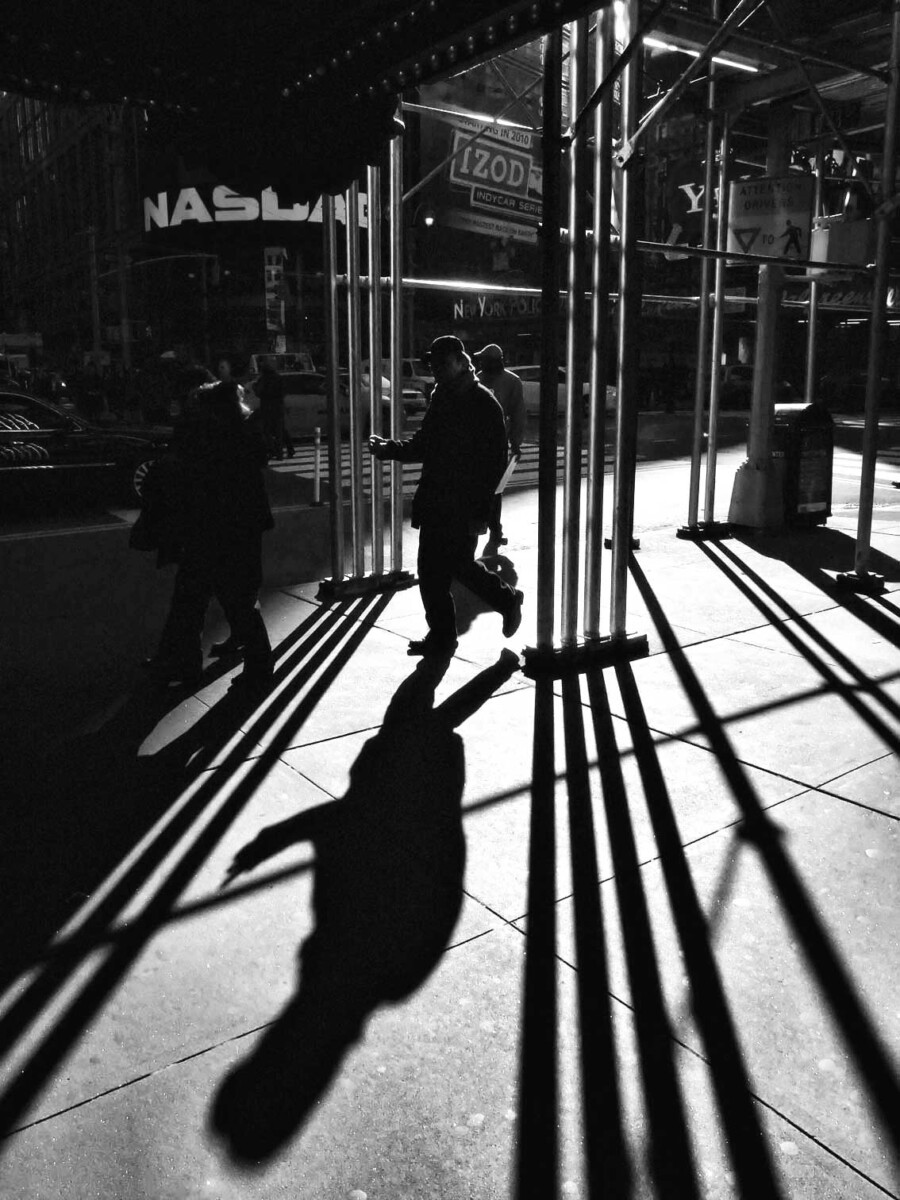
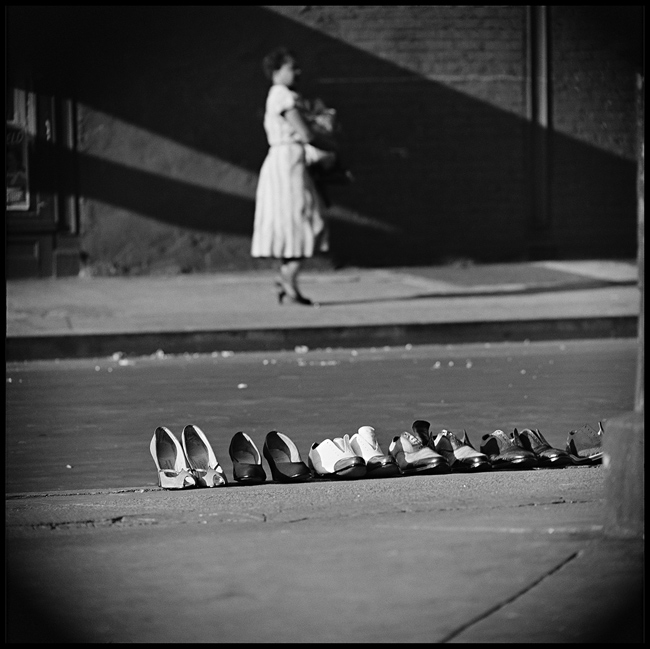
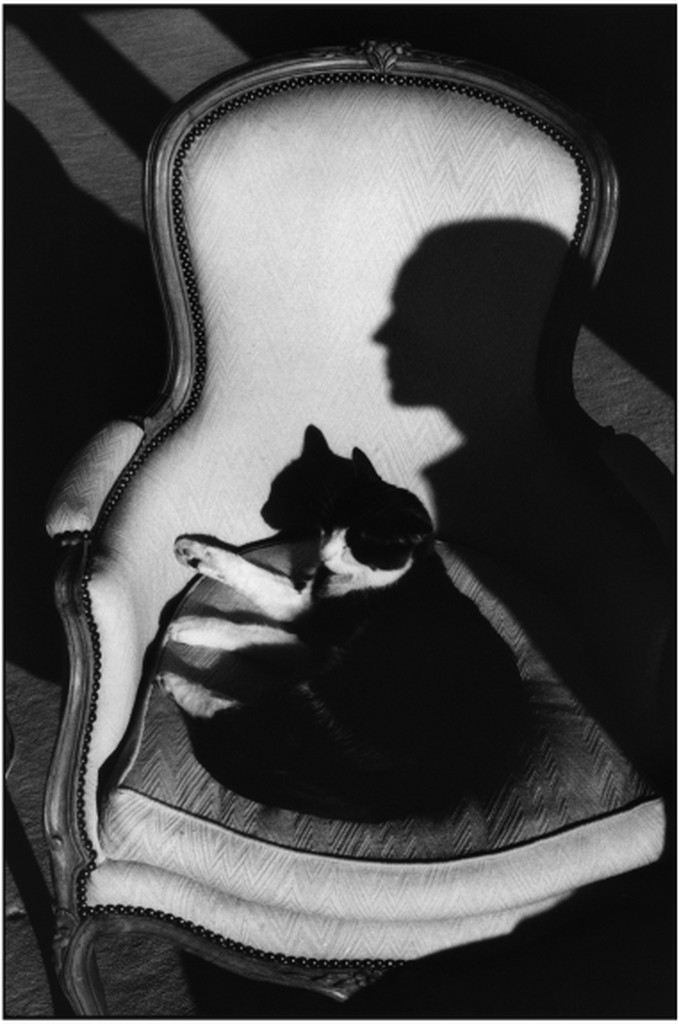
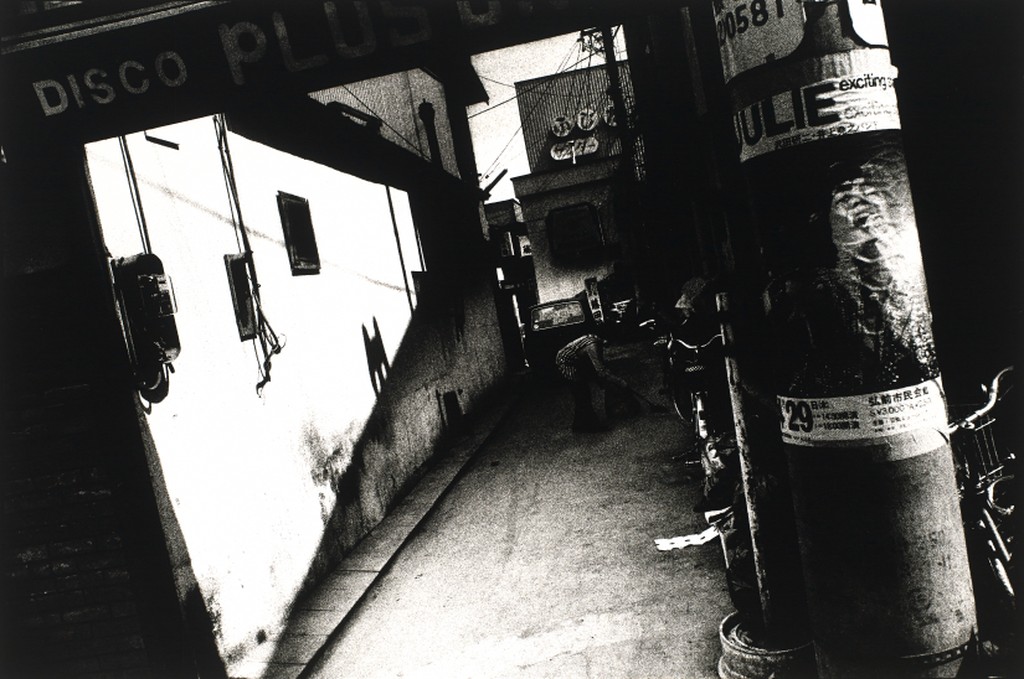
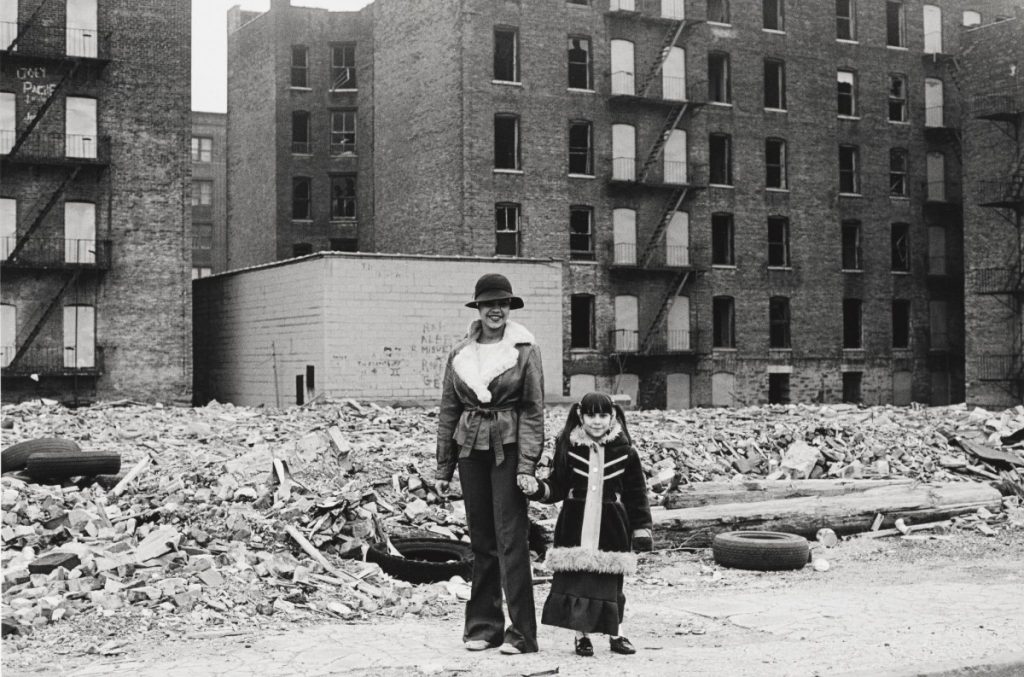
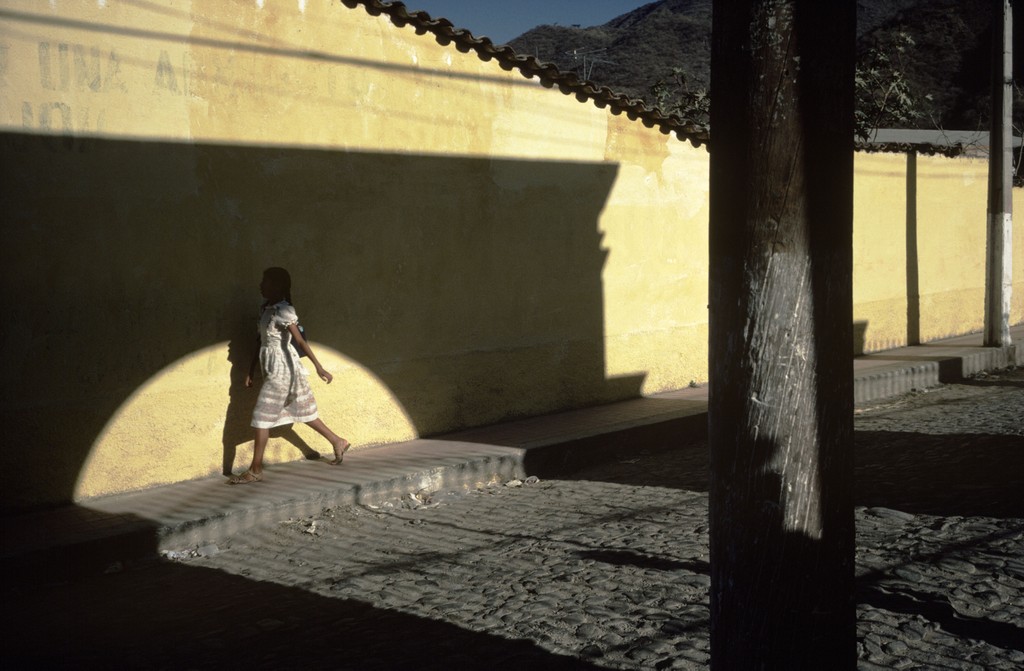
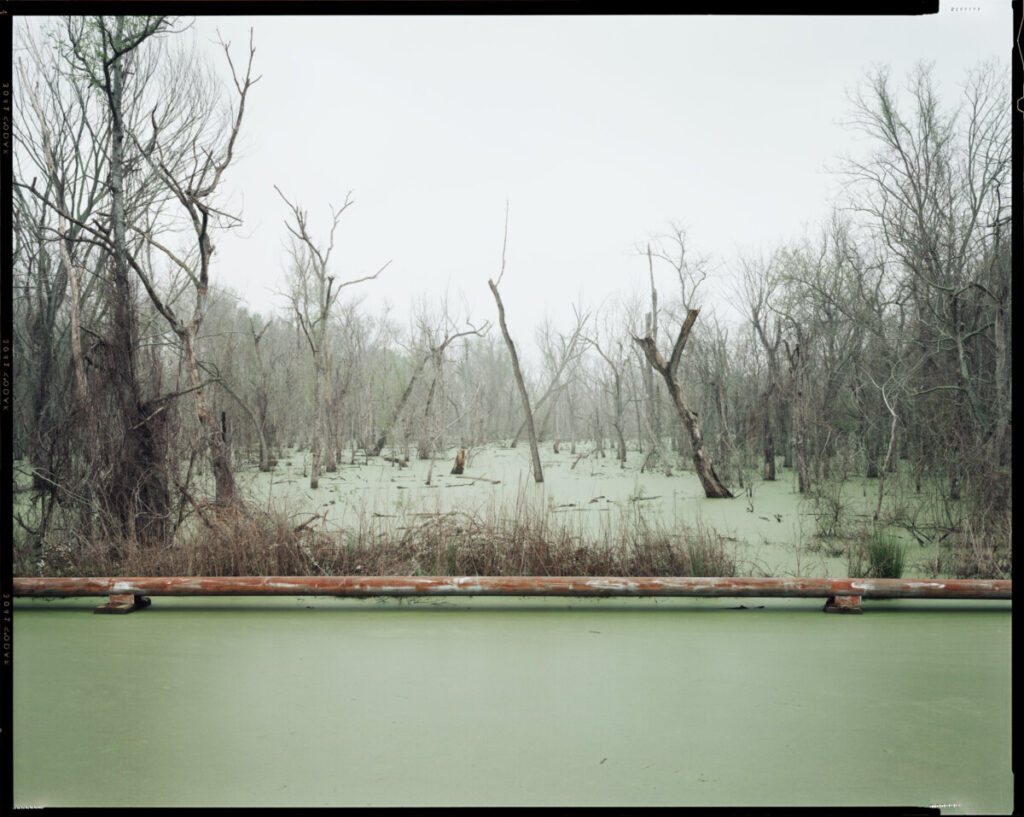
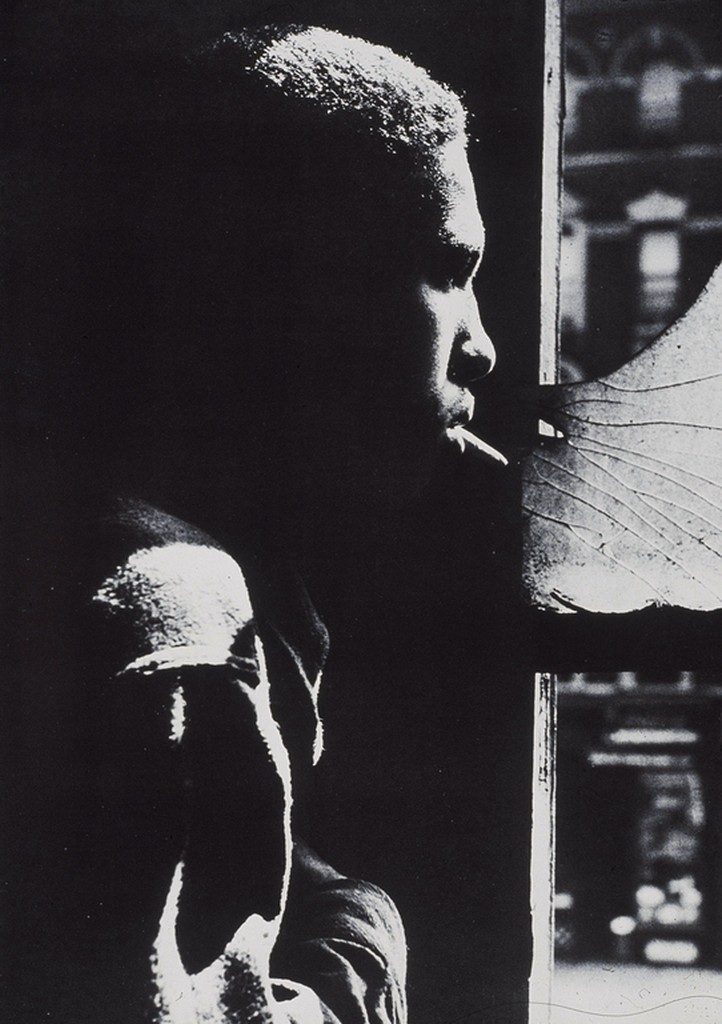
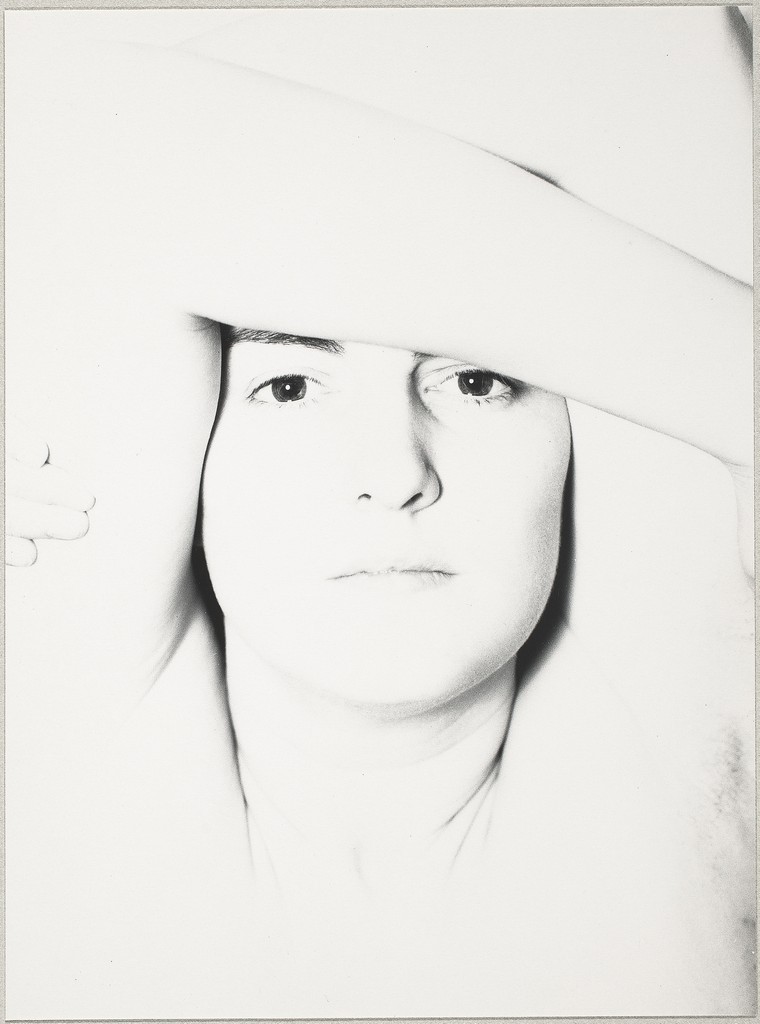
Inspiration
Photographer: Gordon Parks 
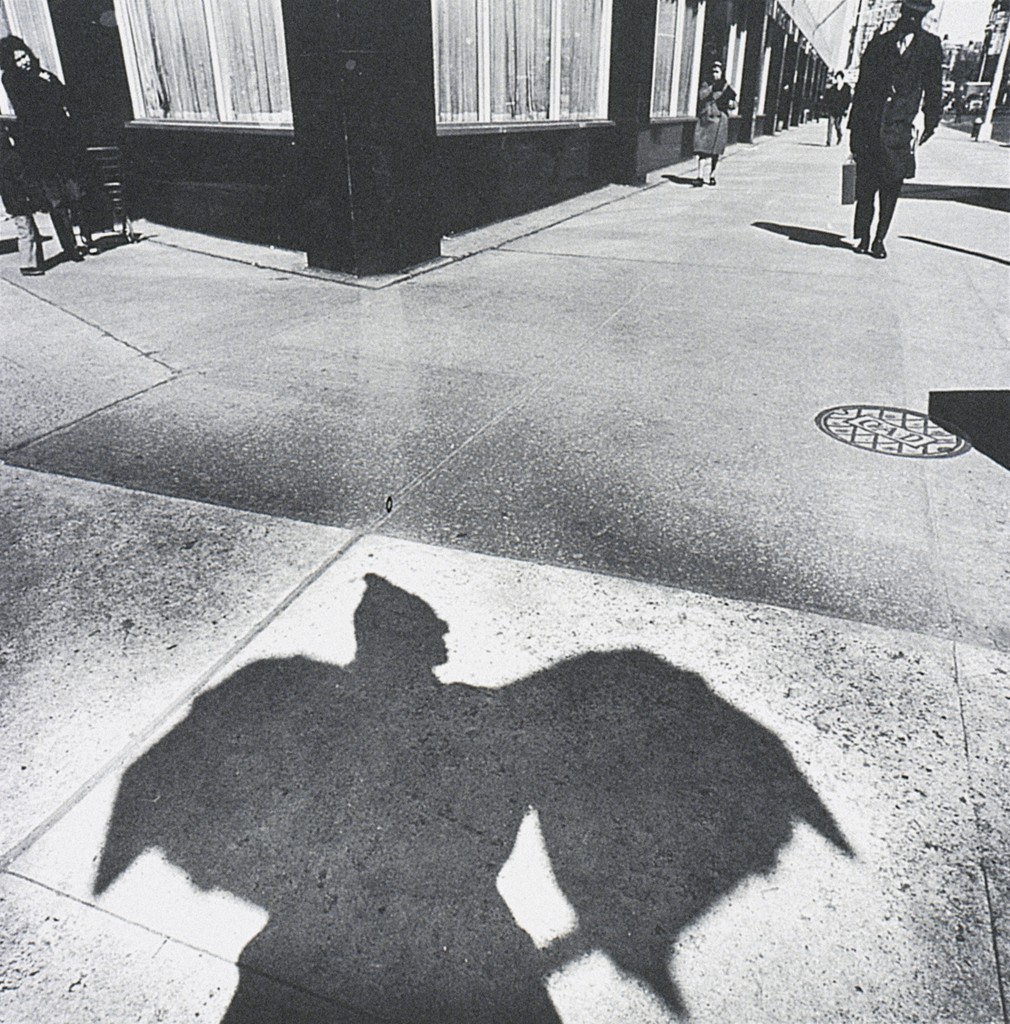
Photographer: Ray Metzker 
Photographer: Roy de Carava 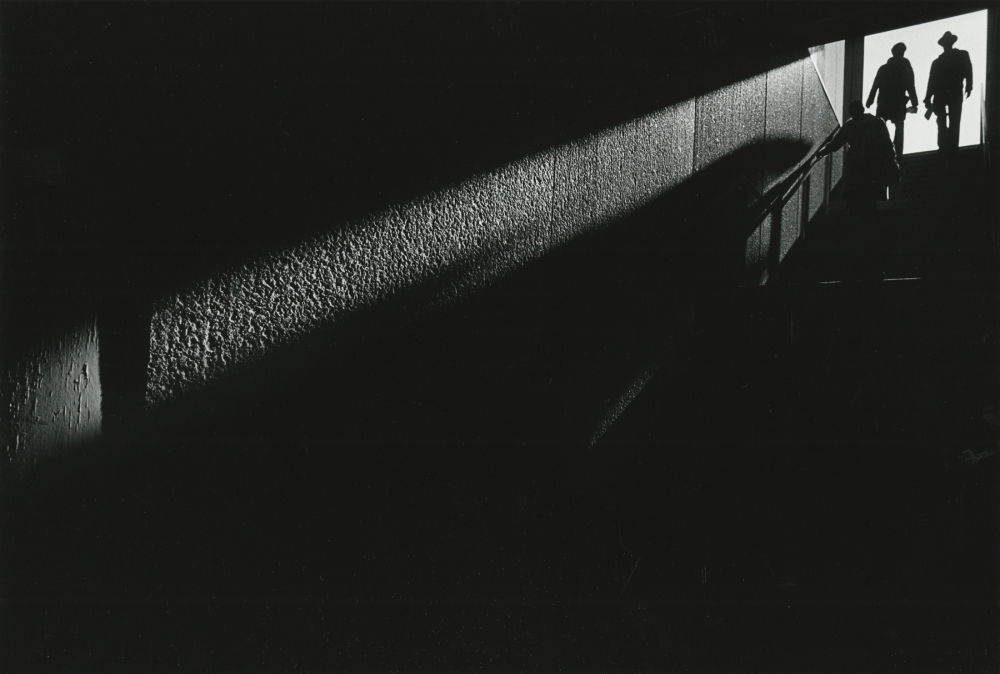
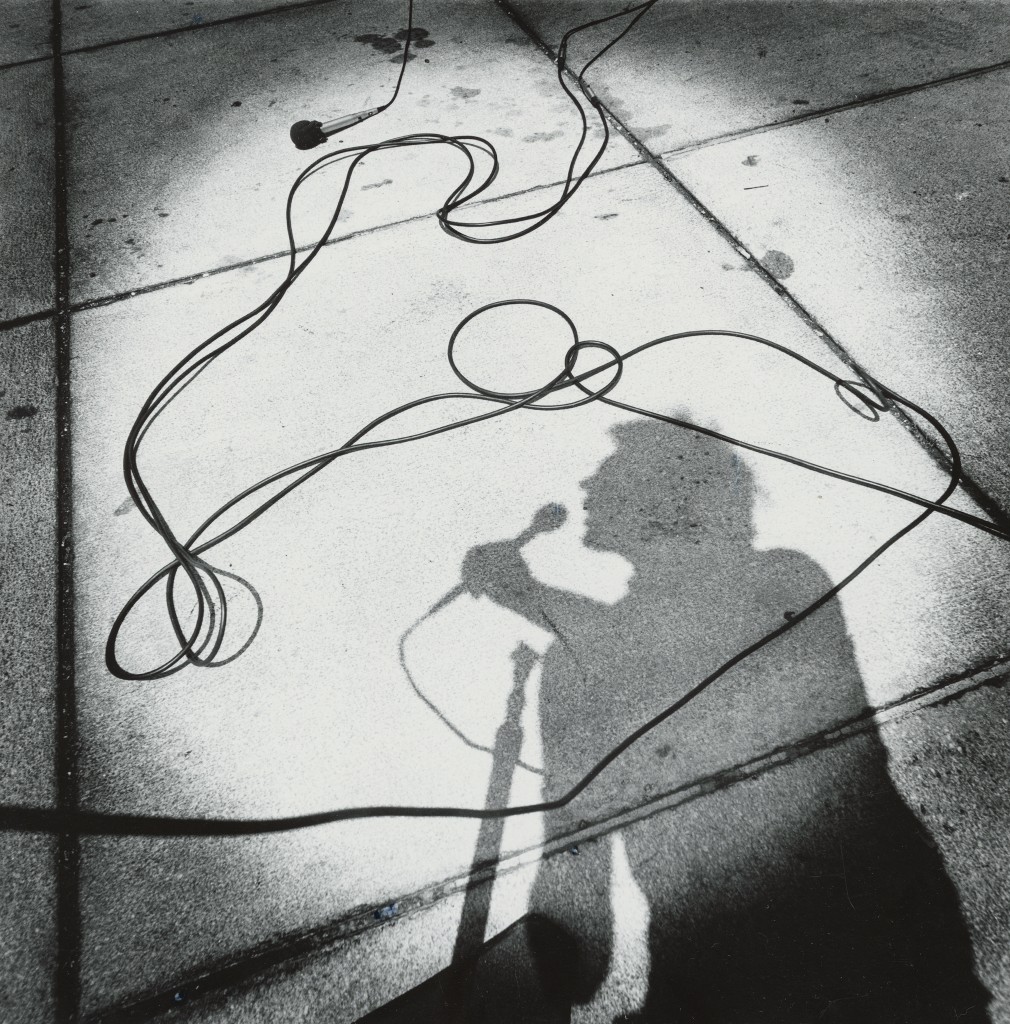
Photographer: Ray metzker 
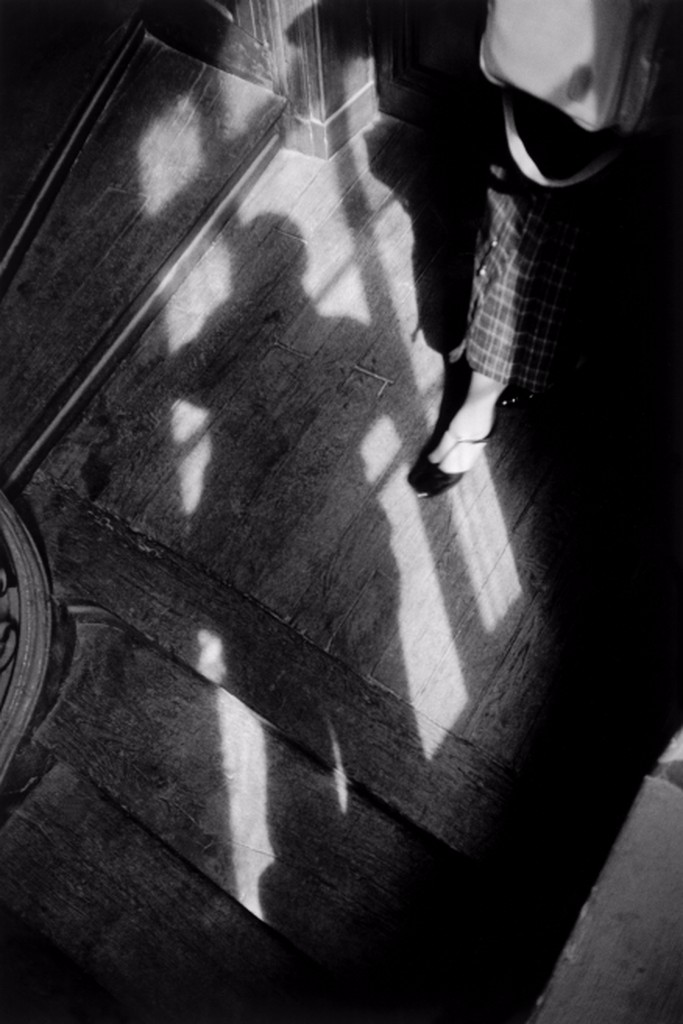
Photographer: Vivian Maier 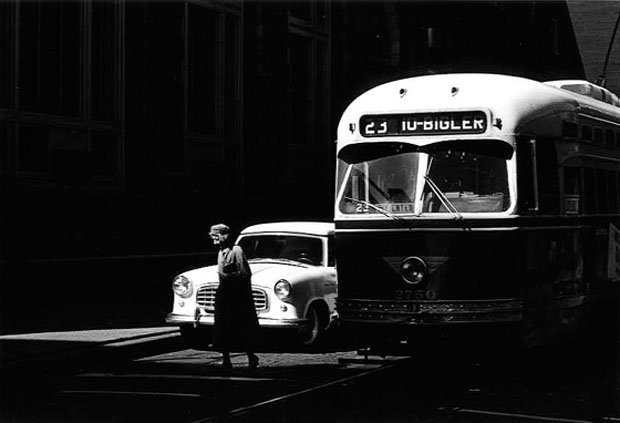
Photographer: Ray Metzker
Labs
Homework
Next Week
Please bring in a small stuffed animal to work with.


Recent Comments