Our first visit to the BBG was on the last day of summer. Now, it is three weeks into fall. The assignment is to capture seasonal change. Post a minimum of 30 photos to an album on Flickr and send your best two the class group.
If there is direct sunlight, shoot at least 10 photos in which the shadows are the main subject. Use exposure compensation to make the shadows as dark as they appear to your eye.
In some of the other photos, use shallow depth of field to isolate the subject from the background. Use a fast shutter speed to capture moving water in one of the garden’s fountains.
Use at least one of the following compositional principles in each photo: a frame within a frame, the rule of thirds, diagonals, leading lines, patterns, symmetry, and always think about the figure to ground relationships.
In other words, use everything we have discussed in class to make your photos as visually engaging as possible.
Backlight is one of the most common challenges for the camera meter.
Take at least 10 photographs of your classmates of other subjects against the sky.
• Use negative exposure compensation to darken the subject to a silhouette.
• Use positive exposure compensation to brighten the subject and over expose the background.
Landscape/cityscape photos
The sky is much brighter than the ground. Take at lease so photos showing a range of location shots of DUMBO, the park, the skyline with and without the sky. When your composition includes the sky use positive exposure compensation to take a second shot in which the ground and the buildings are well exposed ie brighter and the sky itself is overexposed.
Note that if you are shooting with a rebel, these cameras often cannot hold the detail in the bright areas. Take some photos with the sky to experiment but also think about ways to frame your photos so there is no sky.
Post 10 backlit shots and 10 cityscape photos to an album on Flickr.
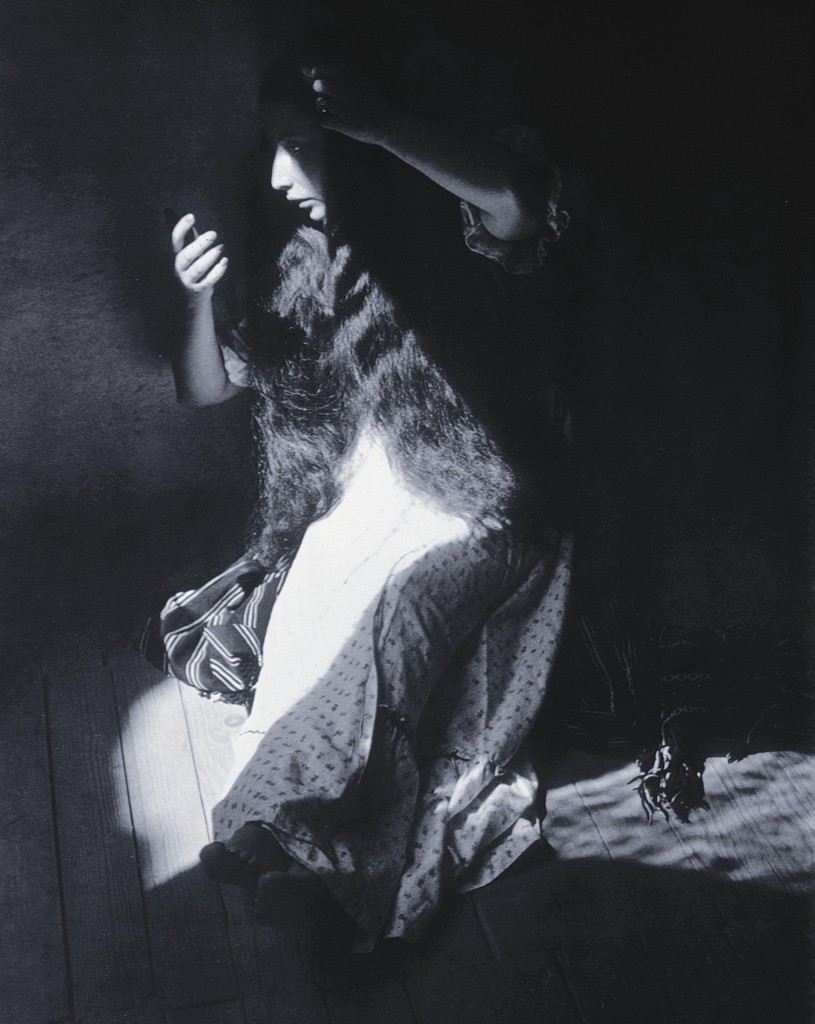
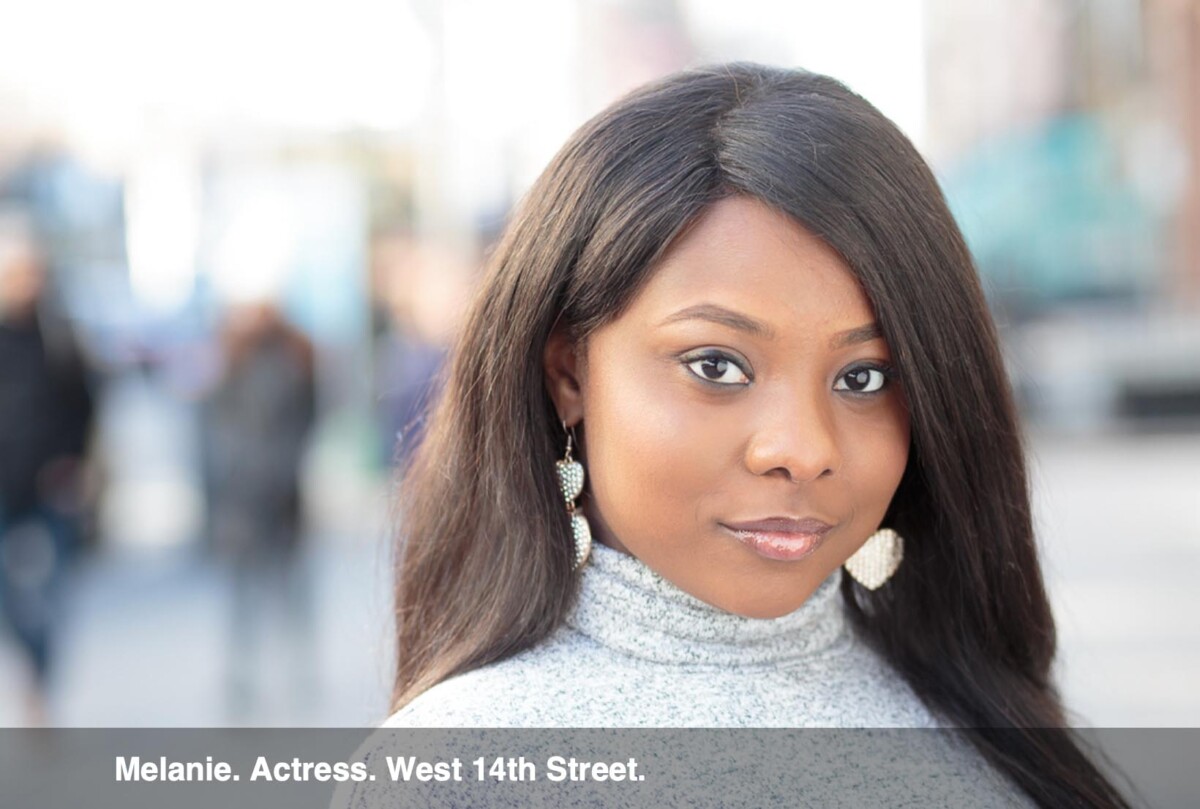
Portrait of the Eternal (Retrato de lo Eterno). Manuel Alvarez Bravo, 1932-33.
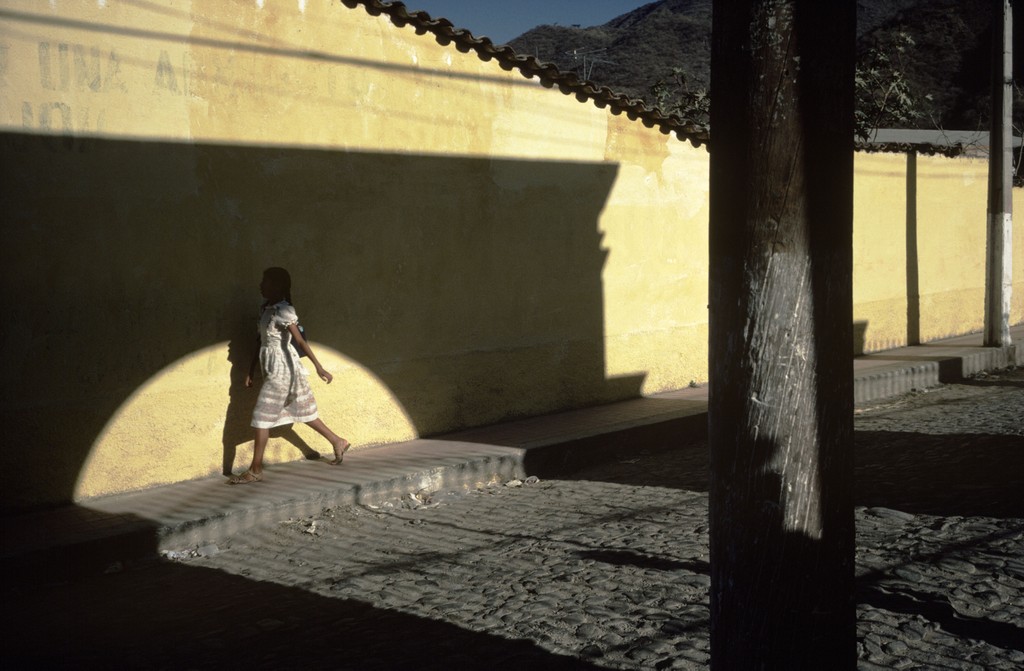
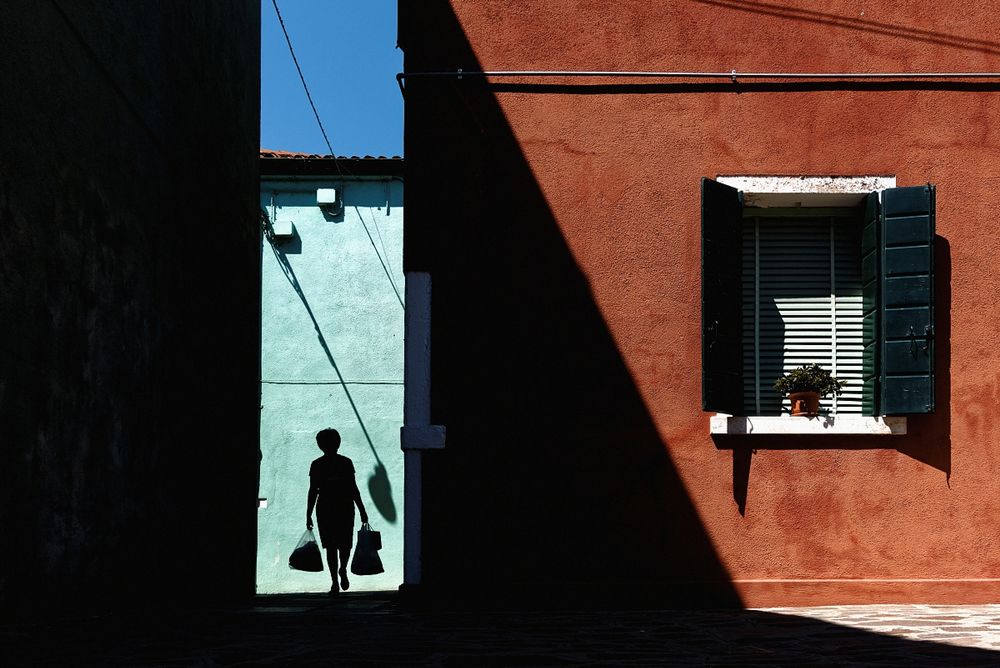
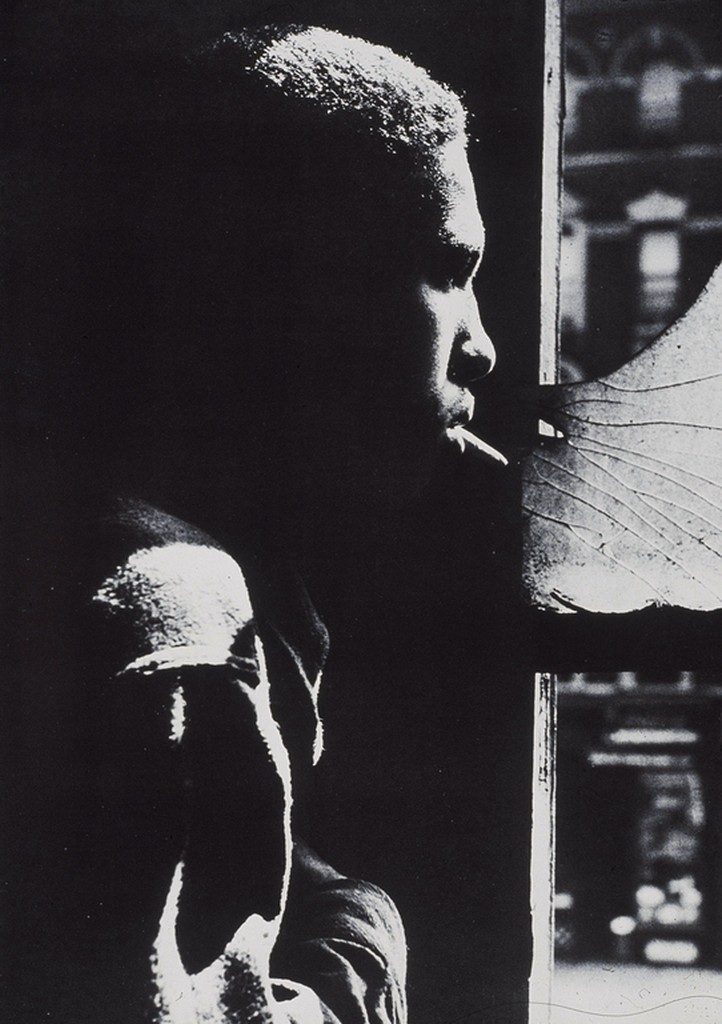
MEXICO. Ajijic. Alex Webb. 1983
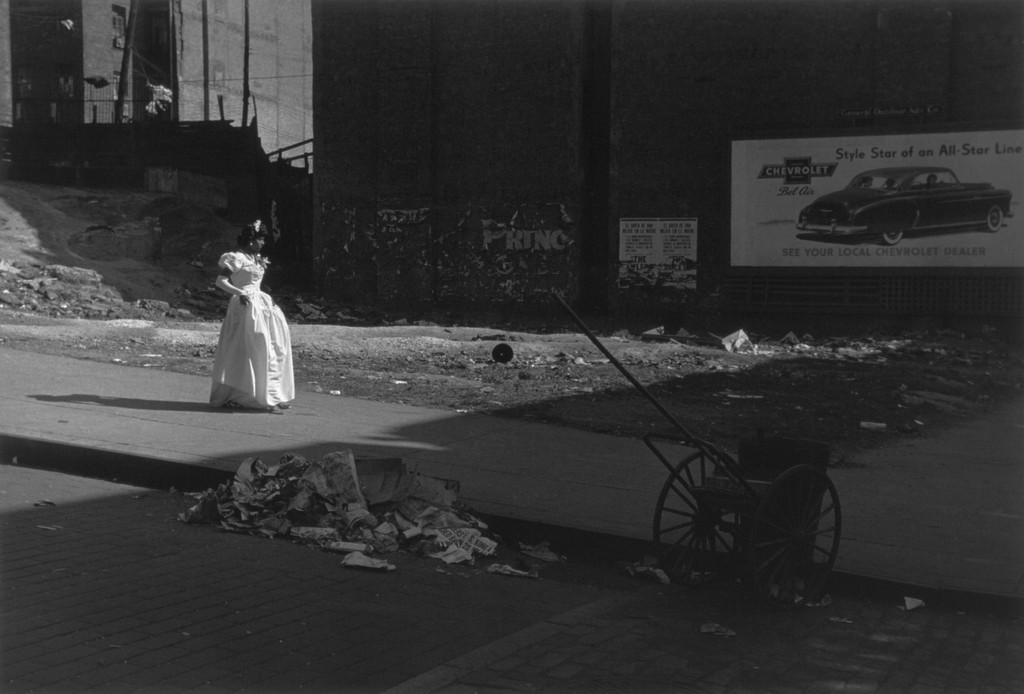
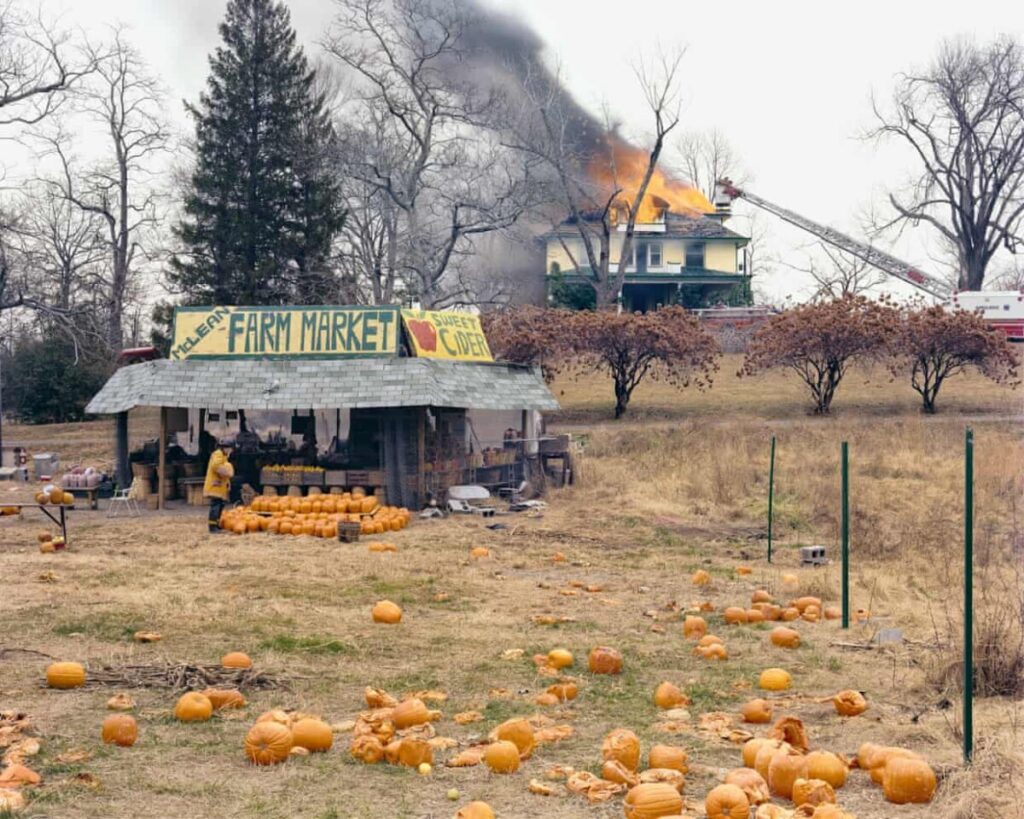
McLean, Virginia, December 1978 Photographer: Joel Sternfeld, 1978
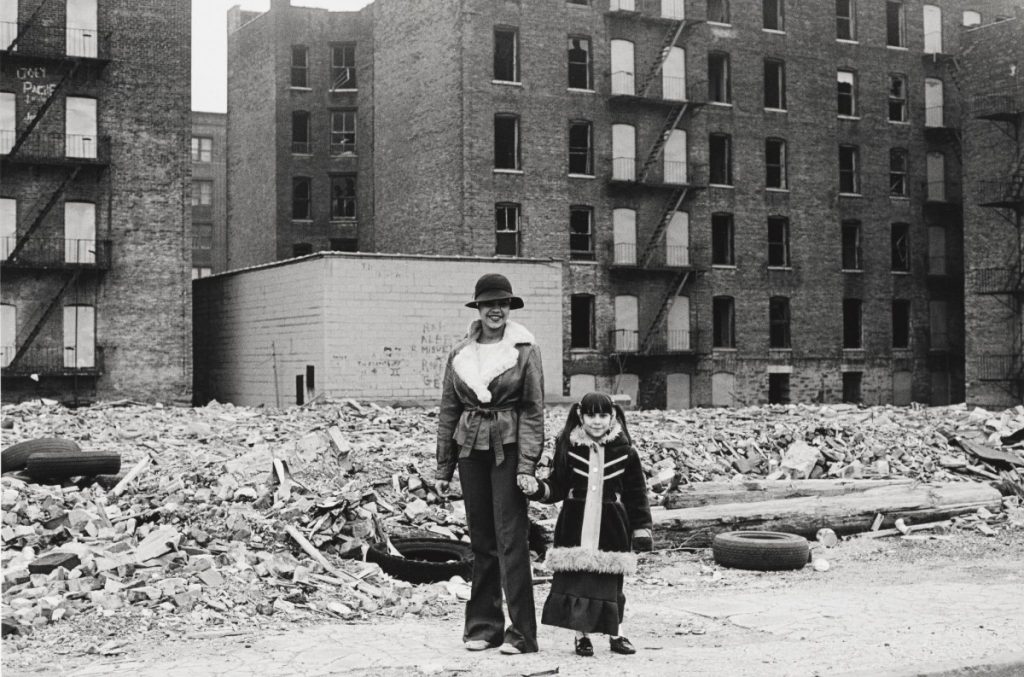
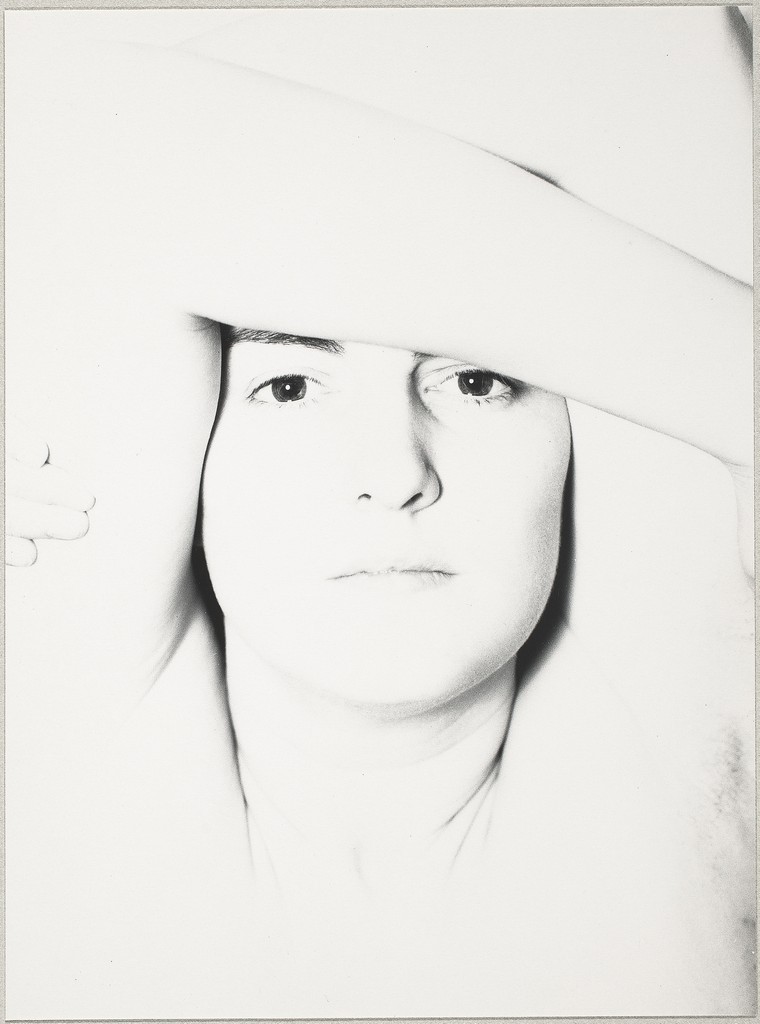
Photographer: Renee Dikstra
Photographer: Mark Saviane
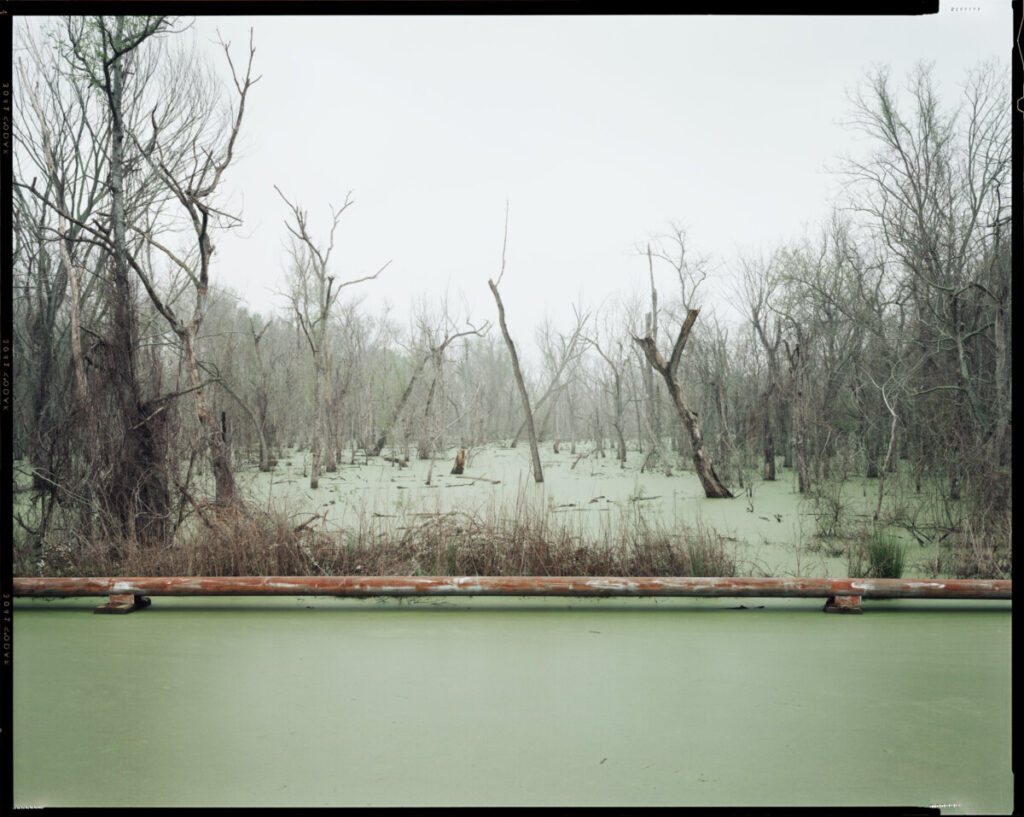
from Petrochemical America Photographer: Richard Misrach
Measuring the Light
Exposure is the amount of light that comes into the camera to create the photograph.
Exposure is made up of three components:
ISO-Sensitivity to light.
Shutter Speed-the length of time that the camera’s shutter is open during the exposure.
Aperture-how wide the cameras lens opens to allow the light to come in.
All three are measured in stops.
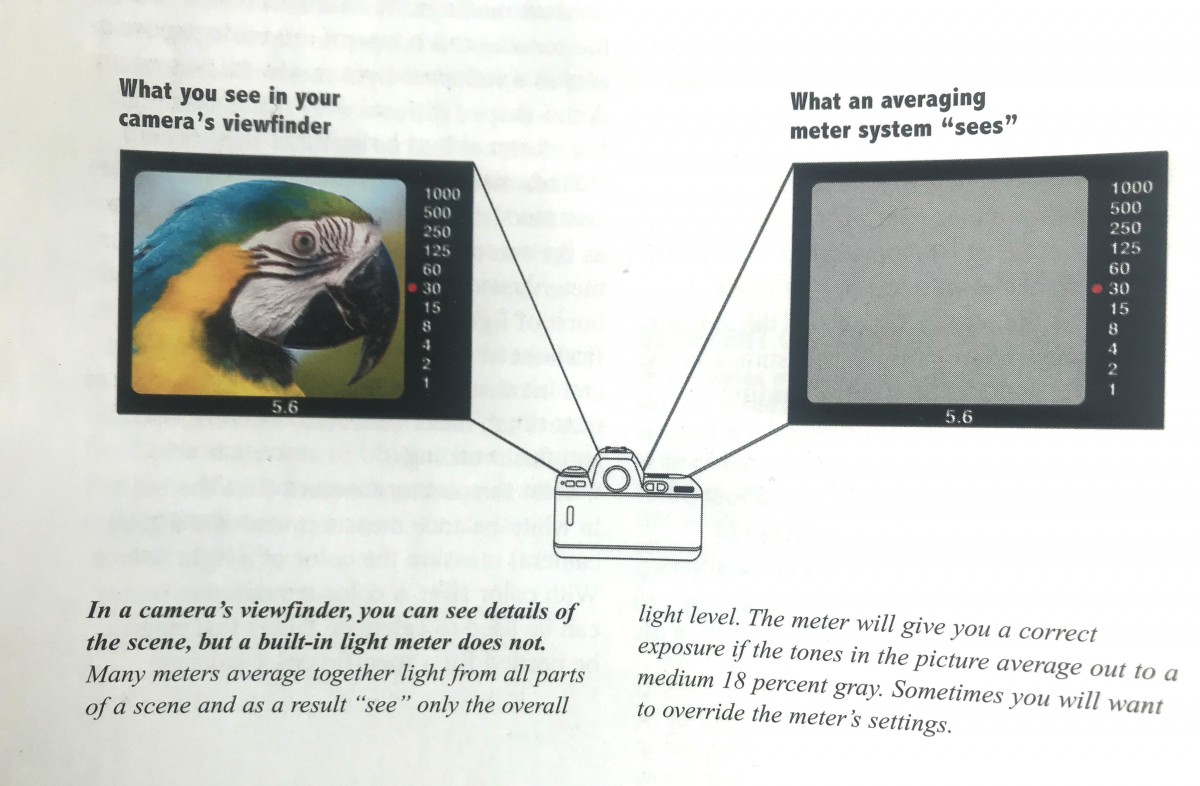
How your Camera Meter Works
Acronym: TTL – Through the Lens
The meter in your camera is a reflected-light meter.
A reflected light meter averages the tones in the scene and selects the aperture and shutter speed values that will make the whole scene medium gray.
Watch from :45 to 1:34 for an explanation of how your camera meter works.
What your camera meter “sees” From Photography, 10th Edition, Stone, London, Upton, P. 70
Challenges
There are certain predictable situations that will fool your meter.
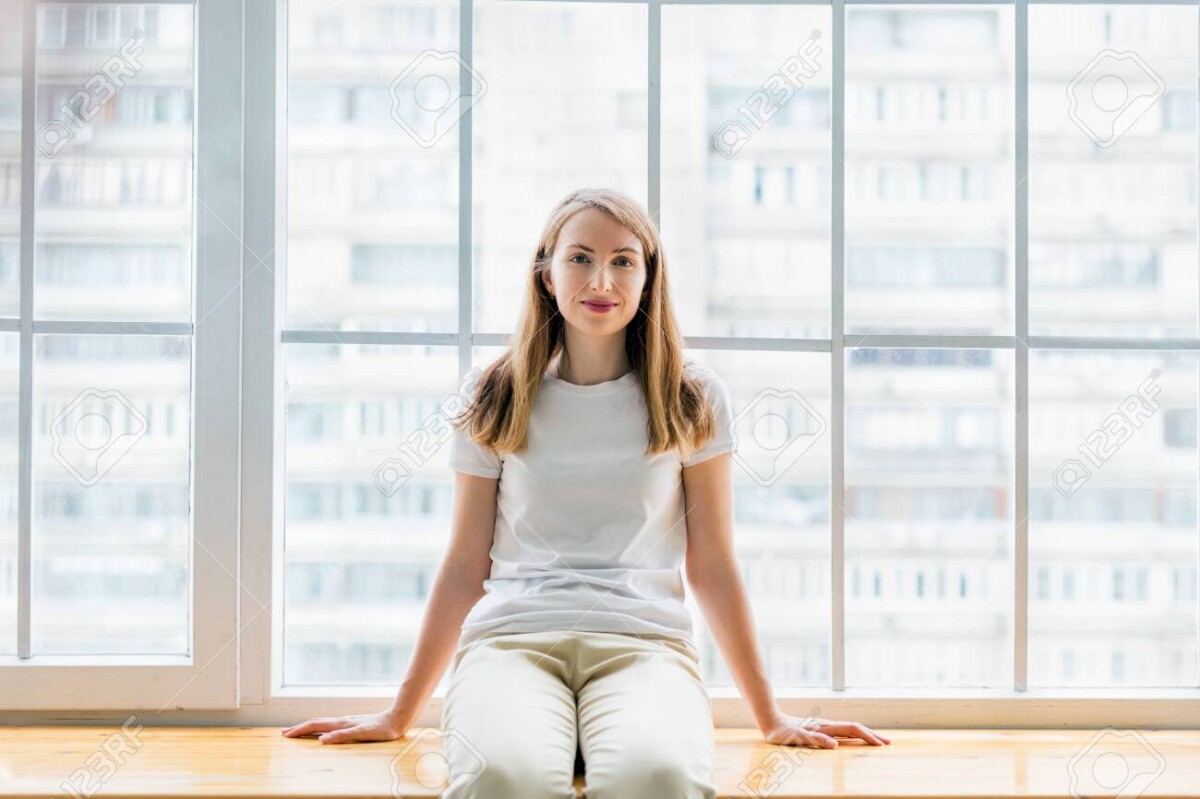
Backlight – a common example is a person against a window or against the sky. Add exposure to get the right exposure for the main subject and allow the background to be overexposed.
Photographer: Charles Schessler
Happy woman sitting in front of window. Portrait of young woman sitting on windowsill
2. Landscapes with sky. The sky is brighter than the ground and to get a good exposure of the land portion of your photo, often you need to over expose the sky.
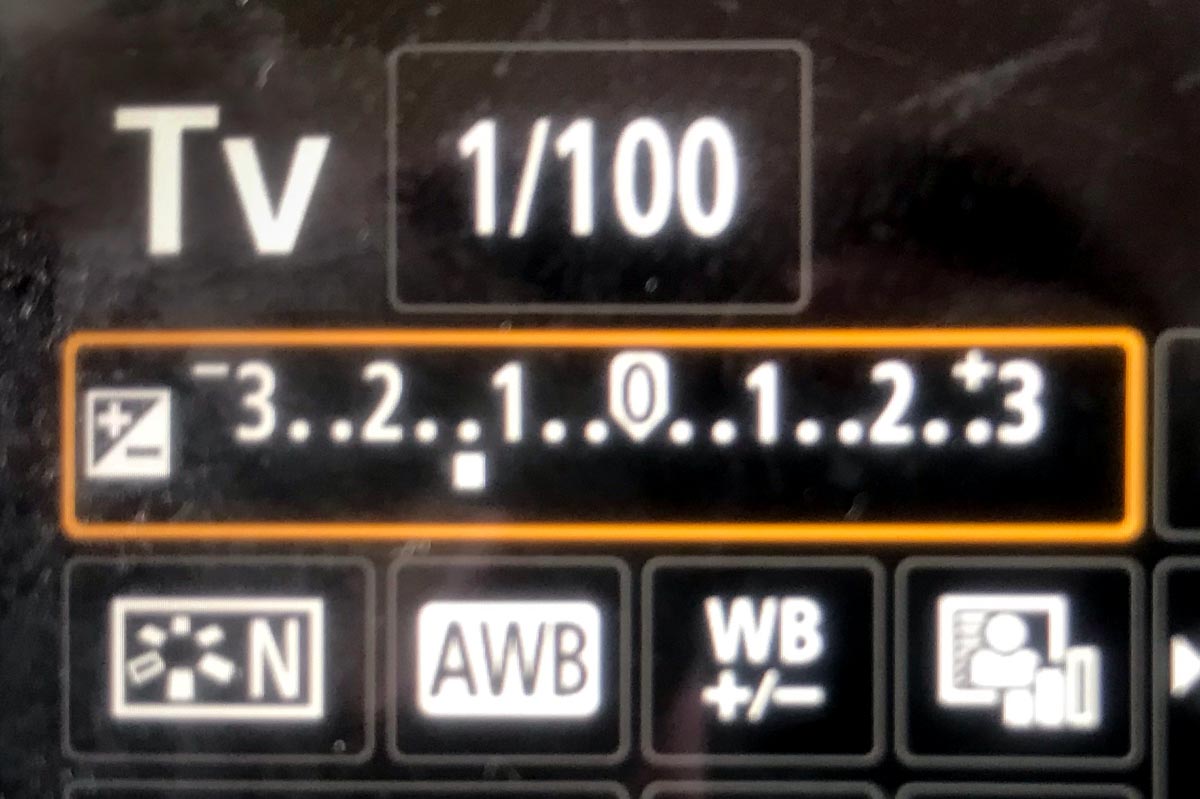
Tv reading with No adjustment
+2EV with expsoure compensation
3. Snow
How to control exposure
With a camera: Use Exposure Compensation set to plus to increase the light and set to minus to decrease the light.
Exposure compensation scale set here to minus 1.3
Exposure Compensation-a way to force the camera to make an exposure either lighter or darker than the meter reading. Good for backlight or extremes of light and dark.
With a cameraphone: Touch the area where the main subject is and then drag the little sun icon up or down to increase or decrease the overall exposure.
Using Exposure for Creative Effect
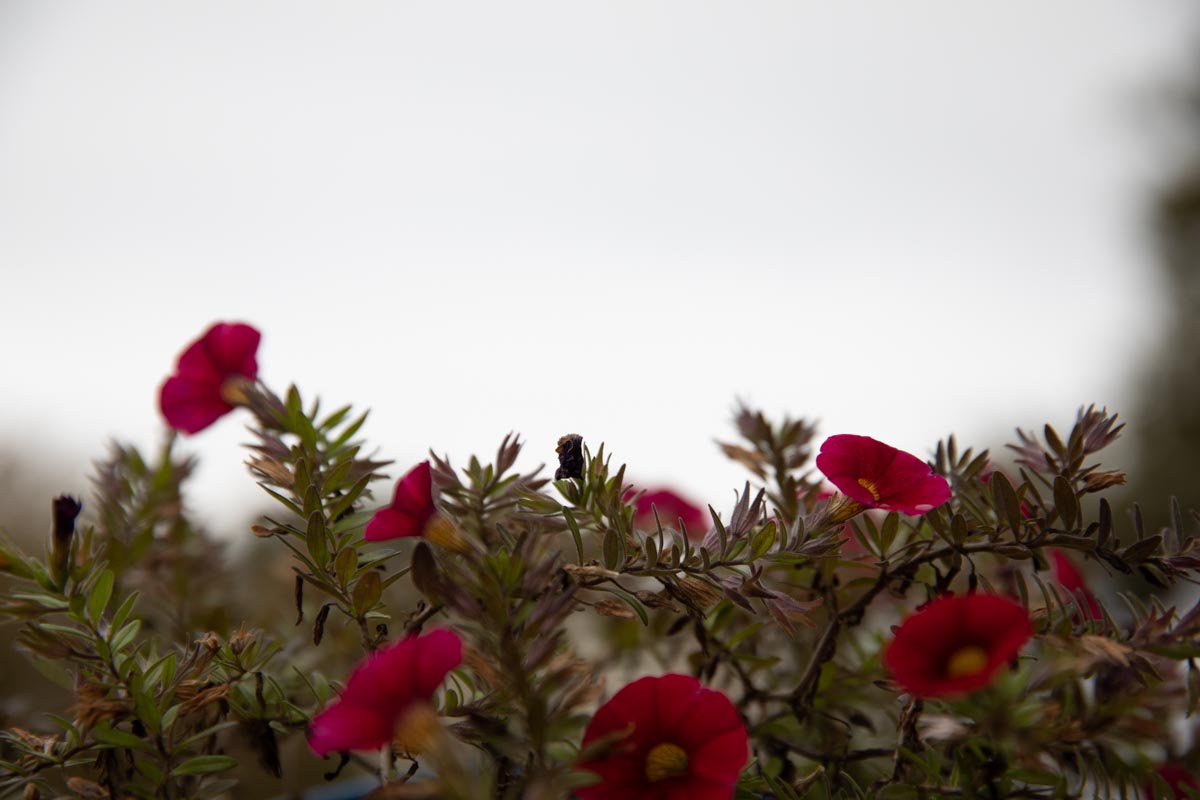
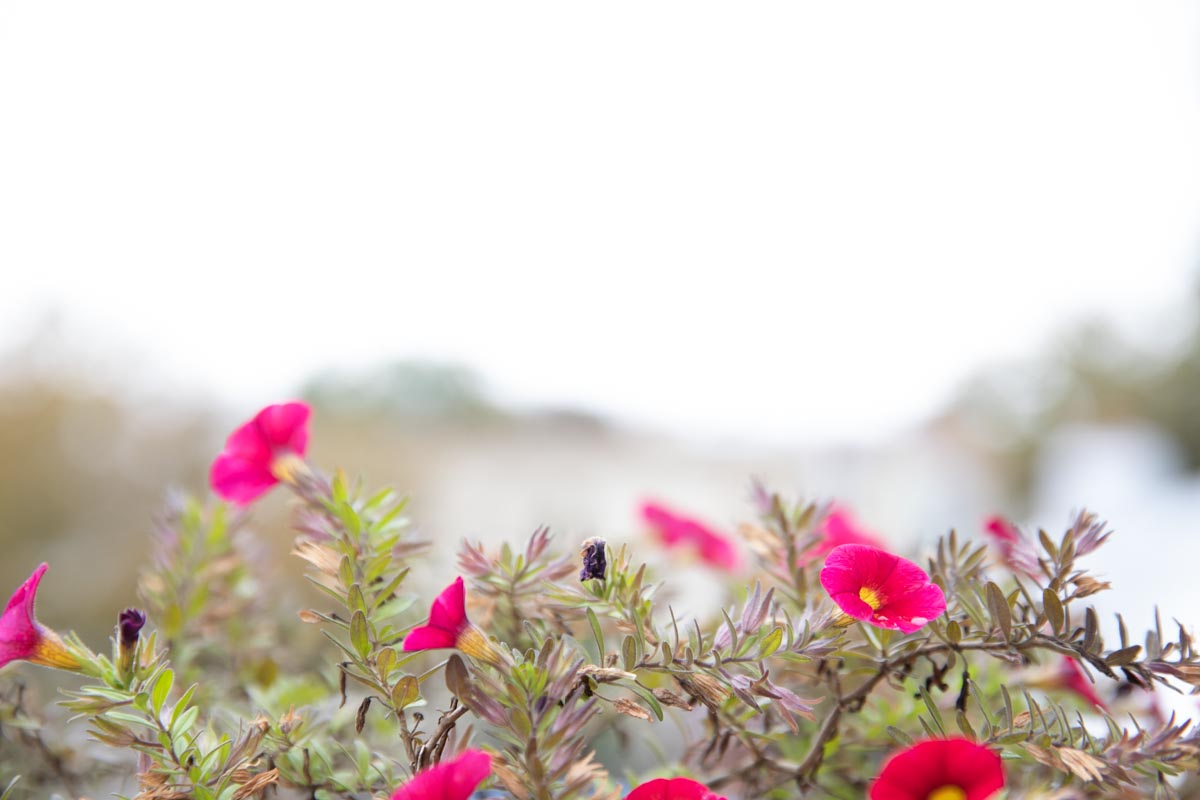
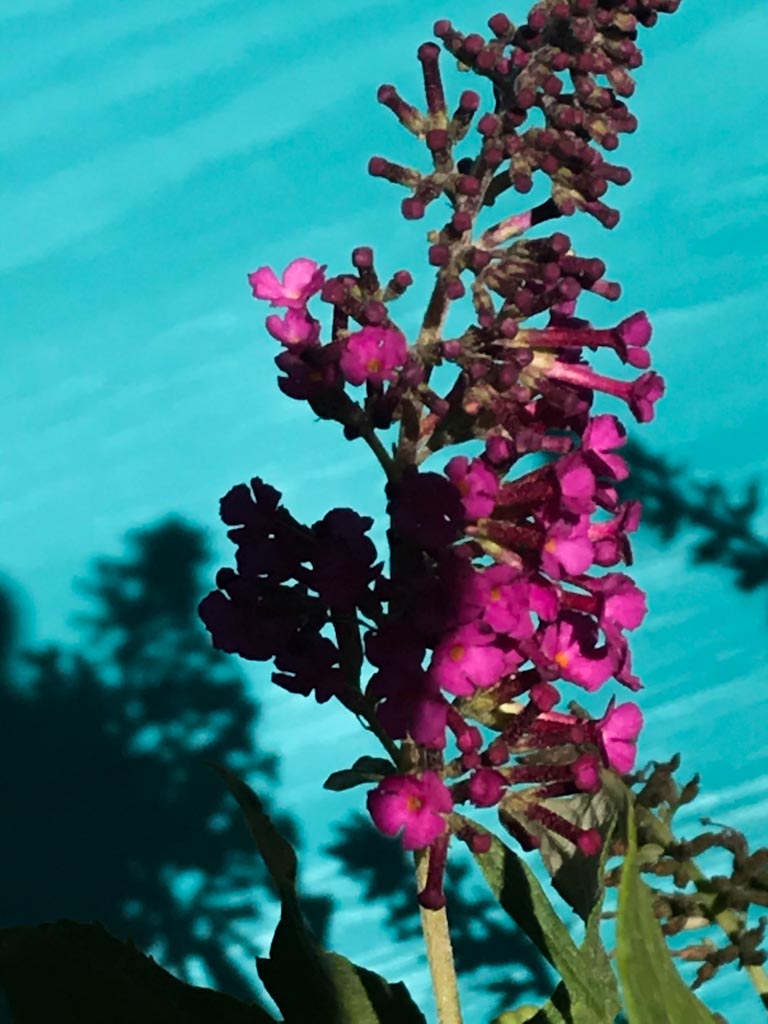
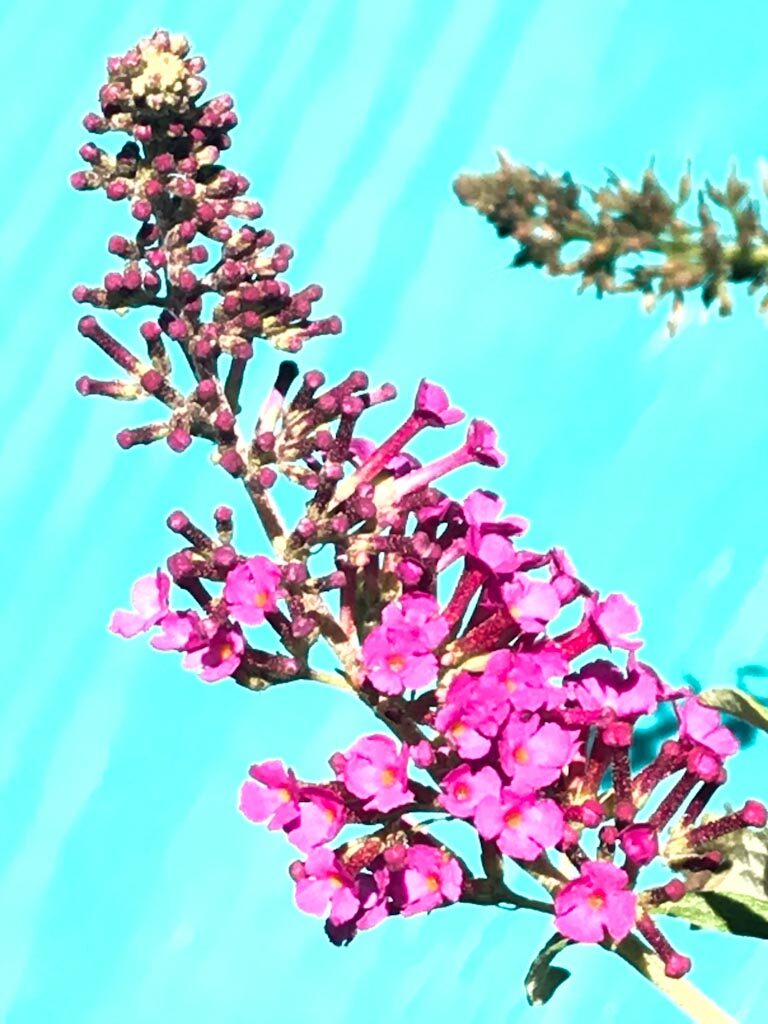
Sometimes, you don’t want the tones in your image to average out to a medium gray. You want to tones to be low key-mostly dark or high key-mostly light.
4 pts. Due Oct 12, 2:30 pm. Working outside on a sunny day, photograph low and high key versions of 15 different subjects for a total of 30 photos. the goal is to create two photos of the same subject that have different moods.
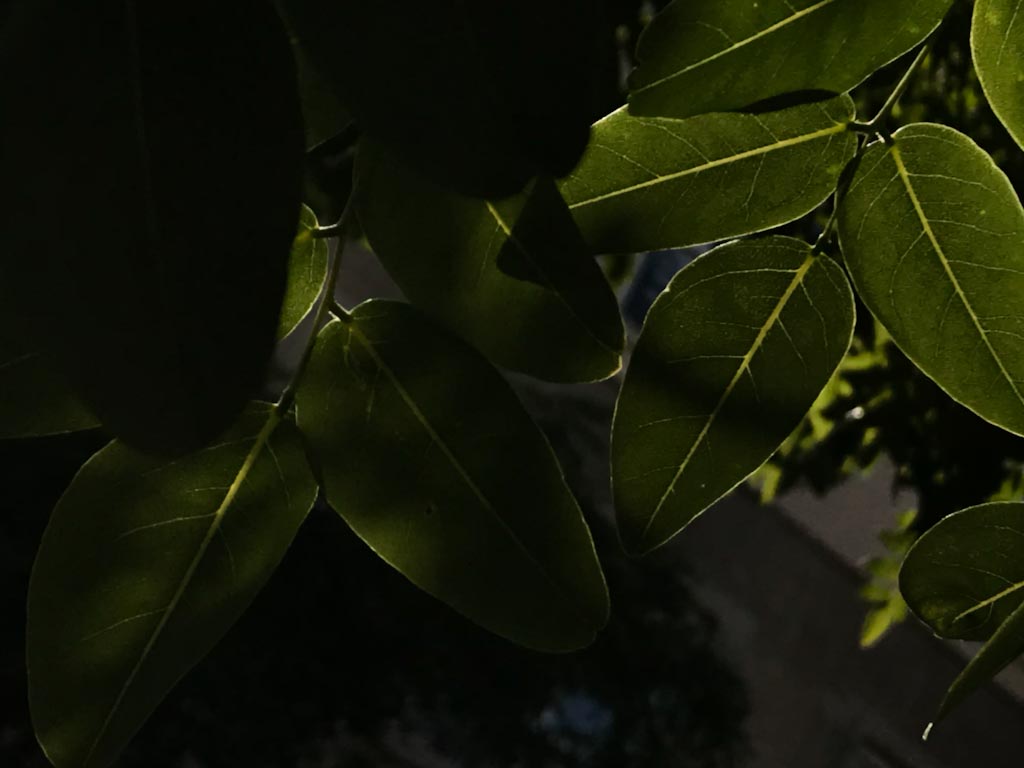
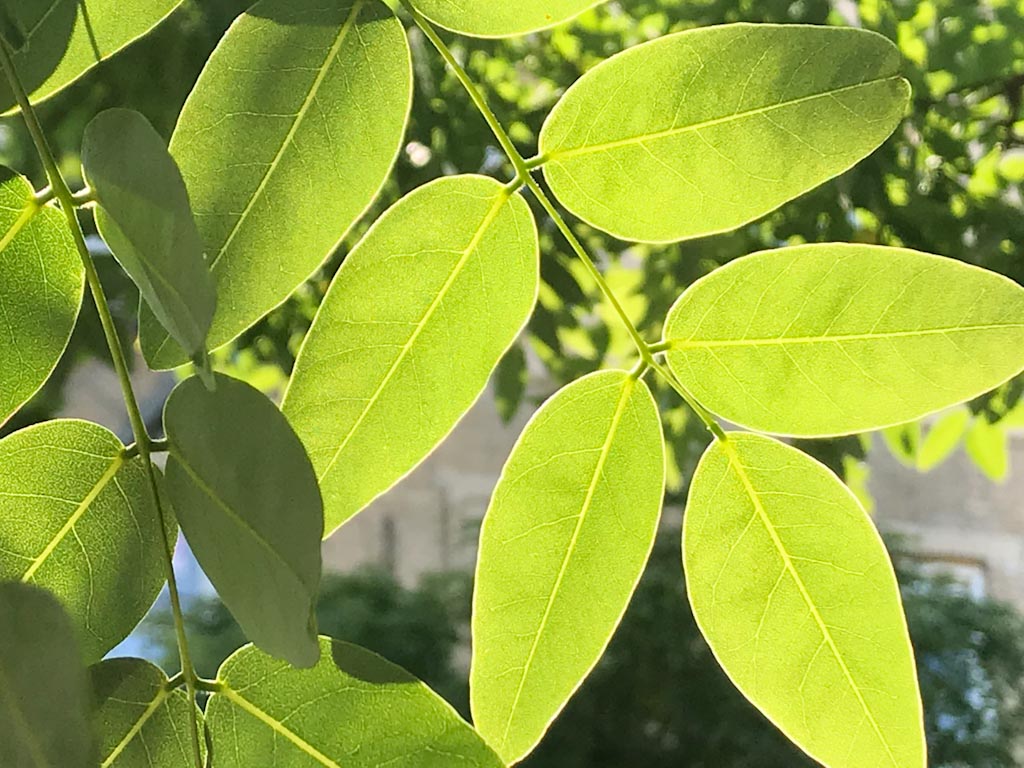
Find a a subject such as a plant or tree that has direct sunlight on part of it and is also partially in shade. Adjusting your exposure, take two different versions of this subject, one that is low key where dark tones predominate but there is something bright and one that is largely bright but where there is something in shadow.
Try to create two different moods just by changing the exposure.
Don’t try to do this on an overcast day. Check the weather and plan ahead.
If your only option is to do the assignment when the weather is overcast, then redo the lab exercise and work with exposure challenges. Photograph 2 exposures for 15 backlit subjects and landscapes or cityscapes with sky for a total of 30 photos.
Post your final 30 photos an album in Flickr. Send your best pair to the group.
Working outside in the day, freeze the motion of athletes and bike riders, dancers, jumping dogs. Try at least two different types of subjects ie soccer players and bikers, kids on swings and dancers. Capture the decisive moment. The soccer player when their leg is fully stretched out in a kick, a bike rider doing a wheelie. Don’t be shy. Fill your frame with the action.
Use a fast shutter speed.
If using a cameraphone, use lightroom or other app that lets you set the shutter speed.
Post shots of at least two different activities to an album on Flickr for a total of 40 shots. Please don’t include all of the times you missed: shots out of focus, the back of receding bike riders, etc. Just your best work. Send your best two to the class group.


Recent Comments