Robin Michals | COMD 1340 Photography 1

Author: rmichals (Page 2 of 8)

Week 12 – Painting with Light

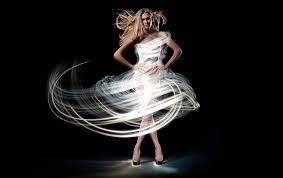
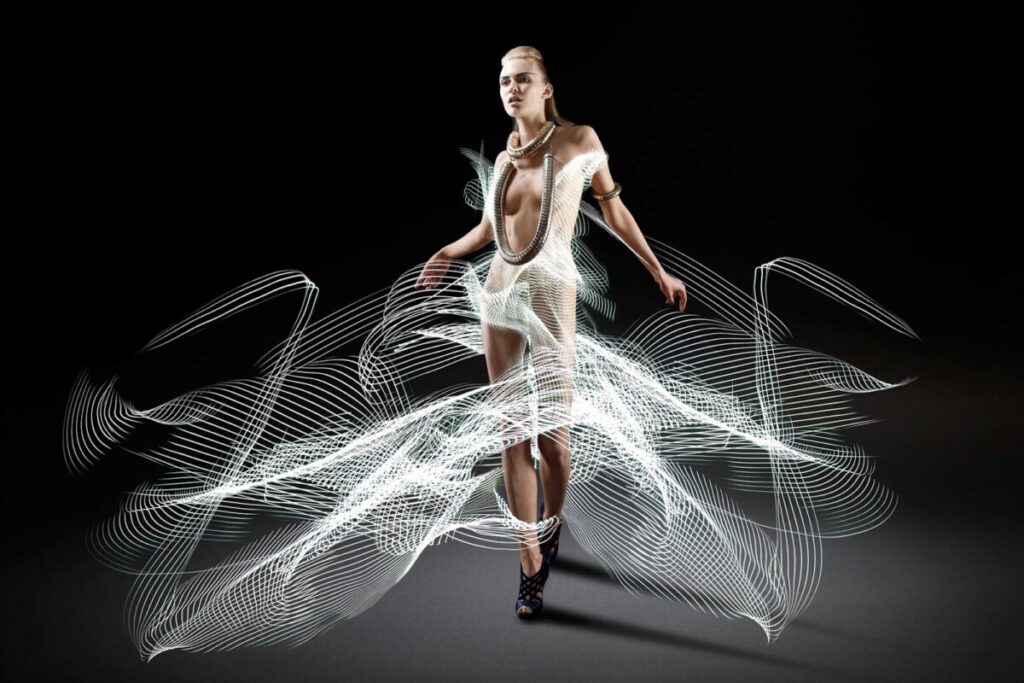
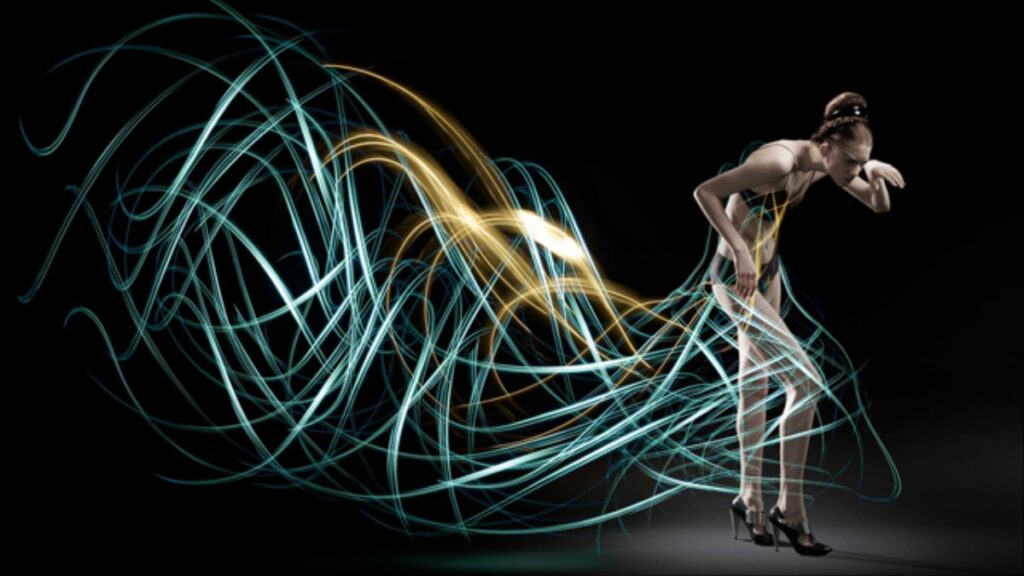
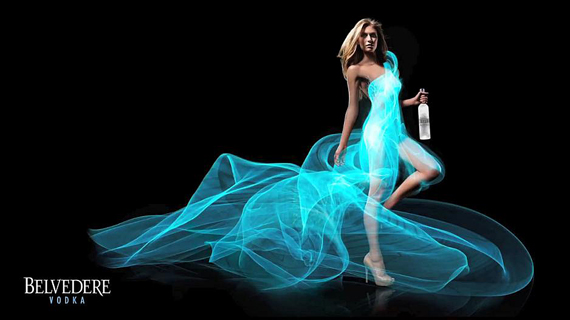
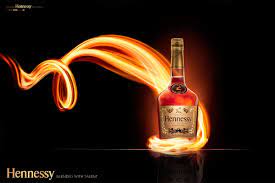
Painting with light is drawing with light over the course of a long exposure.

Inspiration: Atton Conrad
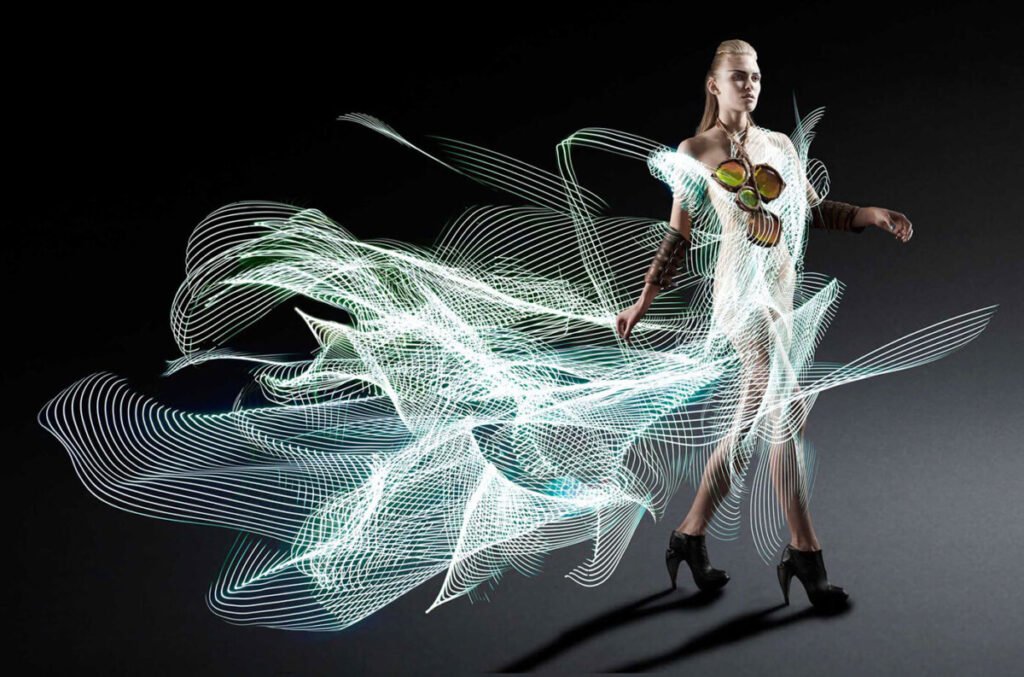
Sprint Campaign: http://lightpaintingphotography.com/?s=sprint 

Tripod use

  • Spread the legs out and make sure the tripod is stable. Use the height from the legs before using the neck of the tripod. Put one leg forward and the two legs on your side.
  • Put the plate on the camera and make sure that the lens arrow is pointing towards the lens. Insert the plate into the locking mechanism and make sure that the camera is secure.
  • Use the camera timer and DO NOT TOUCH the camera or the tripod during the exposure.

Considerations for painting with light: 

1. Use a tripod 

2. Use Manual as the shooting mode.

3. Set the ISO to 100

4. Set the aperture to f/11 as a starting point to get a wide range of depth of field. 

5. Set the shutter speed to 2″ as a starting point.

6. Use manual focus. Make sure the subject is in focus. To do this shine a light on the subject and use auto focus. Then flip the lens back to MF. Remember that if the distance of the subject to the camera changes, you need to refocus!

Mixing Strobe Lights or Flash with Painting with Light 

The aperture controls the exposure of whatever is lit by the strobe lights. 

The shutter speed controls the illumination of the background. 
Lab

Lab 11: Painting with Light

Homework

Final Project

Lab 10: Two and three light portraits

Photograph your classmates in each of the four set ups:

  • Three point lighting
  • Butterfly light
  • Wide angle distortion
  • color

Create a wide range of mood.

Post at least 20 photos to an album on Flickr with at least one of each lighting style. Send your two best to the class group.

Week 11 – Portraits with two and three lights

For the next class

On April 16th, if you have a flash light bring it in. You can also use your phone but you might want to have a charger so you aren’t left with a dead phone for the rest of the day.

Review Portrait Lighting Styles

Inspiration

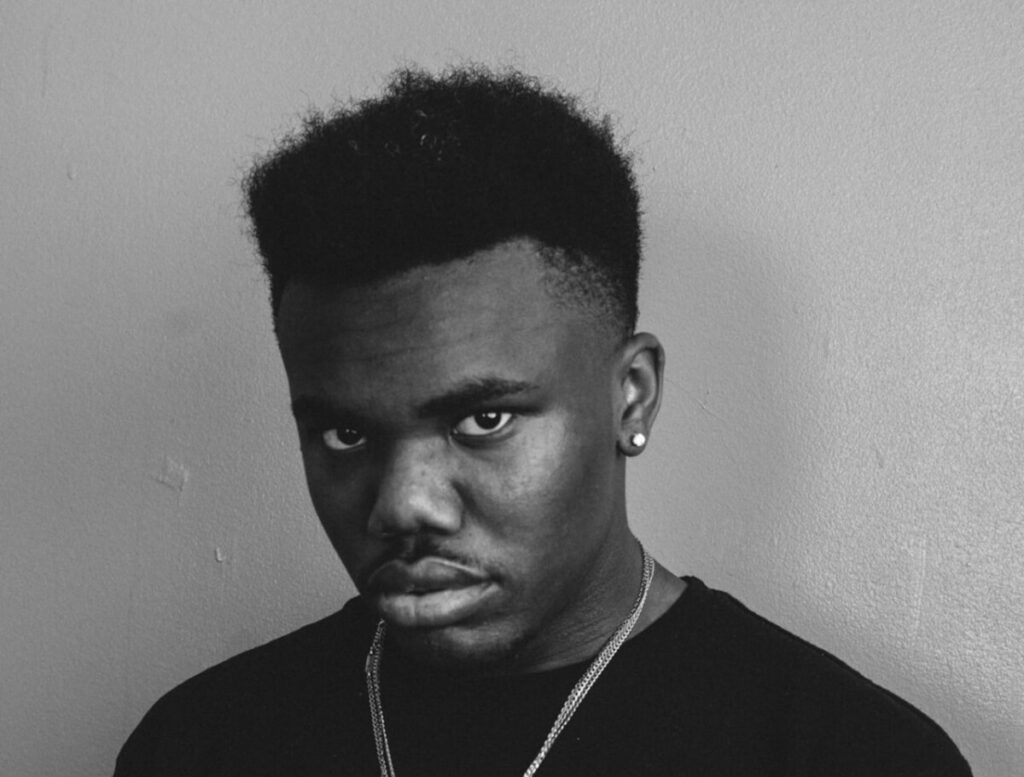
Mamadi Doumbouya

https://www.mamadi.co

https://www.nytimes.com/2019/09/21/reader-center/mamadi-doumbouya-photo-portrait-talk.html

Focal Length

The focal length of a lens is defined as the distance in mm from the optical center of the lens to the the sensor when the lens is focused on infinity. This varies on the camera and the lens.

Focal length controls: Magnification and angle of view

Focal length is described as short, normal ie close to human vision, or long.

When working with a crop-frame sensor, approximately 65 mm will be the most flattering to your subject.

Lights

  There are three basic types of lights (these are the physical lights not portrait lighting styles):

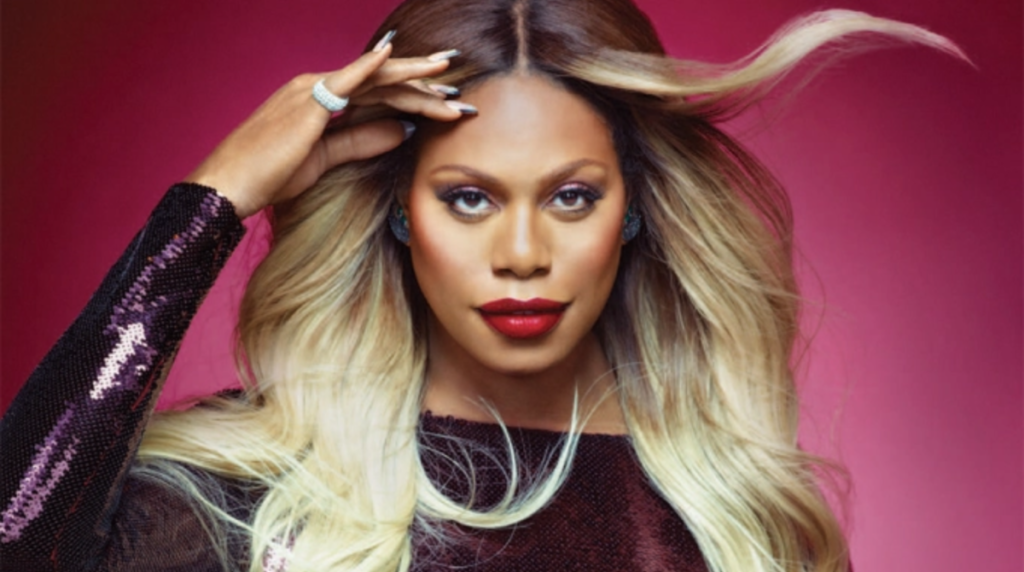
  1. The Main or Key Light-This light provides the brightest illumination and casts the shadows

2. The Fill Light-this light brightens the shadows. It can be a reflector or an actual light.

This video shows how to use a reflector as the fill light.

3. The Separation Light or Background Light-creates separation between the subject and the background. This light can be aimed at the background or it can be aimed at the subject. If the later, it would be called a hair light. If accenting the edge of the face or shoulders, this light would be called a rim light or a kicker.

3-point Lighting

– standard lighting for portraits, video and film, uses all three: a main light, a fill light and a background light.

Lab Exercise

Lab 10: Two and Three Light Portraits

Homework

HW 9: Window Light Portraits

Lab 9: One-Light Portrait Styles

Set up:

  • The subject should be at least 4 or 5 feet in front of the backdrop to avoid casting a shadow.
  • Use 65mm focal length when you are using a camera with a cropped frame sensor, 85 mm for a full-frame sensor
  • Focus on the subject’s eyes.

The key or main light is the light that casts the shadows.

Working with just the key light:

Front view:

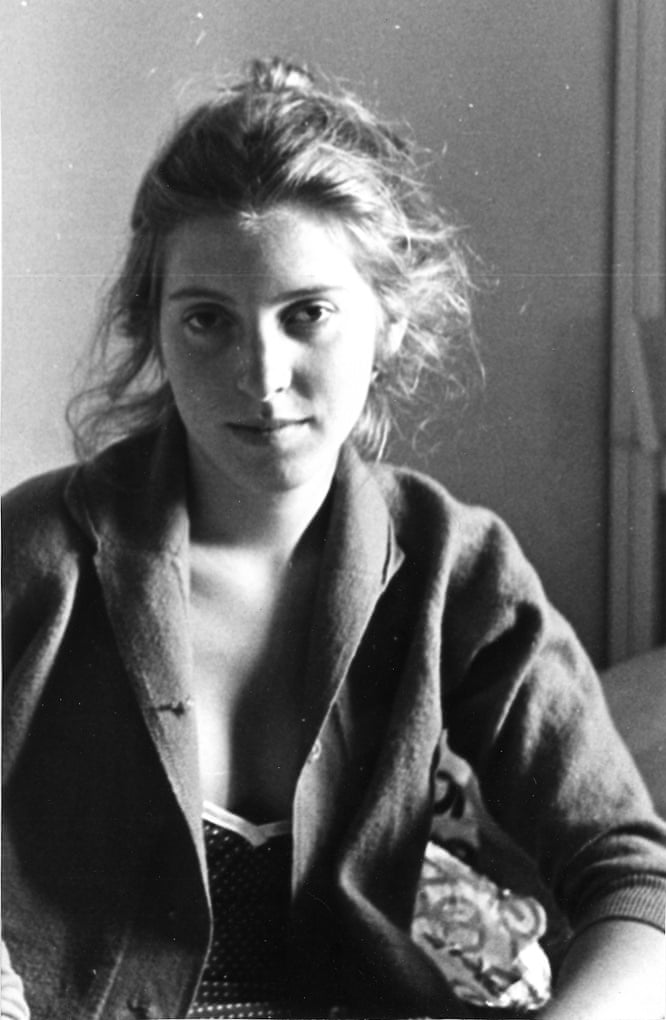
Photograph your subject with:

  • Rembrandt light – the light is at a 45 degree angle to the subject. Look for the key triangle -a triangle of light on the darker side of the face to position the light.

    Do not place the light too high because this will cause shadows around the subject’s eye sockets.
  • Split light – the light is at a 90 degree angle to the subject. One side of the face is dark but light does fall on the other side.
  • Front light (butterfly) – Light falls on the subject from the camera position.


Three-quarter view:

  • The model’s face is turned to a 45 degree angle from the camera.

Photograph your subject with:

  • broad lighting by placing the light on the side of the visible ear. There will be a broad highlight on the subject’s hair. This works for subjects wearing glasses.
  • short lighting by placing the light on the side of the invisible ear. 

Profile:

The model turns their face at a 90 degree angle to the camera. Place light like a side light. The subject faces the light BEING VERY CAREFUL NOT TO LOOK DIRECTLY INTO THE LIGHT. 

Put your 20 best photos into an album on Flickr. Make sure to represent each one of these lighting styles. Send your 2 best to the class group.

HW 8: Final Project Statement and Mood Board

Due April 9, 12 pm, Noon. 4 pts.

A final project proposal of 300 words min plus a gallery of images for inspiration otherwise known as a mood board.

The goal of the Final Project is to create a series of 10 related images on a theme.

You may choose to do either:

A series of portraits (not 10 pictures of 1 person but 10 pictures of 10 people) OR

A portrait of a neighborhood

OR another theme that you are passionate about: dogs, skateboarders, basketball players, street fashion to name a few possibilities.

Decide which assignment(s) you most enjoyed. What are you most interested in? Then consider: do you have people to work with? What is your schedule like and what is practical?

Final Project statement: Describe your project. What is your theme? What is the story you want to tell? What is the subject matter? Where will you shoot and when will you shoot? What kinds of techniques will you use?

Find a minimum of 6 images by 6 different photographers that show what you want your project to look like. Put them in a gallery in the post with your final project statement.

Category on OpenLab: Final Project Statement

Grading Rubric

Deliverables and dates:

Due April 9 – a 300 word final project statement posted to Openlab with “a mood board”

Due May 7: Shoot 1 – minimum of 40 images in an album on Flickr

Due May 14: Shoot 2 – minimum of 40 images in an album on Flickr

Due May 22: Shoot 3 -minimum of 40 images in an album on Flickr PLUS

  • final 10 images selected, adjusted in Lightroom, and posted to an album on Flickr
  • a presentation to the class of the final images.

Total albums: 4 – 3 shoots of a minimum of 40 photos and a final album of 10 edited and toned images

Examples:

Kalia Cruz

P1028442

Xavier Vasquez

IMG_8660

Enson Zhou

David Moya

CMD_5920

Ifetayo Forrest

DSC_0323

« Older posts Newer posts »

© 2024 COMD1340TueSpr24

Theme by Anders NorenUp ↑