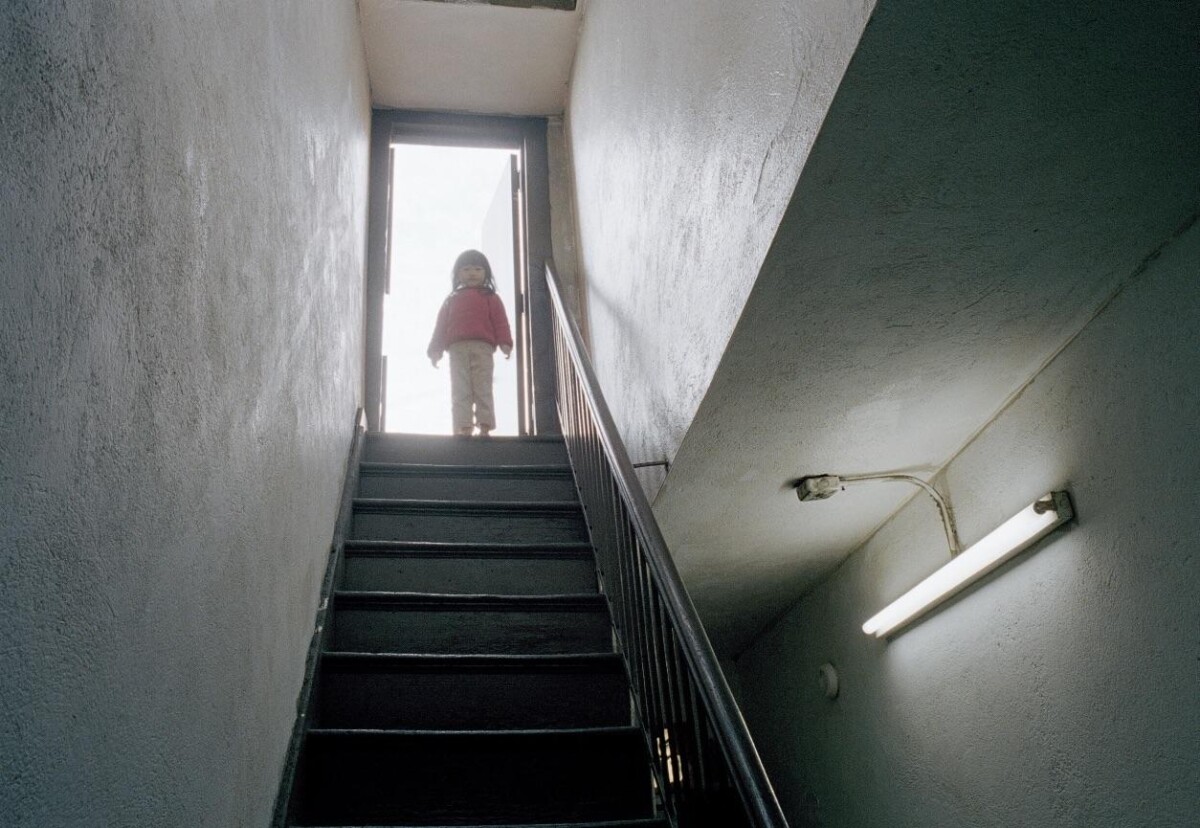
Thomas Holton’s “Playing on the Roof,” part of “The Lams of Ludlow” collection, captures how vibrant Chinatown is and how Immersed the neighborhood’s are and there cultural richness, Holton delves into the lives of its residents, uncovering insights into human connections. The photograph shows familial warmth and vulnerability, showcasing Holton’s skillful use of formal elements like framing and figure-ground contrast, leading lines to create a compelling visual narrative. Through this image, Holton invites viewers to experience the inviting atmosphere and rich tapestry of human connections within Chinatown. Holton’s intimate exploration of Chinatown is palpable in this picture because he skillfully utilizes the elements to draw viewers into the scene. The door frame acts as a focal point, guiding attention towards the little girl, while the contrast between her and the background adds depth and visual interest. The lines of the stairs further emphasize her presence, creating a composition that reflects Holton’s deep connection to the neighborhood and its inhabitants. Through this image, he invites us to share in the warmth and humanity he found within the streets of Chinatown.
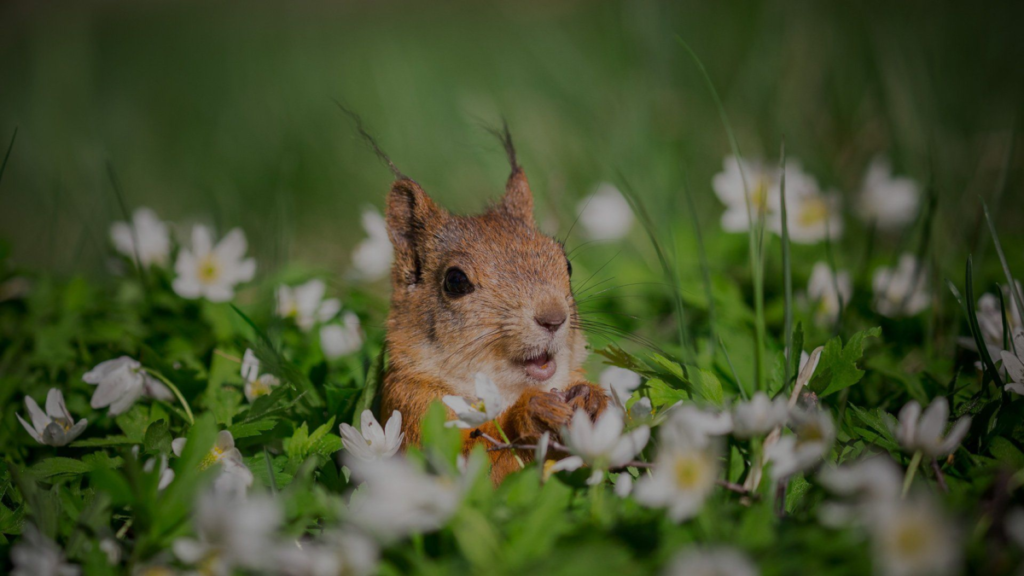
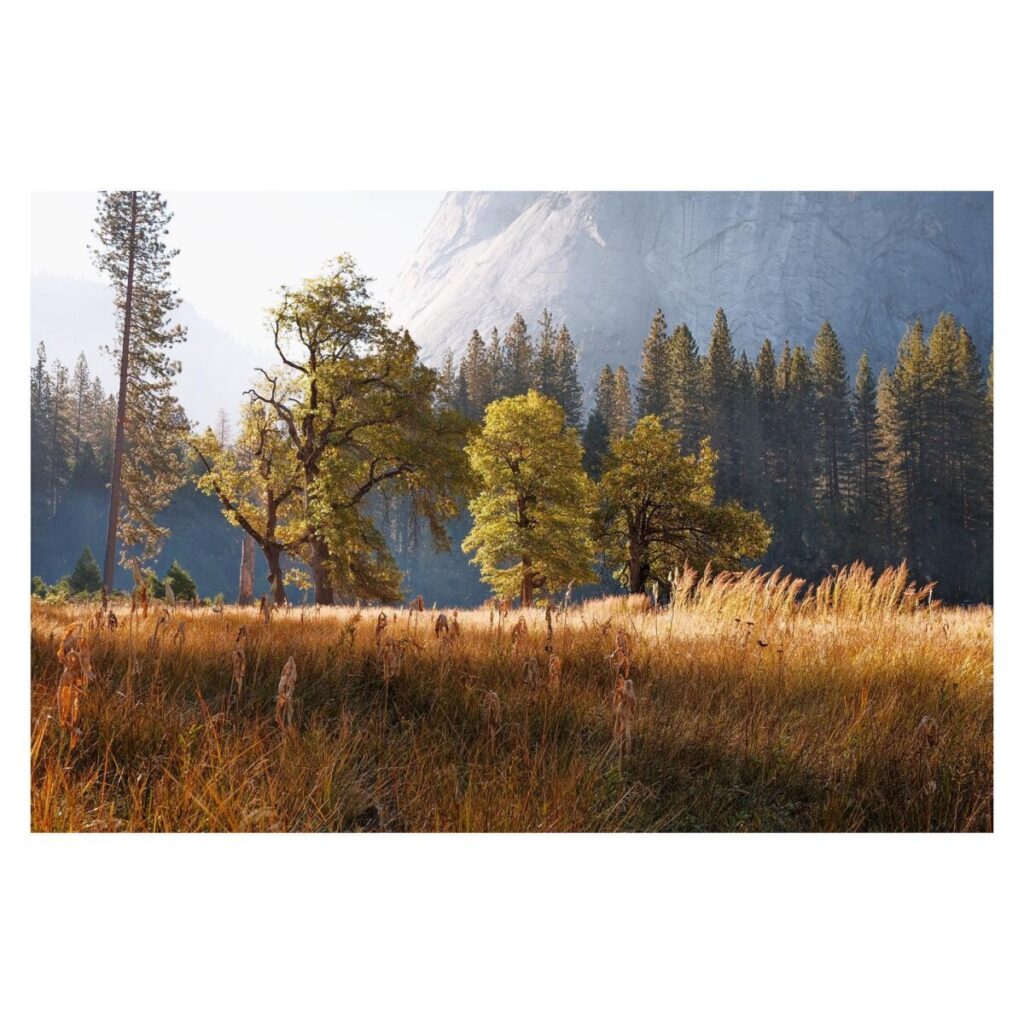
Setting out on a quest to photographically capture the essence of nature is an incredibly rewarding undertaking. I’m excited to translate the natural world’s unquestionable tranquility and beauty into visual art because it speaks to the soul.
I approach taking pictures of nature with respect and reverence. I consider myself to be a modest observer who aims to capture the wonders of nature without interfering with or disturbing it. Every moment presents an opportunity to capture something truly magical, whether it’s the captivating dance of light and shadow in a forest, the majestic sweep of a mountain range, or the intricate detail of a flower petal.
To properly capture the breathtaking beauty of nature, I’ll have to fully immerse myself in it. This entails straying from the usual route, investigating isolated wilderness regions, and appreciating the elements in all of their untamed, raw beauty. I’ll look for moments of transcendence and record them with my lens, whether they are in the tranquility of a misty morning or the vibrant colors of a setting sun.
Technical skill will be crucial for this project since, in order to produce photographs that accurately capture the spirit of nature, I’ll need to become an expert in exposure, lighting, and composition. I aim to produce technically accurate and emotionally impactful images, whether I’m using a macro lens to bring out the fine details of a tiny insect or a wide-angle lens to capture expansive vistas.
My ultimate objective in photography, however, goes beyond the technical aspects and is to establish a strong bond with nature and spread that bond to others. My goal is for my images to evoke awe, wonder, and a sense of responsibility for the priceless ecosystems that support life on Earth. I want to remind people how important it is to preserve and protect or natural heritage so that future generations can continue to enjoy it by showcasing the beauty of nature in all its forms.
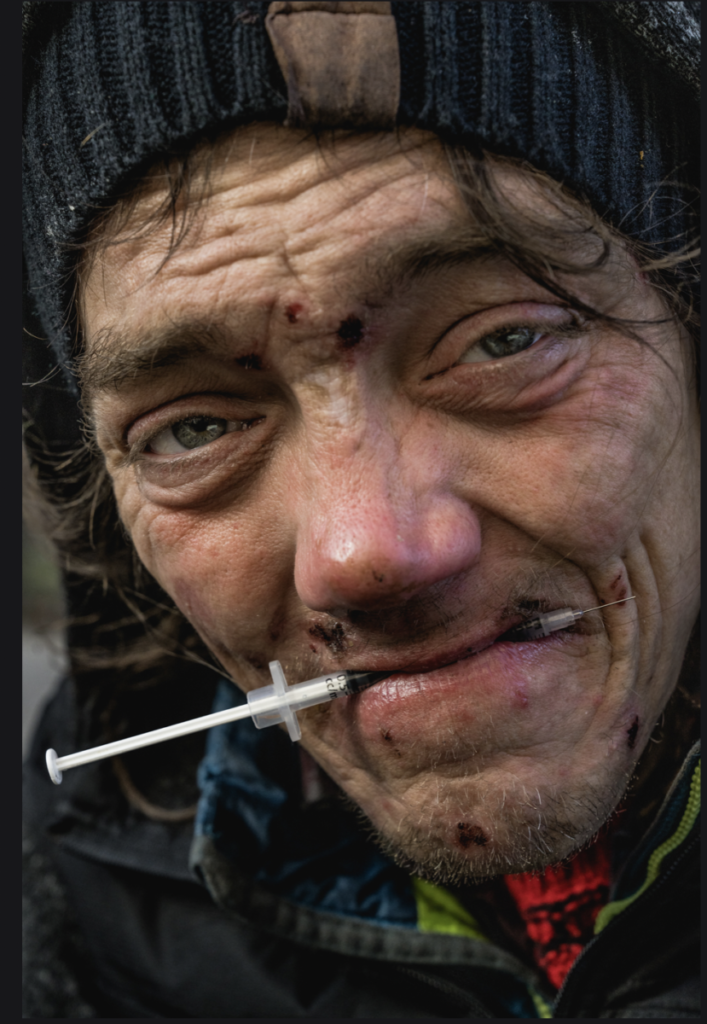
The photograph is a powerful portrayal of a homeless man, and it appears that the photographer’s intention was to shed light on the man’s life. The image is filled with hope despite the harsh realities it depicts.
Fill the Frame: The man’s body fills the entire frame, allowing viewers to see all the details very clearly. This technique draws attention to the subject and eliminates distractions, providing a sense of intimacy and detail.
Dominant Eye: One of the man’s eyes is covered by his hair, but the other eye is very firm and strong. This is the dominant eye in the photograph. The dominant eye guides the viewer’s gaze and can convey a lot of emotion, in this case, the man’s resilience and determination.
Patterns and Repetition: The chains around the man’s neck repeat like a pattern, symbolizing the shackles in his life. Patterns and repetition can create rhythm and structure in a photograph, making it more visually appealing.
Contrast: The man is wearing shabby dark clothes, and the surrounding environment is also very dark. This forms a strong contrast with the colorful flowers, the only other color in the photo. Contrast can help to highlight the main subject and evoke emotions.
Symmetry: Although not immediately obvious, there is symmetry in this photo. The man is sitting along the center line of the photo, creating a balance. Symmetry can make a photo more harmonious and pleasing to the eye.
In conclusion, this photograph is a great example of how different components and compositions of photography can be used to tell a story and evoke emotions. The photographer has skillfully used these elements to portray the life of the homeless man and to evoke feelings of hope and resilience. It’s a testament to the power of photography to shed light on different aspects of human life and society.
Global corrections adjust the entire file. In the Lightroom, it includes the controls under Light, Color and Effects. In Lightroom classic, this includes everything in the basic panel: White balance, Tone and Presence.
Jimmy CajasPaloma Pryor
Download and tone both files. Put the corrected versions in an album on Flickr.
Local corrections
After you make global corrections, sometimes you will want to make corrections to part of your image. Generally, the brightest part of the image commands the most attention. Sometimes that is not where you want your viewer to look first so shifting the exposure of parts of your image can create the image you want.
Masking
Lightroom masking allows you to select part of the scene and correct it. It can select “the subject” or specific people. It can select the sky. You can manually select areas with the brush or object tool.
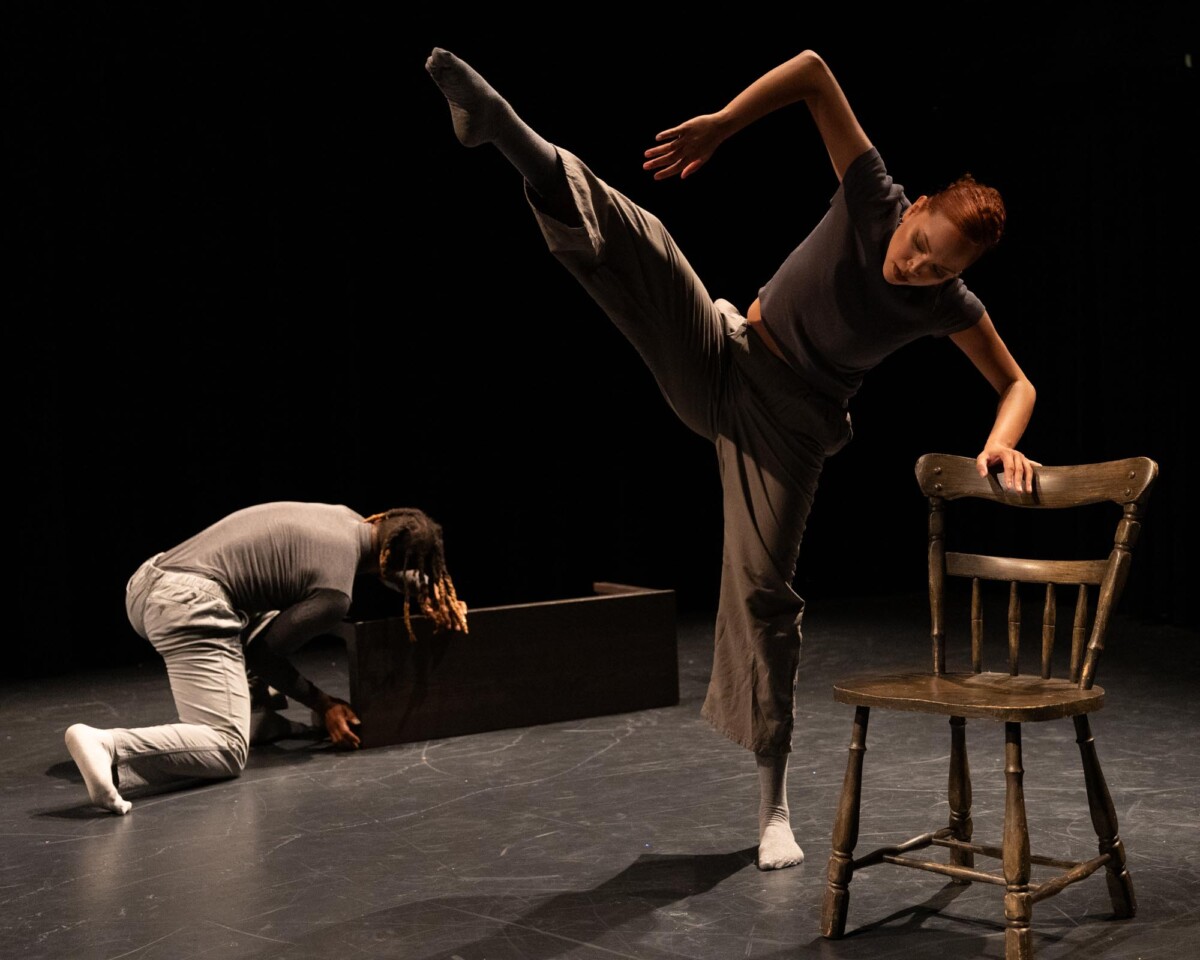
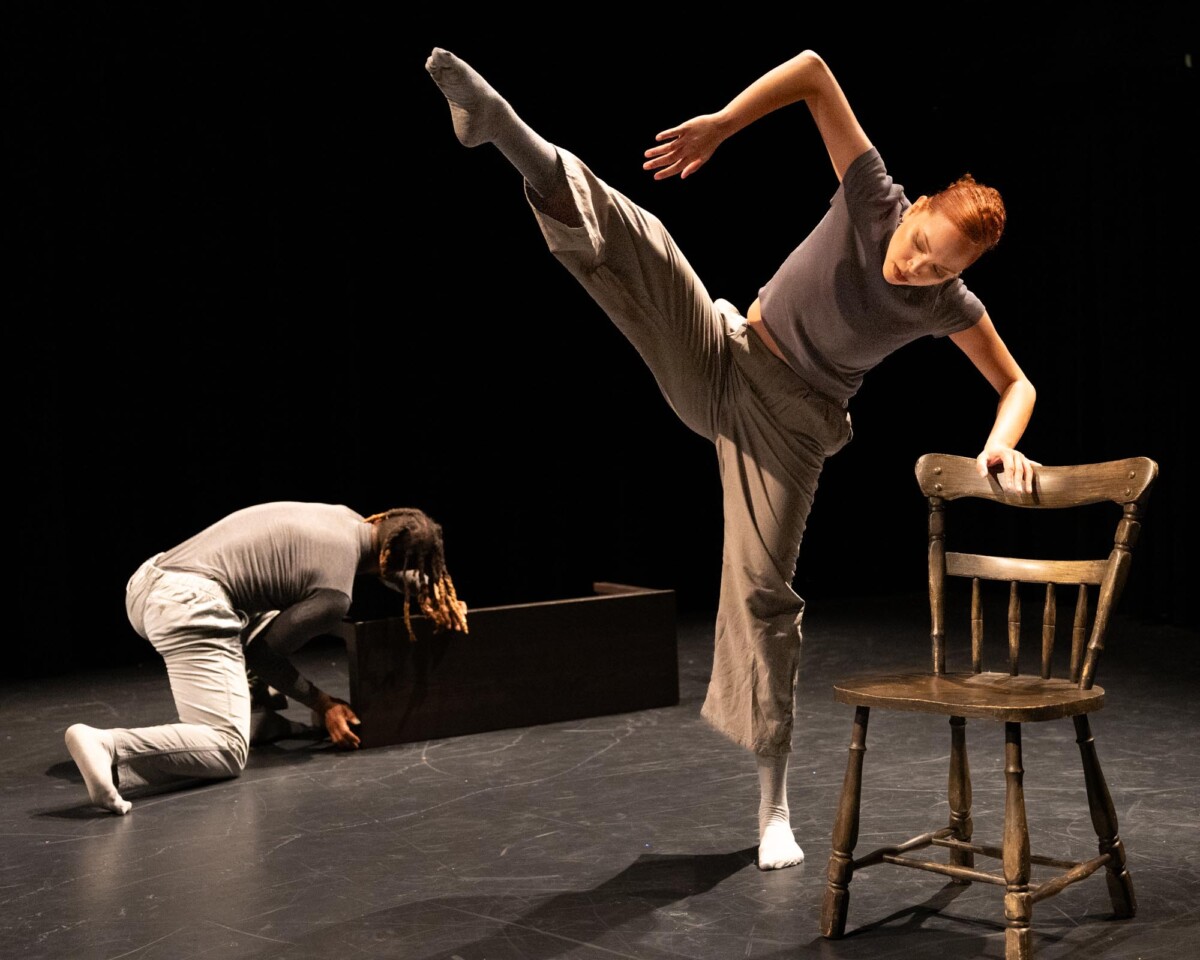
Example 1
Robin Michals
This is an image I shot at the Dance Bloc Festival of The Dynamite Experience.
Image one is the file as shot.
Image two uses a subject mask.
Image three uses a second mask created with the brush to reduce the brightness of the crouching figure.
Example 2
originalglobal exposure correctiomsubject and sky masks
Use masks to make local corrections on the files below.
Working with your partner, you both adjust one of their photos and compare the results. Then you both adjust one of your photos and compare the results.
Put your results, a total of 8 photos, in an album on Flickr for today’s lab credit.
1 album of the 10 best photos adjusted in Lightroom
a 3-5 min presentation of the final project – projected from the album on Flickr.
Presentation Guidelines
Start by introducing yourself and your project. Then outline the big picture with a few sentences sentence such as, ” I photographed variations on the theme of windows. Most of the photos were taken in downtown Brooklyn.
If you are showing 10 images, you have about 30 seconds to describe each photo. Tell us what your intention was, what interested you about the photo we are looking at, and give us information we may need to know to understand the photo. Tell us what makes it visually interesting ie the use of shallow depth of field or some other feature.
How do you get to Carnegie Hall? Practice.
Do not tell us about what you did to the photo in Lightroom.
Late coursework will NOT be accepted after today May 14 at midnight. Final projects will not be accepted after May 21.
Start with a reflector. Have your model stand with the sun to their back. Use the reflector to reflect light back into their face. Hold the reflector higher for a more pleasing result.
2. Then with the subject still with their back to the sun, use flash to brighten the model’s face. Use the flash on camera at a relatively low setting such as 1/64. You don’t want to cast any shadows on the face just brighten it.
3. Bounce the flash off the reflector onto the subject’s face.
Use your widest aperture for shallow depth of field. You may need to use a fast shutter speed to compensate. When using flash, make sure to set it to High Speed Sync (HSS) in order to be able to use a shutter speed faster than the sync speed.
Make sure to photograph everyone in your group, not just one person. Put your 20 best outdoor portraits in an album on Flickr and send the best two to the class group.


Recent Comments