Prof K Pelka : Monday 6:00 - 9:20

Author: Ken Pelka (Page 13 of 15)

Welcome, Students!

Please take some time to explore this OpenLab course site. Use the top menu bar to explore the course information, activities, and help. Scroll through the sidebar to find additional information about the materials shared here.

Join this Course

Login to your OpenLab account to join this course. Follow these instructions if you need help joining this course.

If you’re new to the OpenLab, follow these instructions to create an account and then join the course.

Remember that your username and display name can be pseudonyms, rather than your real name. Your avatar does not need to be a picture of your face–just something that identifies you on the OpenLab.

Questions

If you have any questions, please reach out via email or in Office Hours.

If you need help using the OpenLab, you can consult OpenLab Help or contact the OpenLab Community Team.

Week 1 Lab Exercise :Hands

Inspiration

Photographing hands, create 10 interesting and varied photos.

Make the hand or hands a dominate element in the compositions.

Pay attention to gestural quality of the hand as well as the light illuminating the hand.

Shoot the following:

  • 2 Photos of hand and face. Can be part of your face
  • 2 Photos of close up of hand with light coming from the side
  • 2 Photos of hand in different activities
  • 2 Photos of hand and textures or surfaces
  • 2 Photos of your choice

Try to keep distracting details out of image by filling the frame

Upload the 10 photos to Flickr, put them in an album labeled Lab 1 Hands

Everyone will work with a partner. Share your images with your partner by viewing Fickr

Select your single favorite of each other’s photos.

Create a new post on OpenLab. Post the favorite photo of your partners and describe why you chose it

Post to open lab/student posts/Lab1

Week3 Lab Exercise: Breaking the Pattern

Taking a group of similar objects, arrange them in a pattern. Stick to something small like pennies or M&Ms. Select a background that will set off your objects. Arrange the objects in a pattern that will fill the frame. Then using the rule of thirds, break the pattern. On one of the four intersections of the rule of thirds, change or remove an item. Take the final photo from an overhead view.

Put the photo of the pattern and the photo of breaking the pattern in a post with a short description of your decision making process: how you picked the objects and background and how you decided to disrupt the pattern.

Student posts/ Lab: Week 3 – Breaking the Pattern

Lab Week 3: Negative Space

Negative space is the background of your photo. It is everything that surrounds the main subject of your photograph.

Review the examples from today’s class topics page to see some of the ways to use negative space.

Find an object to work with. Clean off a space so that the only things seen in the photos are the object and the background. Take a minimum of 10 photos where the negative space is more important than the subject itself. Of these, take a minimum of 5 close up photos of the object so that it fills the frame and divides the background into shapes. Then take a minimum of 5 photos where there is much more background than subject. Experiment with the placement of the subject in the frame. Try all fours sides and corners. By moving your subject around in the frame and varying how much or how little background there is, you can change the mood of your photo as well as the composition.

No Electronics

Select your best from each group and post to OpenLab. Include a few thoughts on how negative space works in the two photos. What helped you create a more dynamic composition?

Post to student posts / lab3Figure/ground

Post all images shot to flickr Album lab3 figure/ground

Week 1 – Course Overview

Review syllabus

Light and the lens:

The purpose of a lens is to gather light rays and form an image behind the lens on the focal plane.

The focal plane of a lensis the plane behind the lens where the image is focused. Cameras place their light sensitive surface on the focal plane

The sensor is the light sensitive part of a digital camera 

Focal length of a lens is the distance from the lens to the focal plane. Focal length determines image magnification. The larger the focal length, the larger the magnification.

Exposure is the action of light hitting the sensor. Determines lightness or darkness of image.

Exposure is controlled  by aperture, shutter speed and ISO. Aperture controls the amount of light and shutter speed controls the length of time light will reach the sensor. ISO determines the sensitivity of the sensor to light. 

Aperture is the size of the opening of the lens. It controls the amount of light reaching the sensor.

Shutter Speed is the amount of time the shutter is open. Shutter speed controls the length of time light will hit the sensor. Usually denoted by fraction of seconds.

ISO is a rating that describes the sensitivity of the sensor to light. The higher the ISO, the more sensitive the sensor is to light. ISO settings will determine exposure settings.           

Camera Settings – real life doesn’t have an outline. Exposure triangle
https://images.app.goo.gl/q2cjDi7AFfY4Ggko9

https://www.dpreview.com/forums/thread/3635946 lens captures light

https://images.app.goo.gl/paiAeMEtVoyr123z8 Aperture,shutter speed, iso
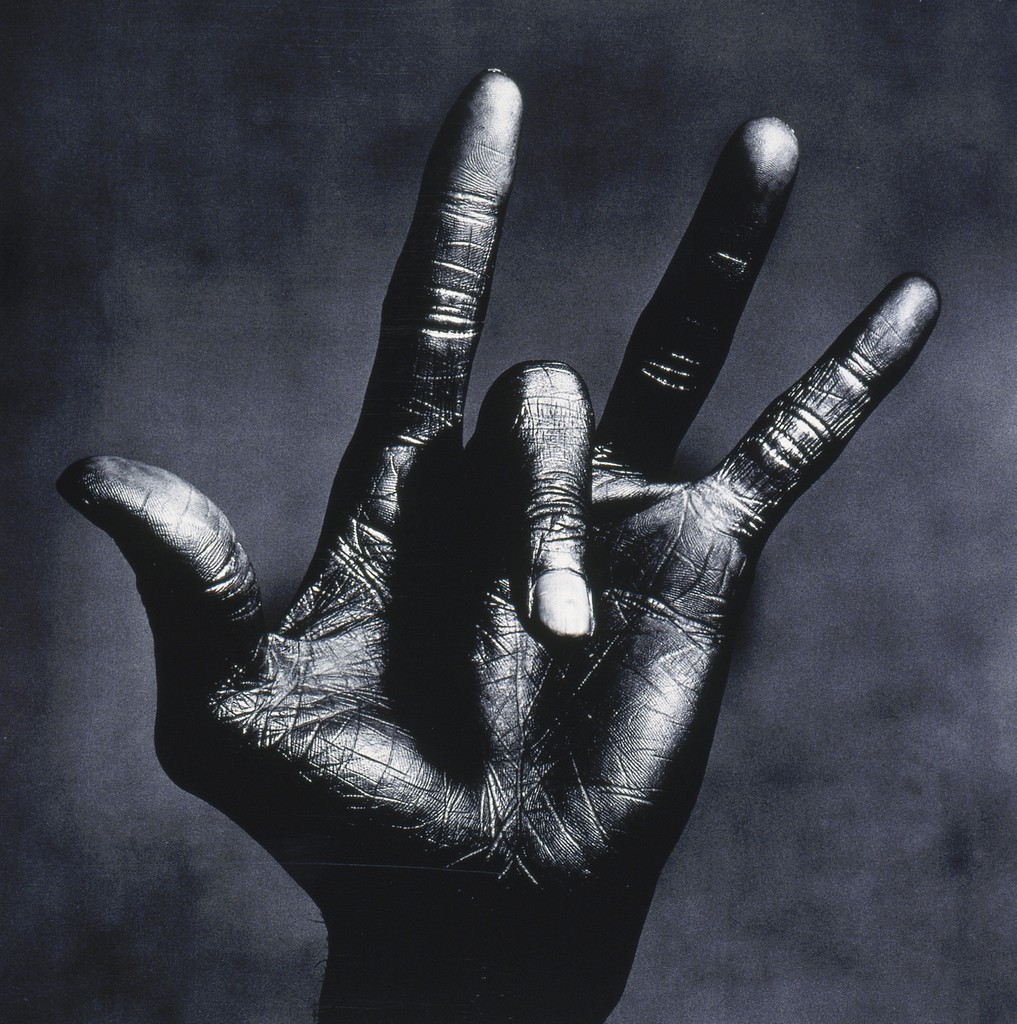
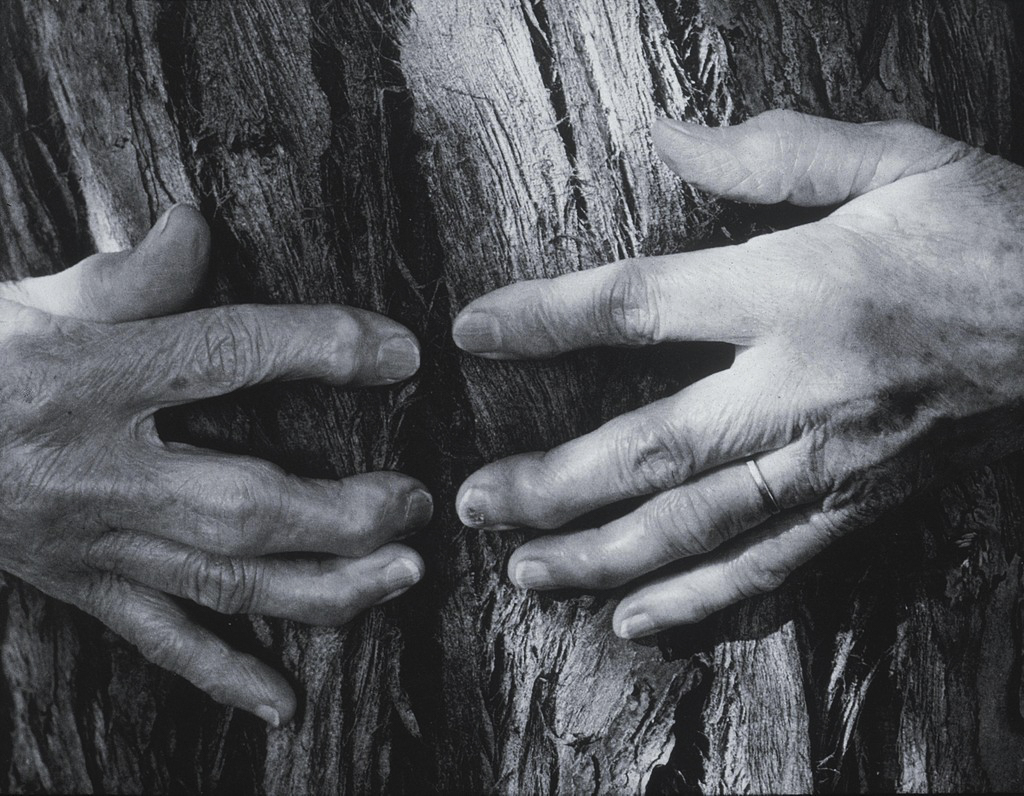
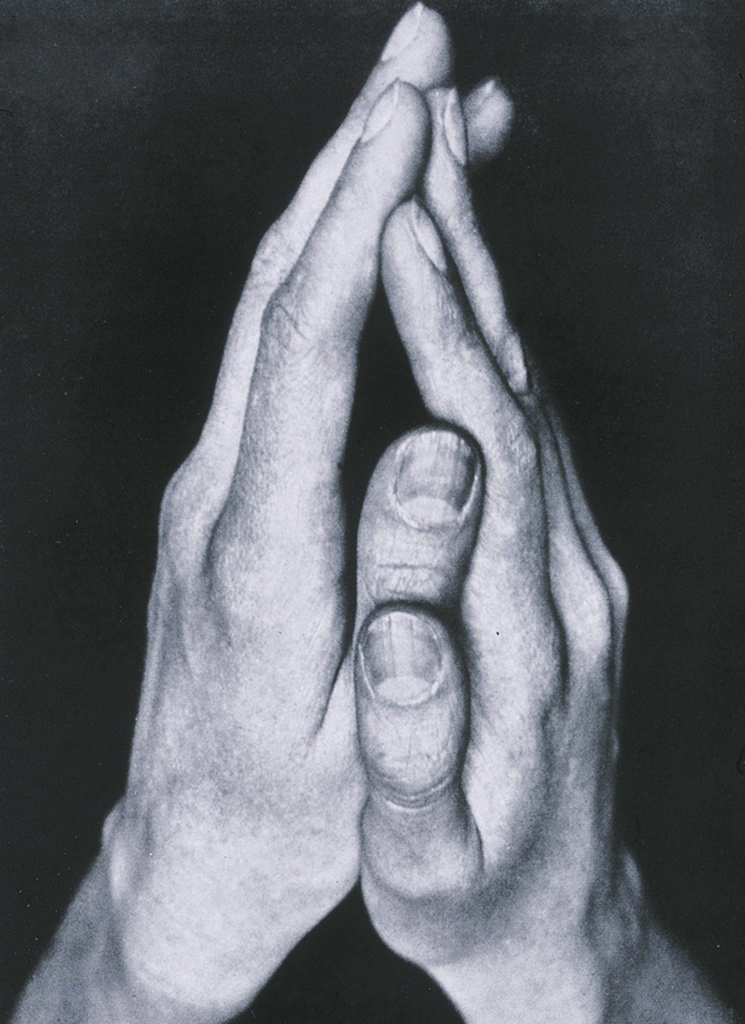
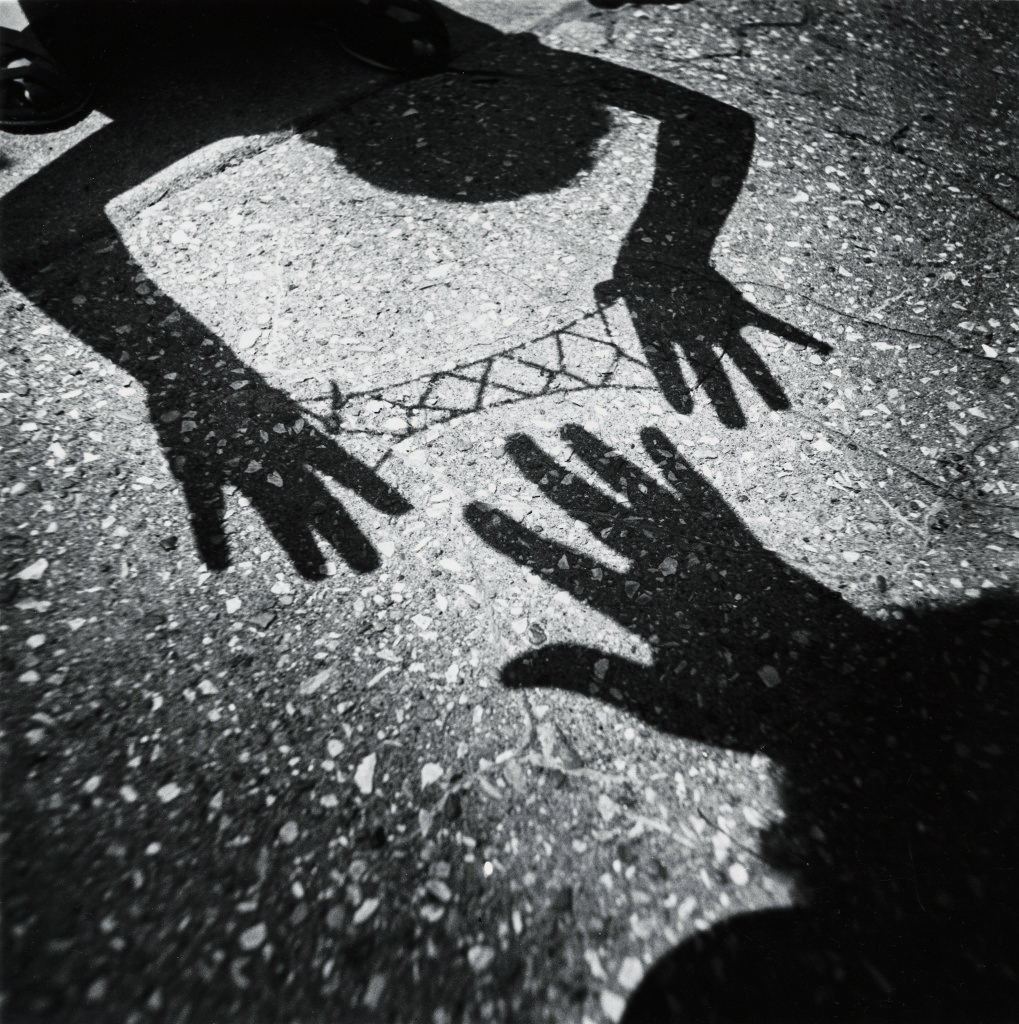
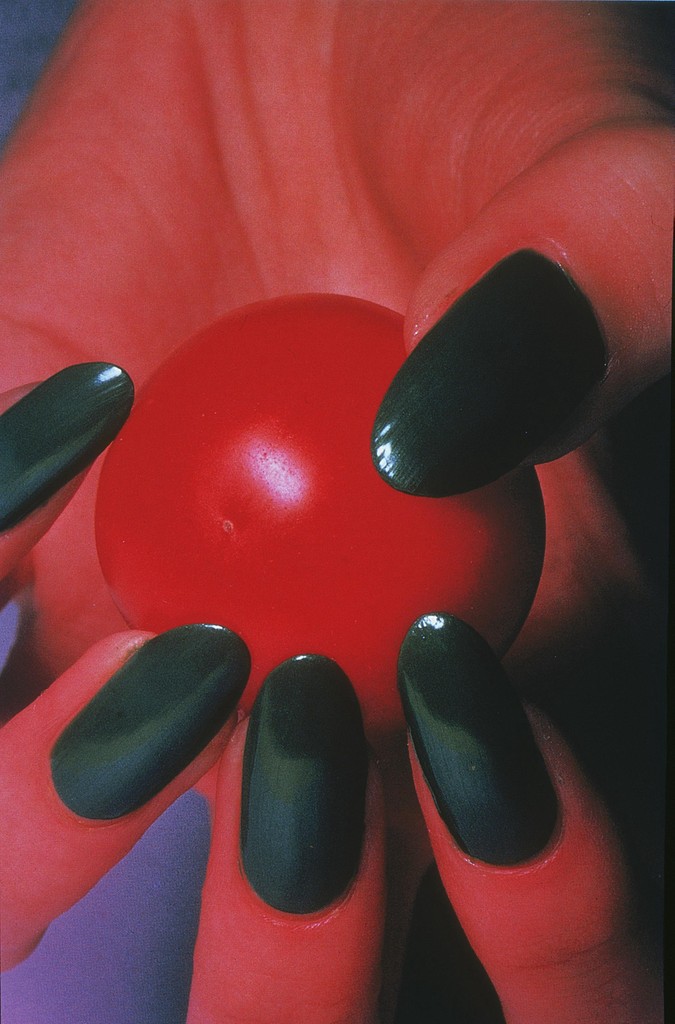
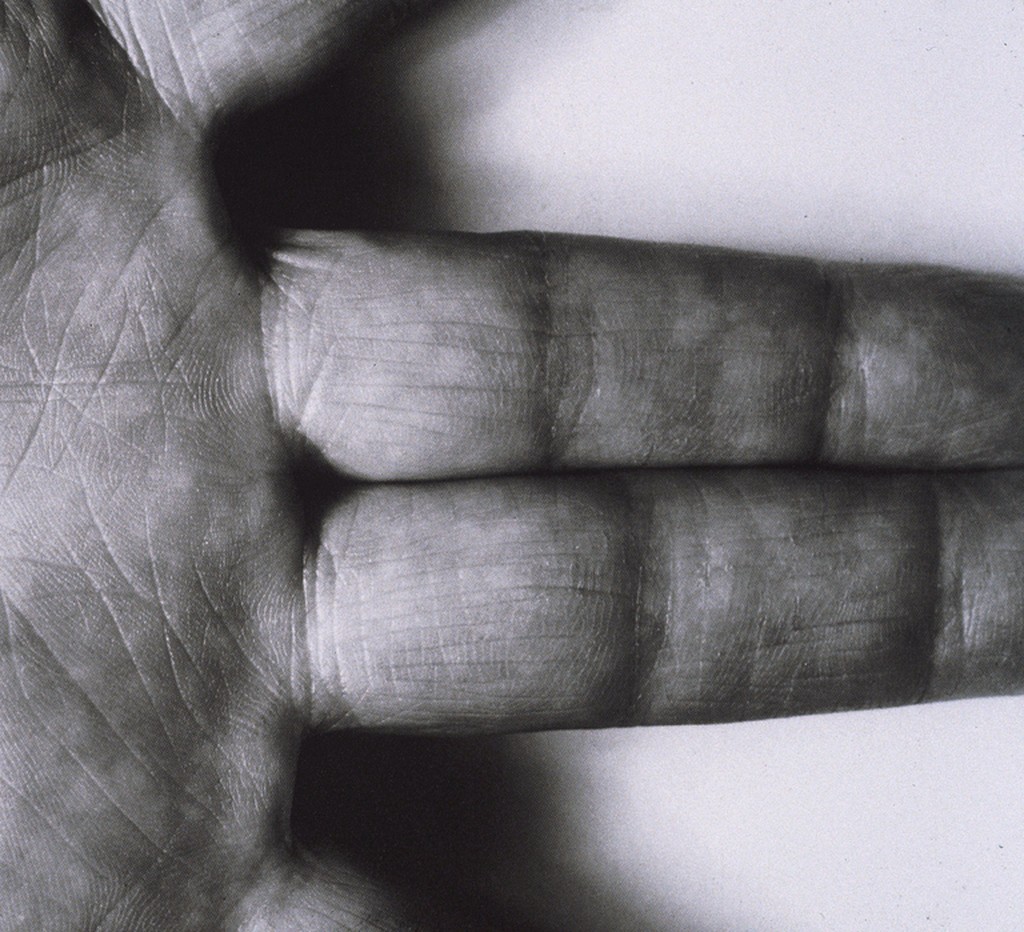
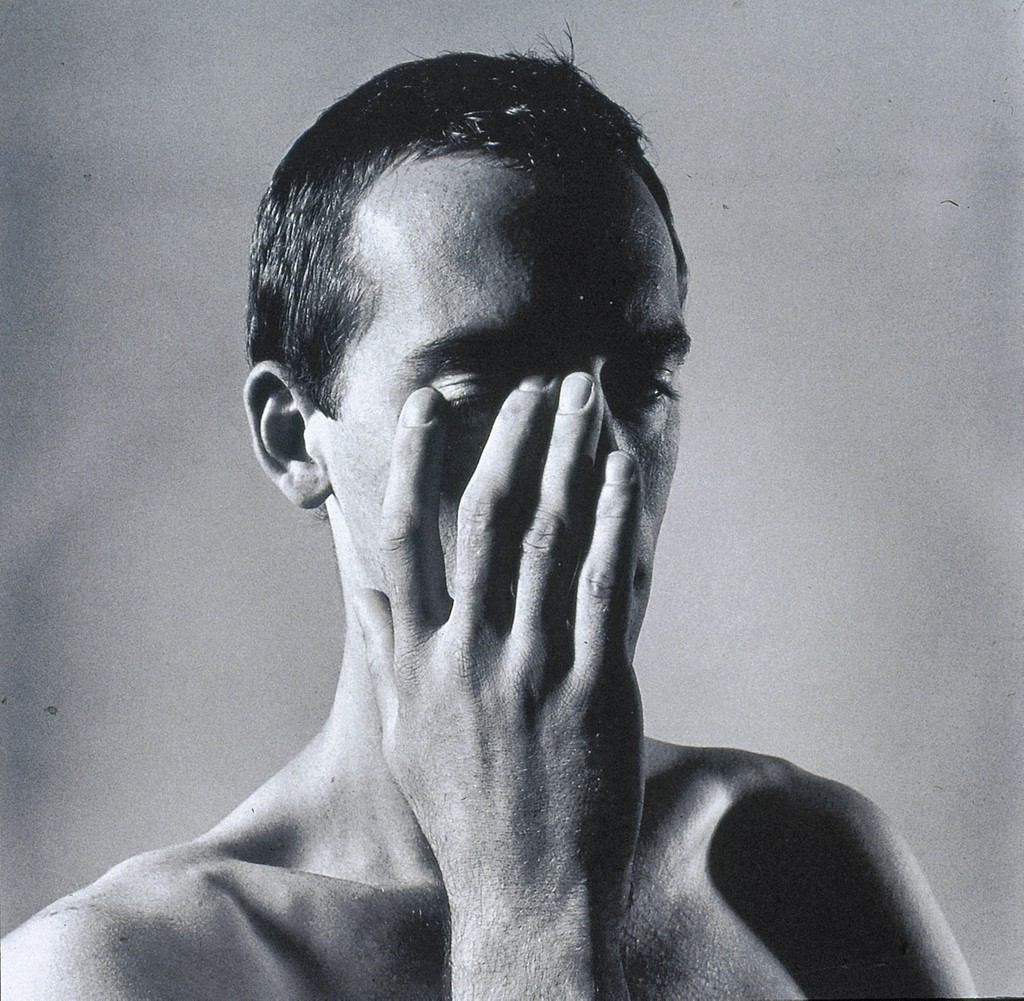
Lab: Hands

Due next class:

Homework 1 Textures

Discussion 1: Finding your voice

Interview with Dawoud Bey

Interview with Carrie Mae Weems – The Kitchen Table series

« Older posts Newer posts »