If you’re a faculty member, you might be wondering what to do with your courses when we want to move them to the next term. There’s admittedly a lot to think about when it comes to this issue, and depends on how you set up your course, whether you’re teaching the same course, how many sections of a course you teach. Your Community Facilitation team is always available to help you plan these things out. But one simple solution to issues of how to best move course materials from one term to another is to create a new site for your upcoming courses, and export all the old material there.
To do so simply follow these simple steps:
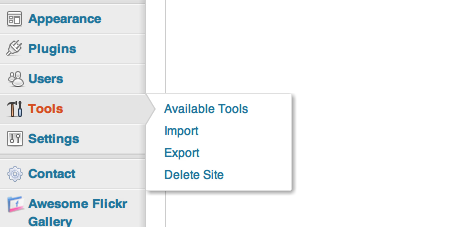
1) click “export” under “tools” in the left hand navigation bar
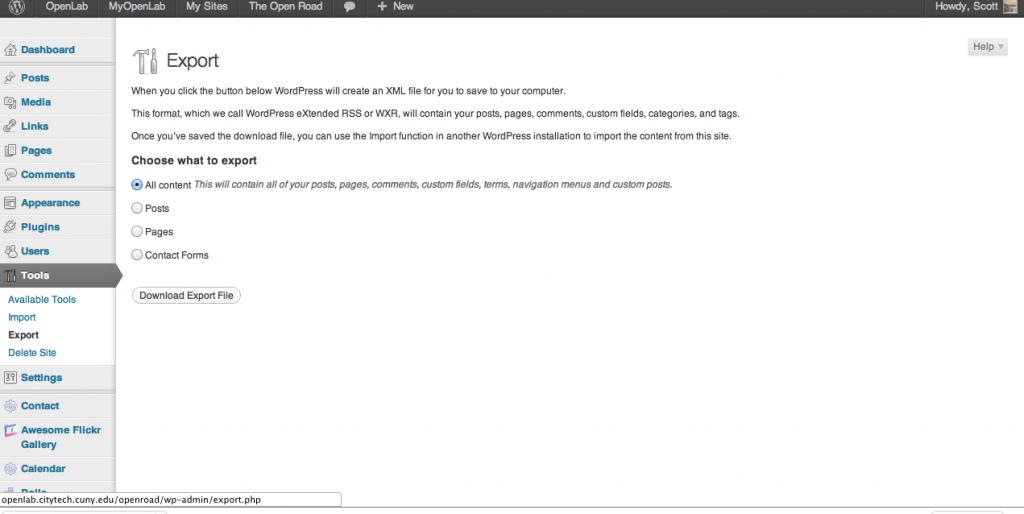
2) You’ll then see the Export dialogue: You can choose “All Content” or just pages and posts, you can even choose which authors to import. Once you’ve made those decisions, click “Download Export File.” That saves all your site’s information on your computer in an .xml format.
3) Now once you’ve created a new course (if you need a refresher, you can find that here).
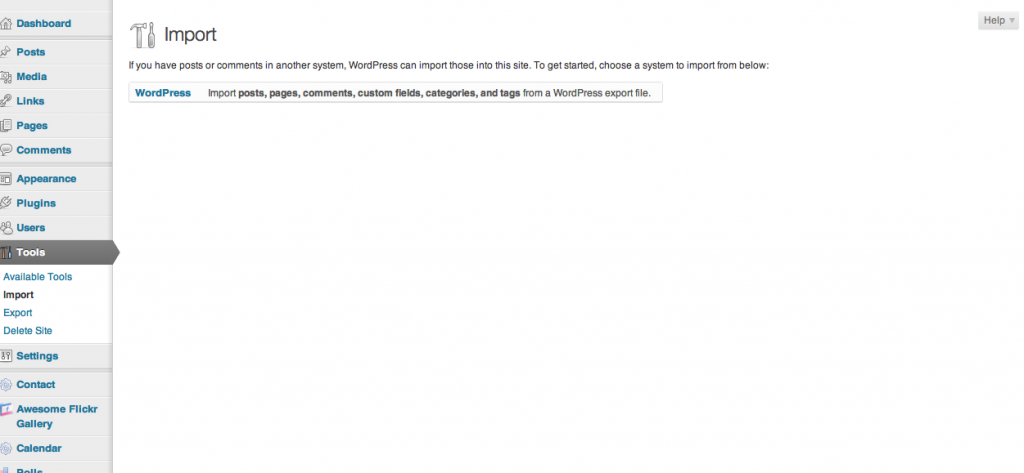
4) Once you’ve got your new, blank course, go to “Tools” on that new course dashboard and click “Import.” On our system, you’ll be asked to choose a system. We only have one, so click “WordPress.”
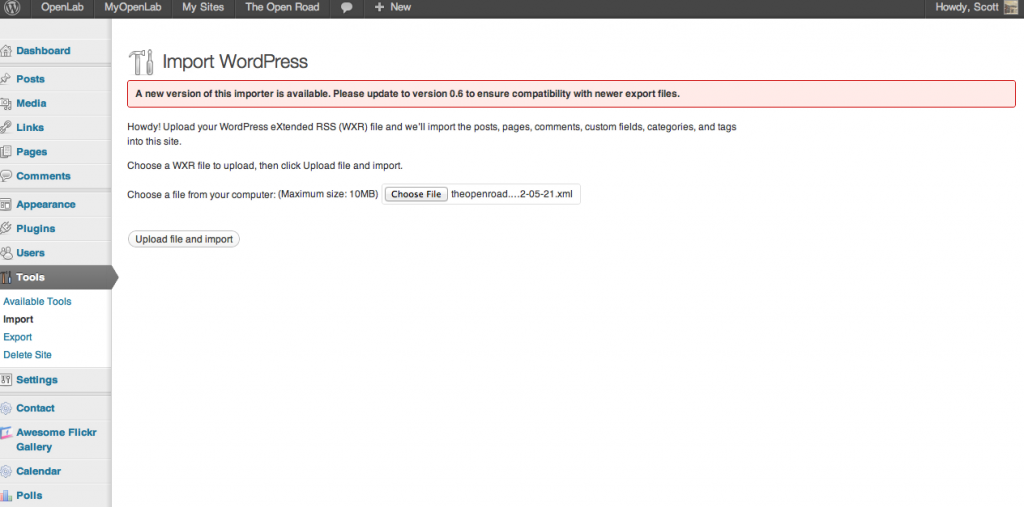
4) Choose your .xml file from wherever you saved it (on most, the default is your download folder). Click upload file and import, and you’re done!
A few things to note:
- not everything will look the same–images will move, formatting will change, widgets will be reset, and menus will reset to default. But all of your pages and posts and content will move (look for them under pages and posts on the dashboard), and it won’t take long to readjust things the way you like. This import/export process is really about content, not form.
- exporting will not take documents from the course profile page, only the site. Documents from the course profile page have to be moved or re-uploaded.


