Molding Lab
Description
For this lab assignment the main objective was to cut a stick of lumber into two types of dimensions and building a frame based on the dimensions giving to us by Professor McCullough. Through this lab assignment we also learned the various tools needed in order to construct the frames such as the table saw , band saw, dado cutter, mortise, as well as a planner , and a biscuit cutter. This lab assignment was to go over the various joints such as a half lap, biscuit, as well as a mortise an tenon.
Work Process
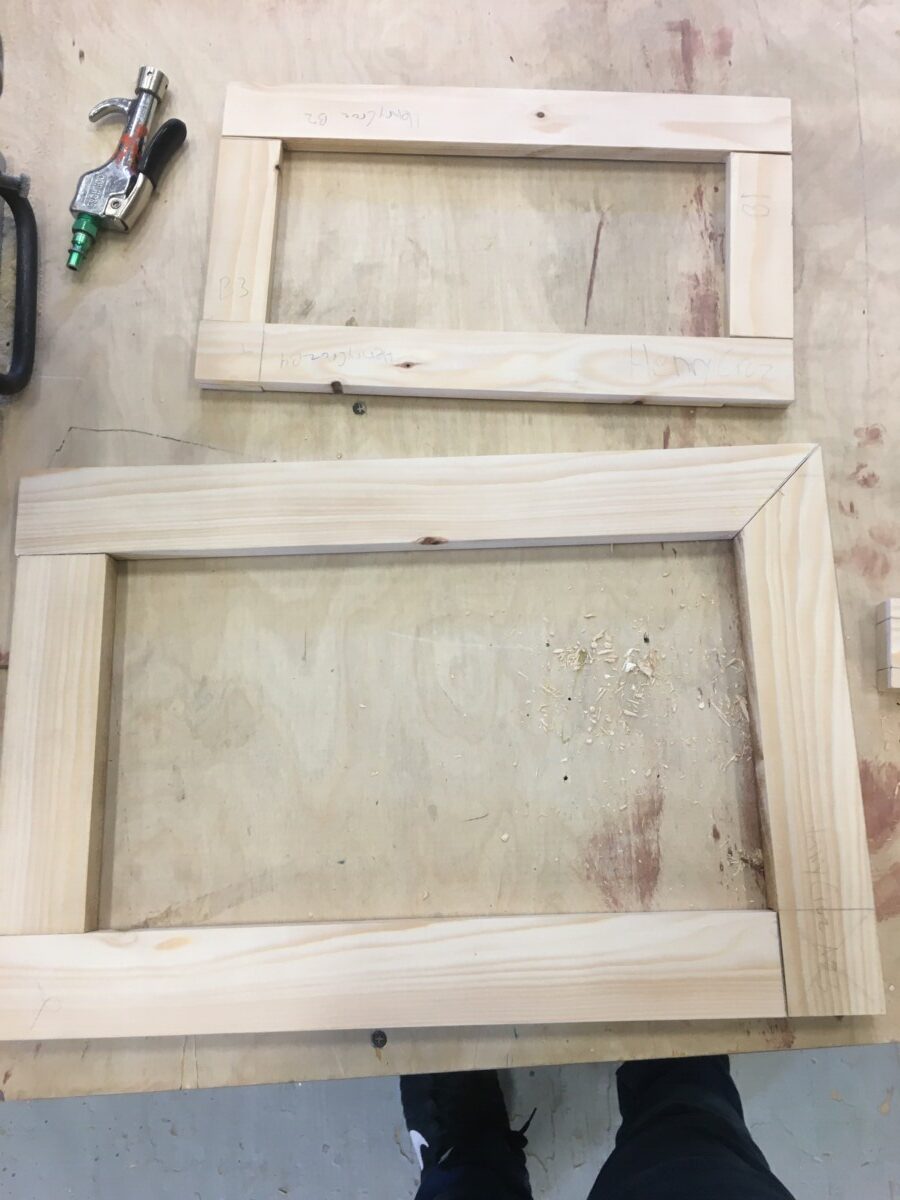
The way I approached this assignment was by making a cut list of all the pieces of lumber that would be needed in order to make the frame as well as making sure I have enough for spare lumber if any mistakes where to occur. After this I worked on the table saw to make the pieces that where needed which where 2″ inches for frame 1 and 1-1/2″ for frame 2. The only difference was the thickness of the frames while frame 1 is kept untouched frame 2 it was necessary to mill it to 1/2″ thickness. The usage of the planner was able to achieve such thickness. At first I wasn’t aware if I was using the tool correctly however once I was re-shown what to do I felt more comfortable using it.

Half laps Joint
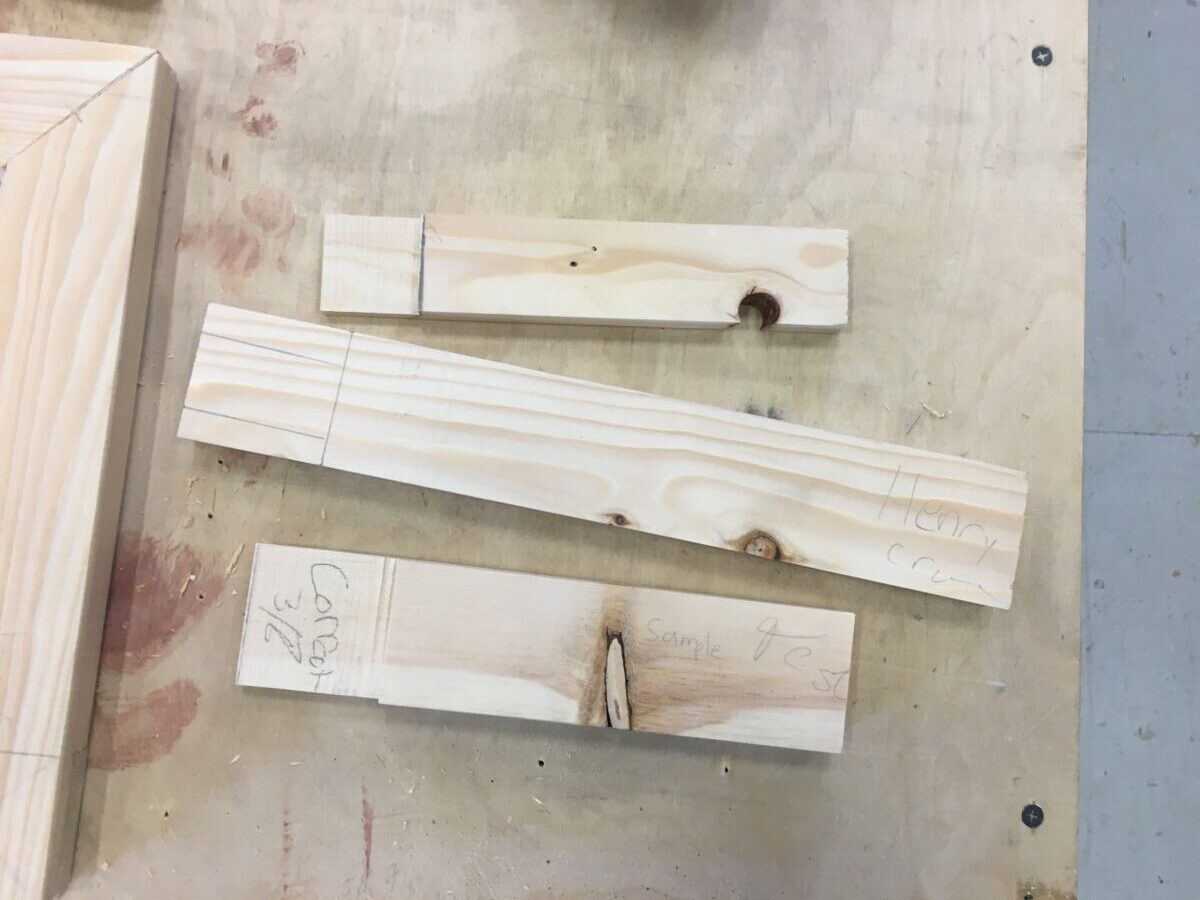
For the half laps joint I used the bandsaw approach in order to cut the pieces. The reason I used the band saw was because I felt that it was easier to achieve such joint rather then using the dado cutter. How ever in order for me to get the cut which I needed I spent some time making a sample of wood for both frame types which I was able to achieve. Because of the sample pieces that I made the following class I was able to cut all the necessary half laps as I used my sample pieces to align the band saw to the actual dimension needed.
Biscuit Joint
For the biscuit joint it was more able about refamiliarize myself with the tool. Which didn’t take long as Professor McCullough gave a demonstration at the beginning of class. I was able to mark the center of the frame joint and was able to make the biscuit joint cut before the end of class.
Mortise and Tenon joint
As I am unfamiliar with the mortise tool I was a bit worried as to how the cut will come out. However with a little patience as well as understanding how the tool work I was able to cut the mortise for frame 1. The tenon portion of the joint I used the band saw as it was more about marking the placement of the tenon joint. After the joint was cut all I had to do was sand it down and connect the pieces necessary and glue them together.
Application
As for application for future uses is based on my knowledge of the tools as well as the joints. The reason is because it allowed me to better understand how to use the different tools that can be found in a scenic shop. Not only that but it also allowed me to understand the different types of joints that would be necessary to use in a scenic setting.