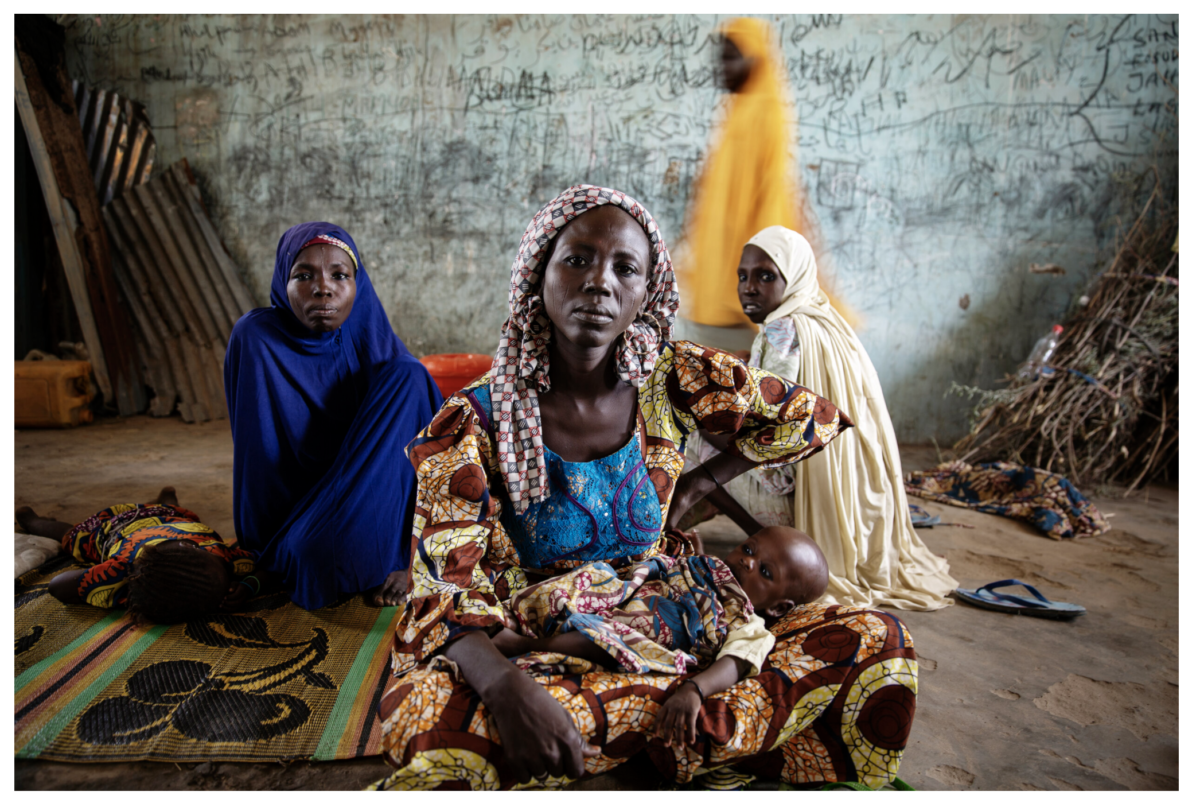
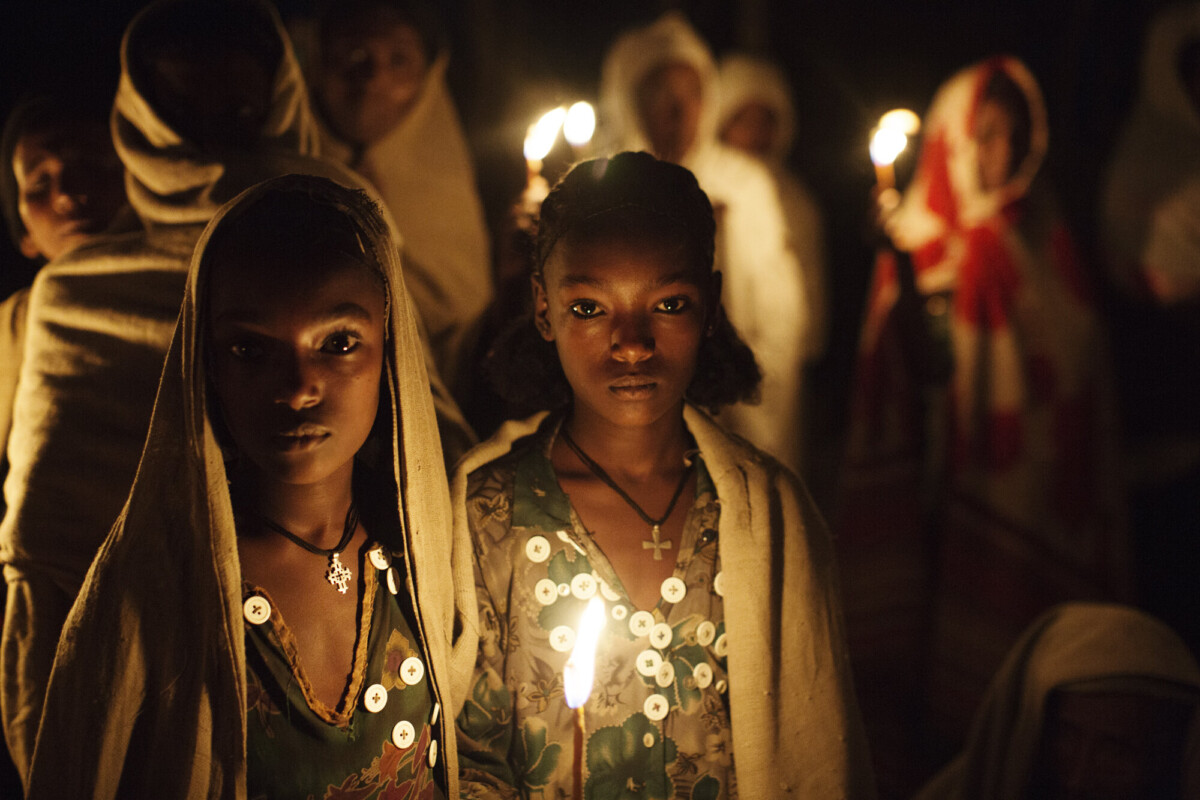
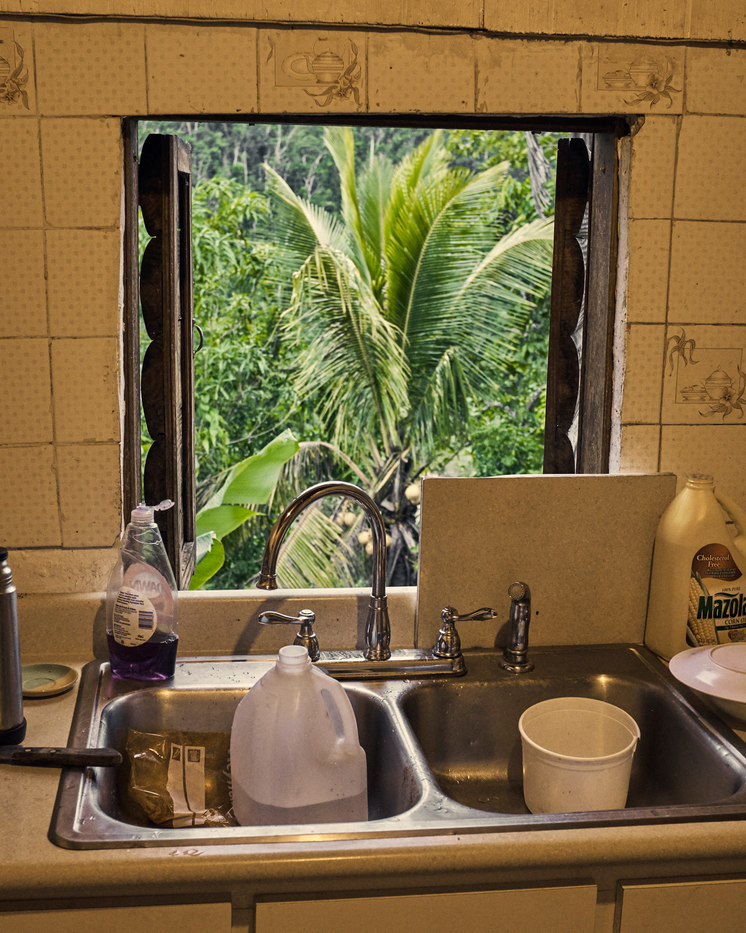
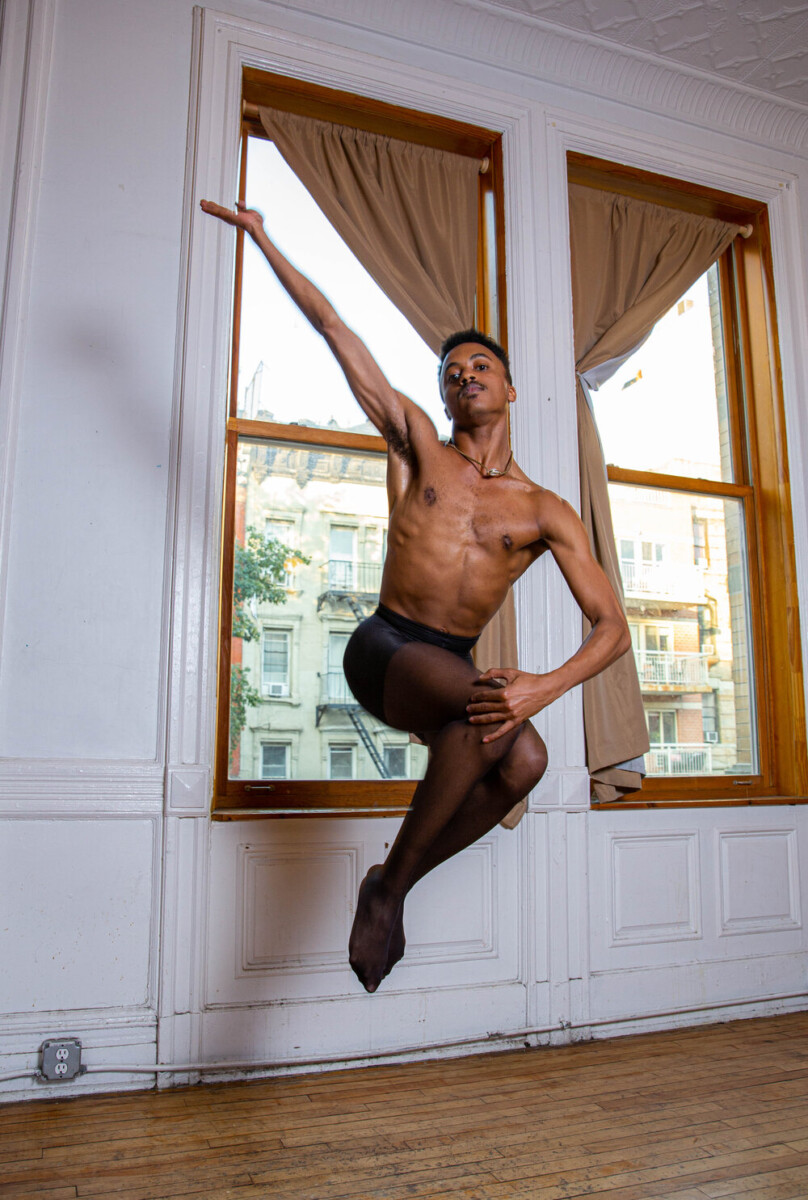
Photographer: Malin FezehaiPhotographer: Malin FezehaiPhotographer: Christopher Gregory RiveraPhotographer: Christopher Gregory RiveraPhotographer: Alex WebsterPhotographer: Alex Webster
Inspiration
Review Shutter Speed
Shutter Speed is the length of time that the sensor is exposed to light to create the photograph. It is measured in seconds or fractions of a second.
The full stops for shutter speed are: 30”, 15”, 8”, 4”, 2”, 1”, . sec, ., 1/8, 1/15, 1/30, 1/60, 1/125, 1/250, 1/500, 1/1000, 1/2000, 1/4000, 1/8000
Doubling the time, doubles the amount of light that reaches the sensor.
When shooting with a cameraphone and the Lightroom Photoshop app, you can set the shutter speed of your cameraphone between 1/10,000 and 1 sec.
The general rule for getting a sharp image is that the shutter speed should be 1/focal length. So a sports photographer using a 500 mm lens should use a shutter speed of 1/500.
A good rule of thumb when shooting with a camera is: Any shutter speeds slower then 1/60 require the use of a tripod. When shooting with a cameraphone, you will need a tripod to shoot at 1/15 or slower.
Image Stabilization can reduce blurriness when photographing a still subject in low light.
Turn off IS when mounting the camera on a tripod or photographing a moving subject..
Strobe Lights
Strobes
Strobes have two bulbs:
the modeling light which helps you see where the light will fall
the flash that fires when you press the shutter release
A trigger on the camera uses radio waves to tell the receiver to fire the light. The power pack stores the power used to make the exposure.
Strobe Lights or Flash-The exposure triangle does not hold because the shutter speed is effectively replaced by the flash duration. We adjust the exposure primarily with the aperture or the ISO.
Flash duration
Flash duration is how long the flash of light is that takes the picture. It is the amount of time that the flash head goes from on to off.
If you want to freeze motion with available light, it is the shutter speed that will do it.
If you want to freeze motion with flash or studio strobes it is the flash duration that counts.
The higher the power that you use, the slower the flash duration.
With our Dynalight strobes this is about 1/700th of a second at full power.
Sync Speed
Sync Speed-is the fastest shutter speed for which the shutter curtains are completely open at the time of exposure (or when the flash fires). For shutter speeds above sync speed, the shutter curtains are no longer fully open and so you will see the shutter itself in the photo as a black area. the sync speed for our class cameras is 1/200 sec.
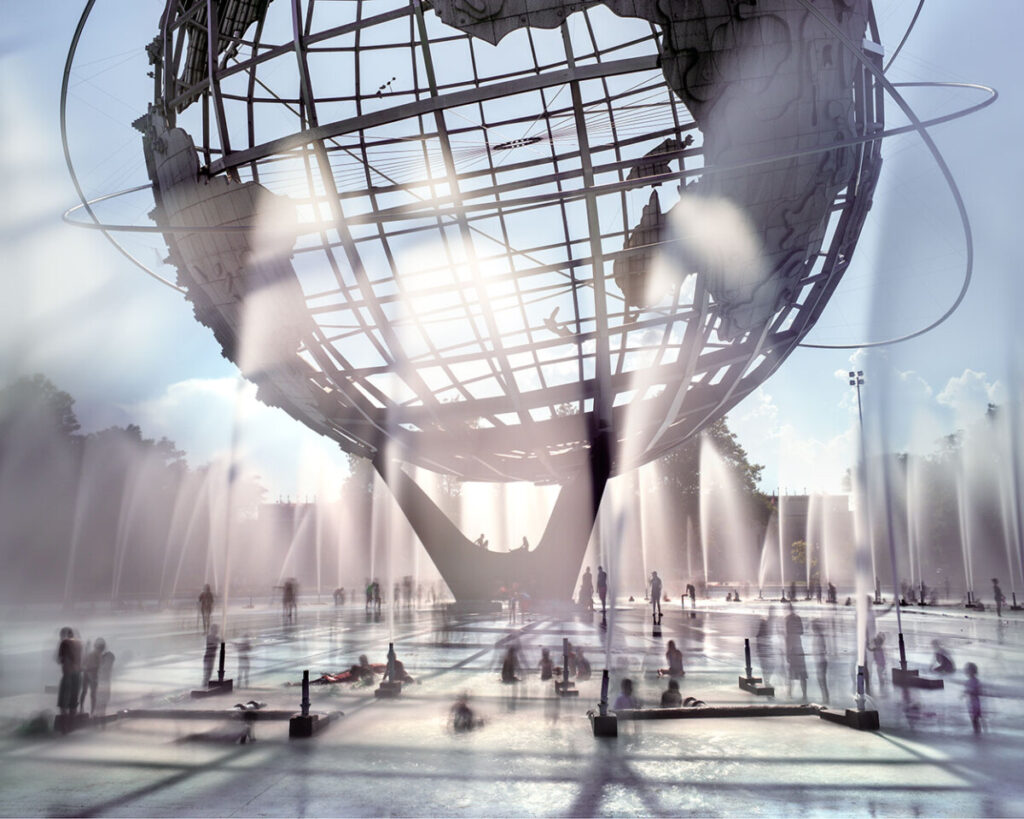
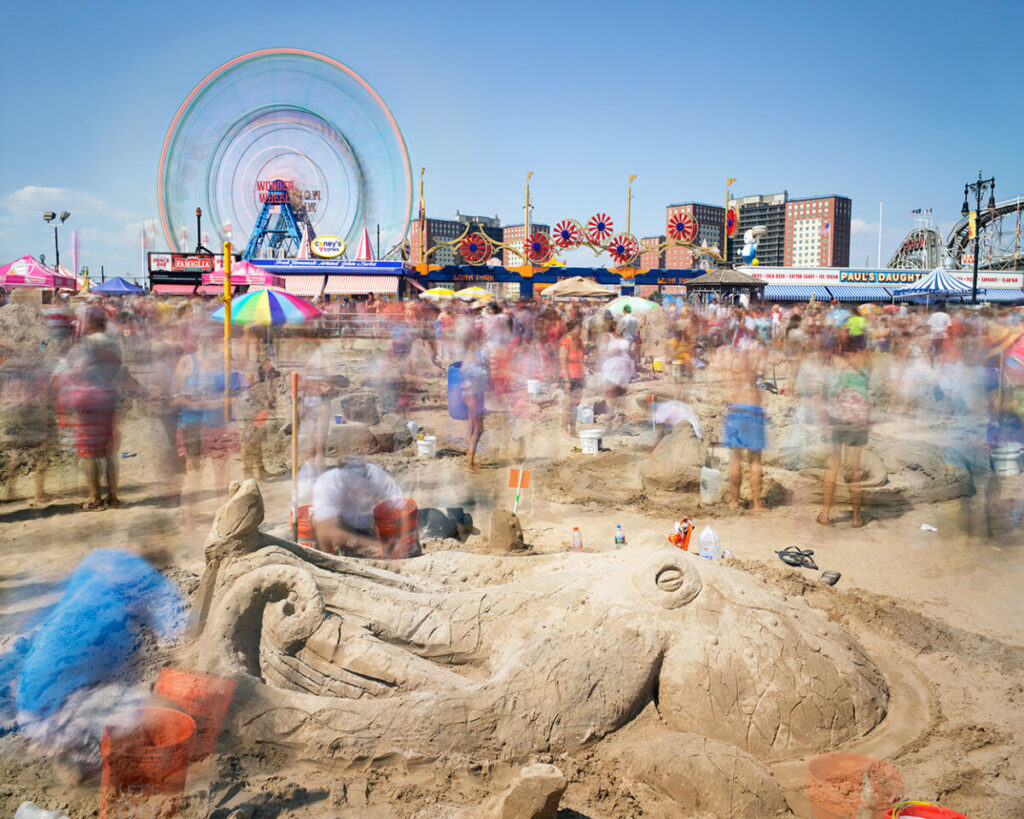
Blurring motion
Blurred motion-moving elements blur with a longer shutter speed.
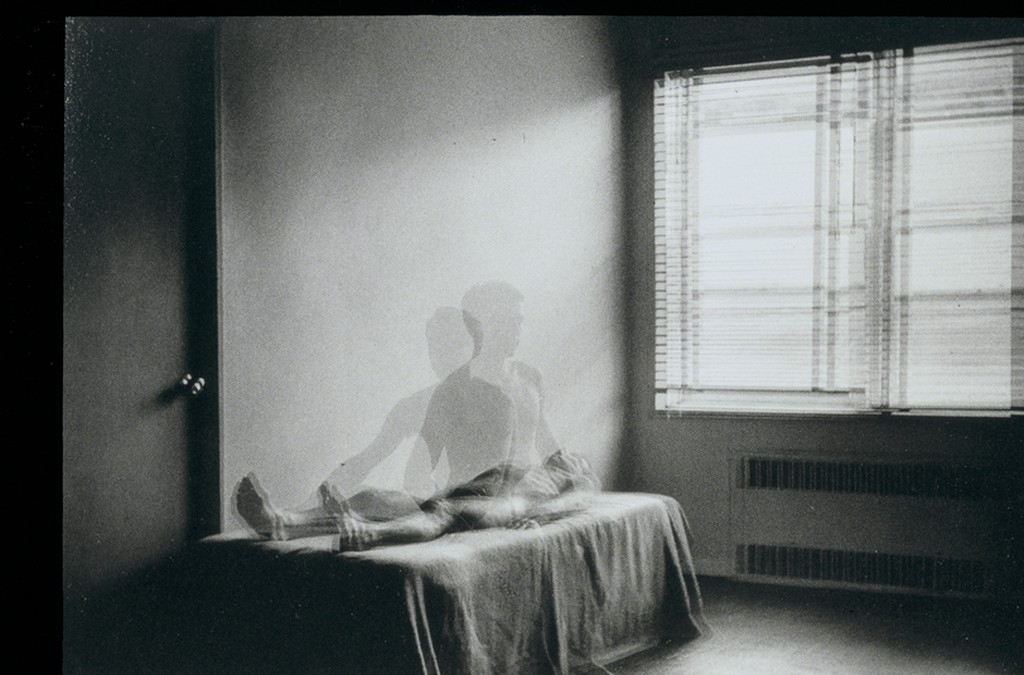
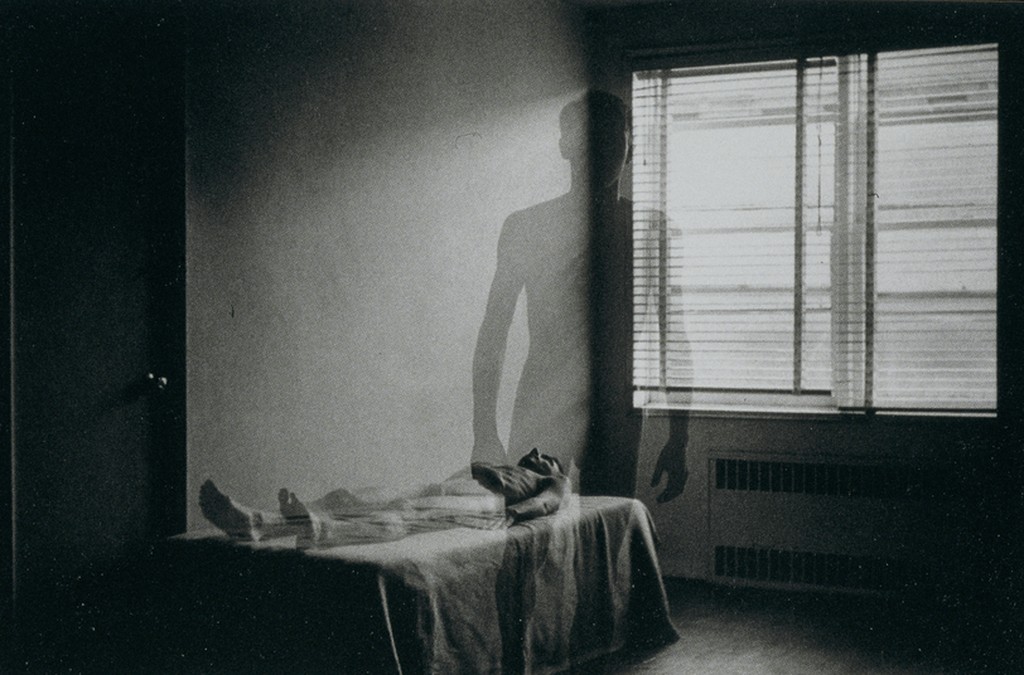
Matthew PillsburyMatthew PillsburyMatthew PillsburyDuane MichalsDuane MichalsDuane Michals
How to blur motion:
Use a tripod.
Use a slower shutter speed – 1/4 sec to 30″ or even longer
Direction-if the subject moves parallel to the picture plane there is more visible movement than if the subject moves toward or away from the camera.
Focal length-a subject will appear blurrier when photographed with a telephoto lens than when photographed with a wide-angle lens.
Quiz Questions
Define shutter speed.
Set shutter speed to freeze motion in a photograph
Set shutter speed to blur motion in a photograph.
Define flash duration and understand its importance to capturing motion.
March 1 – Painting with Light – Bring a flashlight or use your phone flashlight
March 8 – Lighting and Mood – Please bring in a small stuffed animal to work with. Try to bring in a toy that is made out of cloth and not plastic as it will be less reflective. So a stuffed animal rather than an action figure.
Also, if you have a string of lights bring that too.
March 15 – Food Photography Basics – Bring a vegetable and something to put it on-a cloth, woven mat, a cutting board.
March 22 – Quiz 1, Toning Images
Quiz 1 – 4 pts. – Review weeks 1 – 5, Composition and framing, depth of field, motion, tripod use, lights and lighting. There will be 3 technical questions with a right or wrong answer and a compare and contrast of two photos graded on correct use of vocabulary.
Freeze motion Shooting with strobes, experiment and create some magic with frozen motion. Shoot at least 10 examples and put them in an album on Flickr.
2. Blur motion In a series of long exposure photographs, use motion blur to tell a story, a ghost story if you will. Contrast something sharp, still and in focus with motion blur to create a narrative or show an inner state or emotion. Shoot at least 10 versions and put them in an album on Flickr.
Technical
Use a tripod. The camera cannot move during the exposure.
2. Use the timer so that you do not shake the camera.
3. Use a long exposure such as 10″ with ISO 100 and a narrow aperture such as f11. This should give you enough time to create the blur you want.
You can either shoot 40 frames of frozen motion OR
20 frozen and 20 blurred motion.
if you do not have a tripod or other way to secure the camera, stick to frozen motion!
Frozen motion:
Working outside in the day in good light, freeze the motion of athletes and bike riders, skate boarders, dancers, jumping dogs, a moving subway car. Try at least two different types of subjects ie soccer players and bikers, kids on swings and dancers. Capture the decisive moment. The soccer player when their leg is fully stretched out in a kick, a bike rider doing a wheelie. Don’t be shy. Fill your frame with the action.
If you are working outside in bright light with your cameraphone, it will select a fast shutter speed. If you are working with a camera, use a fast shutter speed.
Blurred Motion:
Each shot MUST have something sharp and something blurry.
For blurred motion you must find a way to secure the camera. If you don’t have a tripod and are working with a camera, rest it on a surface and use the camera’s timer.
If using a cameraphone, you will need to use an app. I recommend slow shutter.
You will still need to secure the camera otherwise the whole image will be blurry.
If you are working with a camera phone, you can make a tripod from a coffee cup or small box like a tea box.
Post 40 shots to an album on Flickr. Please don’t include all of the times you missed: shots out of focus, the back of receding bike riders, etc. Just your best work. Send your best two to the class group.
Working with a flower, natural or artificial, create a series of images that evoke a range of emotions. Use light and composition to change the mood. Work with whatever lights you have available: a window, a desk lamp, the flashlight on your phone are all good choices. Don’t use the light of an overhead light but instead something that you can control. You may not use props. Think carefully about the background.
The six emotions are: happiness, sadness, fear, anger, surprise, disgust. Create 5 versions of each one for a total of thirty images. Post to an album on Flickr. Send your best two to the class group.


Recent Comments