Professor Michals

Author: rmichals (Page 5 of 8)

Week 6: Food Photography Basics

Food Photography

Food photography is a genre of commercial photography that makes food look appetizing for the camera. It is not just photographs of food. It has its own vocabulary and conventions.

Inspiration

Other Inspiration

  • Jennifer Causey https://www.michelekarpe.com/Jennifer-Causey/Food/1
  • Kana Okada https://www.michelekarpe.com/Kana-Okada/Food/1
  • Marcus Nilsson https://www.marcusnilsson.com/
  • Quentin Bacon http://www.quentinbacon.com/#/food/

Food Photography Basics

Angle of View:

The two main angles of view used in food photography are: overhead and three-quarter view which is between eye level and overhead.

Depth of Field

If a three-quarter view is used, often shallow depth of field is also used to bring attention to the food itself.

Depth of Field-The distance between the nearest and farthest points that appear in acceptably sharp focus in a photograph. Depth of field can be shallow or extensive. While the term includes the word depth, depth of field refers to focus.

How to control depth of field

These four factors control depth of field:

  • lens aperture
  • focal length
  • camera-to-subject distance
  • sensor size.

Aperture is the size of the opening that allows light to hit the camera’s sensor when the photograph is taken. 

  1. Aperture values are expressed in numbers called f-stops. A smaller f-stop number means more light is coming into the camera and will create shallow depth of field. A larger f-stop number will let less light into the camera and create extensive depth of field.
  2. The full stops for aperture are: F2, f28, f4, f5.6, f8, f11, f16, f22, f32
  3. Cameraphones have a fixed aperture.

Focal Length  is the distance from where the light converges in the lens to the sensor. If it is a short distance then the lens is a wide angle lens and shows a lot of the scene. If it is a long distance, the lens is a telephoto lens and it magnifies the scene. Wide angle lenses create extensive depth of field while telephoto lenses create shallow depth of field.

Camera-to-subject distance is how far the subject is from the camera. If everything is far from the camera, it is easier to achieve extensive depth of field. If the main subject is very close to the camera and the background elements are far from the camera, it is easier to achieve shallow depth of field.

Sensor size-the smaller the sensor the easier it is to achieve extensive depth of field. Bigger sensors allow for shallow depth of field.

 Bokeh-Bokeh comes from the Japanese word boke (ボケ), which means “blur” or “haze”, or boke-aji, the “blur quality.” Bokeh is pronounced BOH-Kə or BOH-kay. 

 — From http://www.nikonusa.com/en/learn-and-explore/article/h0ndz86v/bokeh-for-beginners.html

Light Quality

Direct light-all comes from one direction and makes clear crisp shadows. Sunlight is an example of direct or hard light.

Diffused light– comes from many directions and makes soft shadows. The light on a cloudy day is an example of diffused or soft light.

In food photography, there is a main light. It is usually a side or a back light.

The main light casts the shadows.

The fill light brightens shadows. Often instead of a second light or the fill, we use a reflector opposite the main light to bounce the light into the shadows.

Distance

The distance between the light source and the subject will allow you to control how it looks. This is such an important factor because of the Inverse Square Law.

The Inverse Square Law states that the intensity of the illumination changes in inverse proportion to the square of the distance from the source.

Translation: The light’s brightness drops much faster closer to the light source than further away.

Generally, when working with a clamp light as the main light, set the main light a bit further from the subject to spread out the light. Hold or fasten the diffuser in front of the light. The farther in front of the light the diffusion is set, the softer the light will be.

Set up the white reflector as close to the food as possible and not have it in the frame.

Resource

Watch 1:14 to 6:00 on lighting

Quiz Questions

  1. What is the role of the main light?
  2. What is the role of the fill light?
  3. What is the function of a diffusion panel? How does how you position it change how much it diffuses the light?
  4. What is the function of a reflector? How does how you position it change how much it reflects the light?

Lab Exercises

Onions and garlic

Homework

Midterm Project

Quiz 1

There will be a quiz next week on March 22. It will be worth 4 pts. It will consist of three technical questions and a compare and contrast paragraph essay.

The topics will be: composition, shutter speed, freezing and blurring motion, long exposures, when to use a tripod, light quality, light direction, depth of field, food photography as a genre, role of the main light and the fill light.

Midterm Project

10 pts. Shoot 2 due March 22, 12 noon.

Final Presentation Due March 29th

Portrait of a place-Select a park or playground near you. Photograph there at different times of day to capture the place and the people who use it in a series of 10 final photos.

Shoot in your location at 2 different times of day and or in different weather. Your shots should cover a wide range of approaches: long shots to close ups, people in motion either blurred or frozen, animals and plants. If you have a tripod, make at least some of your photos in the blue hour – 20-30 min after sunset or once it is dark. Each photo should use light and composition in compelling ways. Use the project to demonstrate your strengths in photographic composition.

Deliverables:

  1. 40 photos in an album labeled Shoot 1 on Flickr due March 15th at 12 noon:

2. 40 Photos in an album labeled Shoot 2 on Flickr due March 22 at 12 noon.

3. 10 final photos adjusted in Lightroom in an album labeled Midterm on Flickr due March 29th at 12 noon.

4. A brief presentation to the class of your project on March 29th.

Examples:

https://www.flickr.com/photos/142814845@N02/albums/72157716547128271/with/50511223617/

1
Happy Chess Man
JL_L0835

Week 5: Lighting Direction

Lighting Quality

Diffused– light hits the subject from all directions and the shadows are soft

Direct– light hits the subject from one angle and the shadows are crisp with sharp edges

Lighting Direction

Front light – light comes from near the camera position.

Side light – light come from 90 degrees to the camera position.

Back light – light comes from behind the subject and aims towards the camera.

Other terms to know

Ambient Light-The light that is already there sometimes called available light

Continuous Lights-Always on, may be incandescent, halogen, fluorescent, LED

Strobe Lights – lights that fire when the exposure is made

Strobes have two bulbs:

  • the modeling light which helps you see where the light will fall
  • the flash bulb that fires when you press the shutter release

A trigger on the camera uses radio waves to tell the receiver to fire the light. The power pack stores the power used to make the exposure.

Inspiration

Contrast: The measure of difference between bright areas (highlights) and dark areas (shadows) in a photo

High contrast : Large difference between highlights and shadows. Mostly lights and darks without many mid tones  

Low contrast :  Little difference between lights and darks. Mostly mid tones.              

Modifiers

In studio photography, we put modifiers on the flash heads to change the quality of the lights. Two basic categories of modifiers are:

  1. Softboxes- these spread and diffuse the light. The light hits the subject from many directions making the shadows softer.
  2. Grids – these concentrate and focus the light. The light hits the subject from one direction making the light harsher and the shadows sharper.

Quiz Questions

  • Identify lighting direction in a photograph: front, side, back
  • Identify light contrast: high or low

Lab Exercises

Lighting Direction and Quality

Midterm Project

Portrait of a Place

Next Week

The Basics of Food Photography

Please bring in:

  1. a background- a table cloth, cutting board, baking sheet, bamboo mat
  2. one food item like an onion, head of garlic, something small and not-reflective. For examples many apples are waxed and really shiny and will cause direct reflection so avoid that for now.

HW 4 – Long Exposure

4 pts. due March 8th. 20 long exposure images.

Long exposure photography is typically used for night photography.

If you have a camera AND a tripod, try a combination of night photos and or light painting. When shooting with a camera and a tripod, keep your ISO to 100 and make the shots longer to add light. Something must be sharp in every frame. The best time to do night photography is 20 to 40 minutes after sunset. So this week that would be 6:10-6:40 or so. The sky will be a beautiful blue at this time and the light levels are less contrasty than later.

If you are shooting with a cameraphone, you may try a light painting app. If you have an iPhone 11 or higher, it can do a credible job of hand held night photography. If not, find a way to secure your camera with a tripod homemade or store bought. Figure out what you need to do to get a sharp image in low light for your equipment.

In general, whatever you are shooting with bright lights close to the camera will become shapeless white blobs. Change the composition so that street lights are further away or not in your frame.

Week 4 – Painting with Light

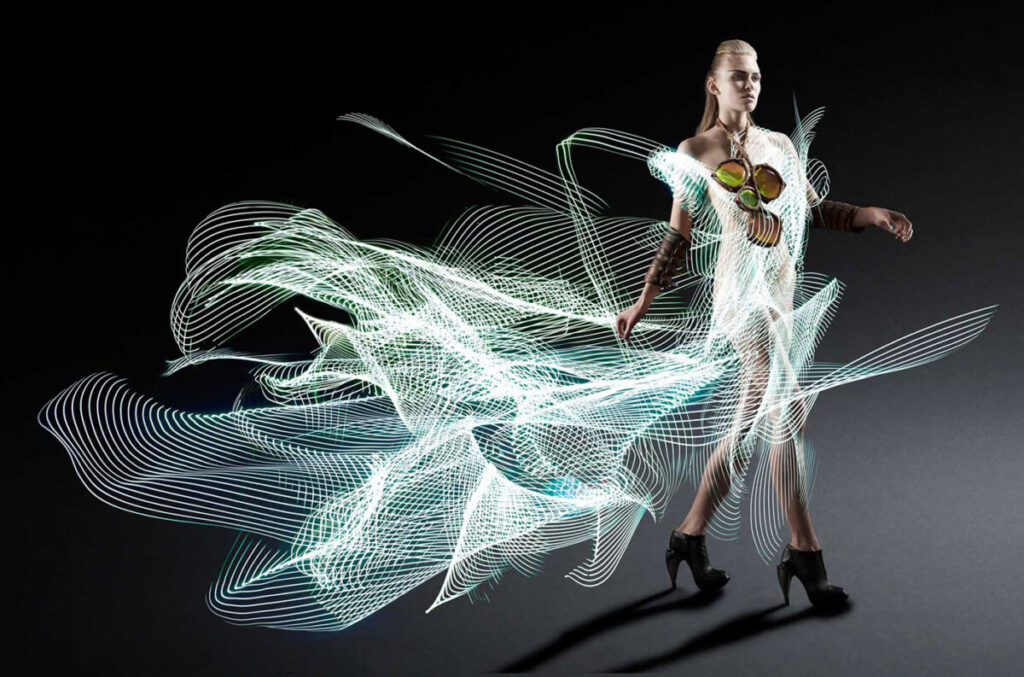
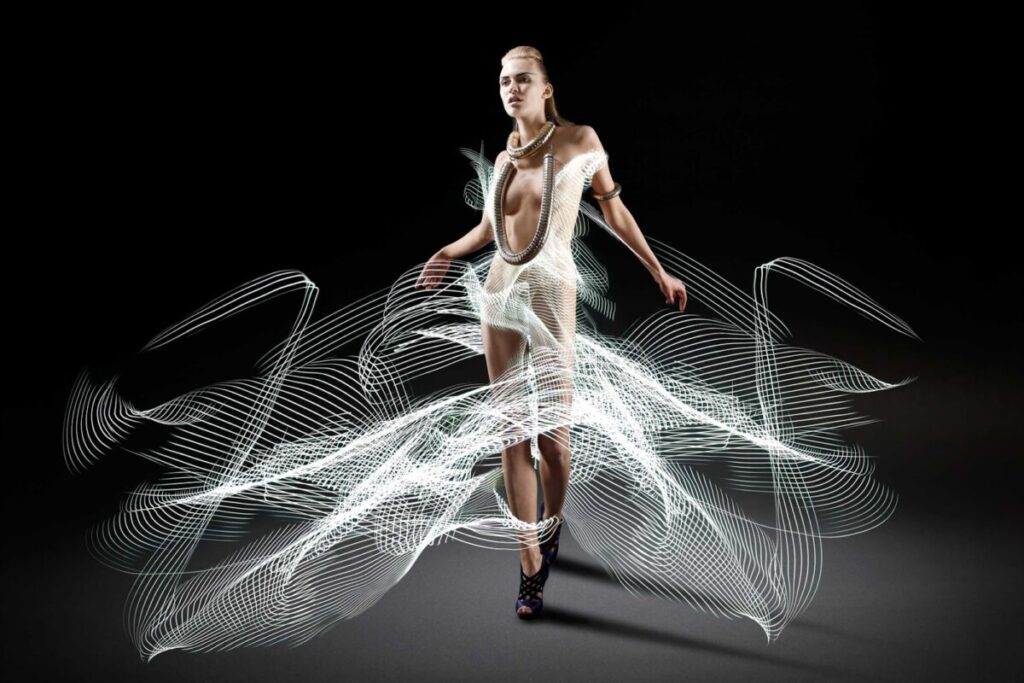
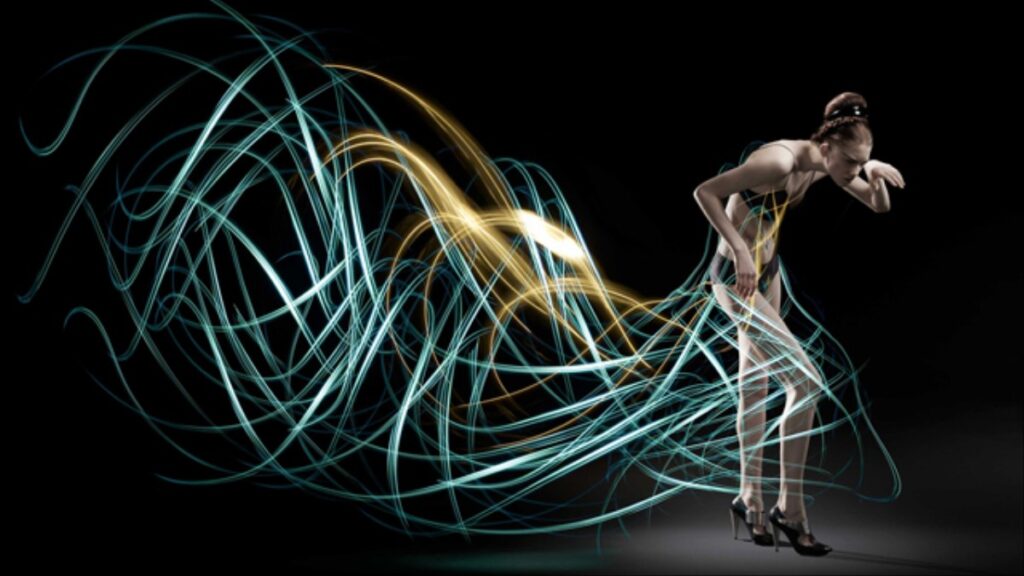
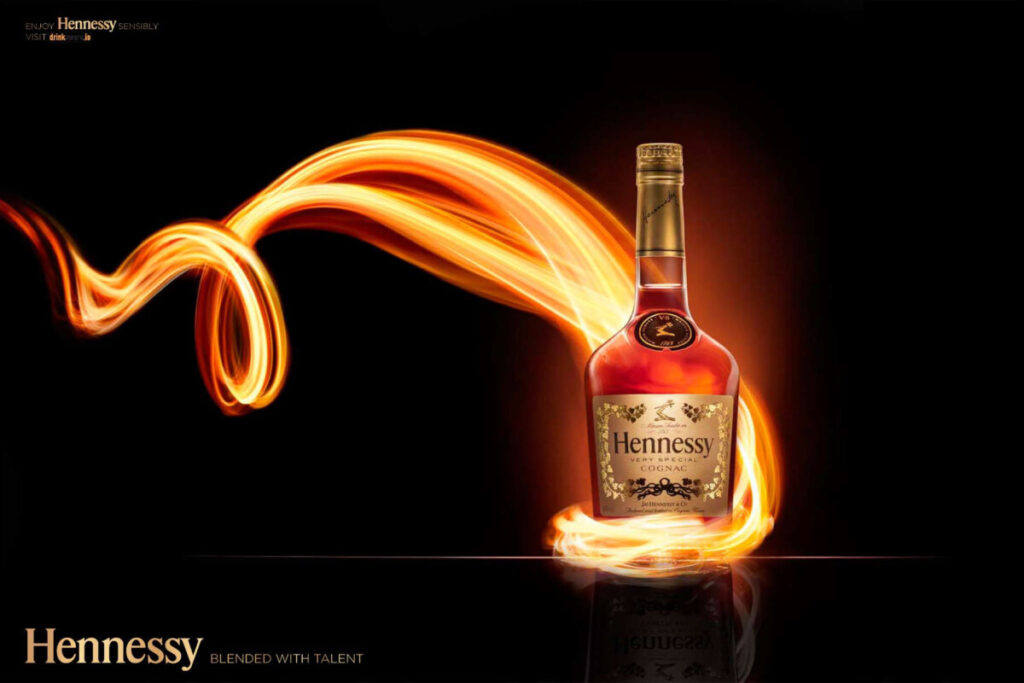
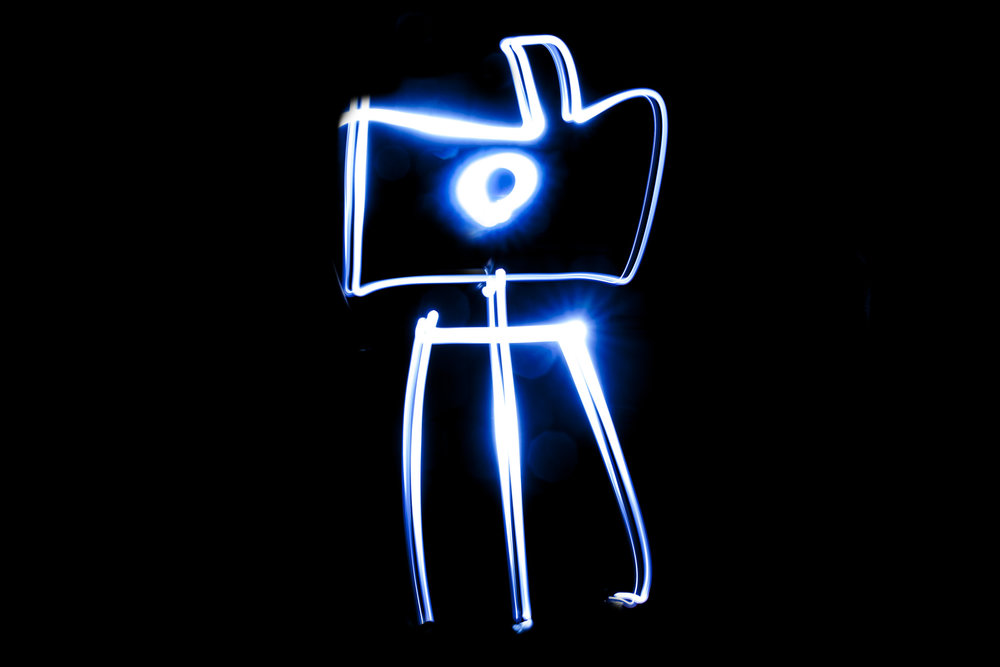
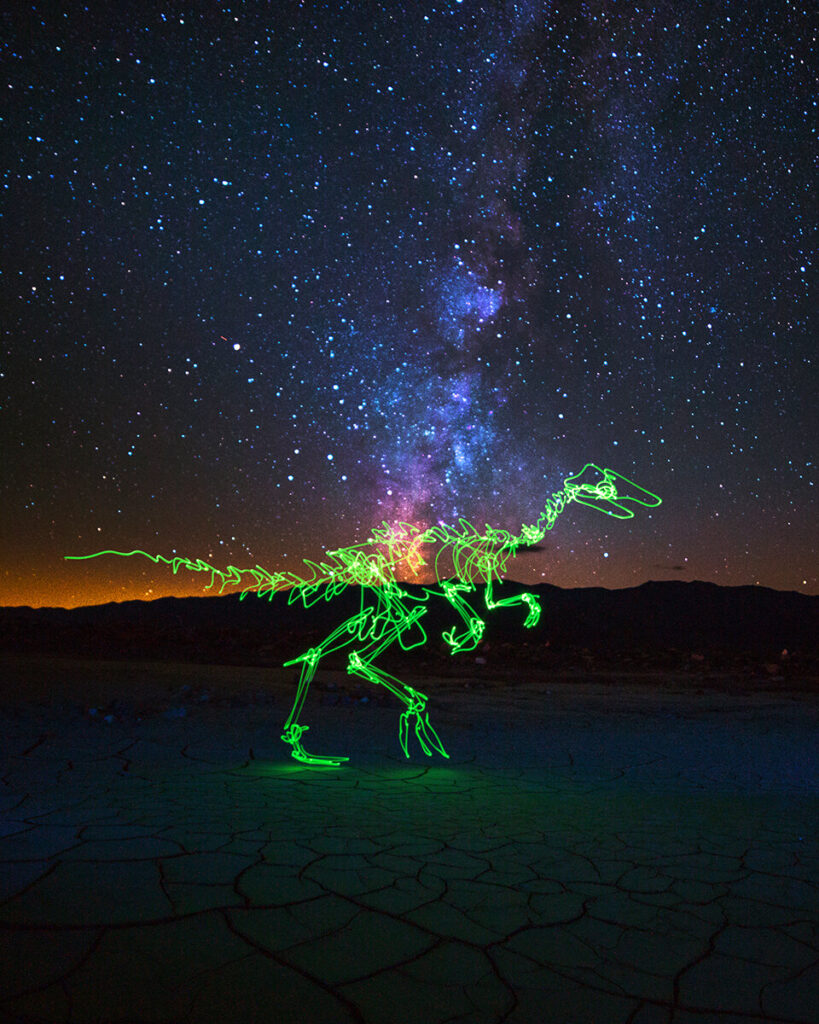
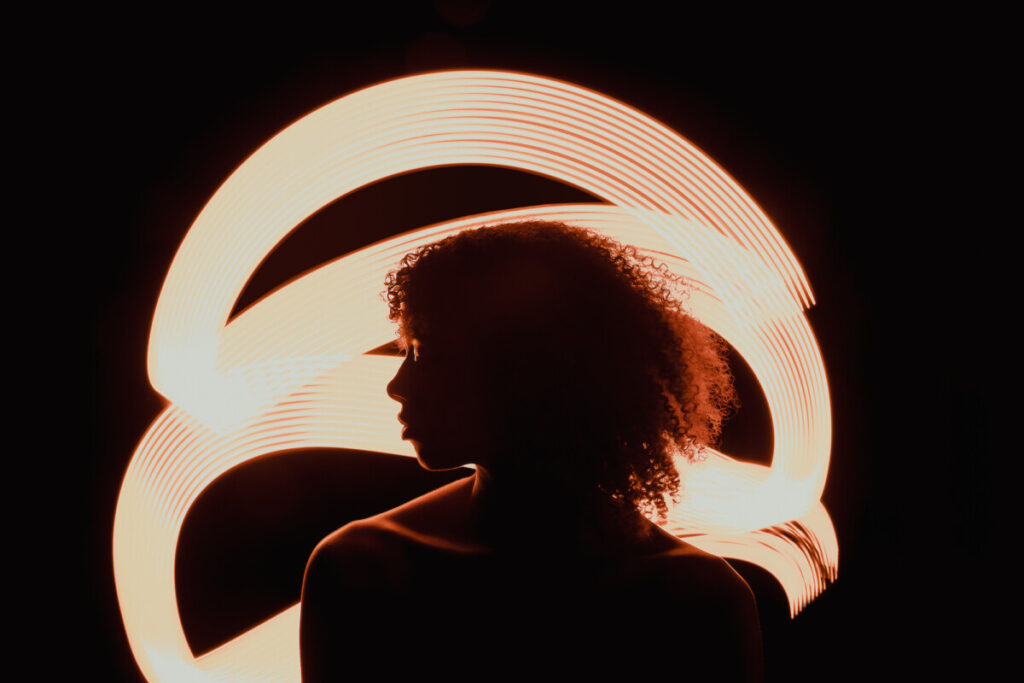
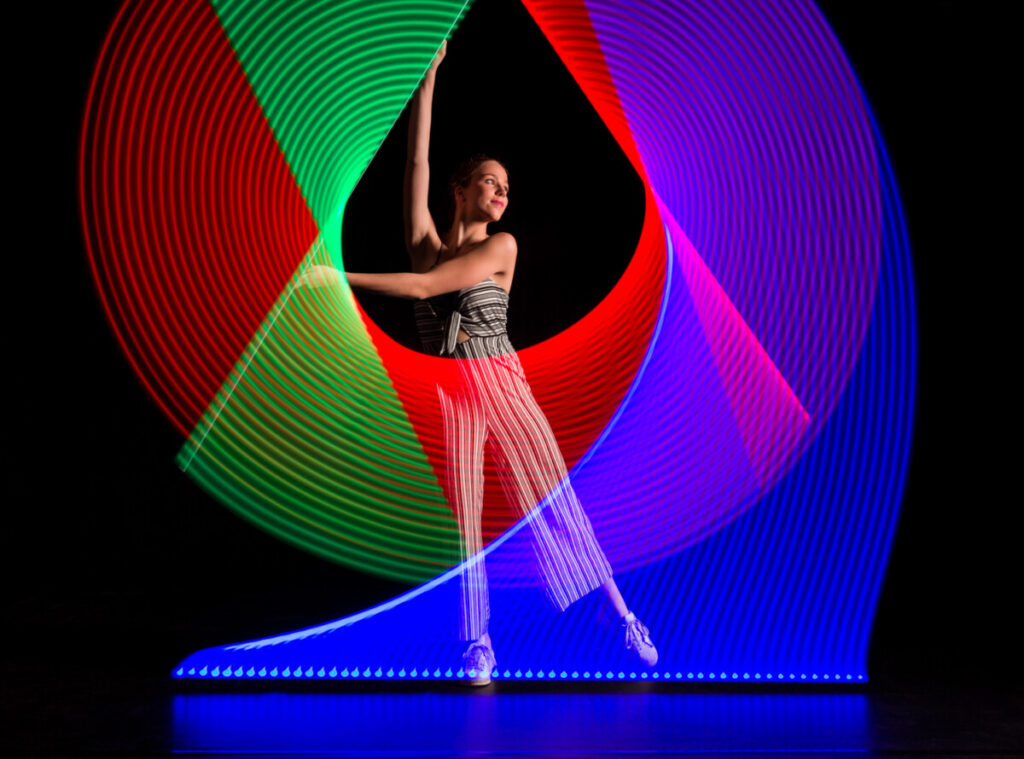
Painting with light – Use a long exposure to draw an image with light over time in the frame.

Inspiration

Sprint Campaign: http://lightpaintingphotography.com/?s=sprint 

Tripod use

  • Spread the legs out and make sure the tripod is stable. Use the height from the legs before using the neck of the tripod. Put one leg forward and the two legs on your side.
  • Put the plate on the camera and make sure that the lens arrow is pointing towards the lens. Insert the plate into the locking mechanism and make sure that the camera is secure.
  • Use the camera timer and DO NOT TOUCH the camera or the tripod during the exposure.

Considerations for painting with light: 

1. Use a tripod 

2. Use Manual as the shooting mode.

3. Set the ISO to 100

4. Set the aperture to f/11 as a starting point to get a wide range of depth of field. 

5. Set the shutter speed to 2″ as a starting point.

6. Use manual focus. Make sure the subject is in focus. To do this shine a light on the subject and use auto focus. Then flip the lens back to MF. Remember that if the distance of the subject to the camera changes, you need to refocus!

Mixing Flash with Painting with Light 

The aperture controls the exposure of whatever is lit by the flash. 

The shutter speed controls the illumination of the background. 

Speedlites

1/1 is full power. This is the most light that the unit can emit. 1/2 power is one stop less or 1/2 as much light. And so on.

Using the unit at full power will make the recycle time longer, meaning it will take longer to recharge and be ready to fire again. Try for 1/4 power as the recycle time will be faster. Get closer if the light is not bright enough.

Lab

Painting with light

Homework

HW 4 – Long Exposures

For Next Week

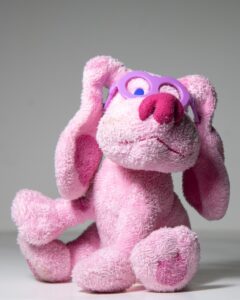
March 8 – Lighting and Mood – Please bring in a small stuffed animal to work with. Try to bring in a toy that is made out of cloth and not plastic as it will be less reflective. So a stuffed animal rather than an action figure. 

Also, if you have a string of lights bring that too.

« Older posts Newer posts »

© 2024 COMD3330_D039_SP22

Theme by Anders NorenUp ↑