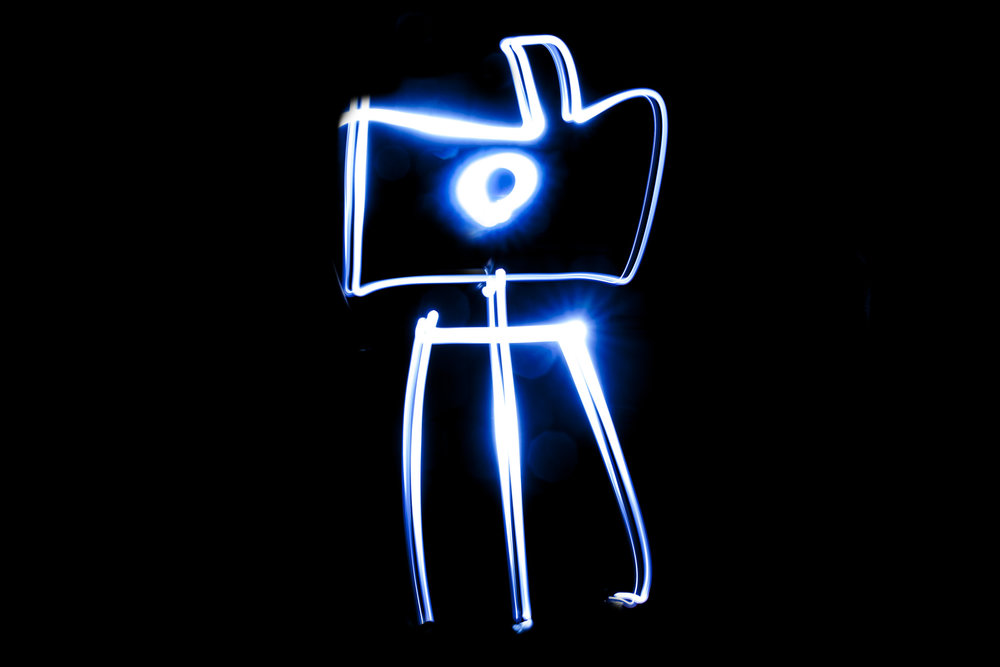
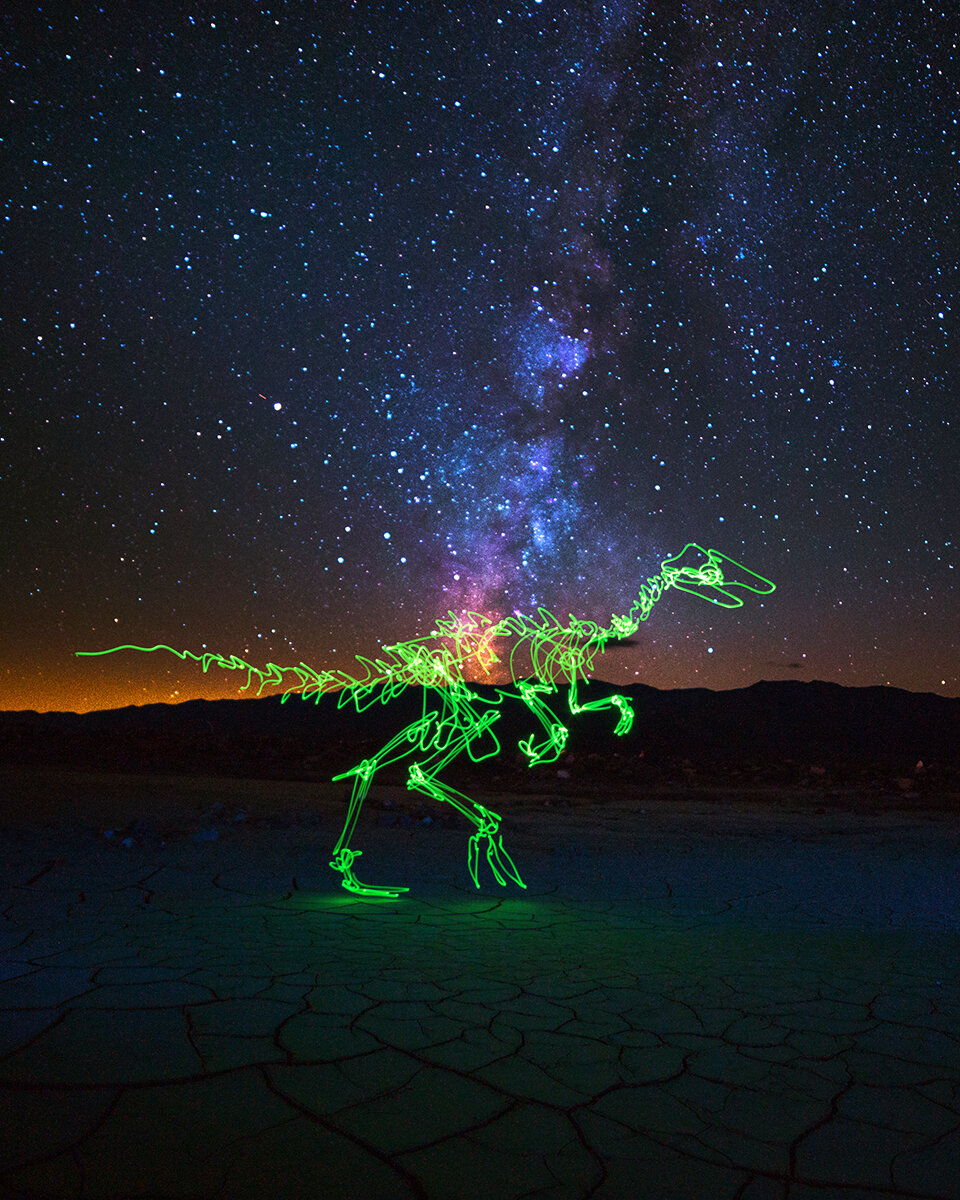
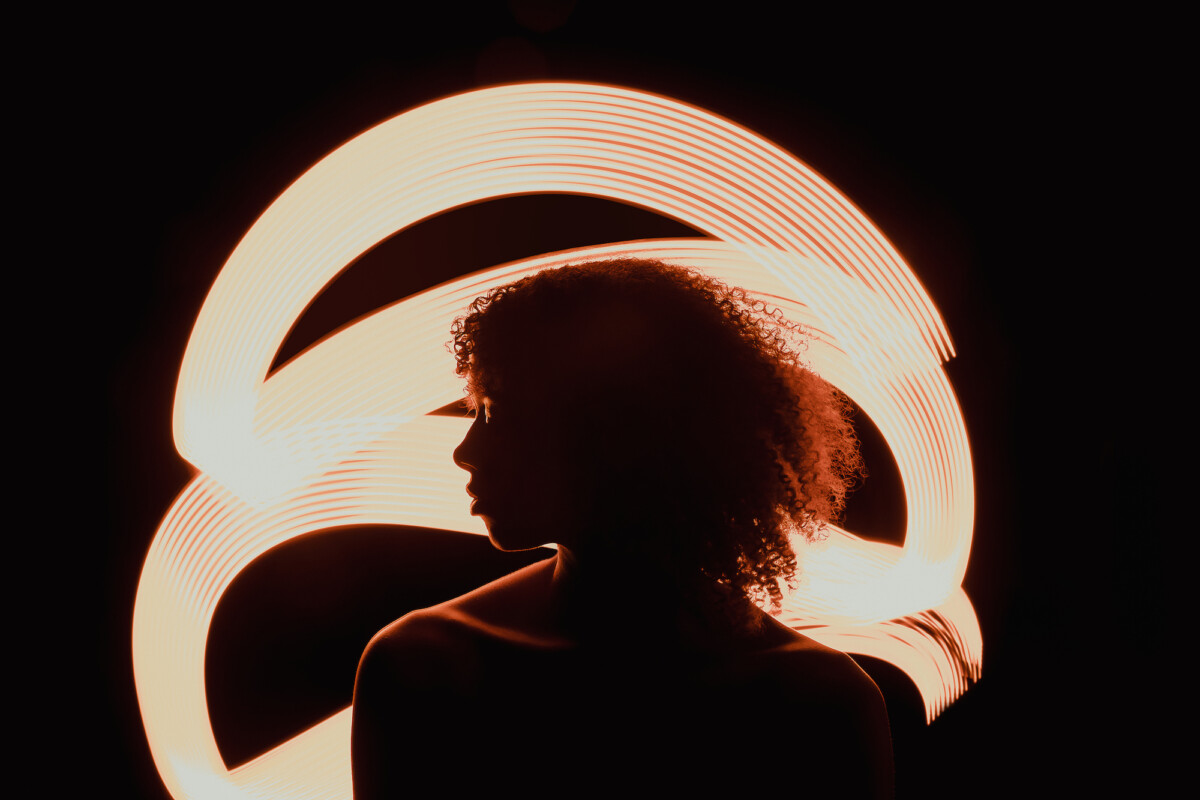
Painting with light – Use a long exposure to draw an image with light over time in the frame.
Inspiration
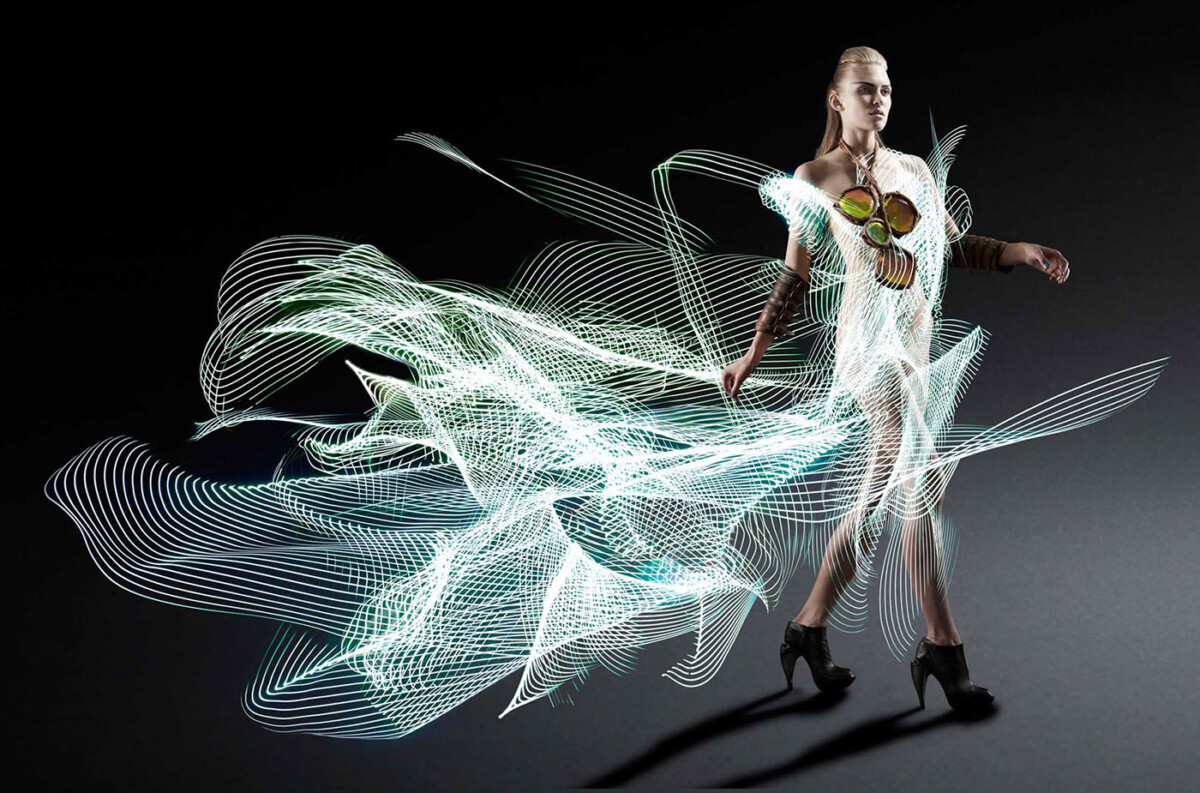
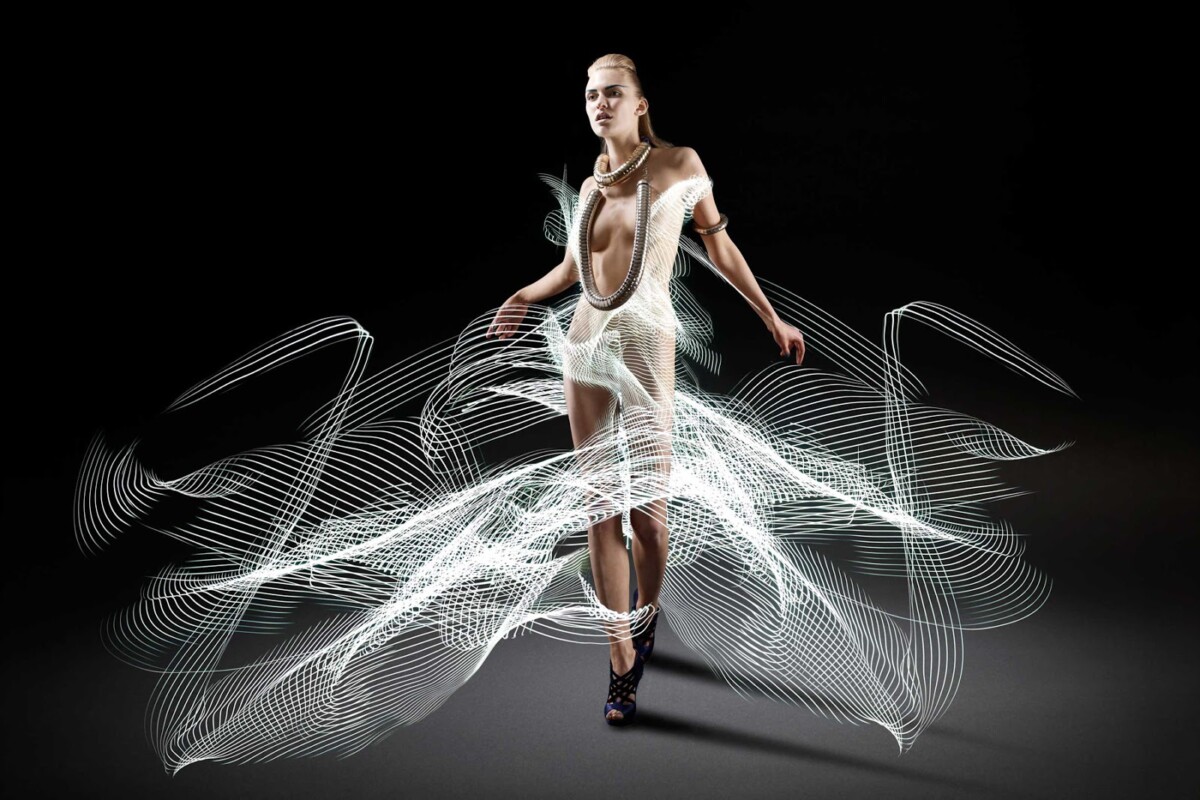
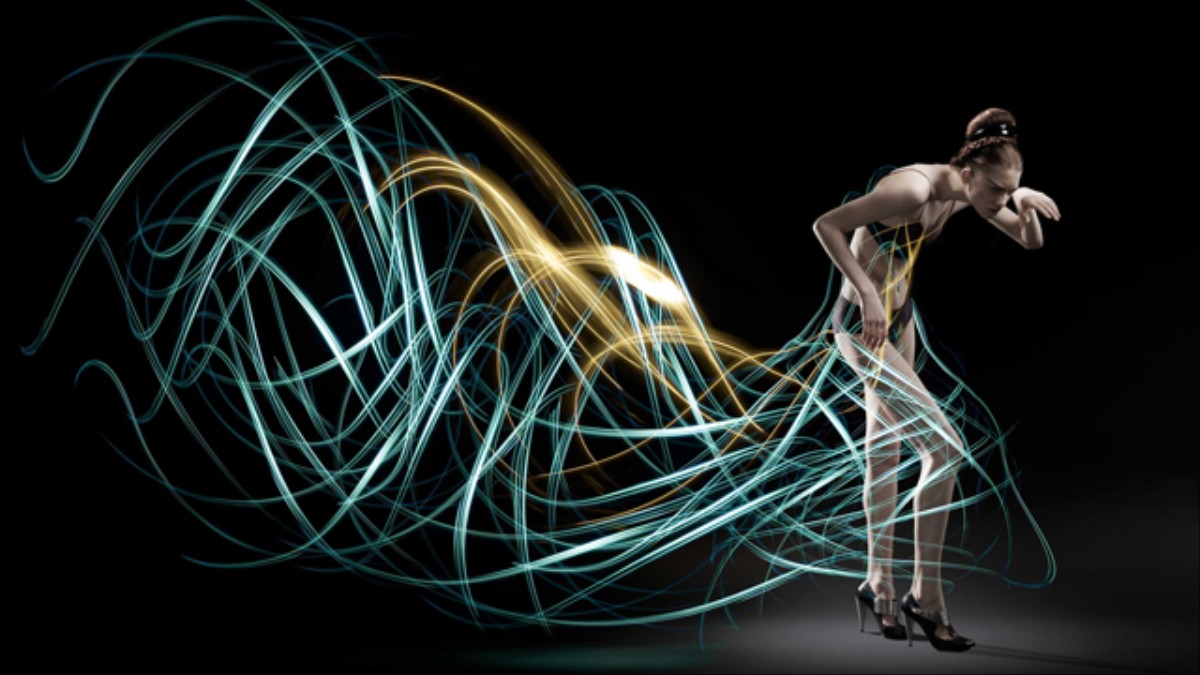


Sprint Campaign: http://lightpaintingphotography.com/?s=sprint
Tripod use
- Spread the legs out and make sure the tripod is stable. Use the height from the legs before using the neck of the tripod. Put one leg forward and the two legs on your side.
- Put the plate on the camera and make sure that the lens arrow is pointing towards the lens. Insert the plate into the locking mechanism and make sure that the camera is secure.
- Use the camera timer and DO NOT TOUCH the camera or the tripod during the exposure.
Considerations for painting with light:
1. Use a tripod
2. Use Manual as the shooting mode.
3. Set the ISO to 100
4. Set the aperture to f/11 as a starting point to get a wide range of depth of field.
5. Set the shutter speed to 2″ as a starting point.
6. Use manual focus. Make sure the subject is in focus. To do this shine a light on the subject and use auto focus. Then flip the lens back to MF. Remember that if the distance of the subject to the camera changes, you need to refocus!
Mixing Flash with Painting with Light
The aperture controls the exposure of whatever is lit by the flash.
The shutter speed controls the illumination of the background.
Speedlites
1/1 is full power. This is the most light that the unit can emit. 1/2 power is one stop less or 1/2 as much light. And so on.
Using the unit at full power will make the recycle time longer, meaning it will take longer to recharge and be ready to fire again. Try for 1/4 power as the recycle time will be faster. Get closer if the light is not bright enough.
Contents
Lab
Homework
For Next Week
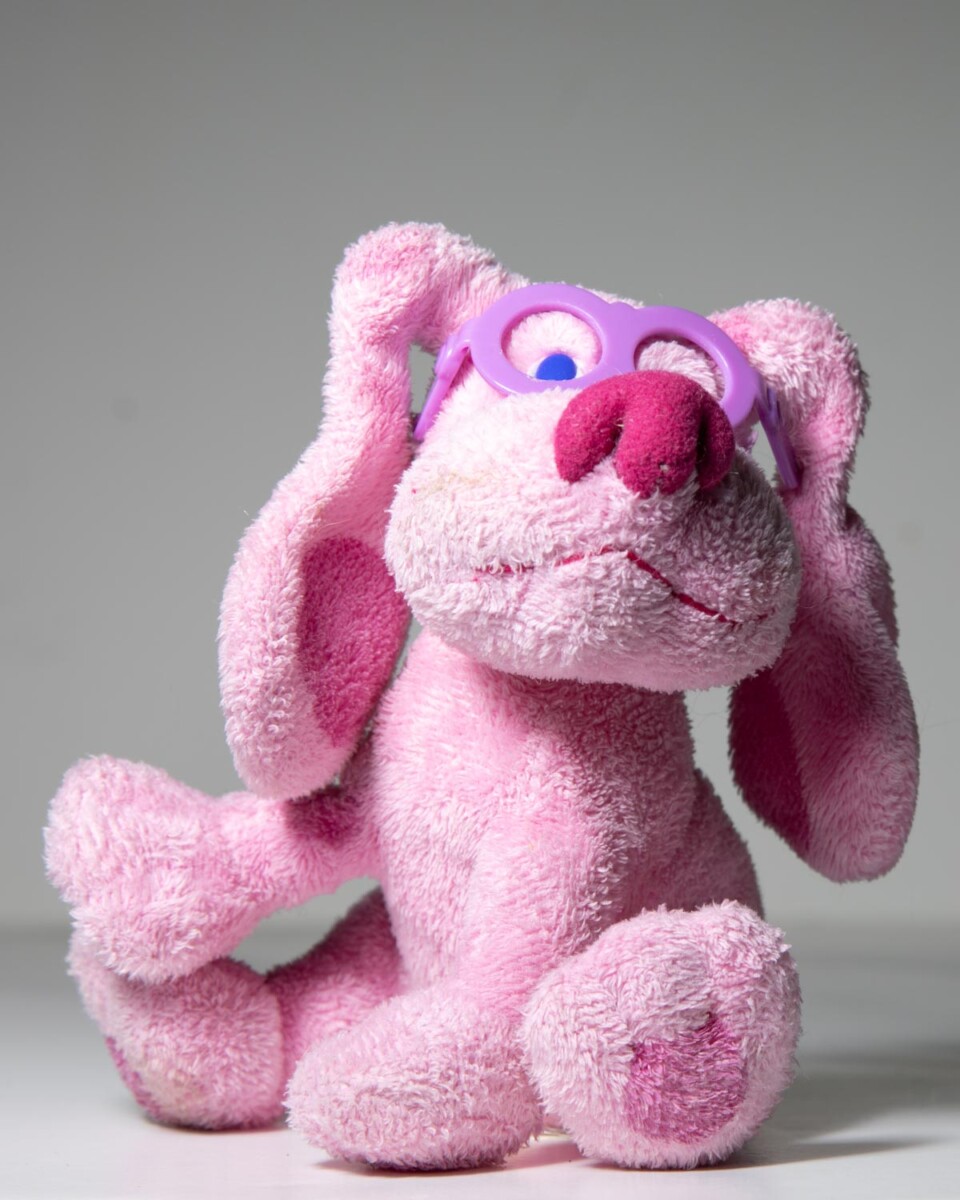
March 8 – Lighting and Mood – Please bring in a small stuffed animal to work with. Try to bring in a toy that is made out of cloth and not plastic as it will be less reflective. So a stuffed animal rather than an action figure.
Also, if you have a string of lights bring that too.


Leave a Reply