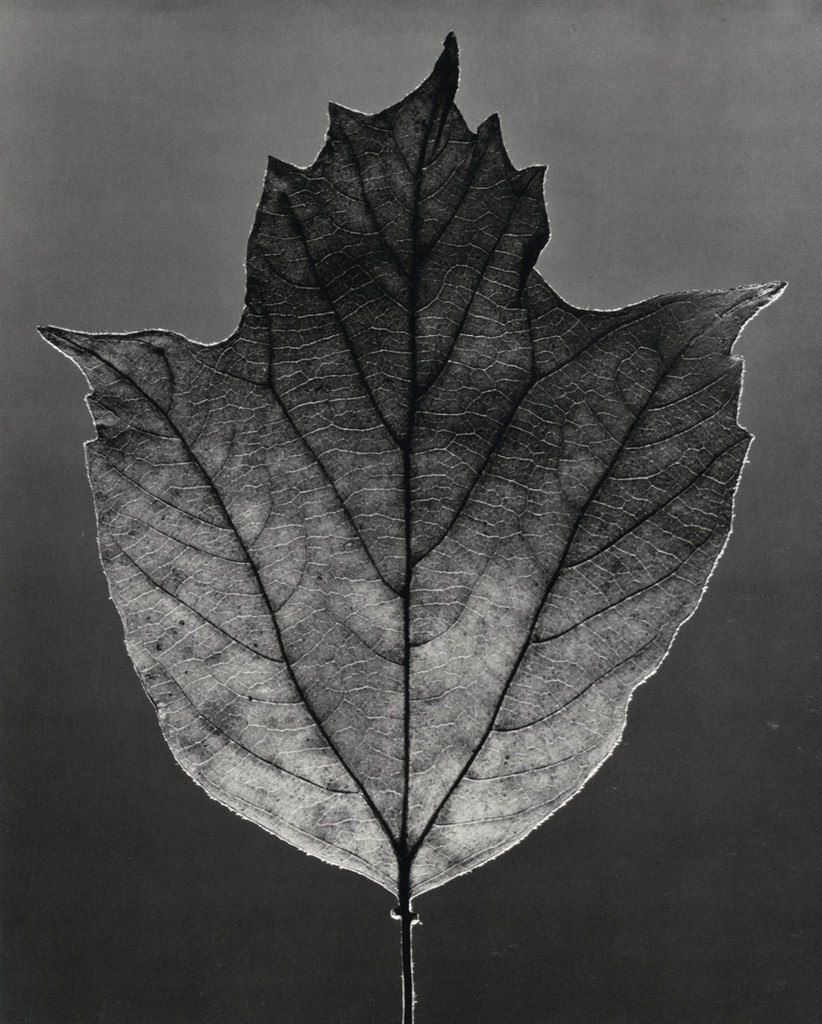
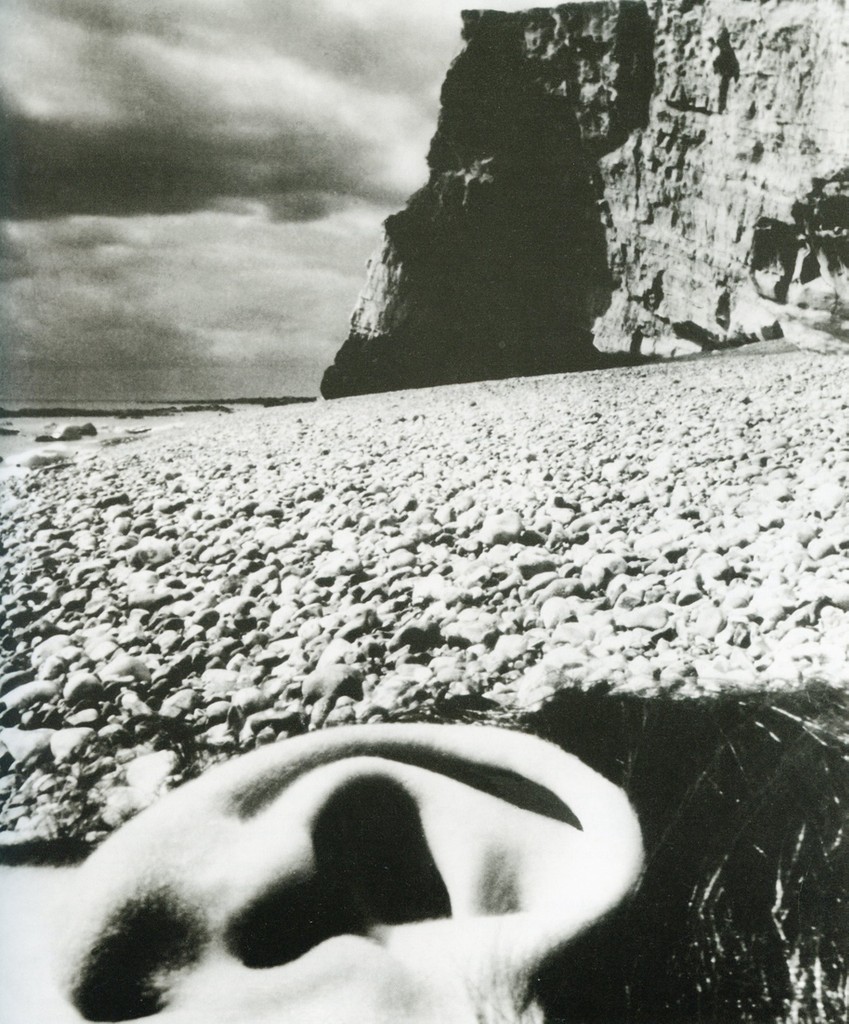
Symmetry – If you fold the image in half the two haves are very similar and have equal visual weight. Or make it asymmetrical to add tension to the composition.
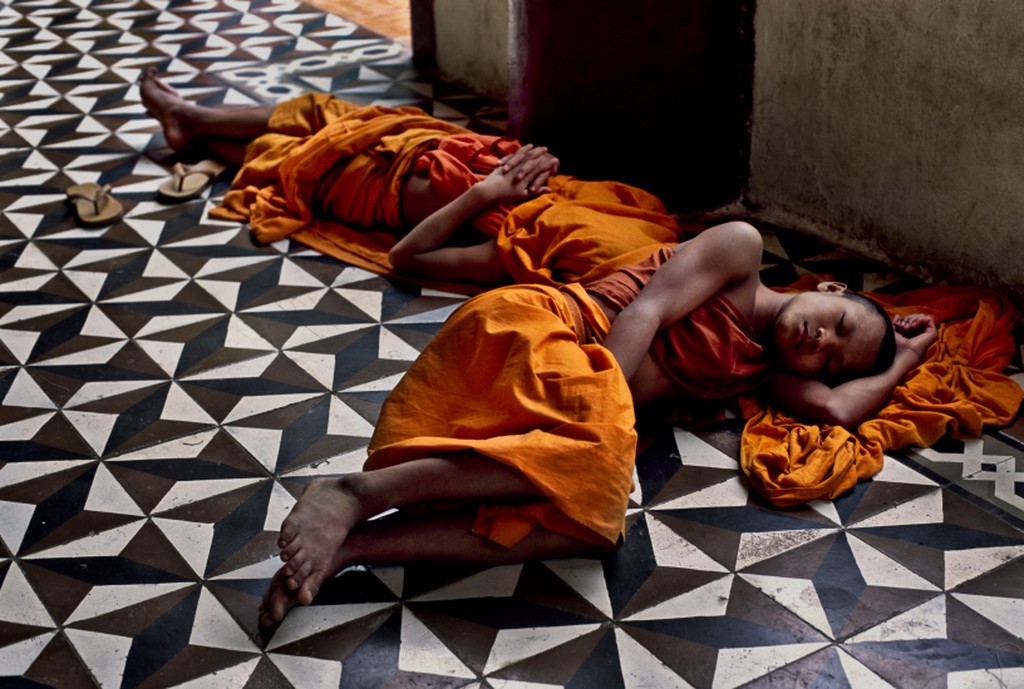
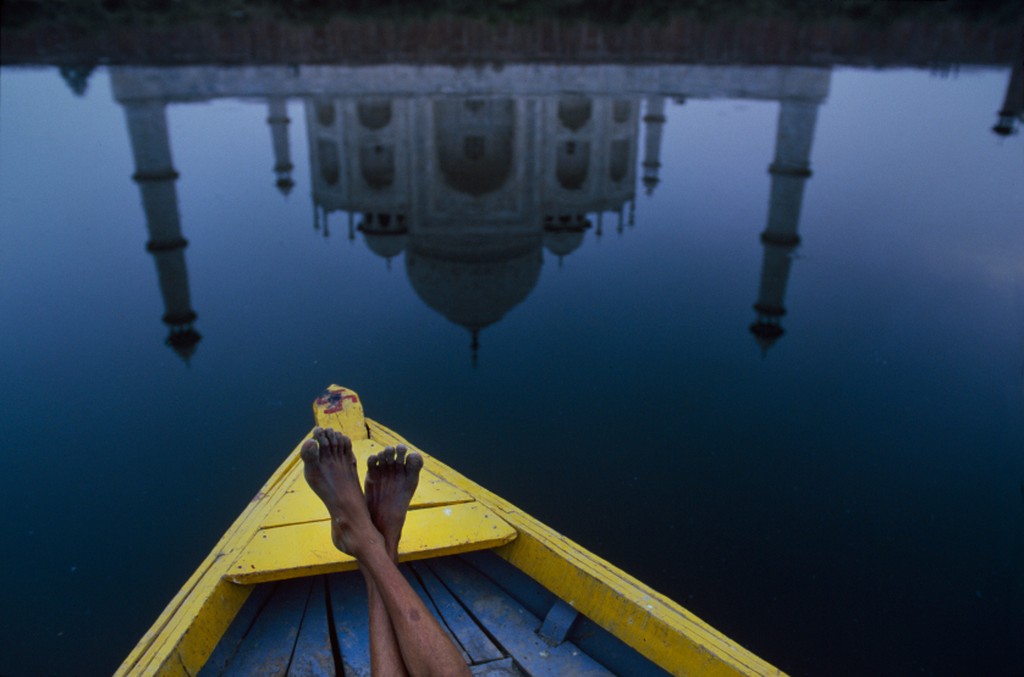
ASIA. BURMA. Rangoon. 1995. Photographer: Steve McCurry. 1995.
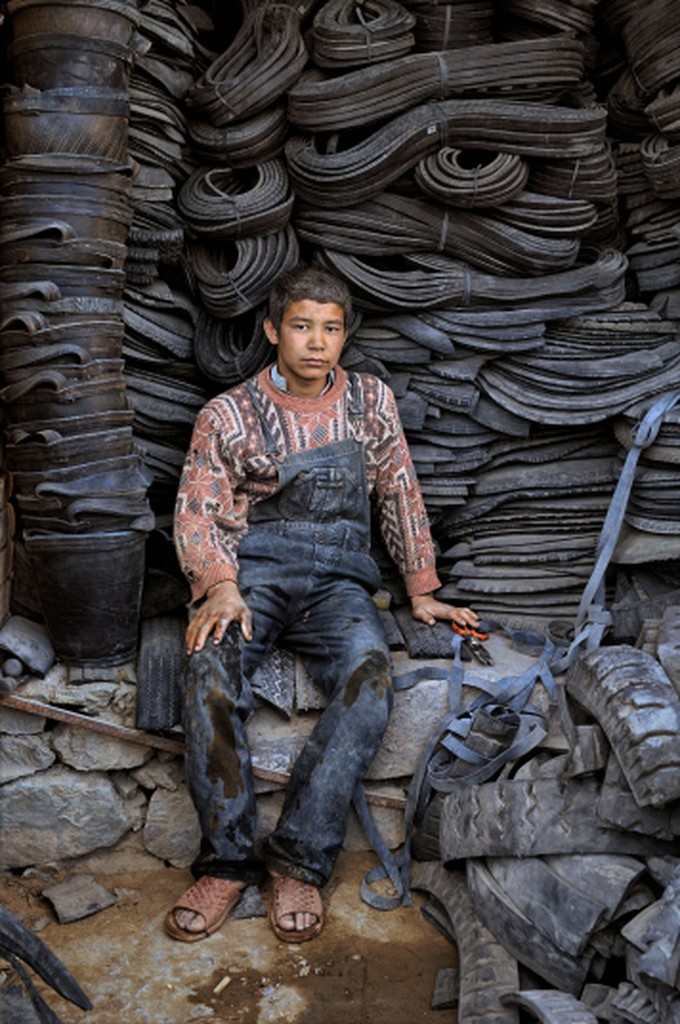
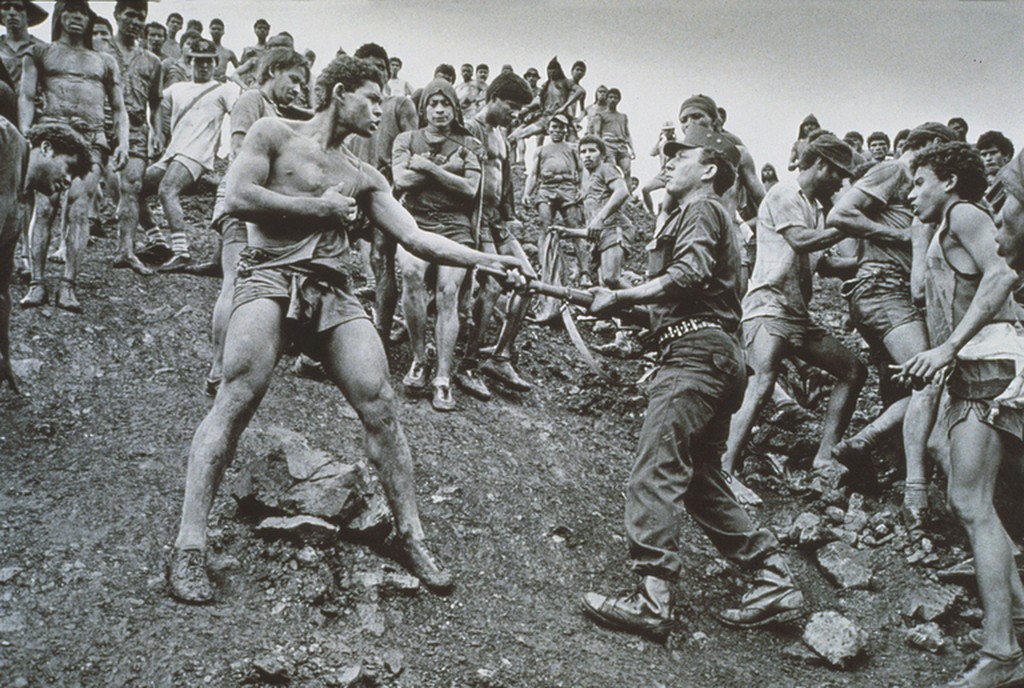
AFGHANISTAN. 2006. In a society in which there is a scarcity of new goods, waste products are often given a second life. In this case, a young man has transformed old car tyres into buckets. With the bundles of rubber piling up around him, the potential for new creations is endless. Photographer: Steve McCurry
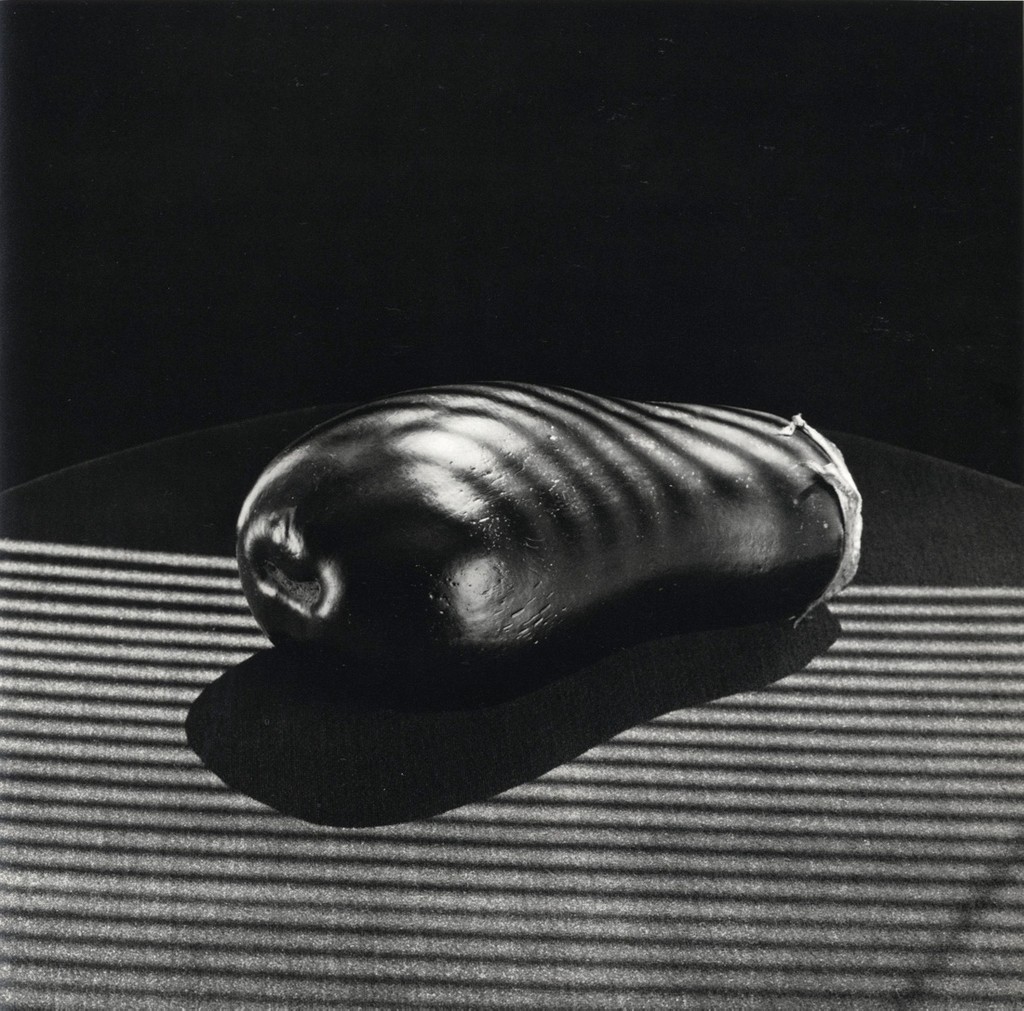
Direct light or hard light – the rays of light are nearly parallel and strike the subject from one direction creating hard edged dark shadows with little detail. Examples: a spotlight, sun on a clear day, or a bare flash
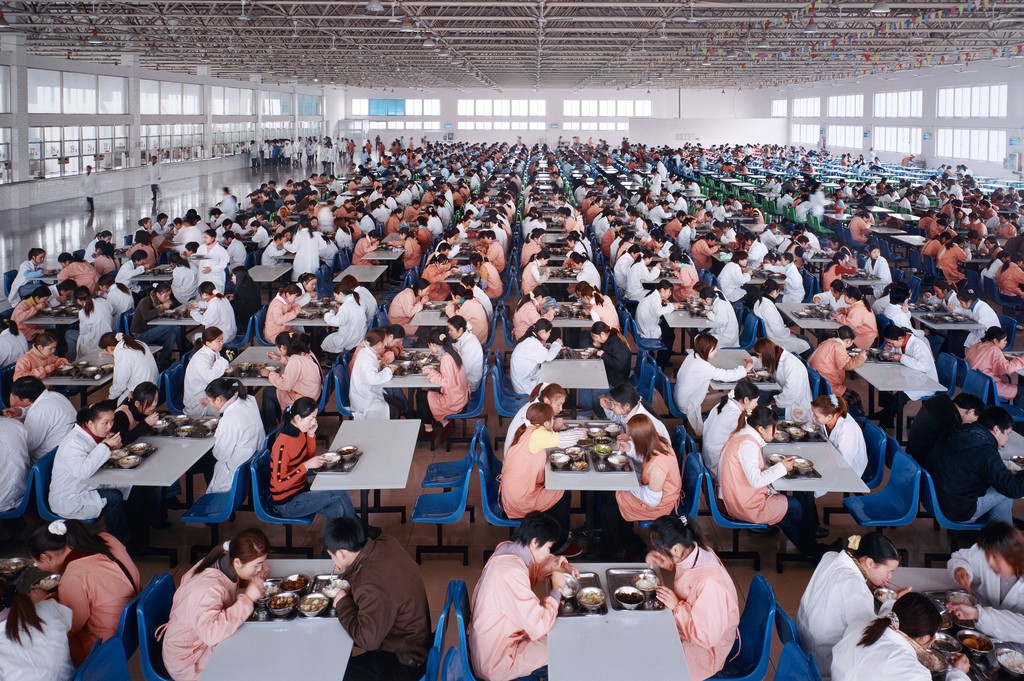
Alex Webb
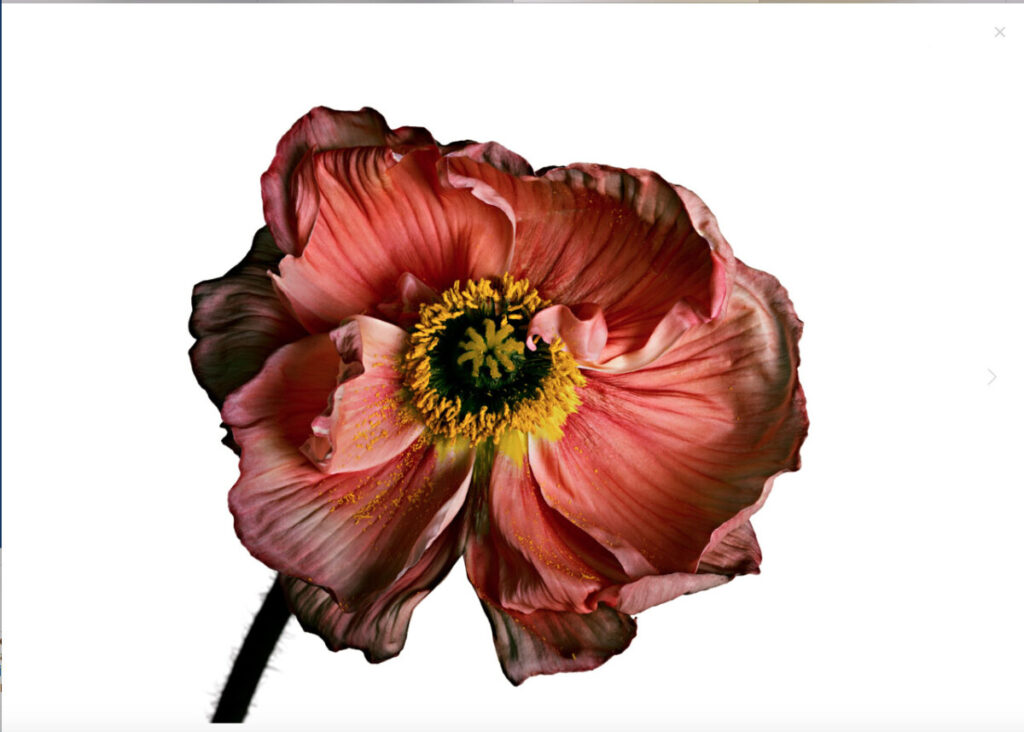
Diffused light or soft light– the rays of light are scattered and coming from many directions. It appears even and produces indistinct shadows. Examples: overcast daylight, a light covered with tracing paper or other translucent material.
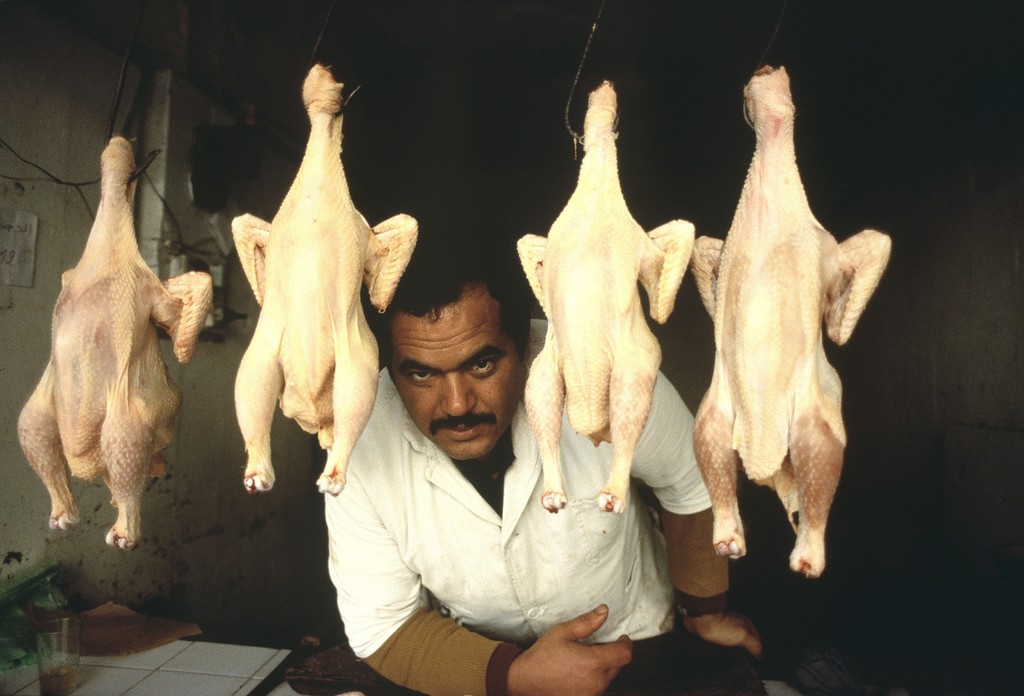
Jim Richardson. Scotland.
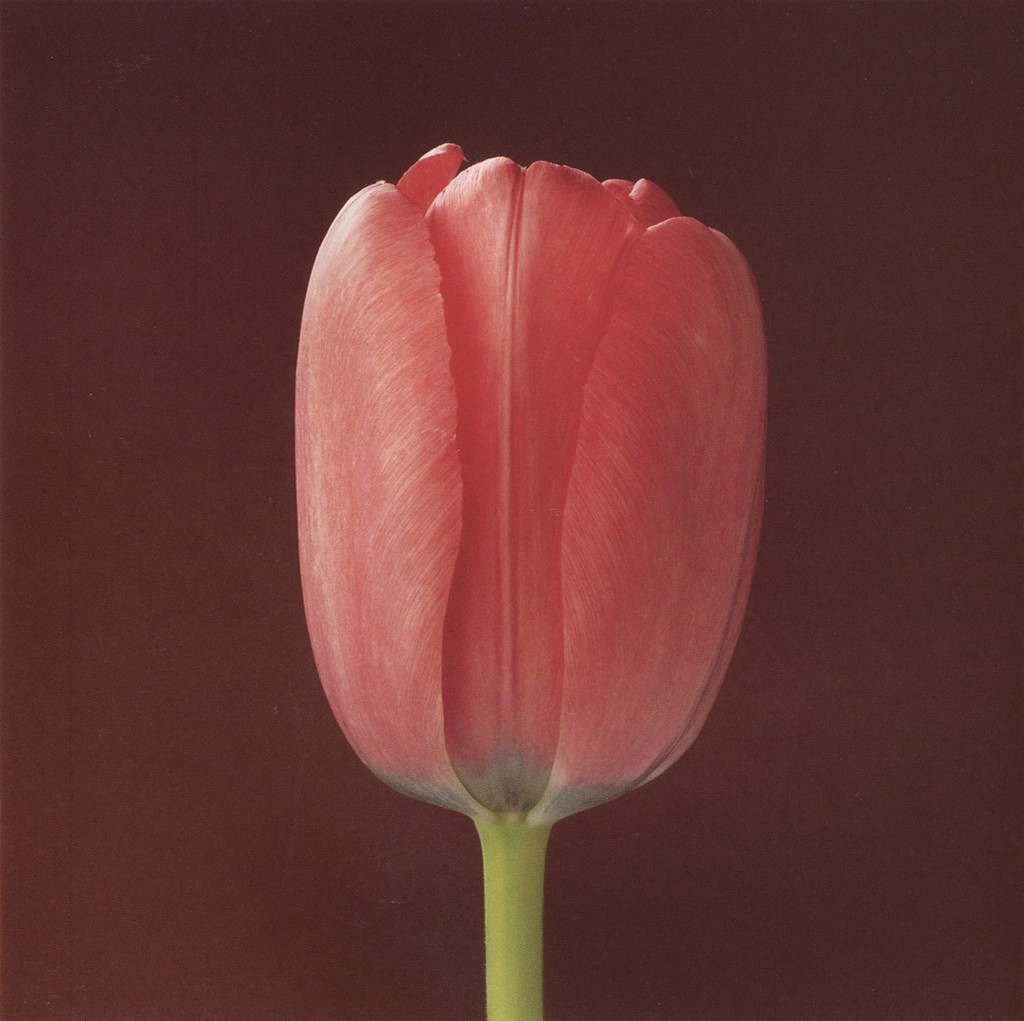
Directional/Diffused Light. This light is a combination of directional and diffused light. The light is partially diffused yet it appears to come from a definite direction and creates shadows. The shadows are less harsh and contain more detail than in direct light. More subtle transition between light and dark areas. Examples: window light, sunlight on a hazy day, sunlight on a partly cloudy day or sunlight bouncing off a reflective surface.
Light Direction
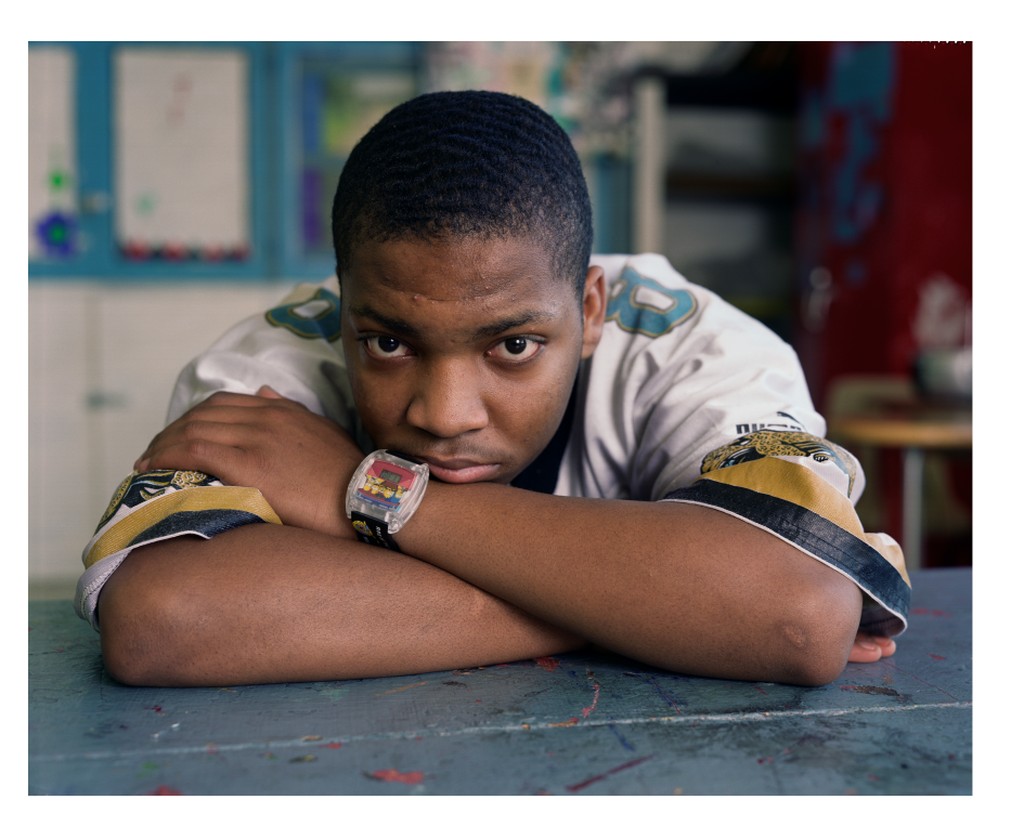
Front light comes from in front of subject from the camera position and the shadows fall behind the subject not concealing any details.
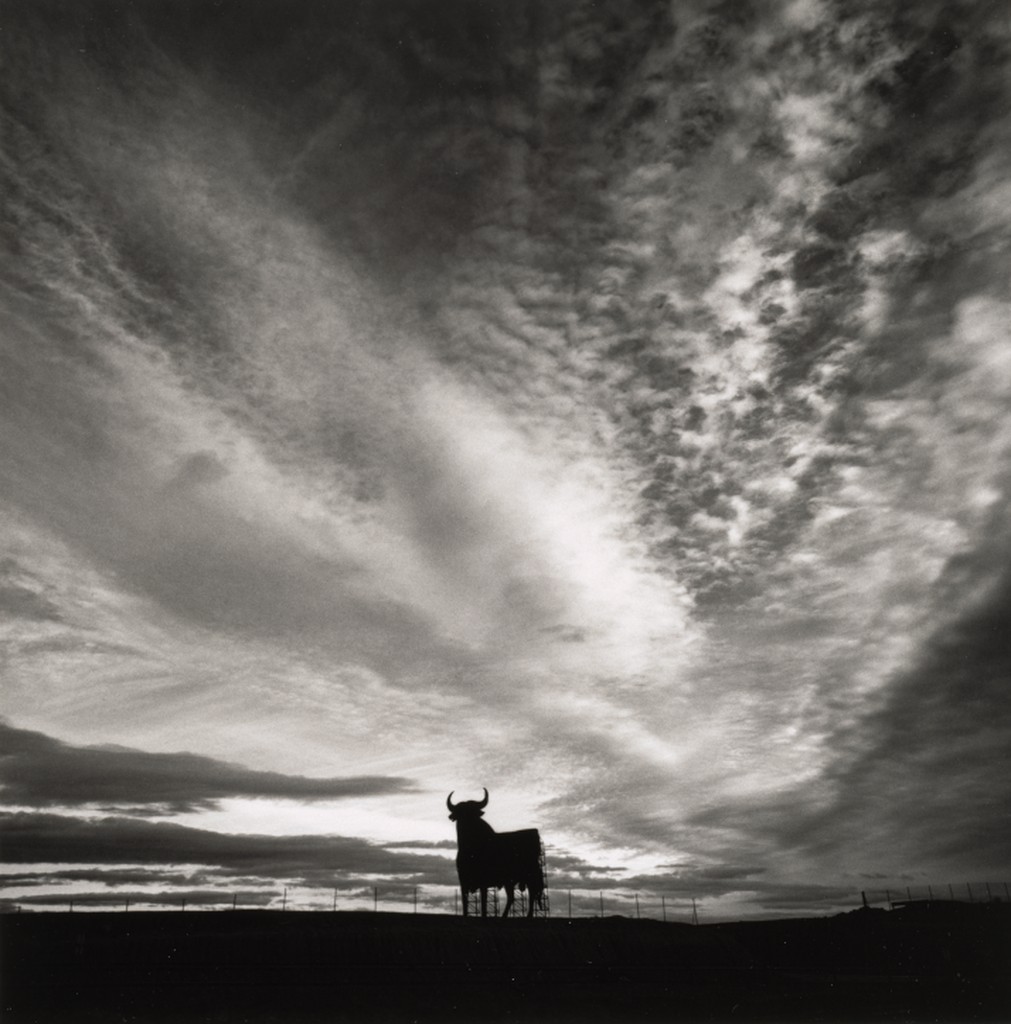
Michael Christopher Brown. 2013.
Side Light comes from 90 degrees to the camera. it adds dimension and texture to the subject.
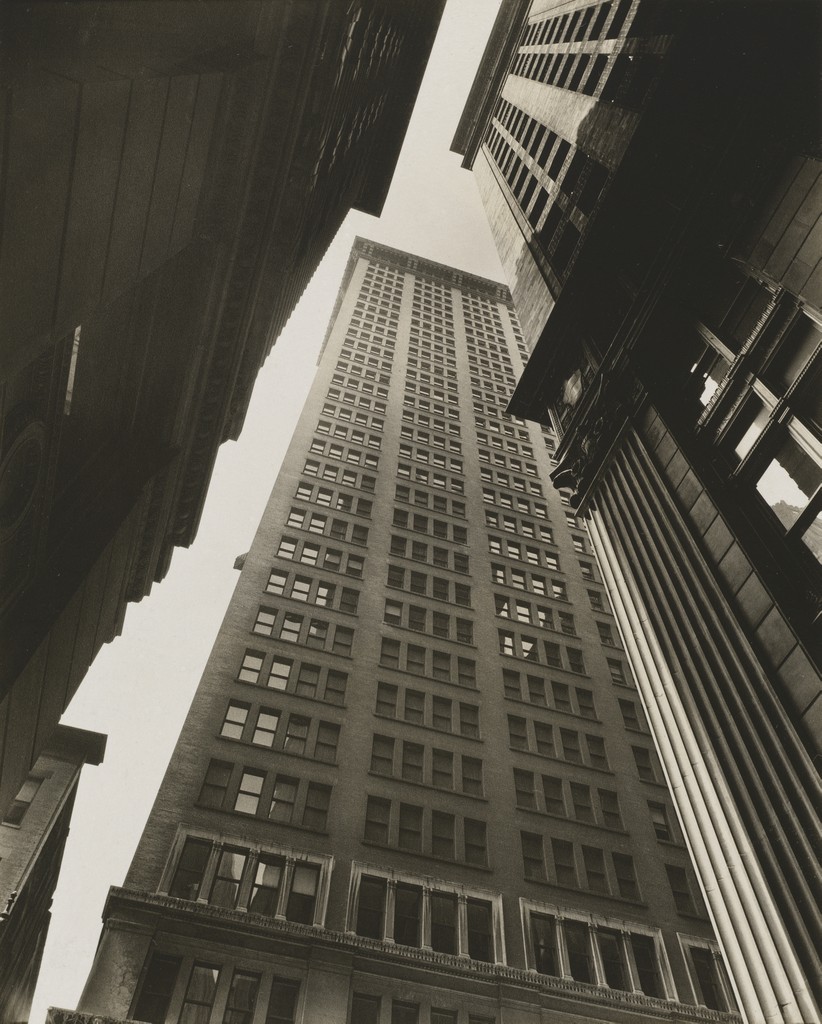
Andres Feininger, 10/29/1948
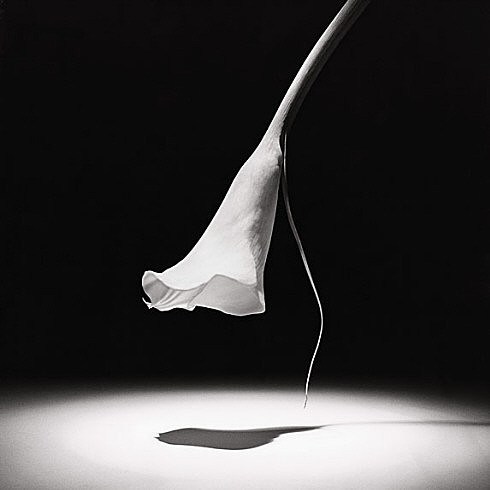
Backlight comes from behind the subject towards the camera.
app such as Focos to simulate shallow depth of field and/or portrait mode
Focus
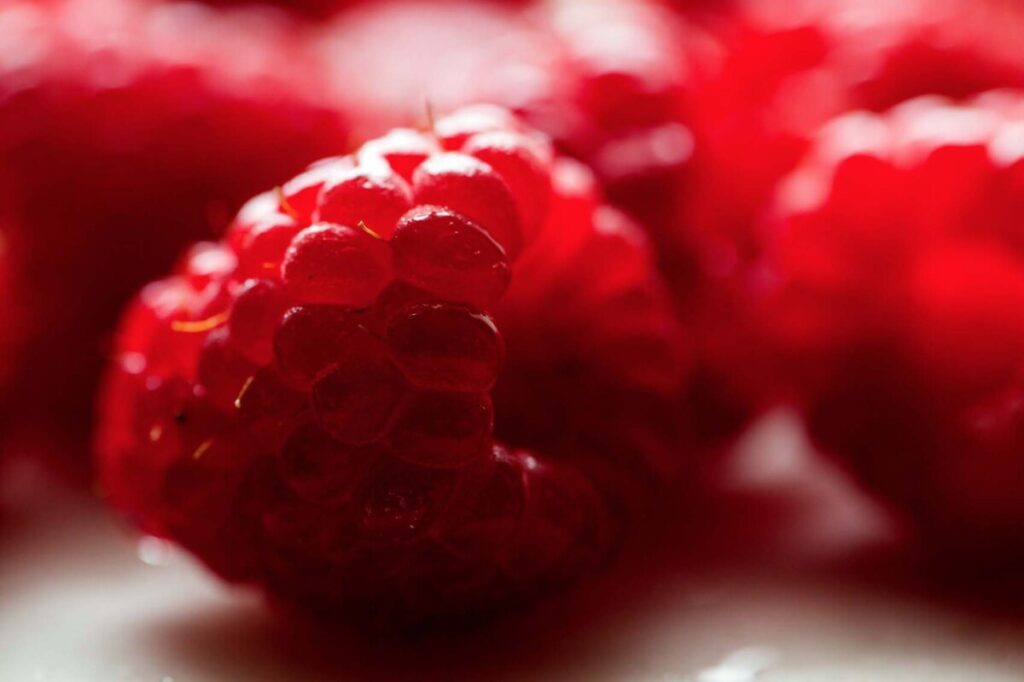
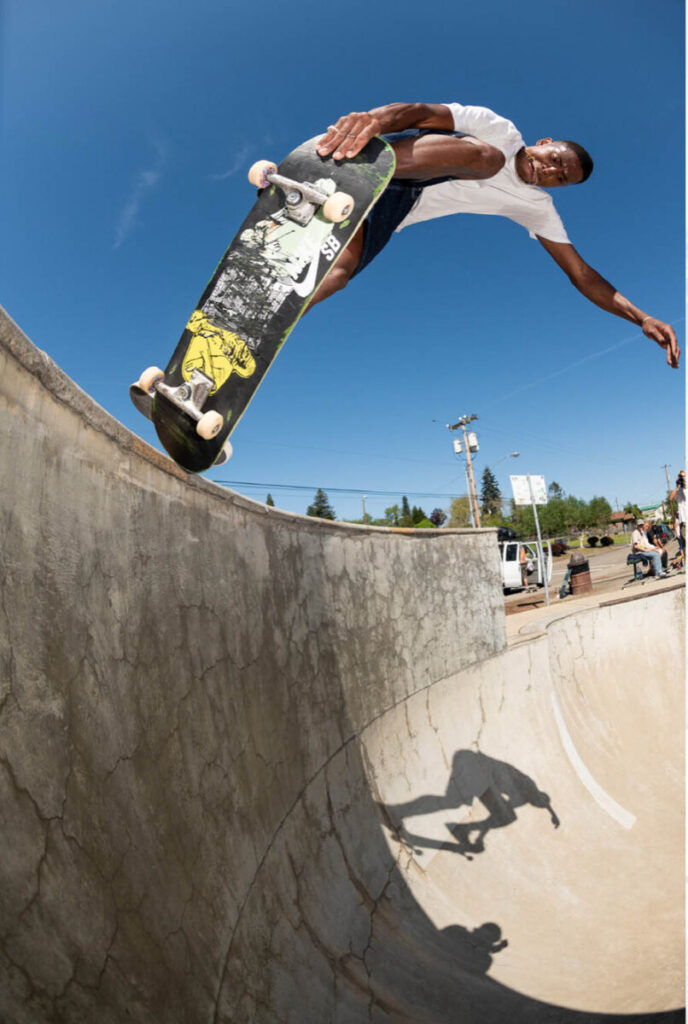
Depth of Field-The distance between the nearest and farthest points that appear in acceptably sharp focus in a photograph. Depth of field can be shallow or extensive. While the term includes the word depth, depth of field refers to focus.
Shallow depth of field is commonly used in portrait photography to separate the subject from the background and in food photography.
Dawoud Bey
Andrew Scrivani
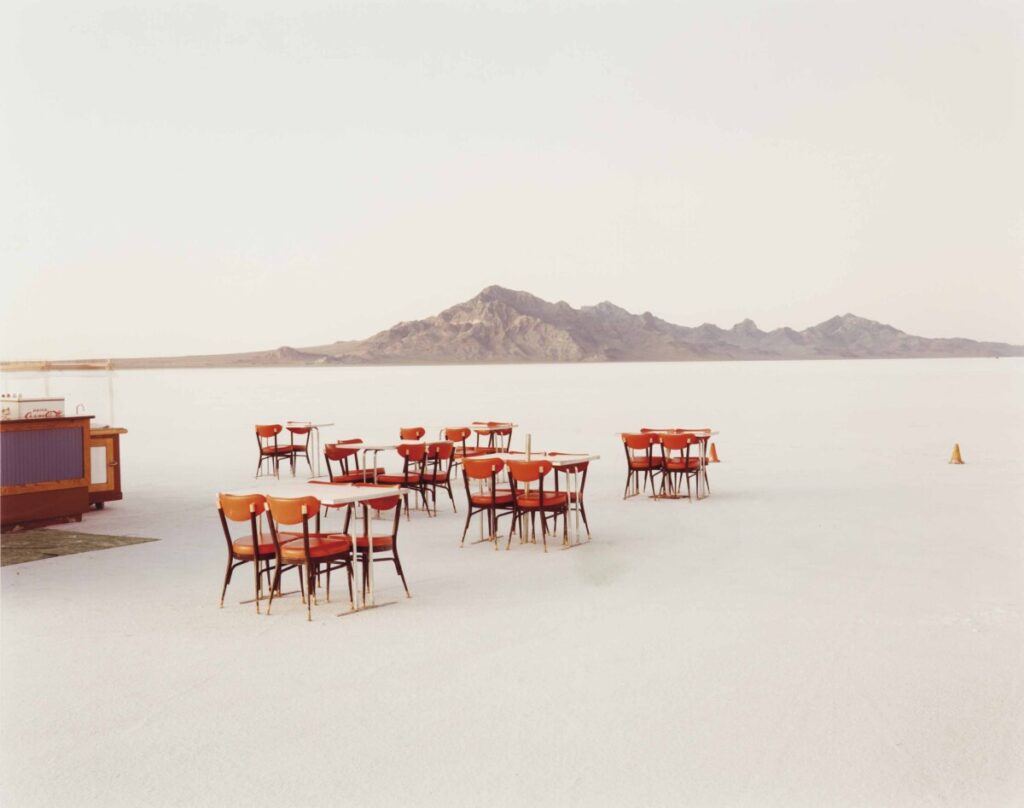
Extensive Depth of Field
Extensive depth of field is often used in landscape photography and photojournalism.
Richard Misrach
Sebastio Salgado
The depiction of space
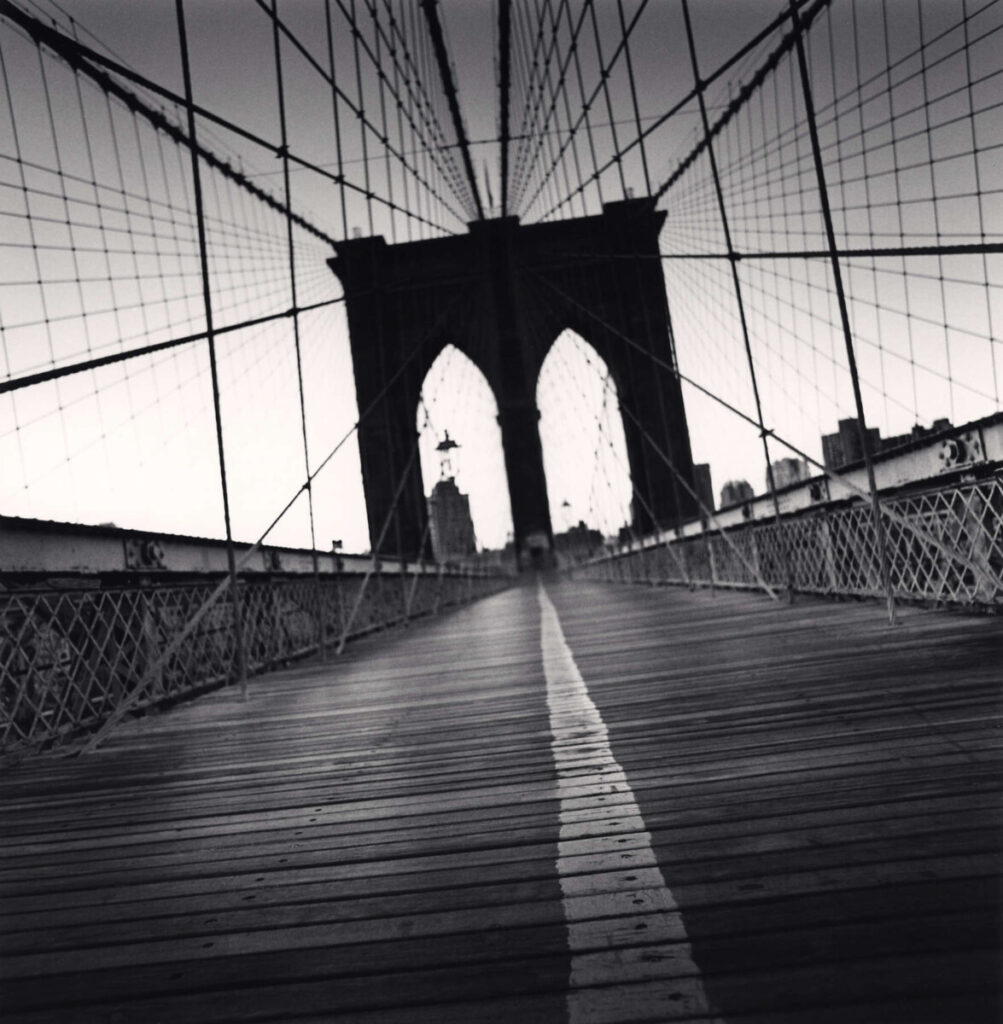
Perspective-the representation of a 3-dimensional space on a 2-dimensional surface by converging lines, diminishing scale and/or atmospheric perspective.
Aperture is the size of the opening that allows light to hit the camera’s sensor when the photograph is taken.
Aperture values are expressed in numbers called f-stops. A smaller f-stop number means more light is coming into the camera and will create shallow depth of field. A larger f-stop number will let less light into the camera and create extensive depth of field.
The full stops for aperture are: F2, f28, f4, f5.6, f8, f11, f16, f22, f3
Focal Length is the distance from where the light converges in the lens to the sensor. If it is a short distance then the lens is a wide angle lens and shows a lot of the scene. If it is a long distance, the lens is a telephoto lens and it magnifies the scene. Wide angle lenses create extensive depth of field while telephoto lenses create shallow depth of field.
Camera-to-subject distance is how far the subject is from the camera. If everything is far from the camera, it is easier to achieve extensive depth of field. If the main subject is very close to the camera and the background elements are far from the camera, it is easier to achieve shallow depth of field.
Camera Phones and Depth of Field
Camera phones have a fixed aperture. For example, the aperture of the iPhone 7 is f1.8. This is one of the things that makes cameraphones so good in low light. You might think this wide open aperture would make it easy to get shallow depth of field with a cameraphone. However, the other factors involved make it quite challenging to achieve shallow depth of field with a cameraphone.
When you look at a phone, you can see the challenge for focal length. Focal length is the distance between where the light converges in the lens and the sensor and there just isn’t that much space. Even for cameraphones, we use the size of 35 mm film as the standard when discussing focal length. So the iPhone 11 has three lenses that are the 35 mm equivalent of 13mm, 26mm and 52mm. Earlier phones with one camera have one focal length. If working with a camera phone with more than one lenses, use the telephoto choice to create shallow depth of field.
Camera to subject distance is the factor that gives you the most control of depth of field when working with a camera phone. To create shallow depth of field bring the camera as close as possible to the subject. Allow for some actual space behind the subject
It is the small size of the sensor that makes cameraphones so good at achieving extensive depth of field. It is also the main reason it is so hard to get your cameraphone to achieve shallow depth of field.
Sensor size-the smaller the sensor the easier it is to achieve extensive depth of field. Bigger sensors allow for shallow depth of field.
Bokeh-Bokeh comes from the Japanese word boke (ボケ), which means “blur” or “haze”, or boke-aji, the “blur quality.” Bokeh is pronounced BOH-Kə or BOH-kay.
— From http://www.nikonusa.com/en/learn-and-explore/article/h0ndz86v/bokeh-for-beginners.html
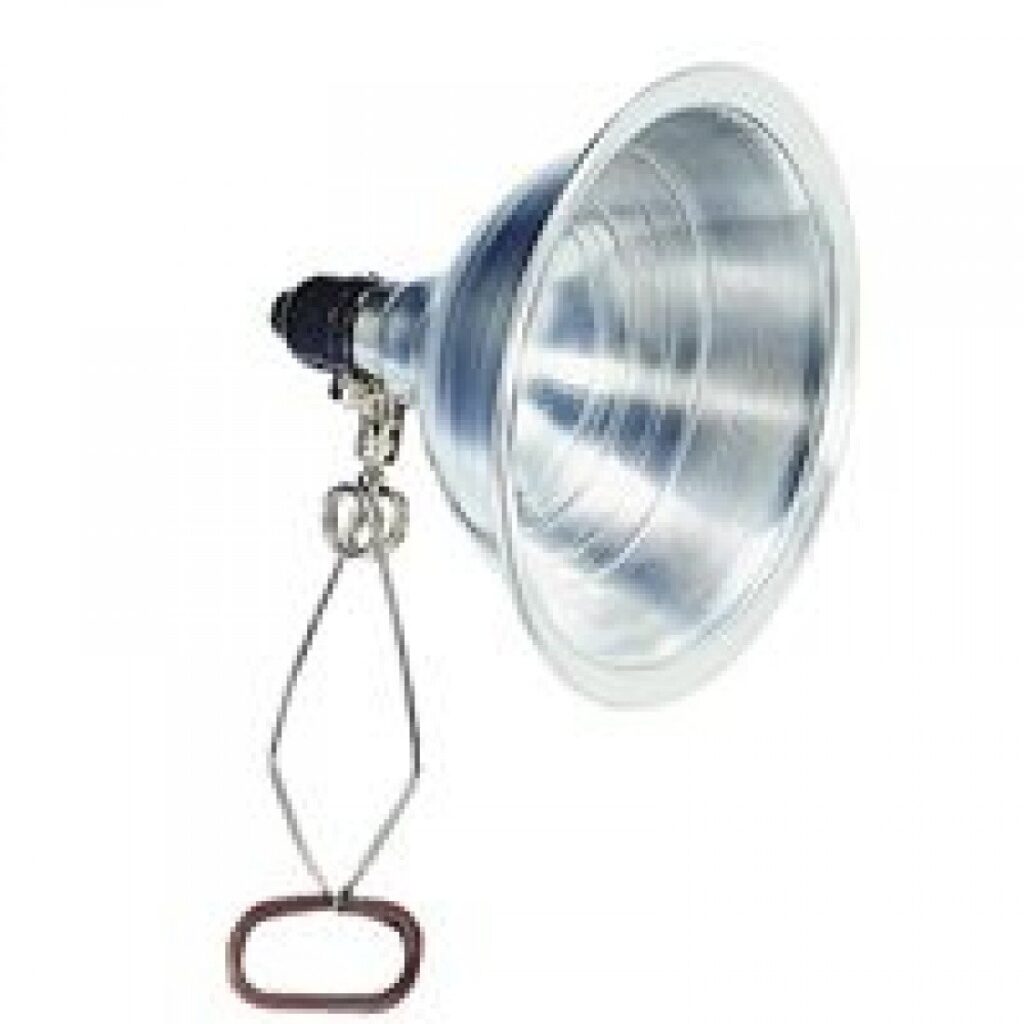
a window that provides bright light or a clamp light. You should be able to get one if you don’t have one at your local hardware store for around $10. If you don’t have a bright window to work with, a clamp light will make the rest of the semester better as it get colder and be harder to work outside.
Shutter Speed is the length of time that the sensor is exposed to light to create the photograph. It is measured in seconds or fractions of a second.
The full stops for shutter speed are: 30”, 15”, 8”, 4”, 2”, 1”, . sec, ., 1/8, 1/15, 1/30, 1/60, 1/125, 1/250, 1/500, 1/1000, 1/2000, 1/4000, 1/8000
Doubling the time, doubles the amount of light that reaches the sensor.
When shooting with a cameraphone and the Lightroom Photoshop app, you can set the shutter speed of your cameraphone between 1/10,000 and 1/4 sec.
A good rule of thumb when shooting with a camera is: Any shutter speeds slower then 1/60 require the use of a tripod. When shooting with a cameraphone, you will need a tripod to shoot at 1/15 or slower.
Resource
Capturing of Motion
Your choice of shutter speed will change the way motion is captured in the photograph.
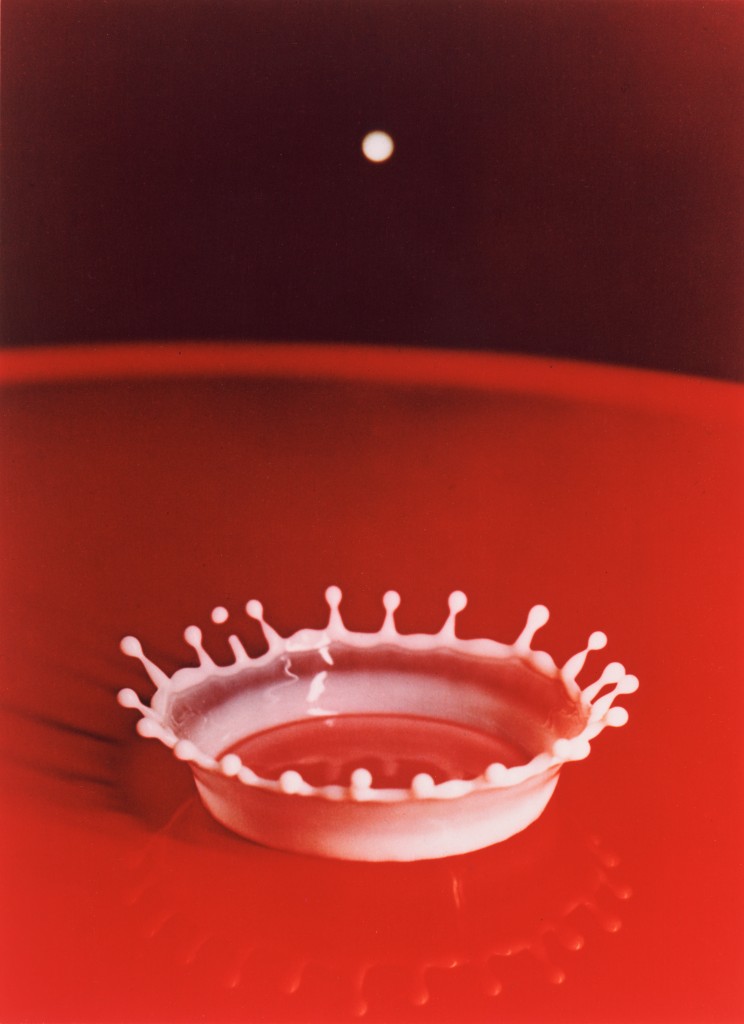
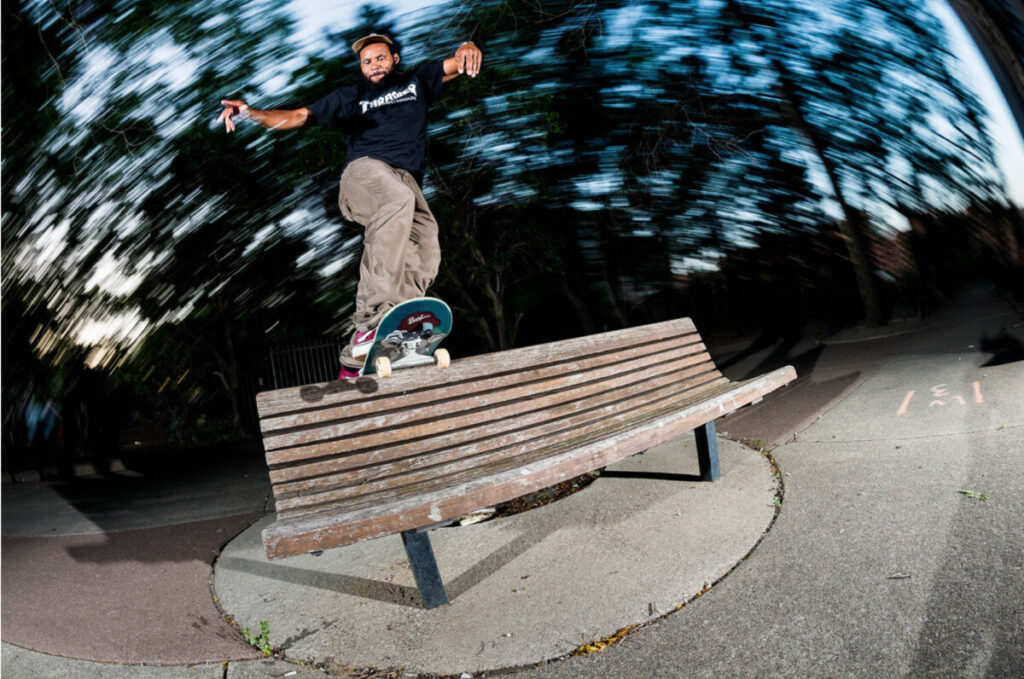
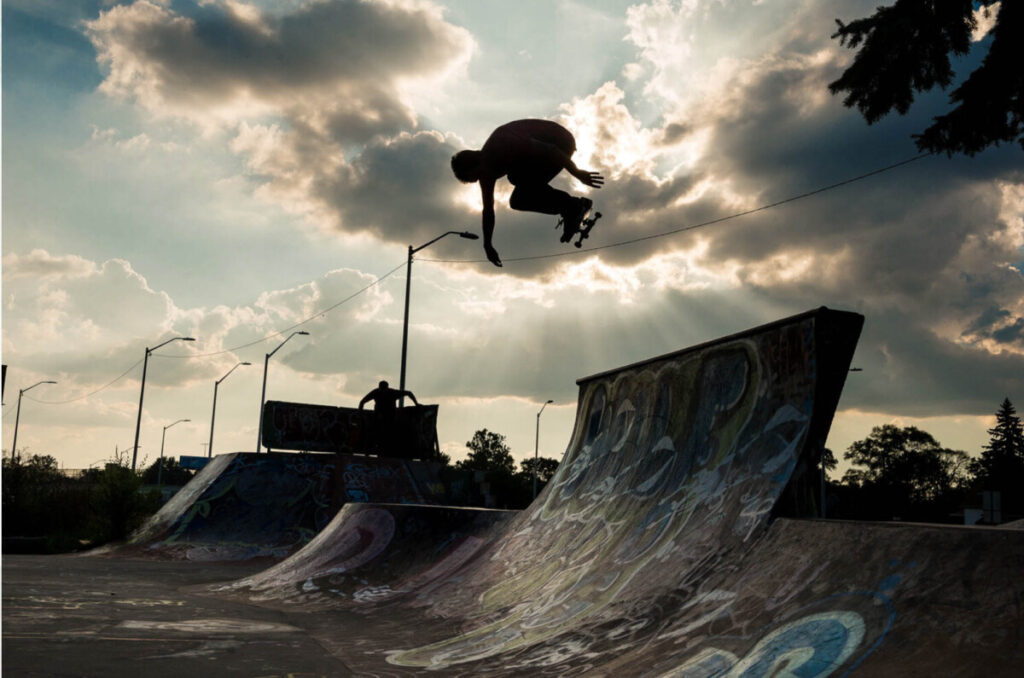
Frozen Motion-Motion is stopped and captured in the frame with a fast shutter speed.
The Catch, 1/10/82 Dwight Clark from Joe Montana, Candlestick Park, S.F. Photographer: Walter Iooss.
Photographer: Joe Brook
Photographer: Joe Brook
Photographer: Joe Brook
How to freeze motion:
Use a shutter speed of 1/ 500, 1/1000 or faster.
Blurred motion-moving elements blur with a longer shutter speed.
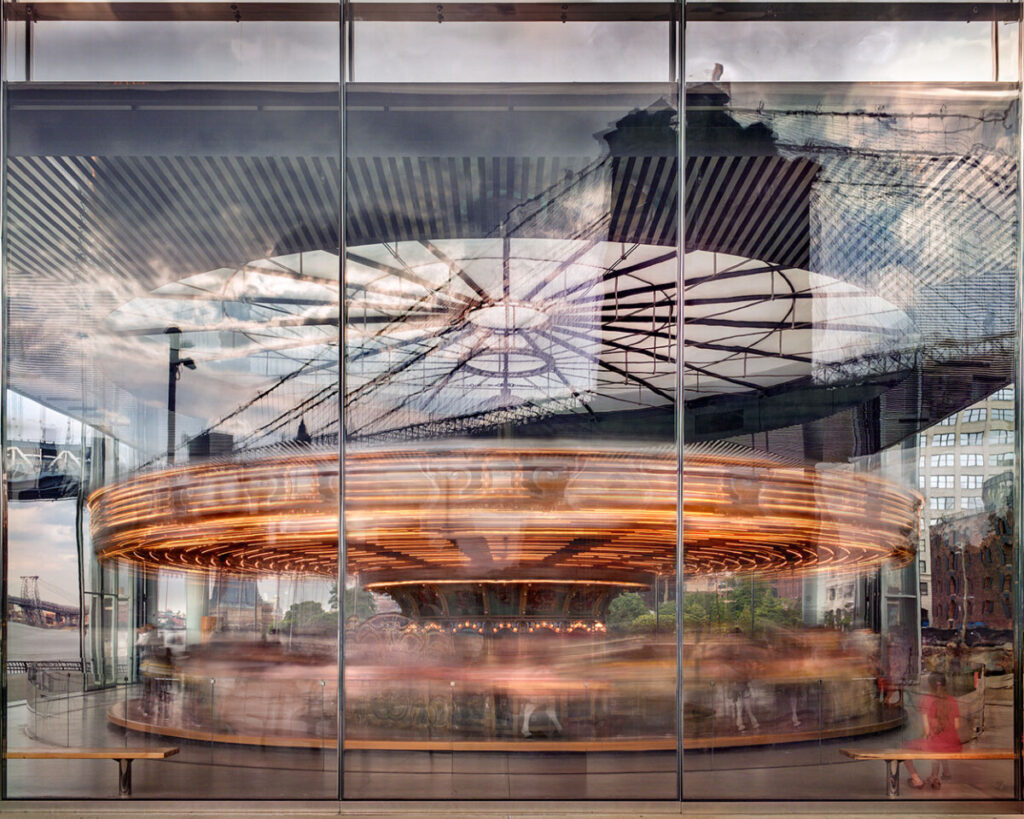
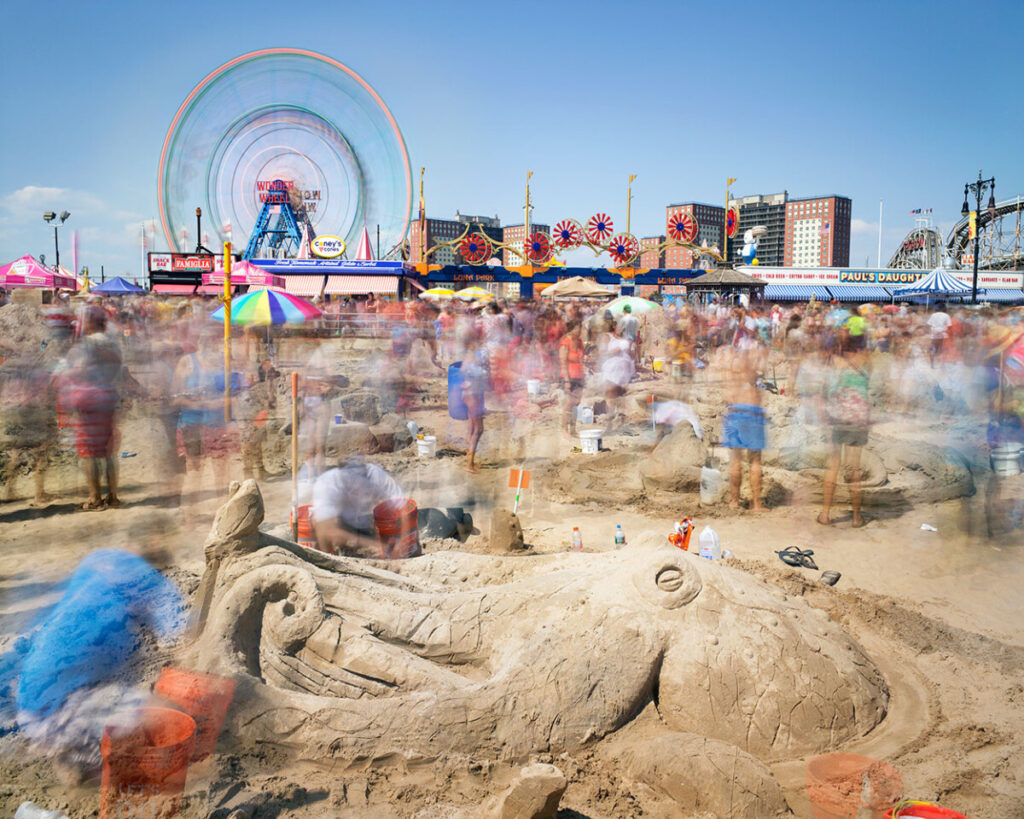
Matthew Pillsbury
Matthew Pillsbury
Matthew Pillsbury
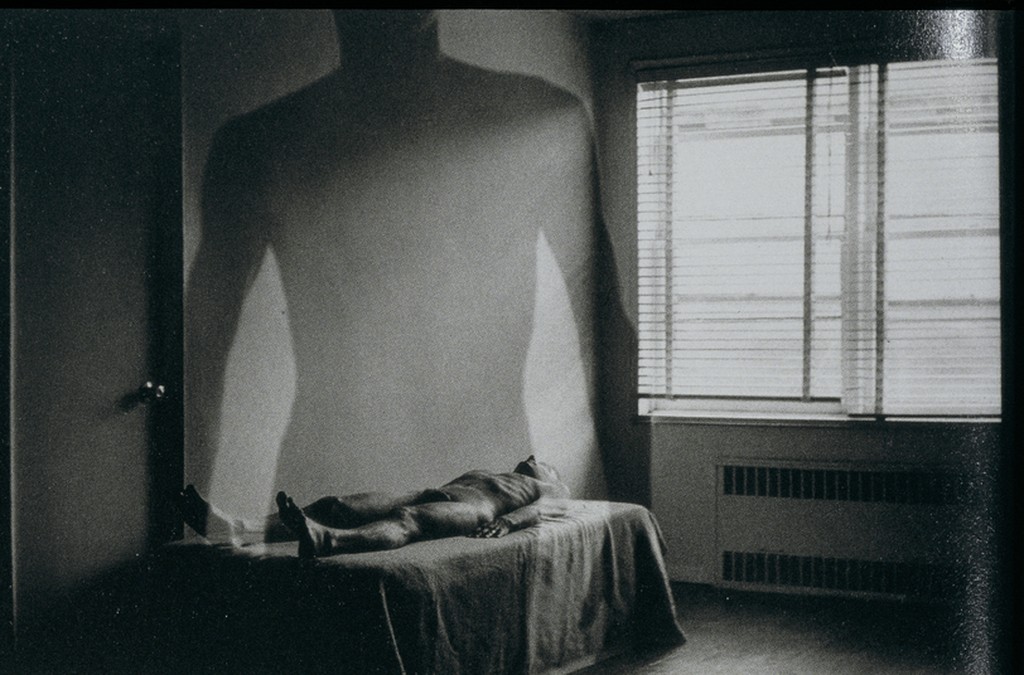
Duane Michals
Duane Michals
Duane Michals
How to blur motion:
Use a slower shutter speed – 1/4 sec to 30″ or even longer
Direction-if the subject moves parallel to the picture plane there is more visible movement than if the subject moves toward or away from the camera.
Focal length-a subject will appear blurrier when photographed with a telephoto lens than when photographed with a wide-angle lens.
Timing
The exact moment that you take the picture is as important as how long the shutter speed is. This is often called:
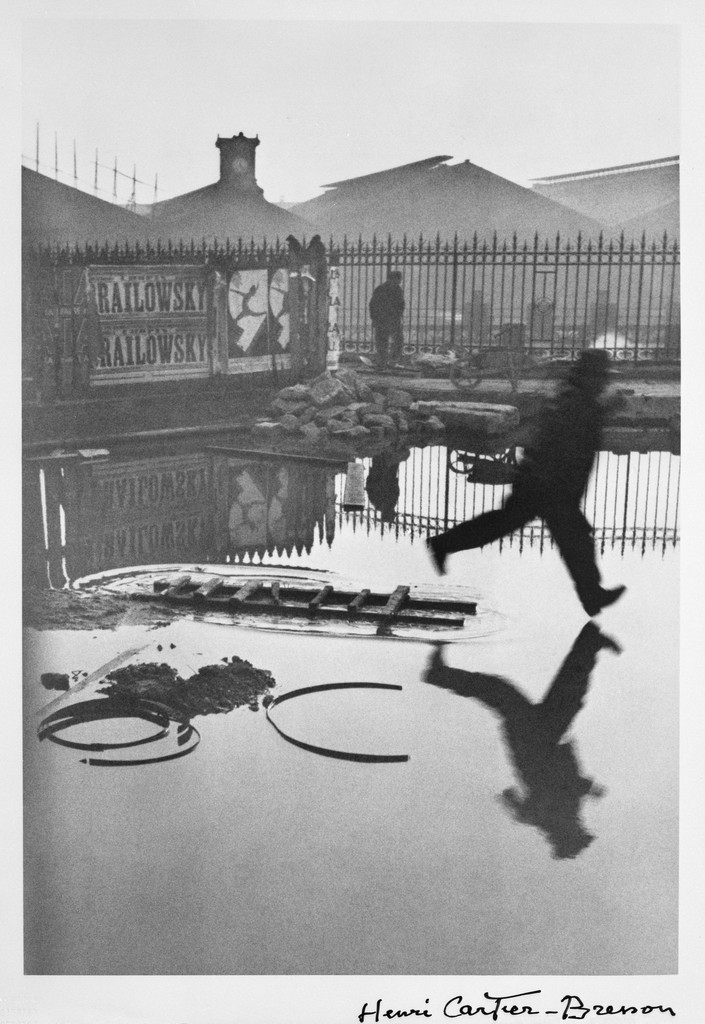
The Decisive Moment: A term coined by Cartier Bresson- “the simultaneous recognition, in a fraction of a second, of the significance of an event as well as the precise organization of forms which gives that event its proper expression.”


Recent Comments