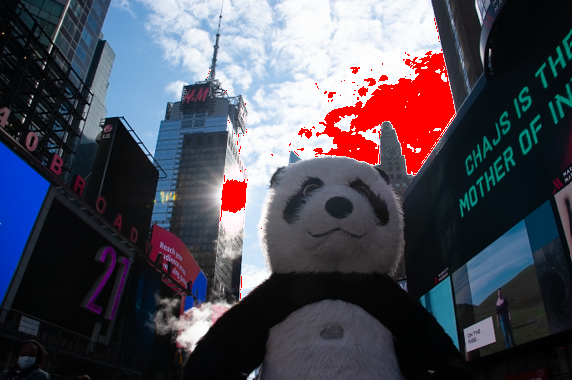
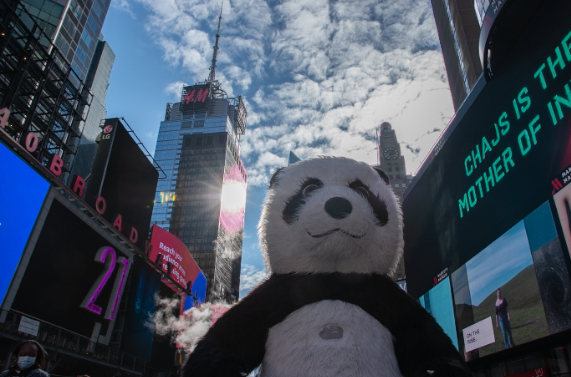
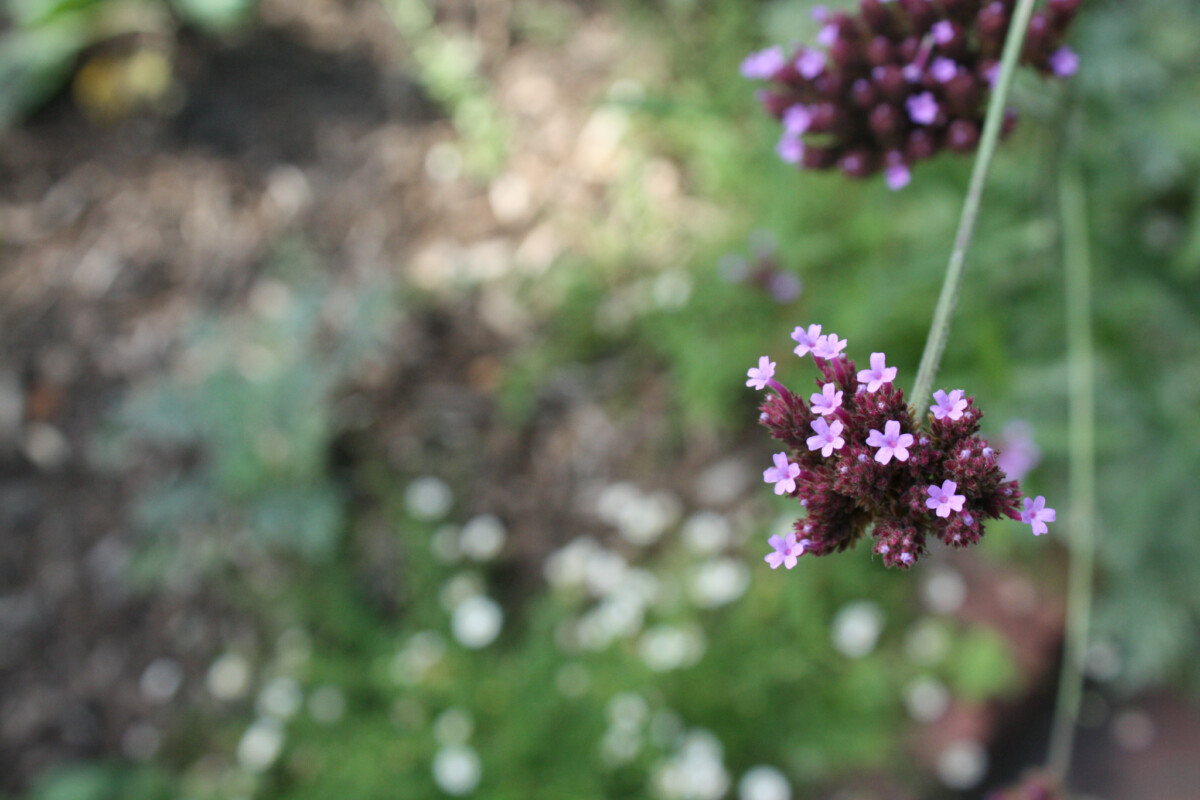
This image was a little dark and overexposed. I lowered the highlights to 0 to help lessen the overexposure and increased the blacks to about 53 to lighten up the image in general. I increased the shadows to about 28, along with clarity at 23 to define the outline of the panda, to separate it from the background.
Category: Student Posts (Page 7 of 14)
On the left, I cropped and edited the saturation of the image. I first cropped in more closer to the couple. I adjusted the clarity to make the midtowns brighter. In addition, I felt like the original on the right was very warm toned so I went to the temperature and pulled it towards the left to make it cooler. I also played with the contrast a little bit.
I adjusted the whites and blacks and I made the saturation higher, I also played with the exposure.
I adjusted the blacks so it would be true black and the white to be true white.
In this picture I adjusted the highlights so the clouds would pop out more, I also adjusted the blacks and whites.
For this photo, I adjusted only the shadows and the whites to make it lighter and make the beautiful view of the sky more vibrant and the pier a little more visible.
Before on the left, After on the right. The main thing that I have done was to decrease the shadows and increase the contrast. I also cropped the photo so that it aligns more with the rule of thirds, improving the composition in my opinion. I’ve done more minor tweaks across all the editing setting to get an overall more clear and vibrant photo. At least that was the intention.
Recent Comments