Robin Michals | COMD 1340 Photography 1 DO97
4 pts. Please put your photos and your written answers in a text file, convert to PDF, and email it to me: rmichals@citytech.cuny.edu
Due: Dec 7, 3:15pm.
Each question is worth 1 pt. Please respond in full sentences.
(1) State the difference between direct and diffused light.
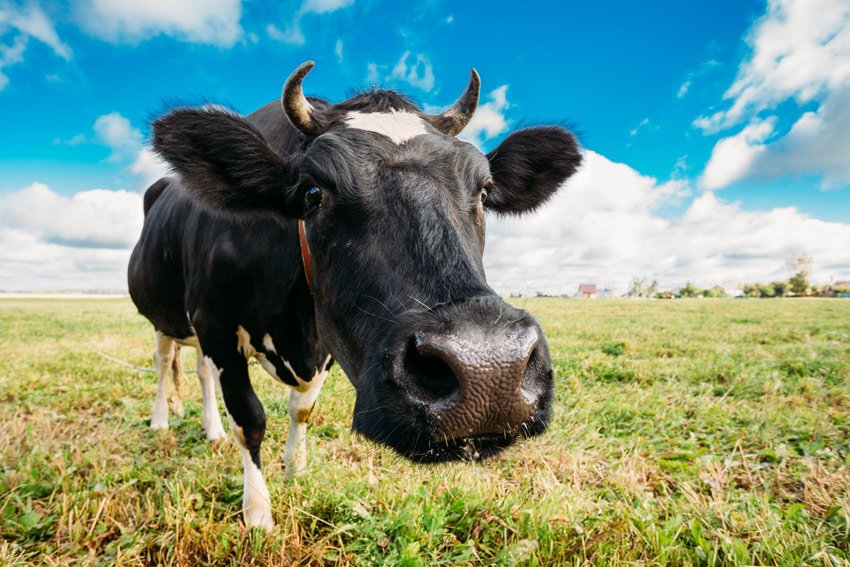
(2) Why does the head of this cow in this unmanipulated photo looks so strange? What did the photographer do to make the cow look like this?
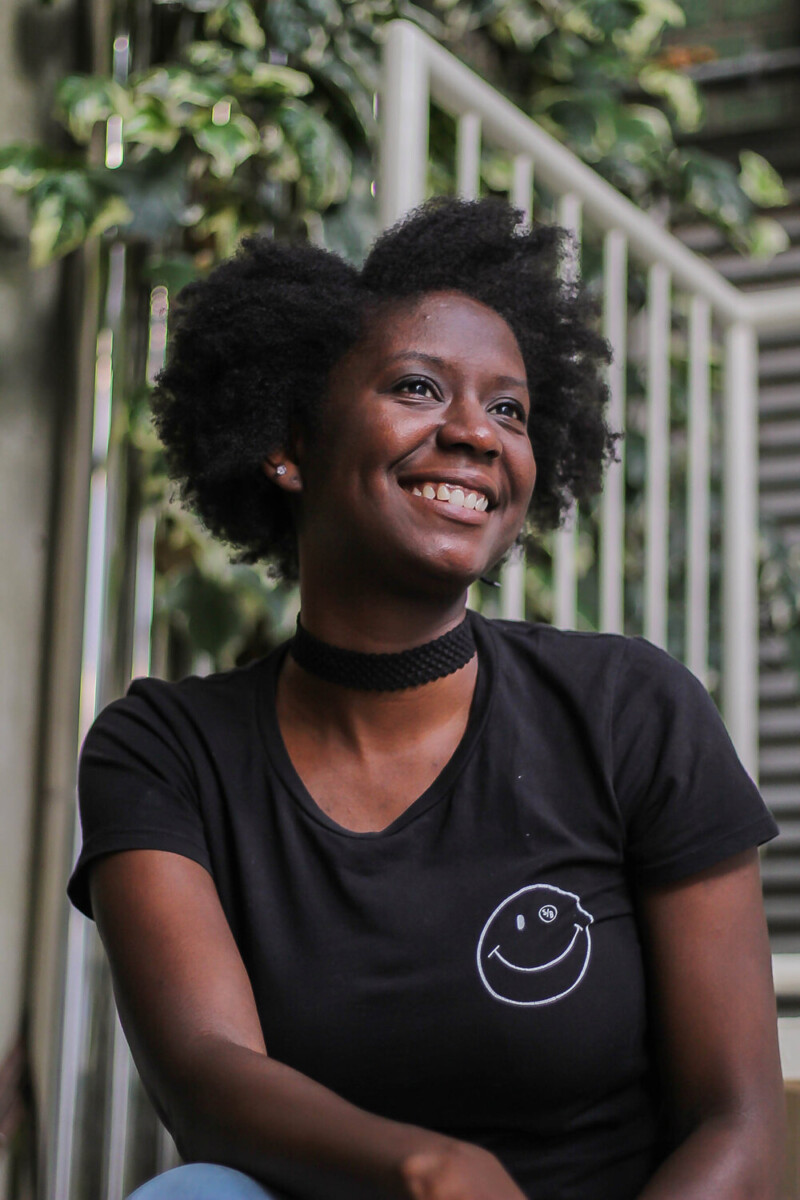
(3). What classic lighting style is used in this photo by Alex Webster? Describe the features of the portrait that support your claim.
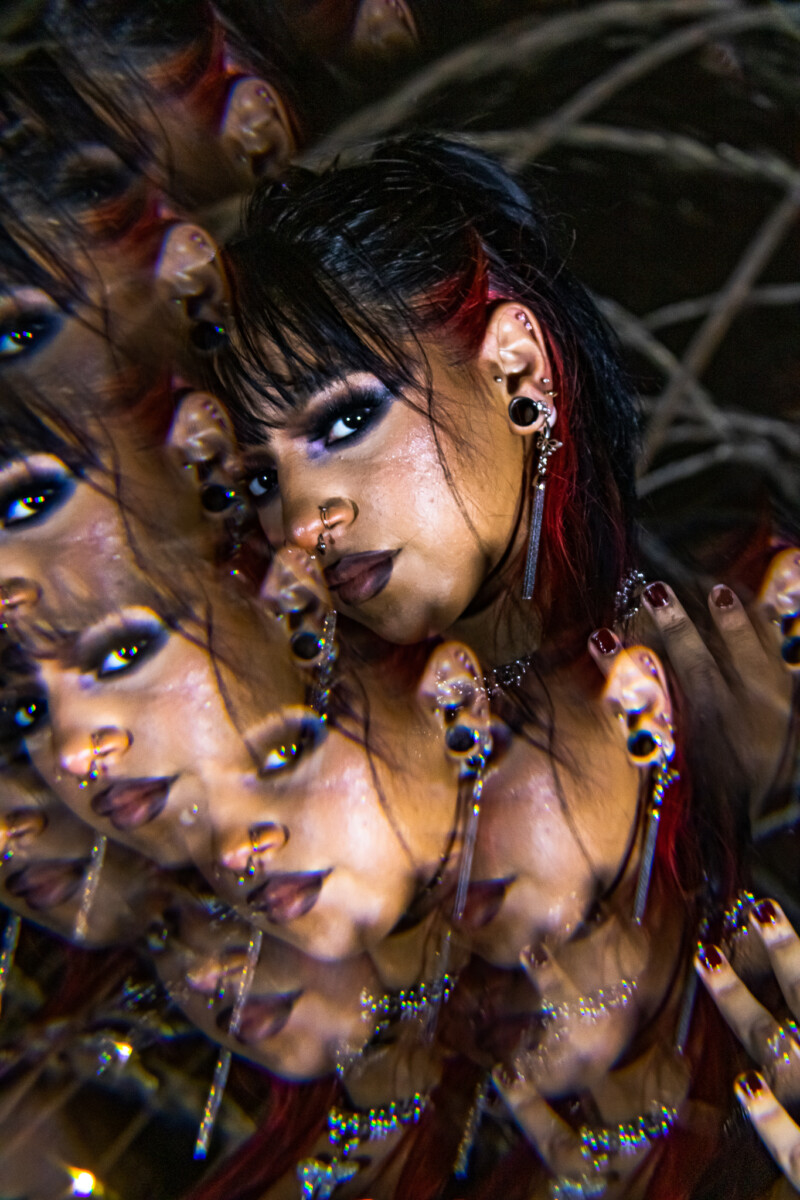
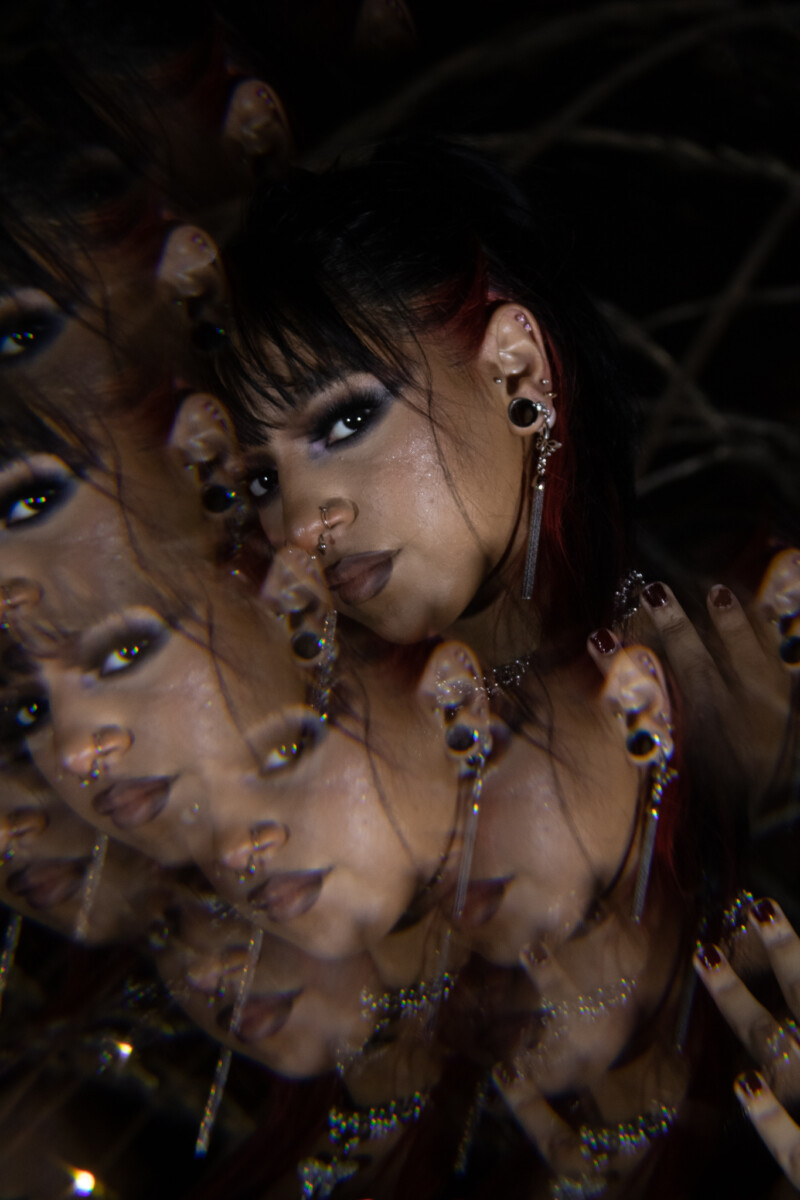
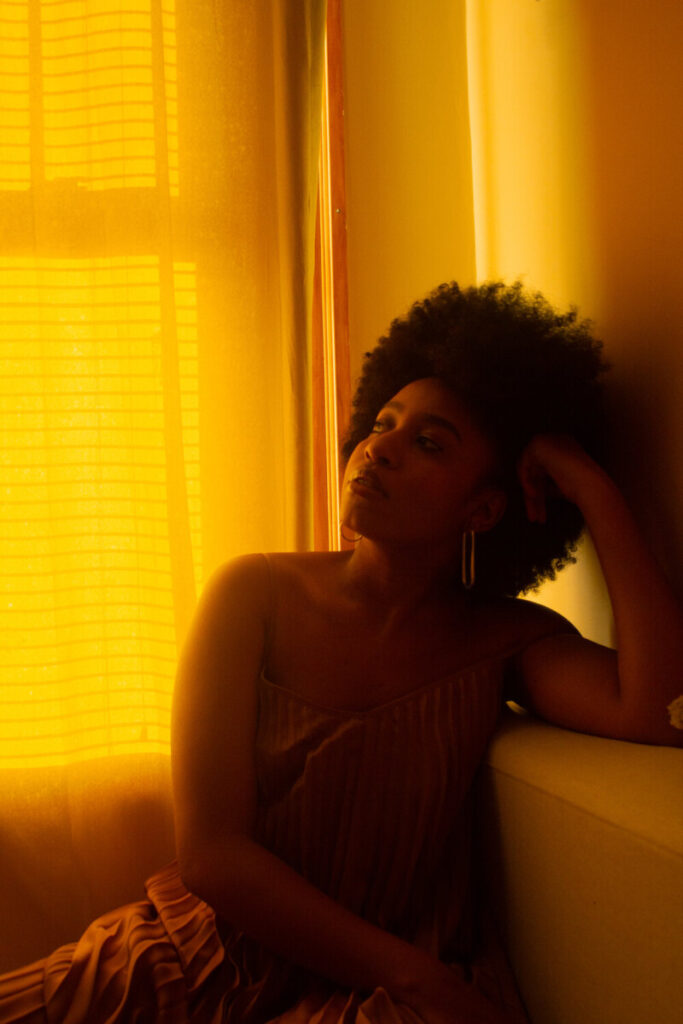
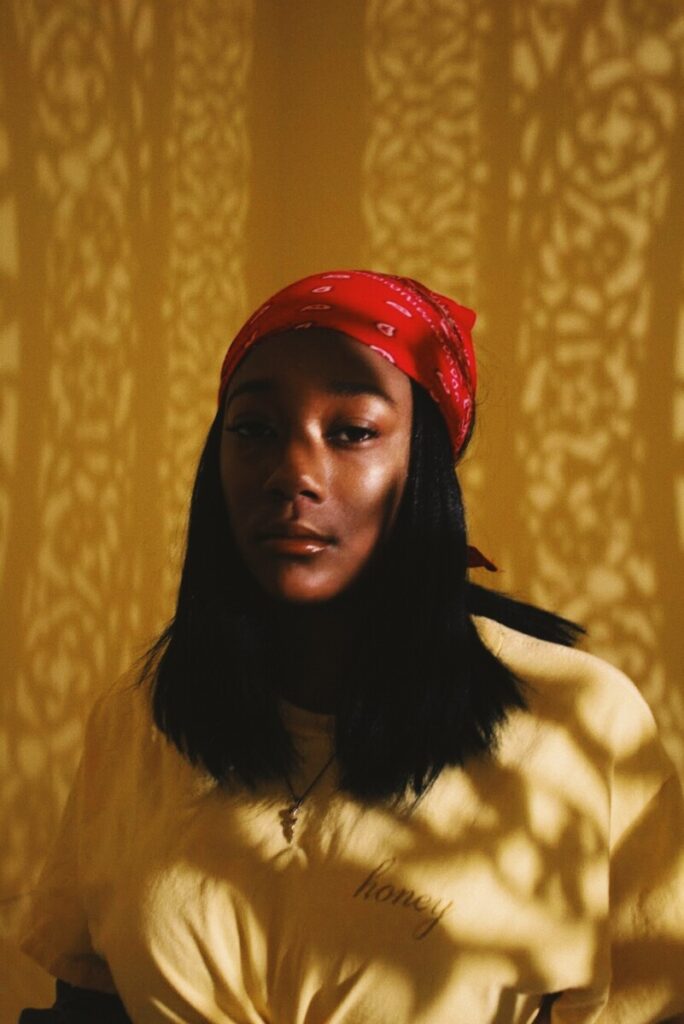
4. Compare and contrast these two portraits taken by Kris Nivaeh. Use at least 4 vocabulary terms from the class for full credit.
Global corrections adjust the entire file. In the Lightroom, it includes the controls under Light, Color and Effects. In Lightroom classic, this includes everything in the basic panel: White balance, Tone and Presence.
After you make global corrections, sometimes you will want to make corrections to part of your image. Generally, the brightest part of the image commands the most attention. Sometimes that is not where you want your viewer to look first so shifting the exposure of parts of your image can create the image you want.
The two main tools for local adjustments are the adjustment brush and the graduated filter.
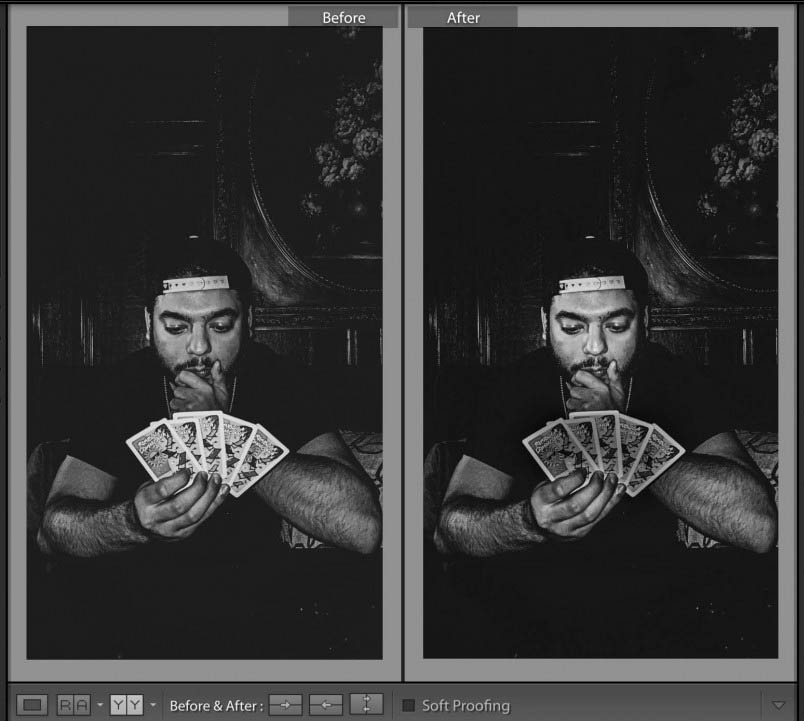
The important thing in this photo by Bryan Rodriguez is the face of the card player. However the cards are brighter and demanded too much attention. Using the adjustment brush, I darkened the cards. Creating a second adjustment, I lightened the face of the card player a little more. The goal was to bring more attention to the person’s face and less to the overly bright cards.

Due next week, December 14th:
3 albums each of a minimum of 30 photos
1 album of the 10 best photos of the 90 total, adjusted in Lightroom
a 3-5 min presentation of the final project – projected from the album on Flickr.
Select one of the photos that you will include in your final project that needs some local as well as globl corrections.
First make the global corrections.
Then identify what is the most important thing in your photo. Consider how to best direct our attention there.
Then using the adjustment brush and or the graduated filter, make the needed local corrections.
Put a before and after version of your file with local corrections into a gallery block in a post on OpenLab. Include a list of the global and then local corrections that you made to the file.
Category: Lab: Week 14 – Local Corrections
Pick any photo that you will be including in your final project presentation.
Please consult the topic page on Global corrections for more detail.
Make global corrections:
Put the before and after versions of your photo in a gallery block into a post on OpenLab. Include a list of the adjustments you made to the photo.
Category-lab: Week 14 – Global Corrections

© 2024 COMD 1340 DO97
Theme by Anders Noren — Up ↑
The OpenLab is an open-source, digital platform designed to support teaching and learning at City Tech (New York City College of Technology), and to promote student and faculty engagement in the intellectual and social life of the college community.


Recent Comments