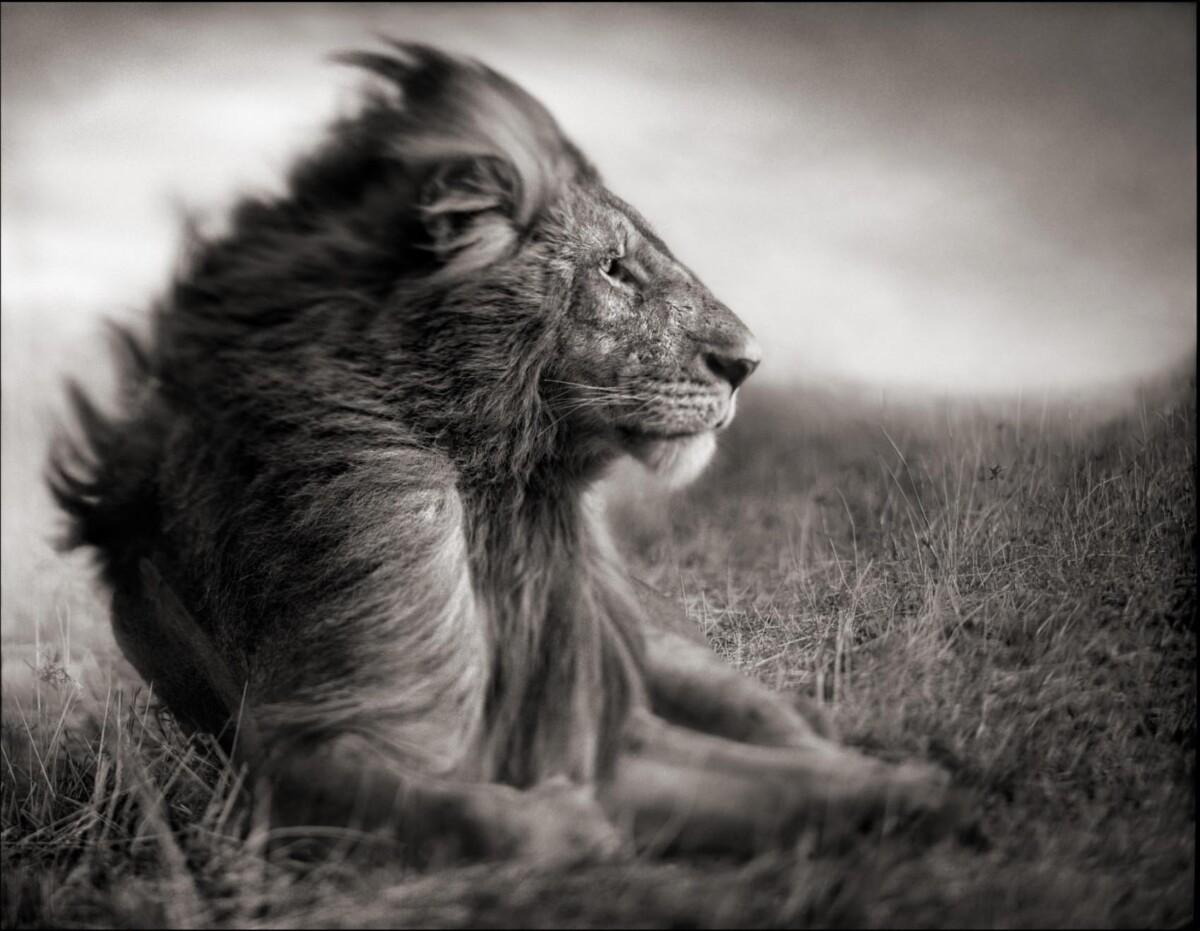
These are the photos you will need for this quiz:
2.
Robin Michals | COMD 1340 Photography 1 DO97
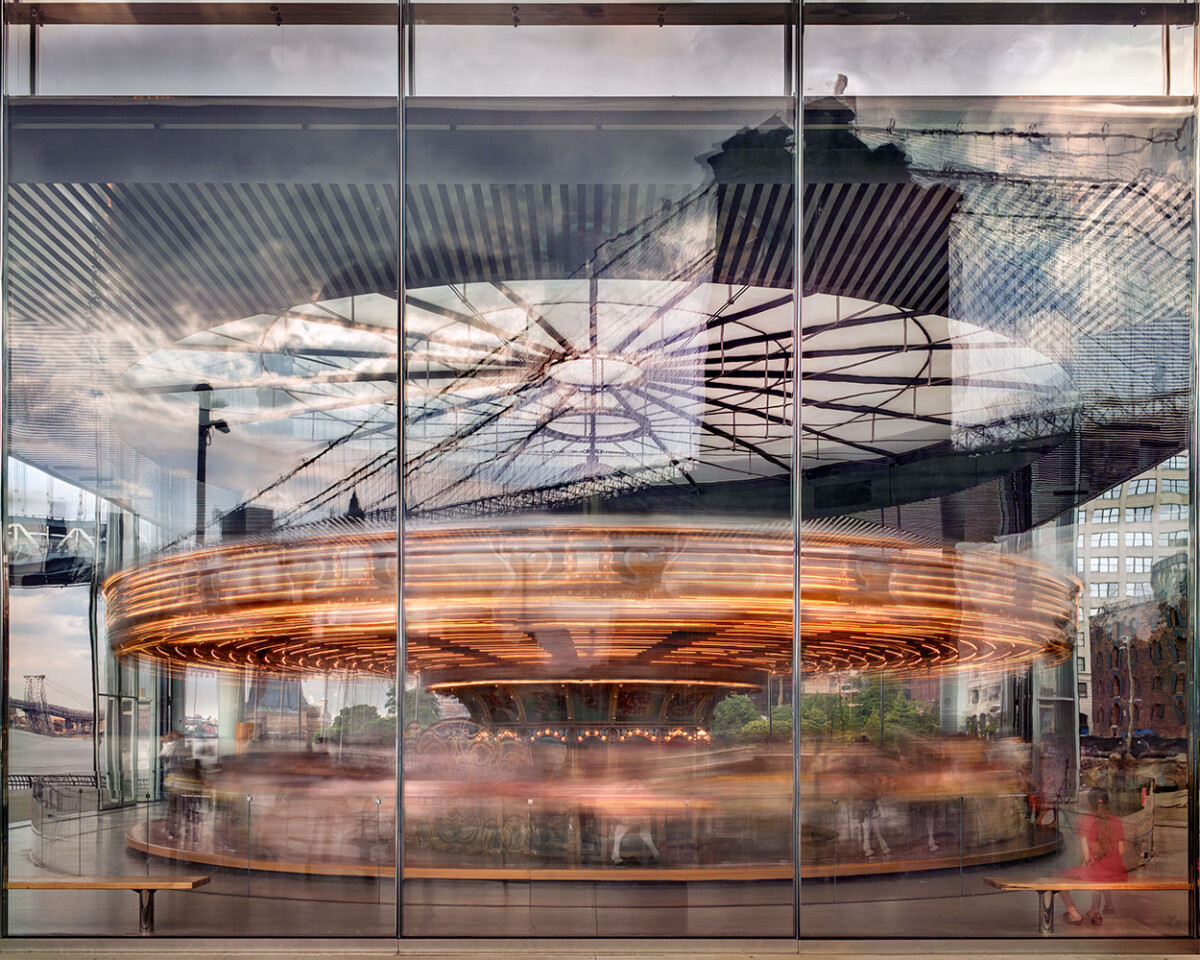
These are the photos you will need for this quiz:
2.
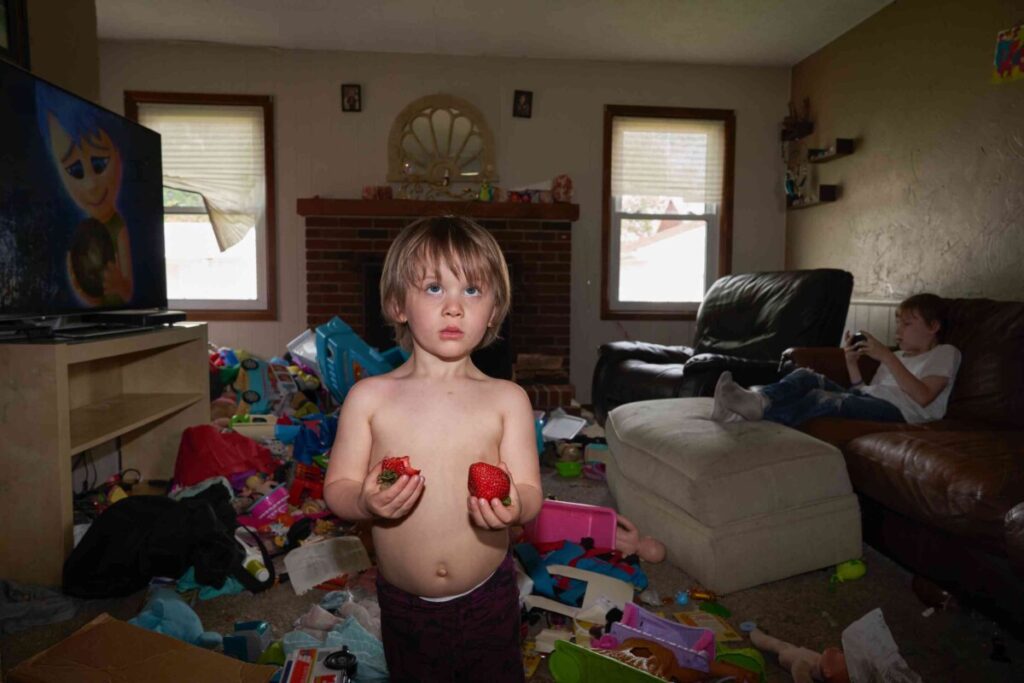
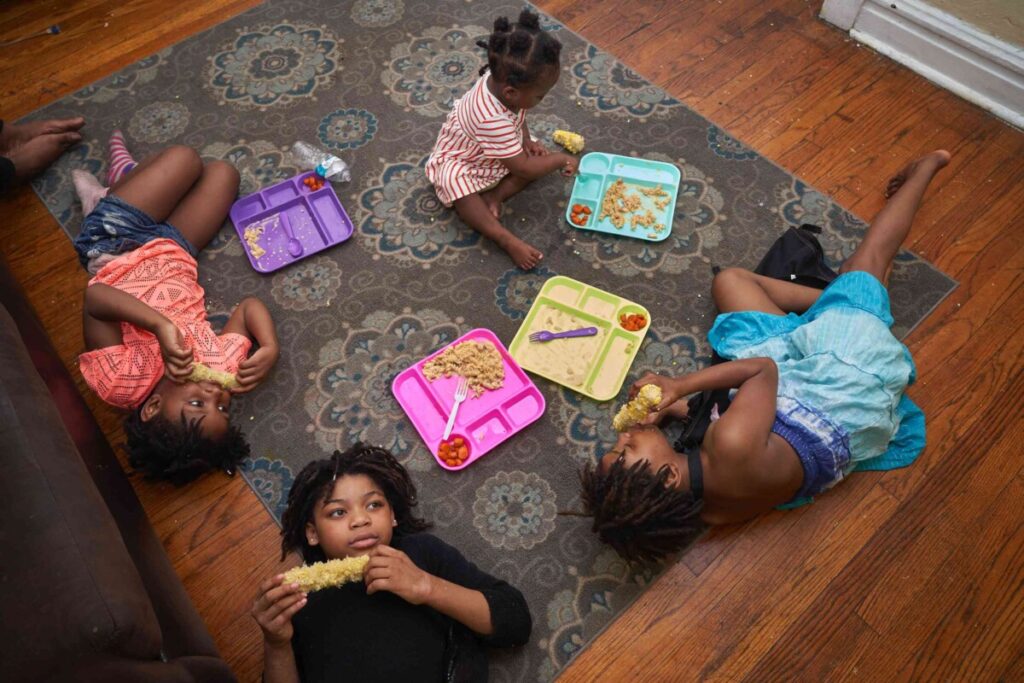
Make global adjustments on each of the three examples:
Rename the file with your name and a number and send them to me rmichals@citytech.cuny.edu
Select one photo from the four selected by your group from your midterm project that you think will benefit most from adjustment in Lightroom. Using the Lightroom Workflow detailed on today’s class topics page, adjust your photo.
Make a post and include the before and after versions with a screen shot of the Lightroom settings you used and a short description of how you improved your photo.
Category: Global Corrections
Aspect Ratio-the proportion of the width of the image to the height of a 2D image
Clipping-the intensity of the light falls outside of what can be recorded by the camera and there is a loss of detail.
Color Profile-the data for a digital device, such as a printer or monitor, which describes its gamut, or range of colors. Used to match the gamut from one device to another.
Exif Data-information stored by the camera in the file.
Gamut-range of colors
Histogram- a graphic representation of the tones in an image. A spike of data on the left side indicates underexposure, on the right overexposure.
Neutral Value-RGB values are equal or gray
Non-destructive Editing-adjust the image without overwriting the original image data. Instructions are written to a sidecar file that tells the software how to interpret the image.
White Balance-the setting that adjusts for the color temperature of the light and that will make a white object appear white or a gray object a neutral value
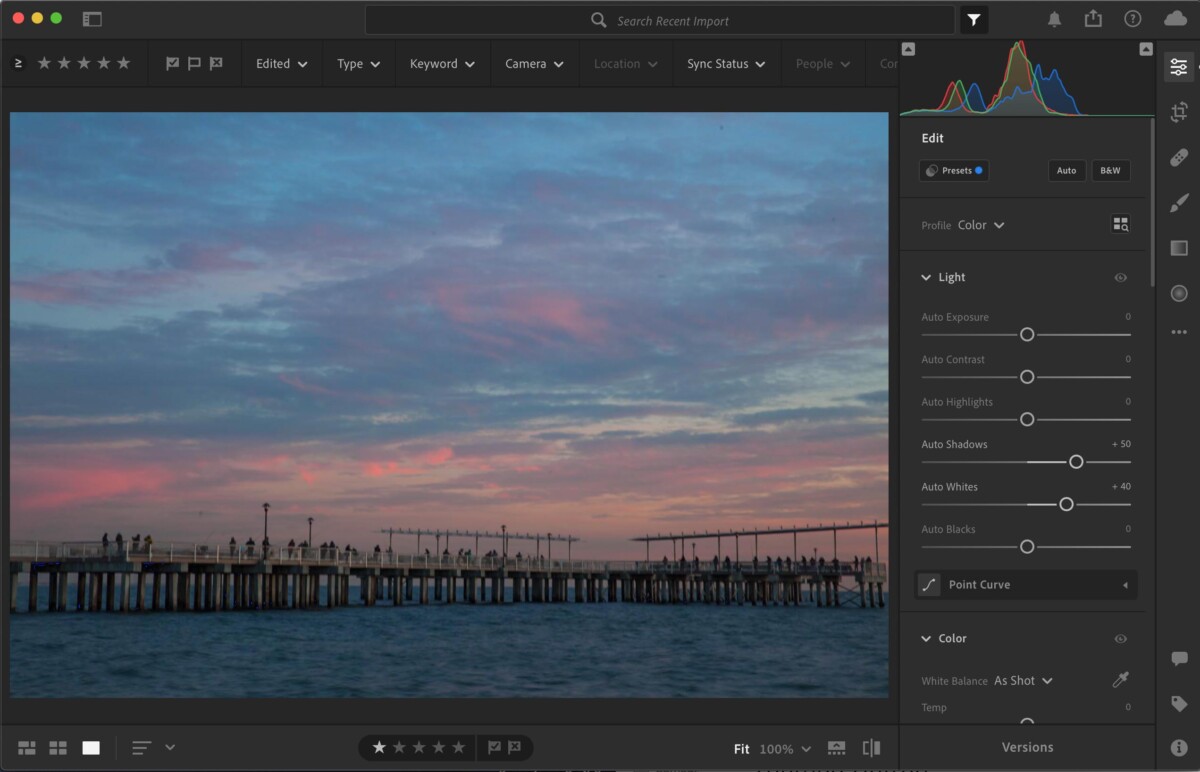
Global corrections adjust the entire file. In the Lightroom CC, it includes the controls under Light, Color and Effects. In Lightroom classic, this includes everything in the basic panel: White balance, Tone and Presence.
The histogram is a graphic representation of the tones in the photograph. It is a guide to exposure decisions. Most images look best when there is a full range of tones from black to white in the image. But there are no iron clad rules.

To access the histogram in Lightroom, from the keyboard select: Command 0
Or get it from the three dots on the right menu bar.
From the top of the histogram, there is a triangular button. Toggle it to turn on/off show clipping.
To maximize the the tonal range, adjust a photo to have some tones that are totally black and totally white but only a few so that you don’t lose detail in either the shadows or the highlights.
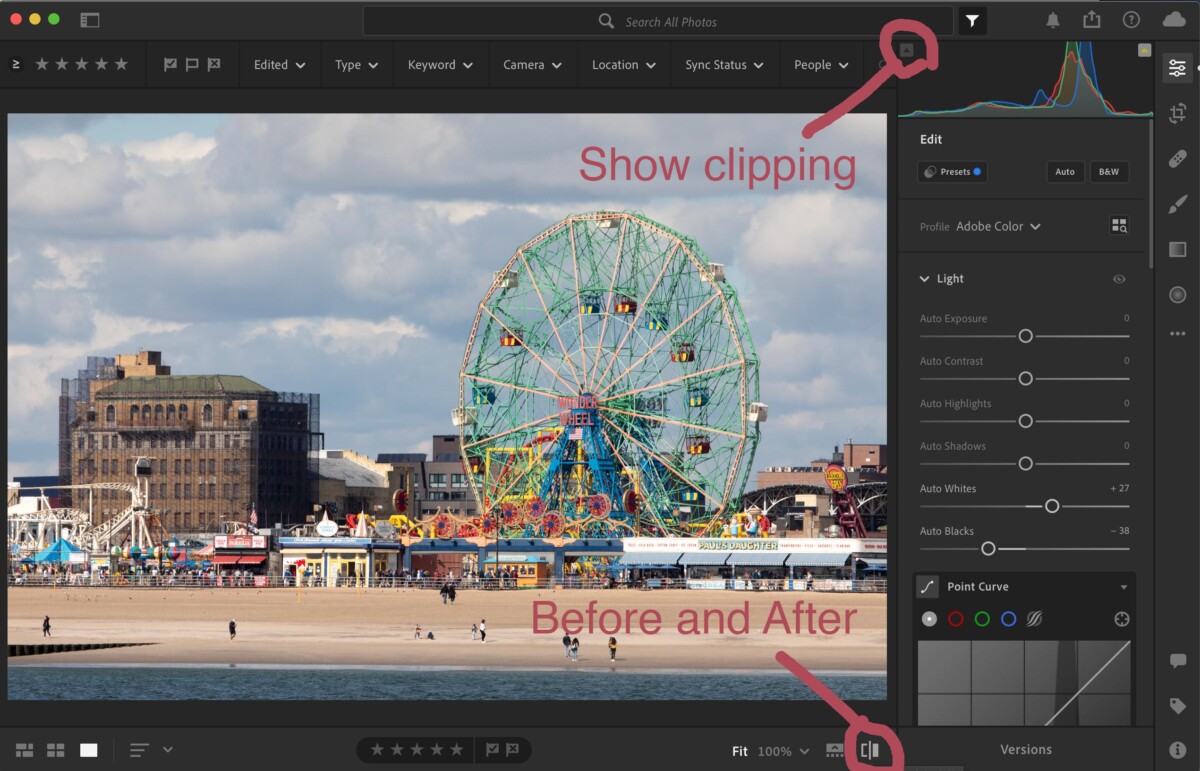
Looking at the histogram, we can see that there is not a true black or white. To raise the contrast of the image and use the full tonal range, use the following adjustments:
Most images improve with:
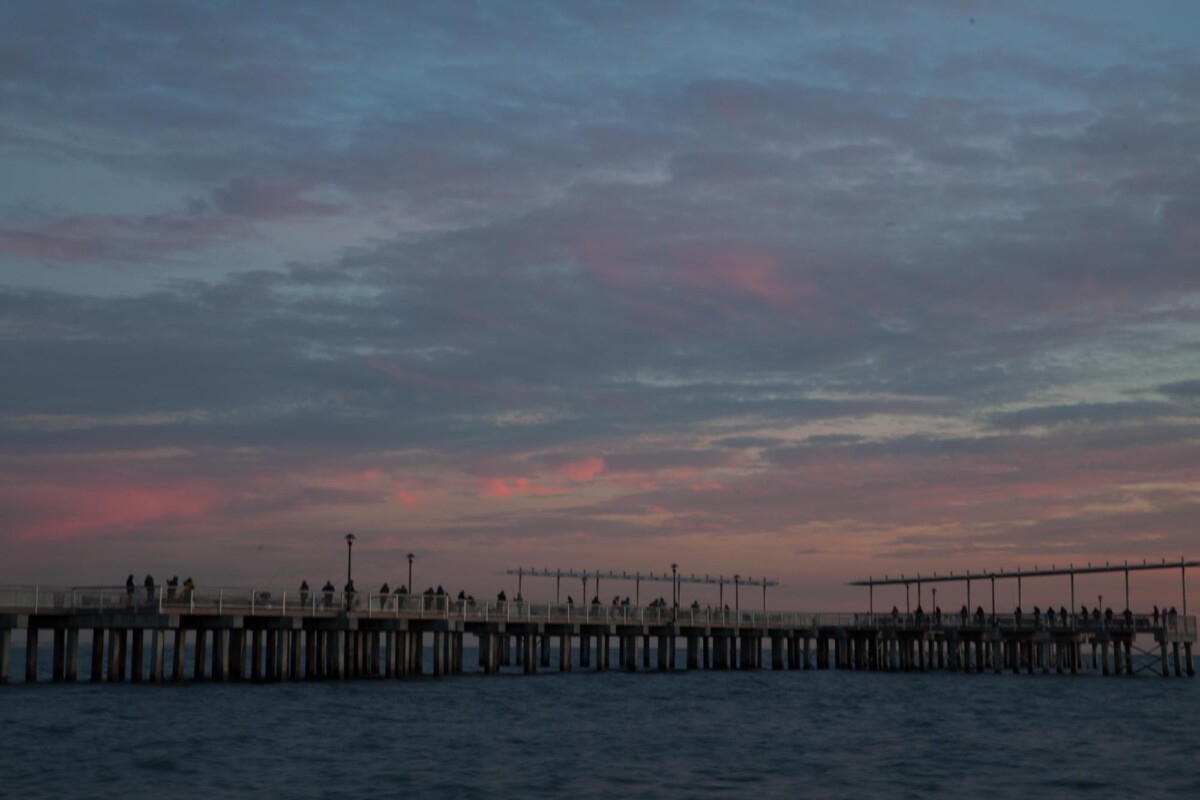
In this photo of the pier in Coney Island, the histogram shows that is underexposed. But we also know that it is an evening scene and that there is nothing in the photo that should be bright white.
First set of photos due October 19th.
Complete project due October 26. 10 pts.
Portrait of a place-Select a park or playground near you. You will take photographs in the same location two weeks in a row. Photograph there at different times of day to capture the place and the people who use it in a series of 8 final photos.
Portrait of a Place-Shoot in your location at 2 different times of day and or in different weather. Your shots should cover a wide range of approaches: long shots to close ups, people including at least one person in motion, animals and plants. Each photo should use light and composition in compelling ways.
2. Second set of 40 Photos in an album labeled Shoot 2 on Flickr due Oct 26th at 2:30pm.
3. 8 final photos adjusted in Lightroom in an album labeled Midterm on Flickr due Oct 26th at 2:30pm.
4. A brief presentation to the class of your project on Oct 26th.
Meet in the classroom in V111 at 2 pm or at 990 Washington Ave at the main entrance to the BBG at 3 pm.
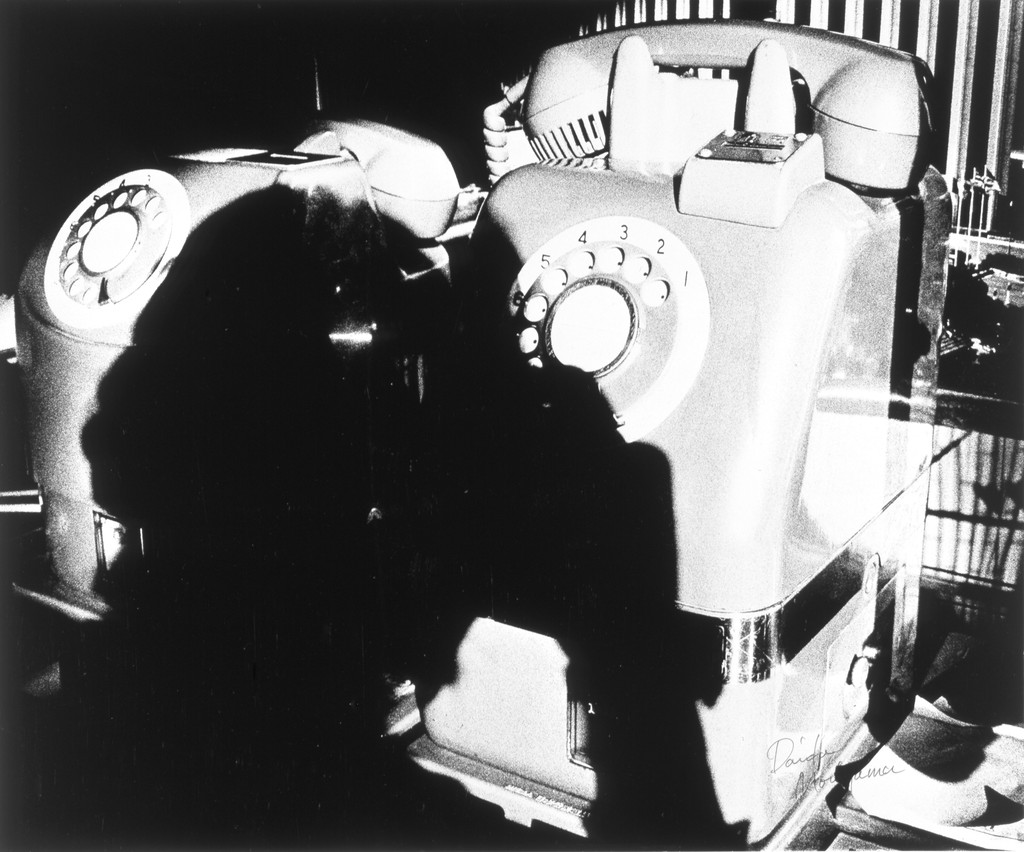
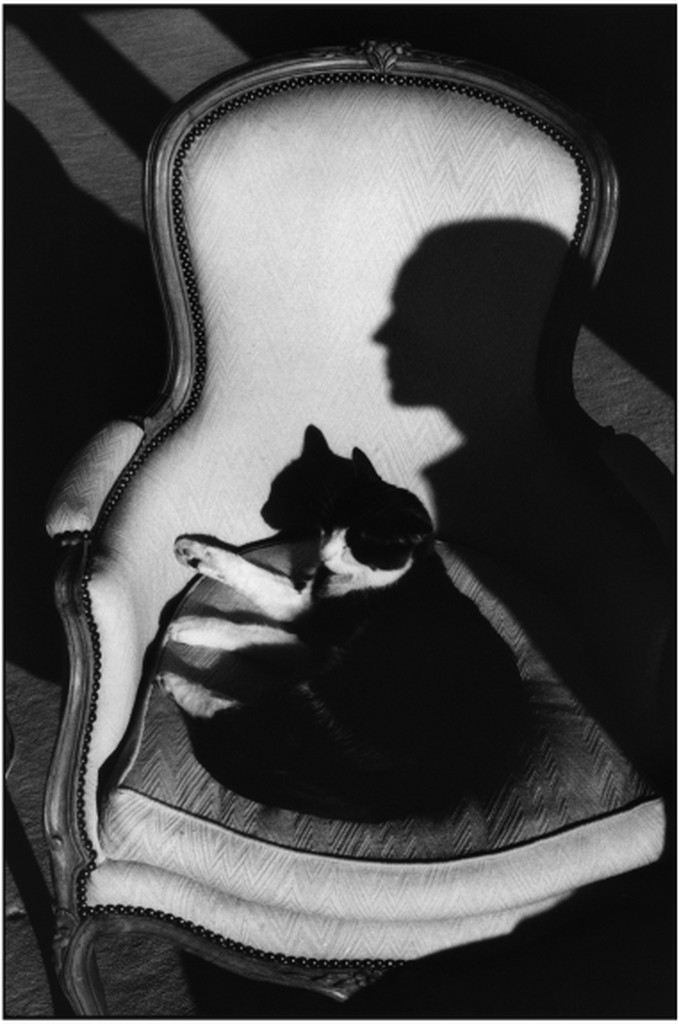
The word photography is rooted in Greek meaning “ writing with light “ One of the main concerns of photographers is how light illuminates a scene or subject. While we focus attention on light, it’s easy to not pay attention to shadows. Shadows, although dark, can be as dynamic as light. The shadows shape light, define texture, and act as compositional elements.
Contrast: The measure of difference between bright areas (highlights) and dark areas (shadows) in a photo
High contrast : Large difference between highlights and shadows. Mostly lights and darks without many mid tones
Low contrast : Little difference between lights and darks. Mostly mid tones.
Shadows – dark areas in photo that can range from black with no detail to dark tone with detail
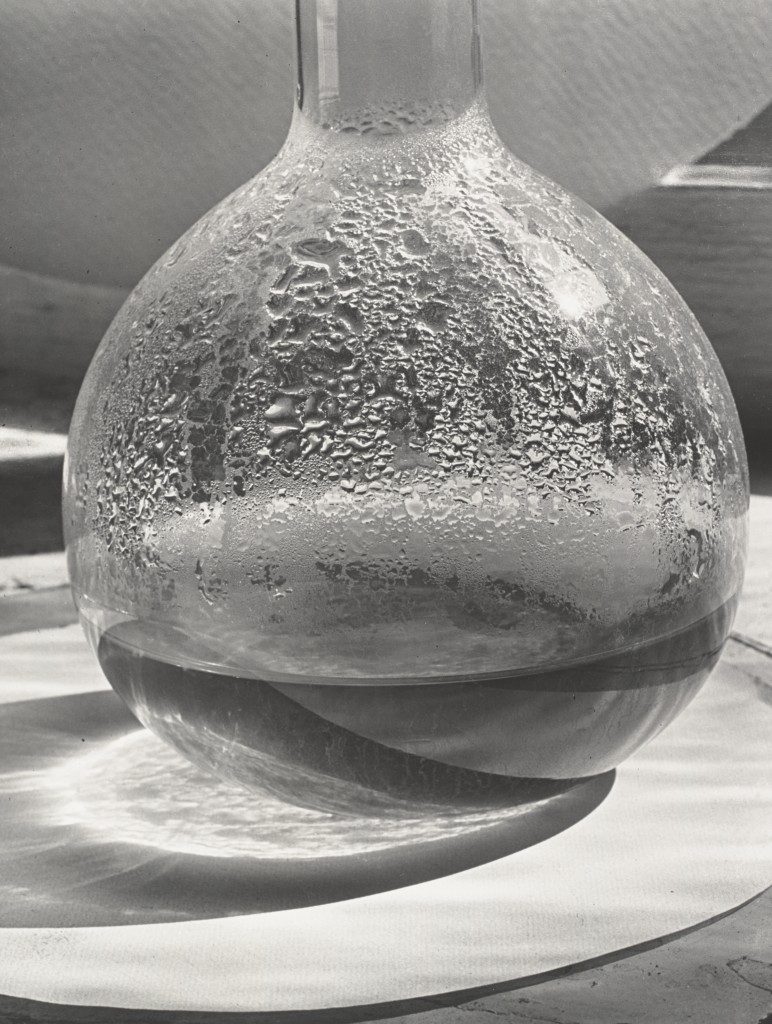
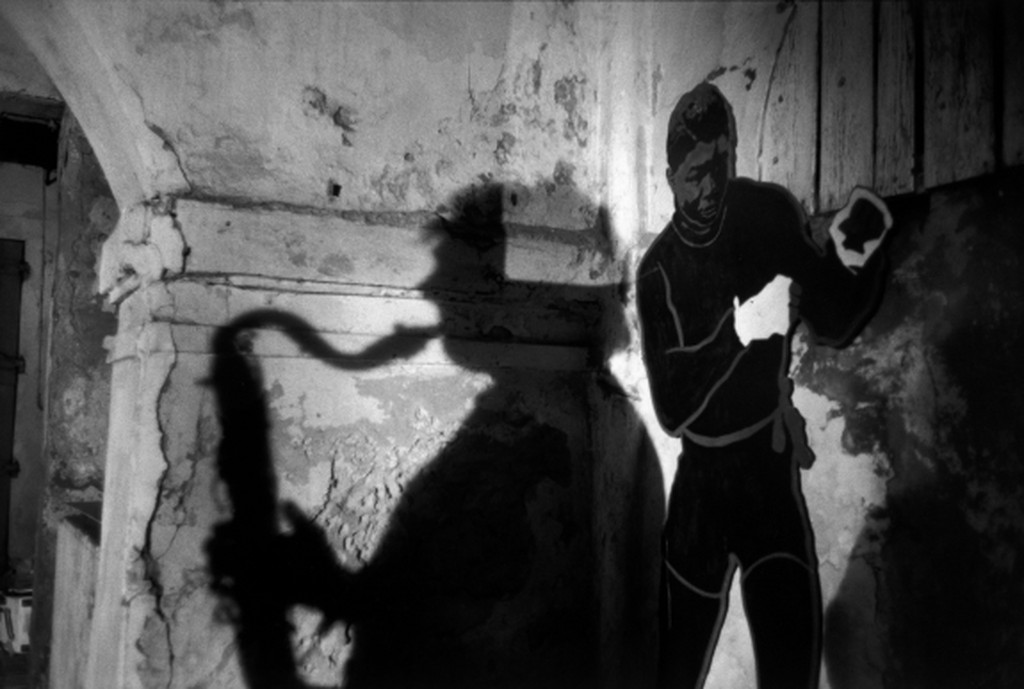
Uses of light and shadow: Light and shadow are complementary elements in photography. The quality and direction of light affect how a subject looks while producing shadows in various forms
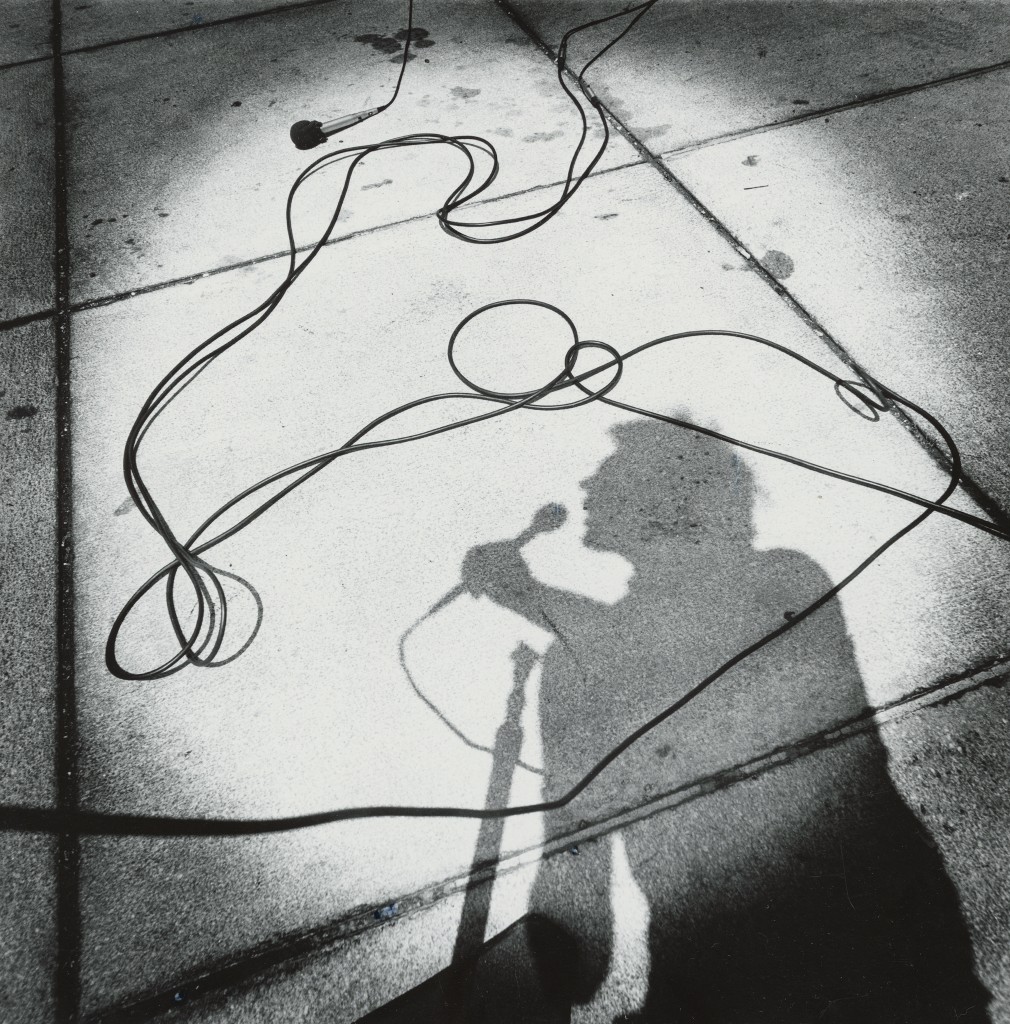
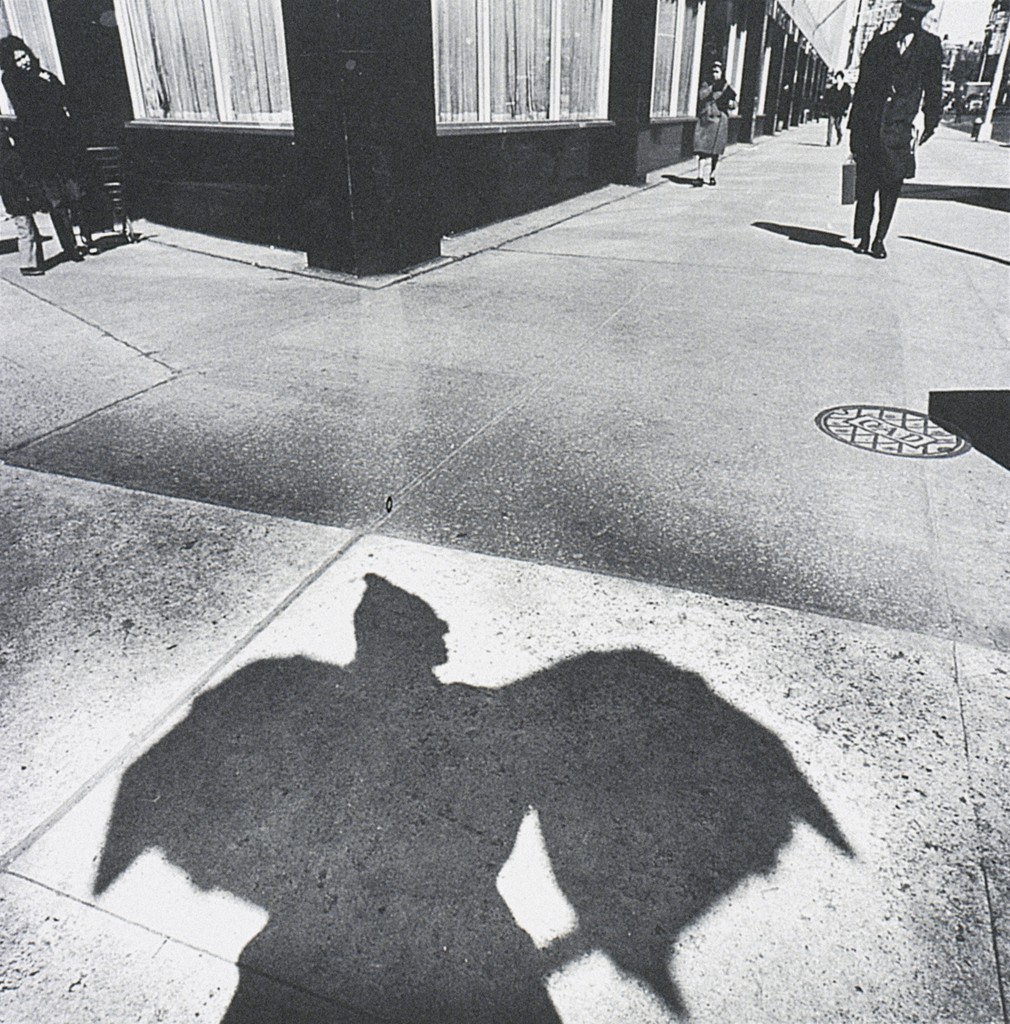
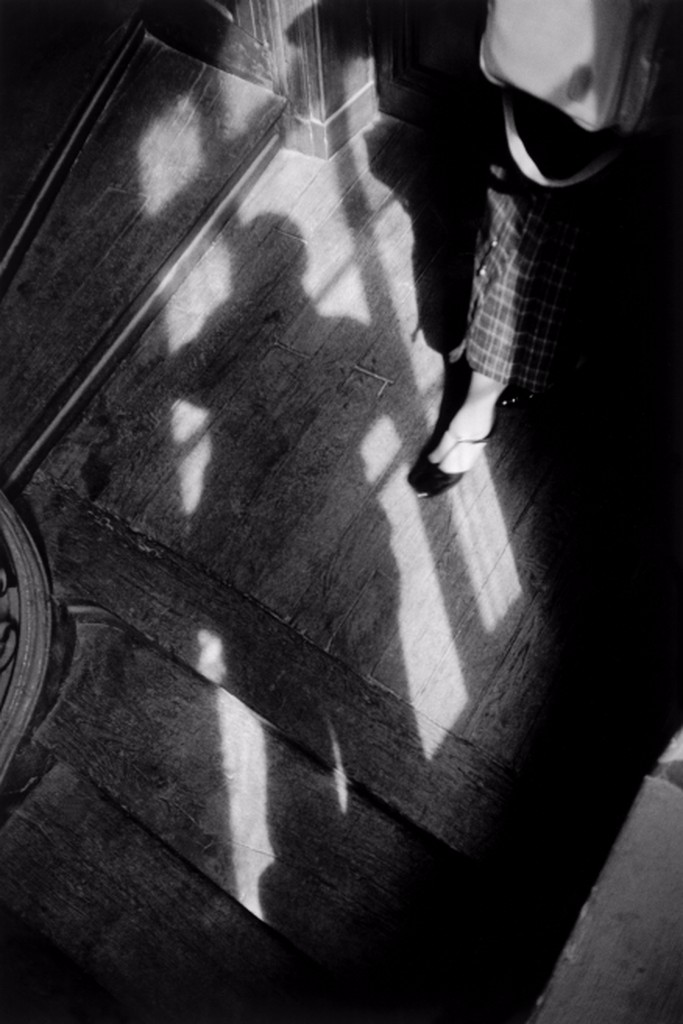
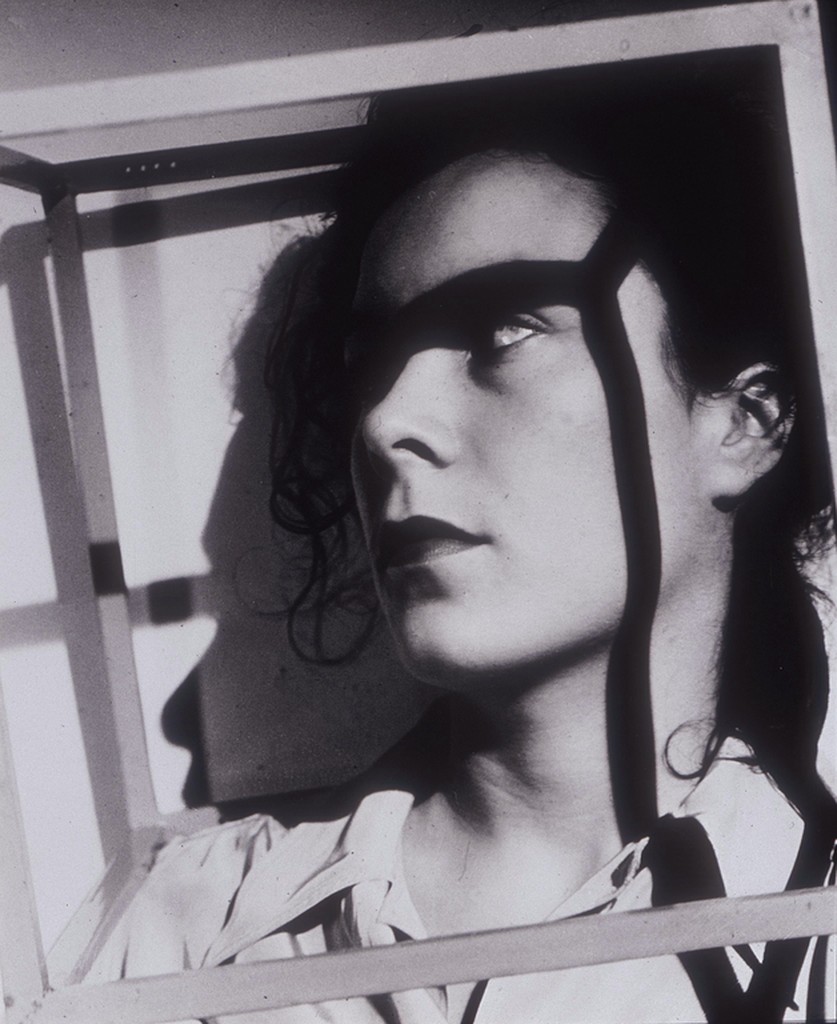


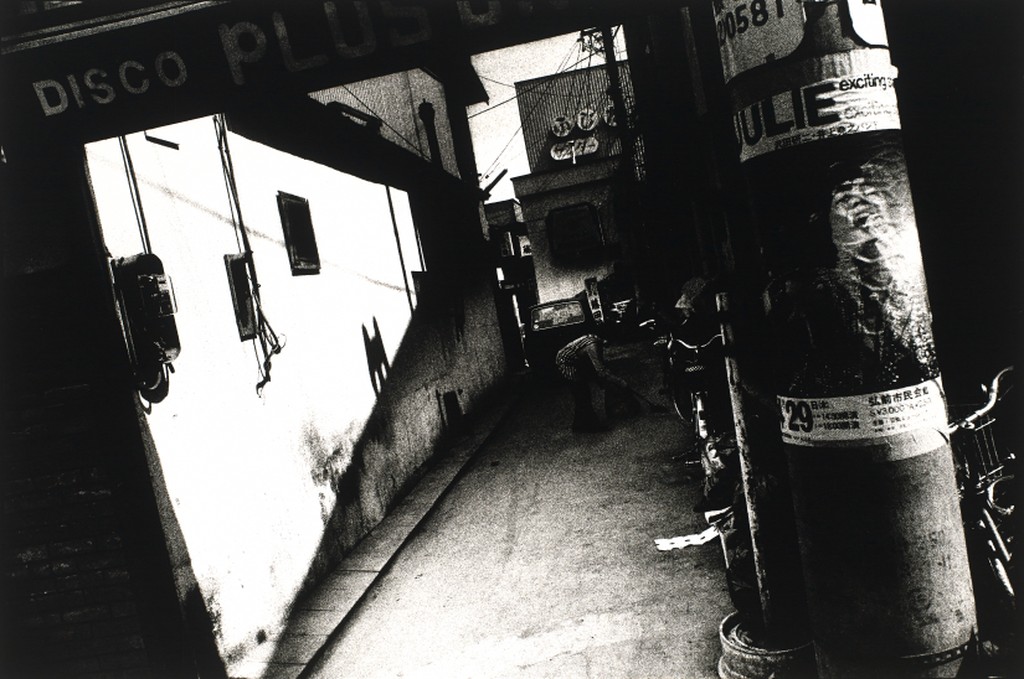
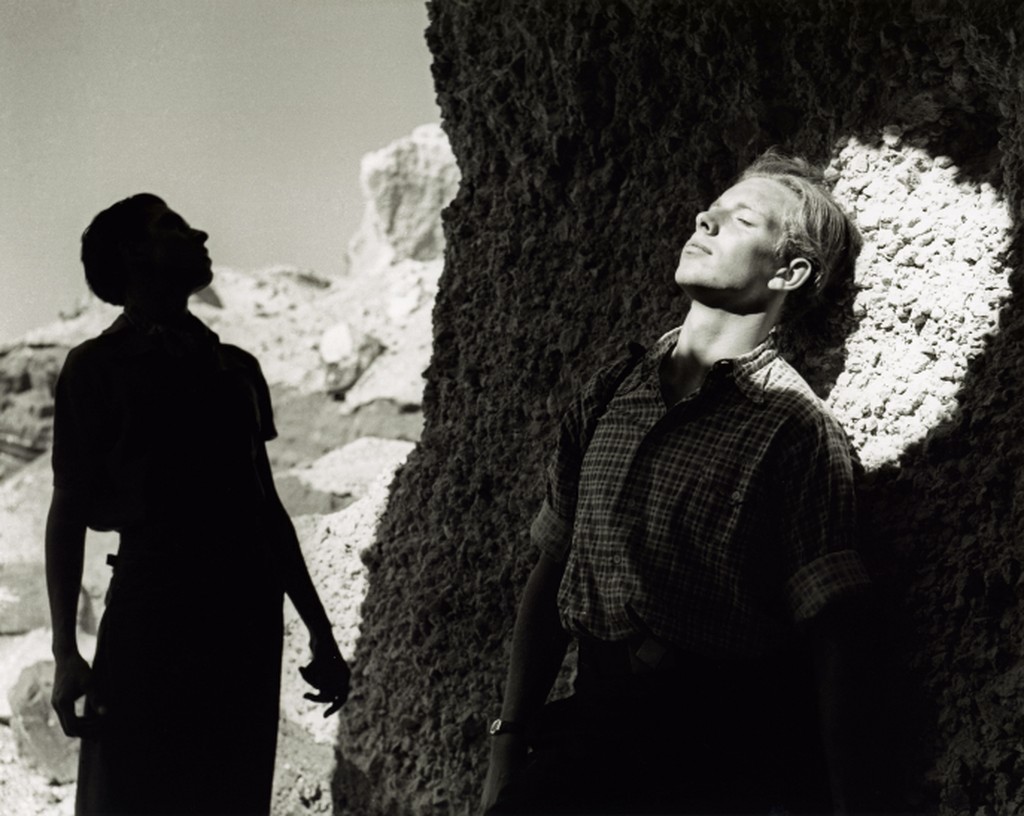
How light falls on your subject is key to using shadows in photography. The best direction for a combination of light and shadow will be light coming from the side. For dramatic effect photograph when the light( direct light ) is at a lower angle which will produce longer dramatic shadows. For less dramatic effect, use diffused light.
Exposing for photos that contain light and dark areas you will need to use exposure compensation. If there is large dark areas in the photo, the meter will over expose the light areas. In this case you need to use exposure compensation to lower the level of the lighter areas.
Next week on Oct 19th, there will be a quiz. Review the class topics pages for weeks 1-6.

© 2024 COMD 1340 DO97
Theme by Anders Noren — Up ↑
The OpenLab is an open-source, digital platform designed to support teaching and learning at City Tech (New York City College of Technology), and to promote student and faculty engagement in the intellectual and social life of the college community.


Recent Comments