Portrait of a place-Select a park or playground near you. You will take photographs in the same location two weeks in a row. Photograph your location at two different times of day or in two types of weather to capture the place and the people who use it in a series of 8 final photos.
Complete project and presentation due October 11. 10 pts.
40 photos in an album labeled Shoot 1 on Flickr due October 4 at 12 noon.
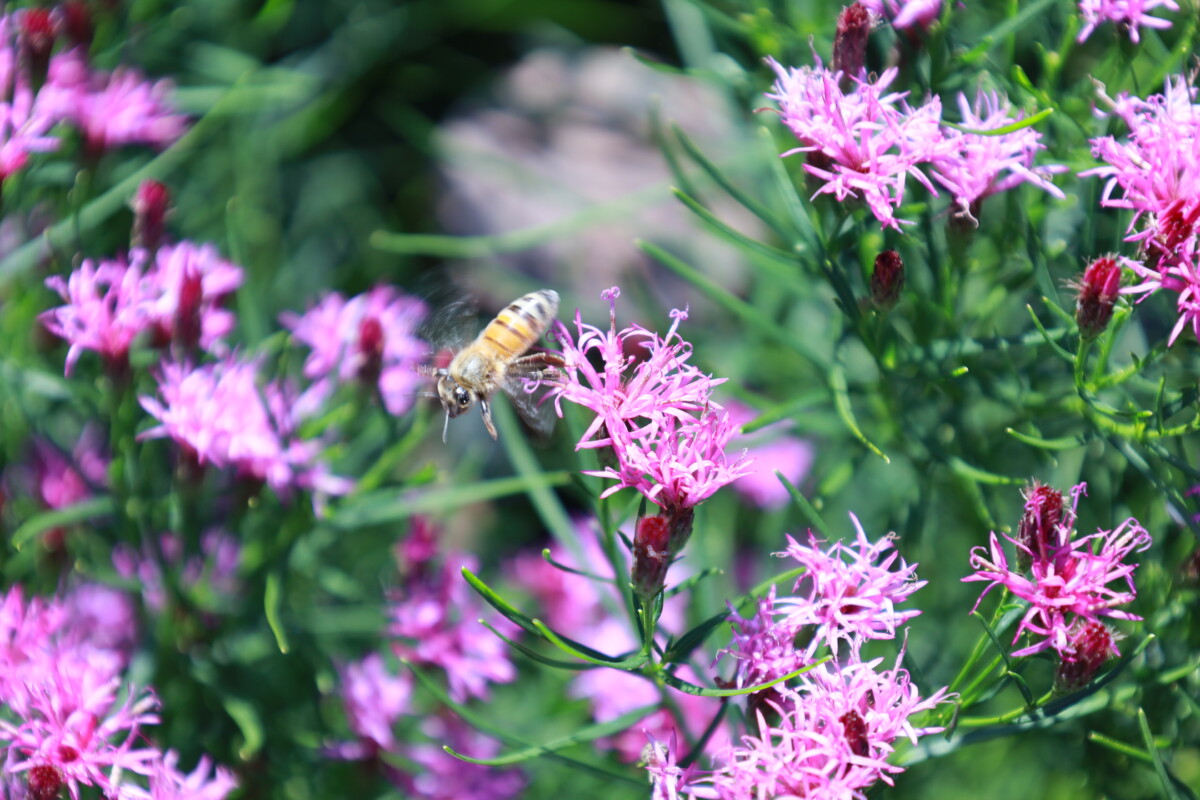
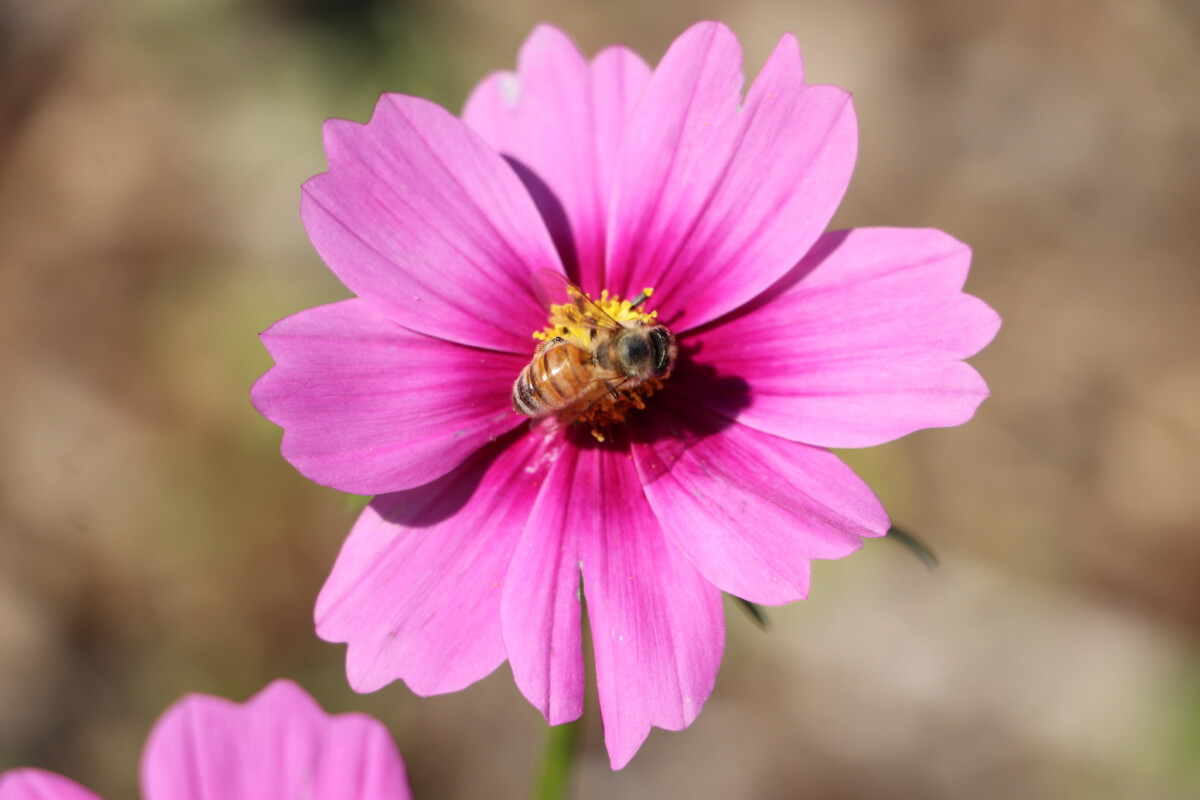
Portrait of a Place-Your shots should cover a wide range of approaches: long shots to close ups, people including at least one person in motion, animals and plants. Each photo should use light and composition in compelling ways. Show the full range of the techniques that we have tried in class.
2. Second set of 40 Photos in an album labeled Shoot 2 on Flickr due October 11 at 12 noon.
3. 8 final photos adjusted in Lightroom in an album labeled Midterm on Flickr due October 11 at 12 noon.
4. A brief presentation- 3 to 5 minutes – to the class of your project on Oct 11.
Look for and photograph in places that are both darker and lighter and use exposure compensation to get the look you want.
Take at least 10 shots that are lowkey – most of the tones are dark
Take at least 10 shots that are highkey – most of the tones are light
Backlight
Backlight is one of the most common challenges for the camera meter.
Take at least 10 photographs of your classmates or other subjects against the sky.
• Use negative exposure compensation to darken the subject to a silhouette.
• Use positive exposure compensation to brighten the subject and over expose the background.
Landscape/cityscape photos
The sky is much brighter than the ground. Take at least 10 photos showing a range of location shots of DUMBO, the park, the skyline with and without the sky. When your composition includes the sky use positive exposure compensation to take a second shot in which the ground and the buildings are well exposed ie brighter and the sky itself is overexposed.
Post your 5 best lowkey hots, 5 best highkey shots, 5 backlit shots and 5 cityscape photos to an album on Flickr.
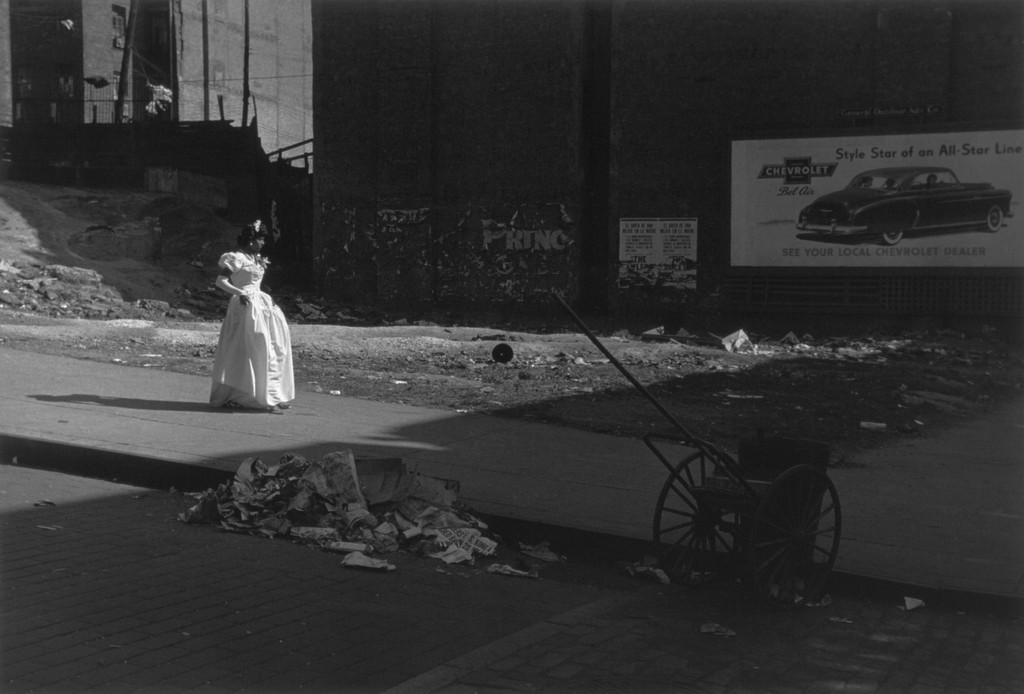
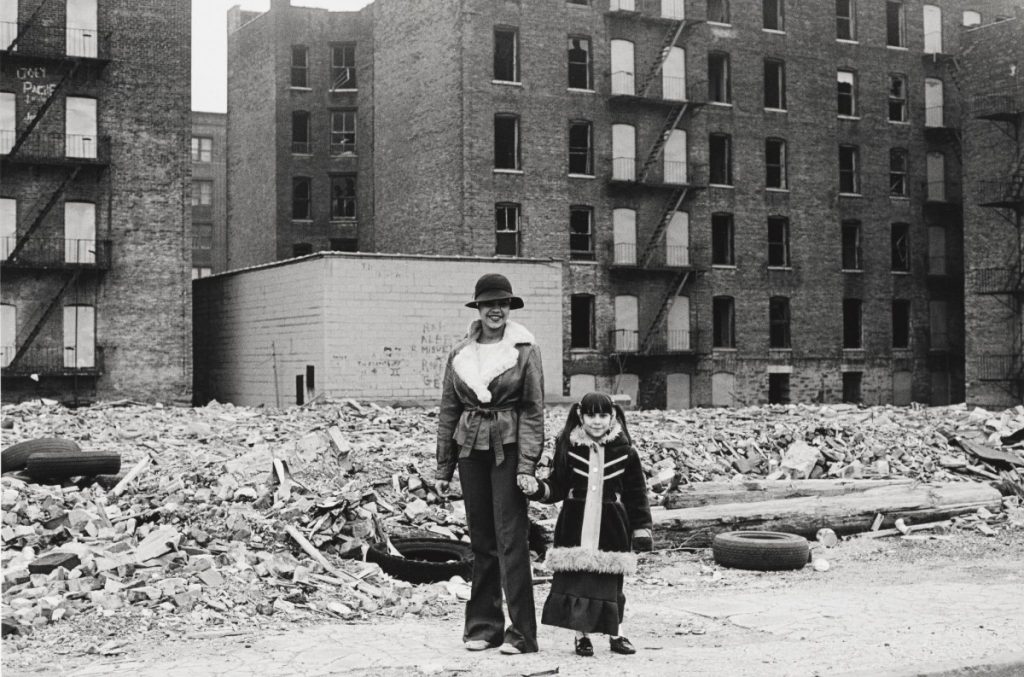
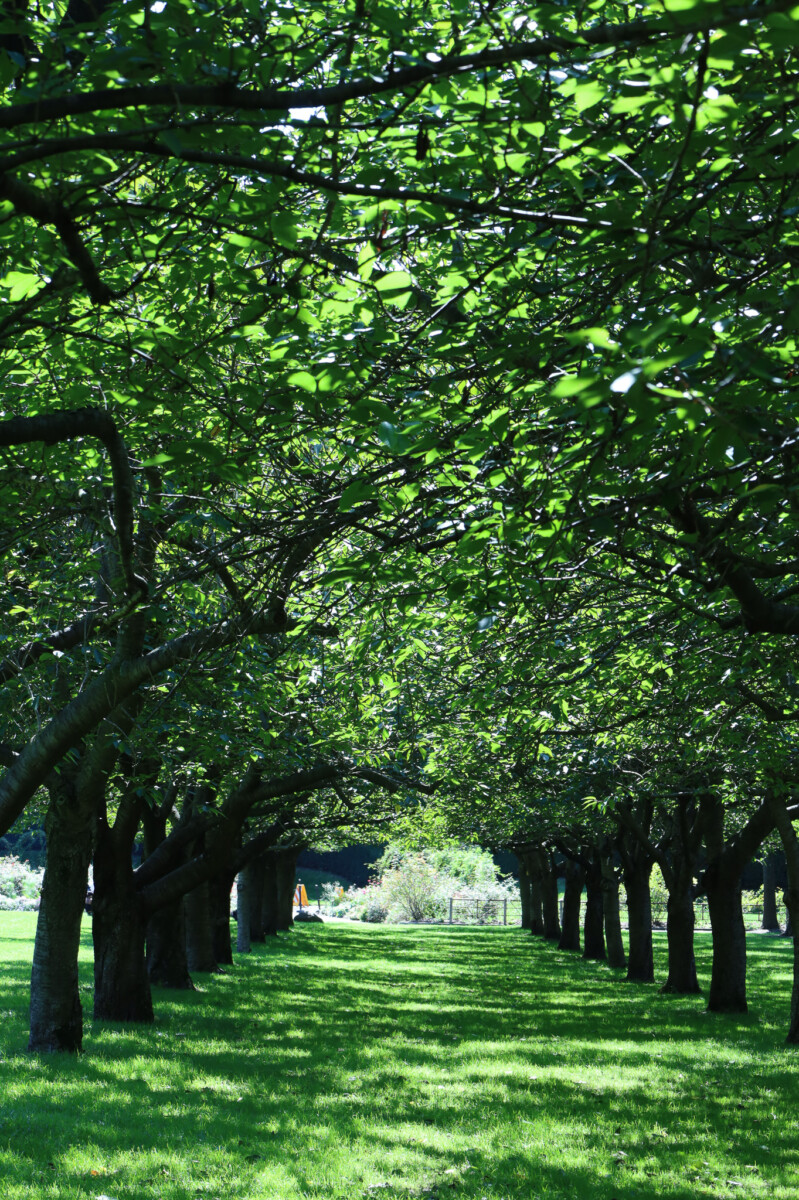
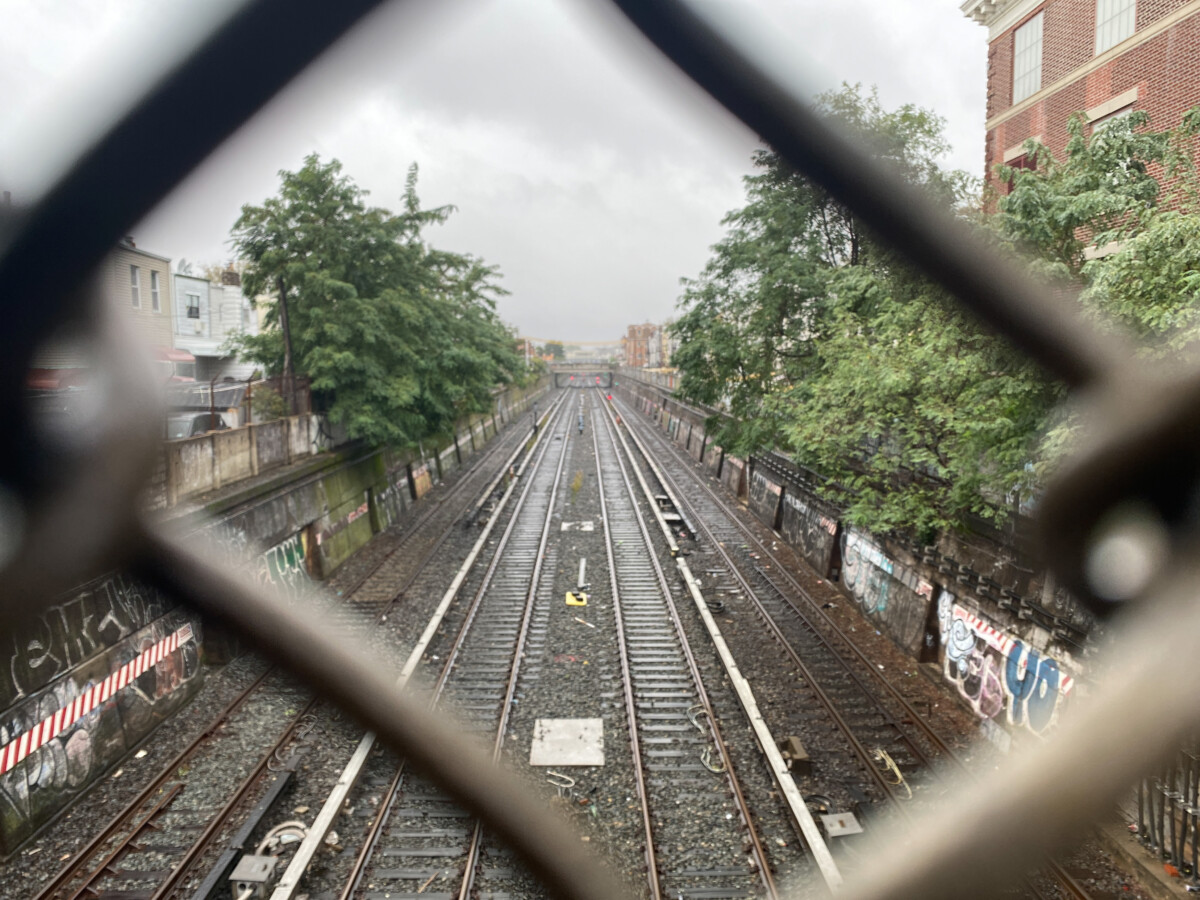
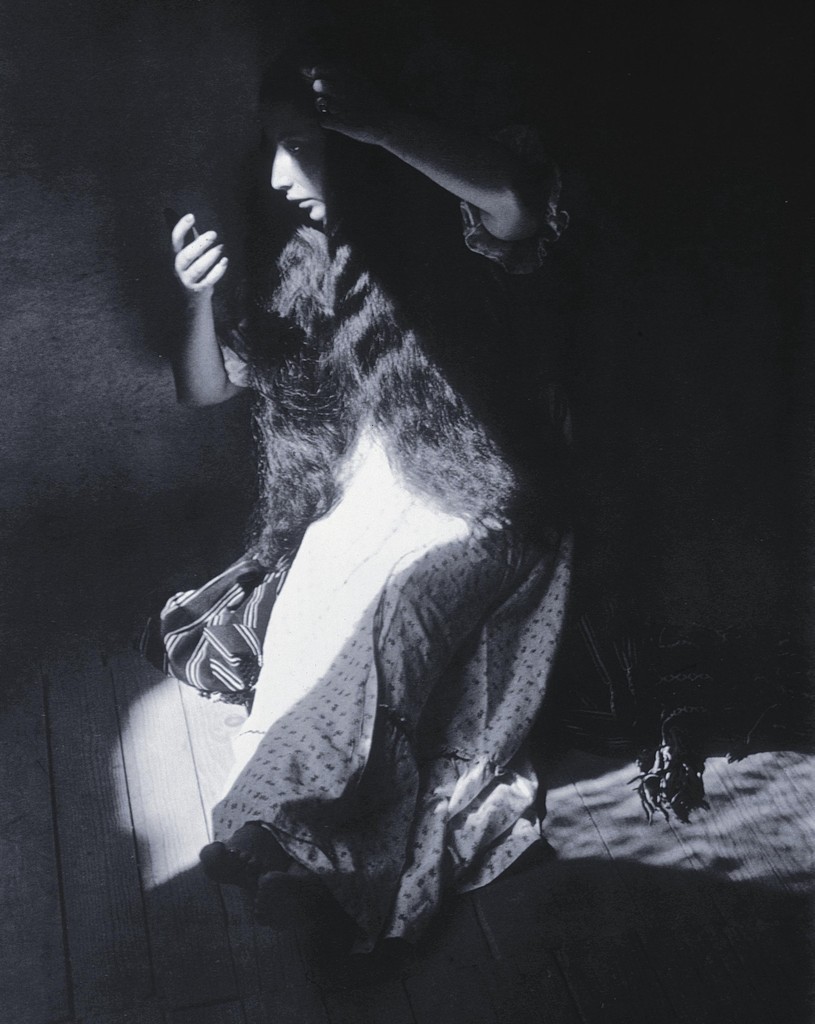
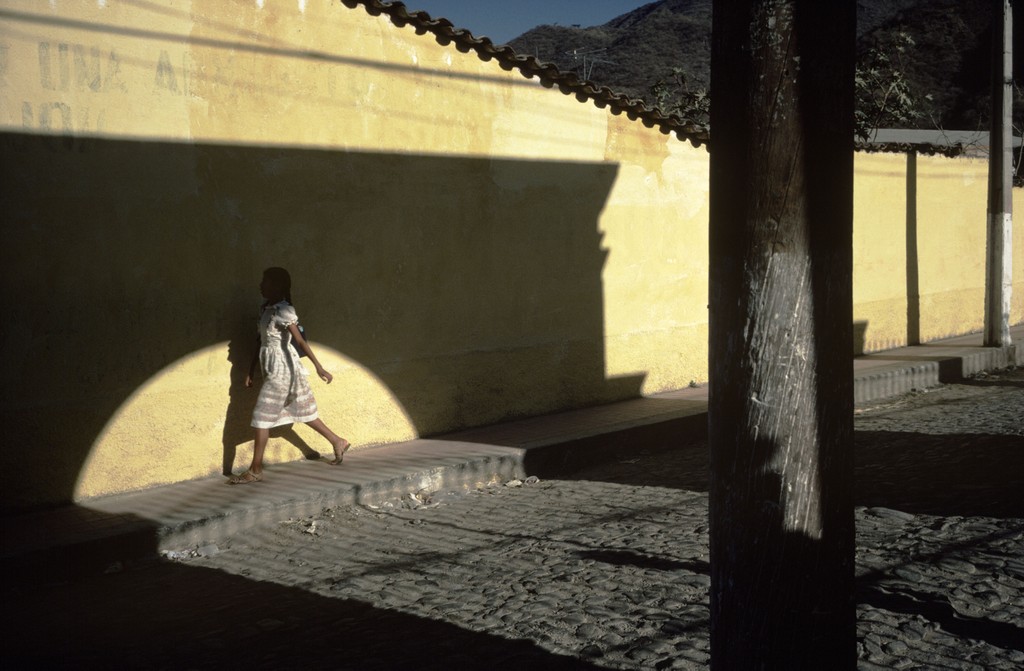
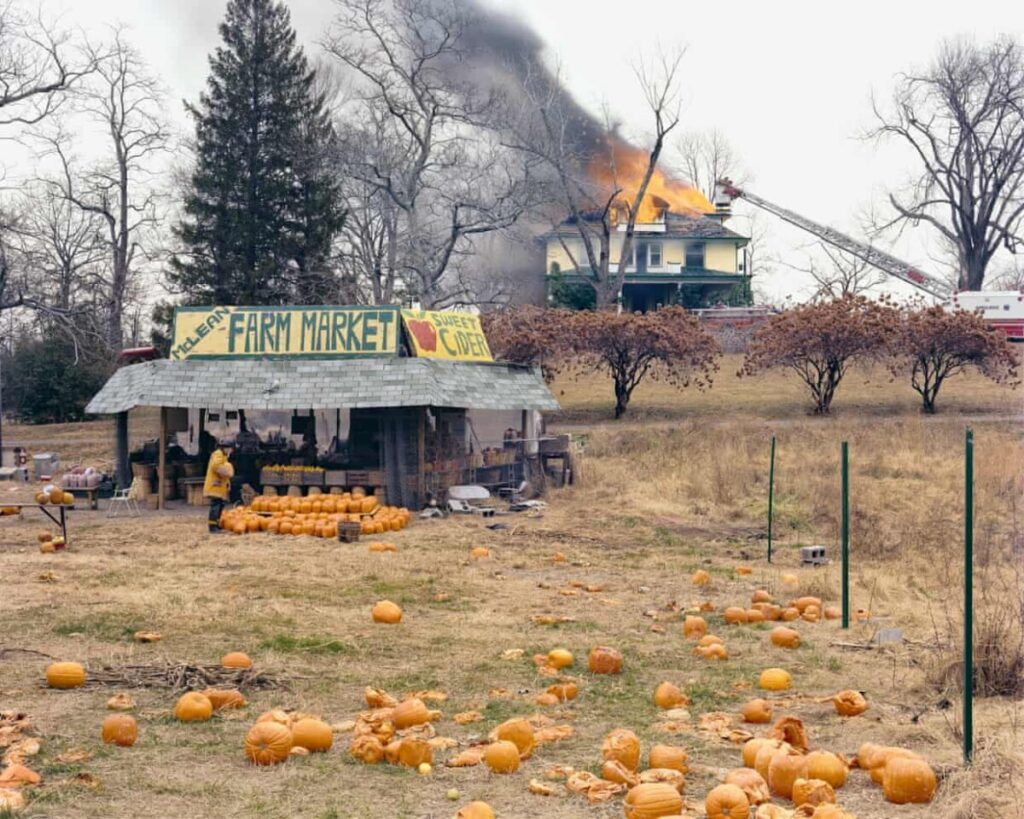
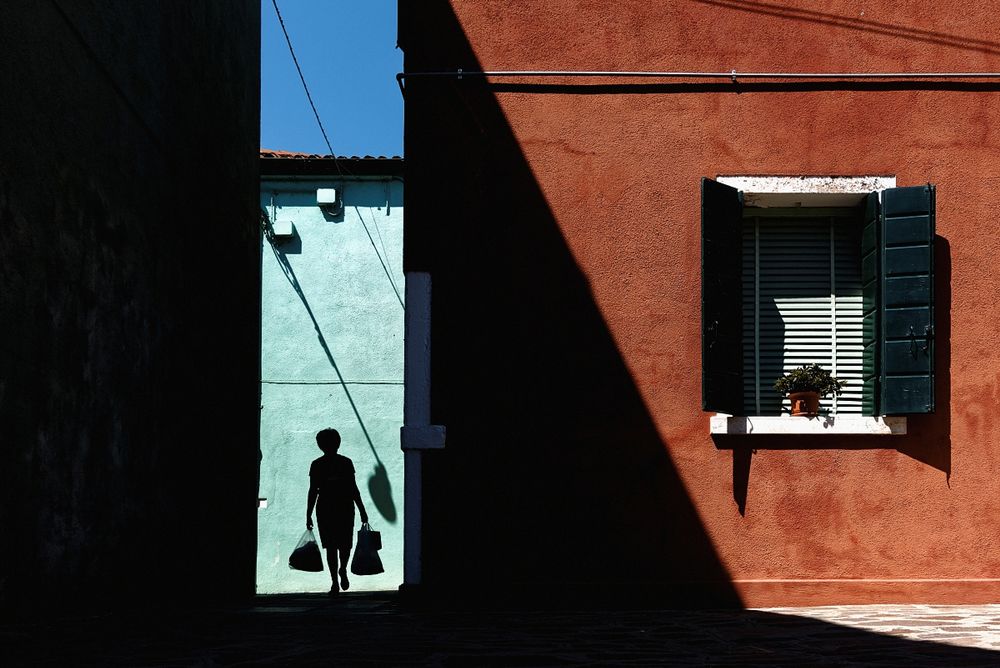
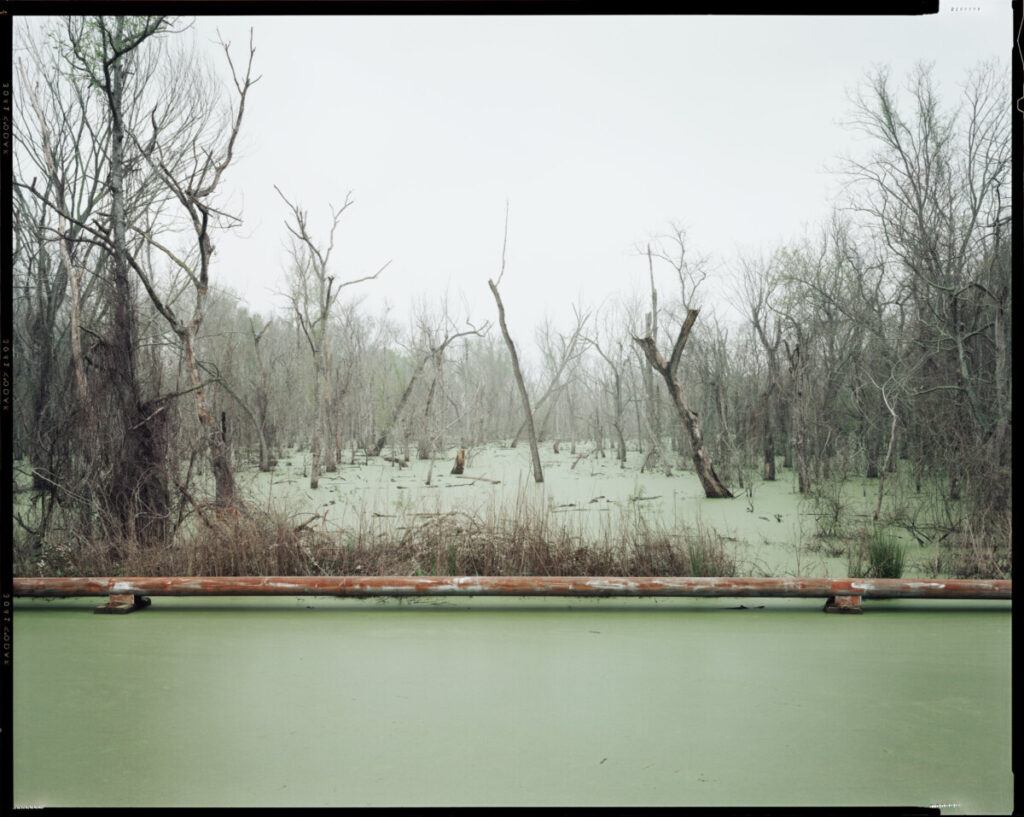
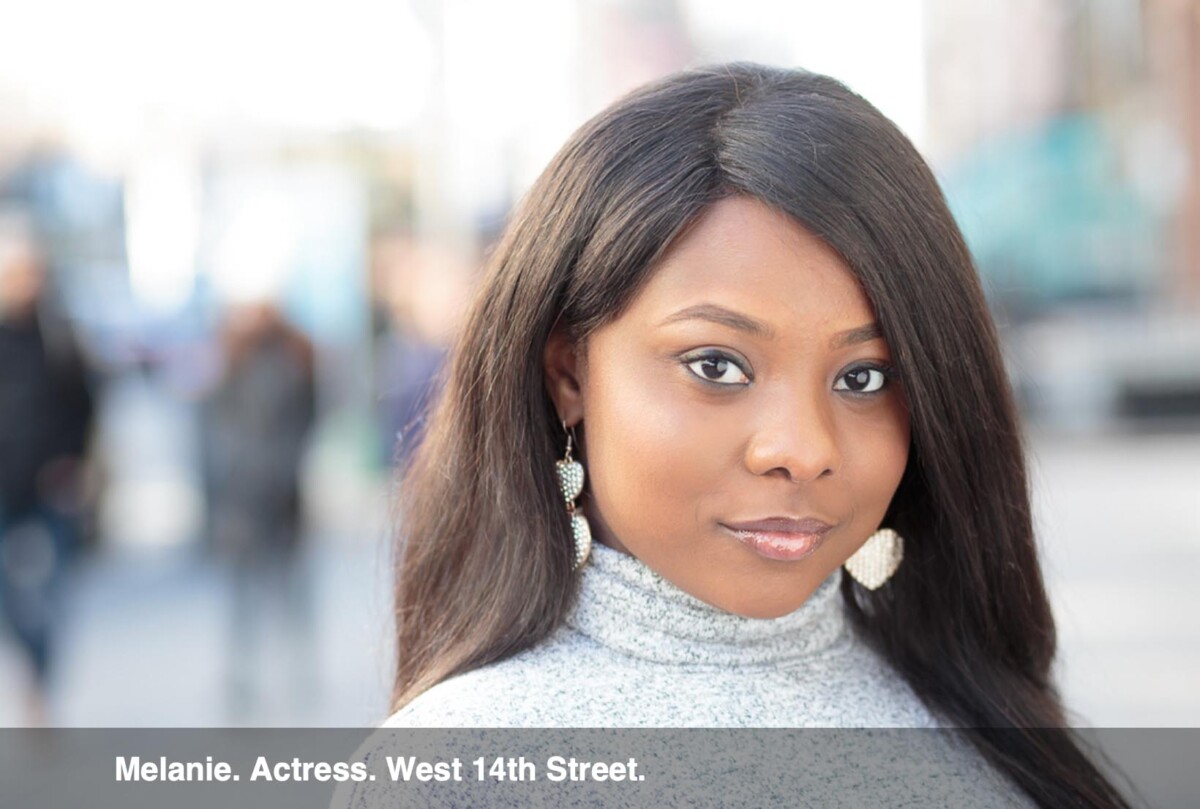
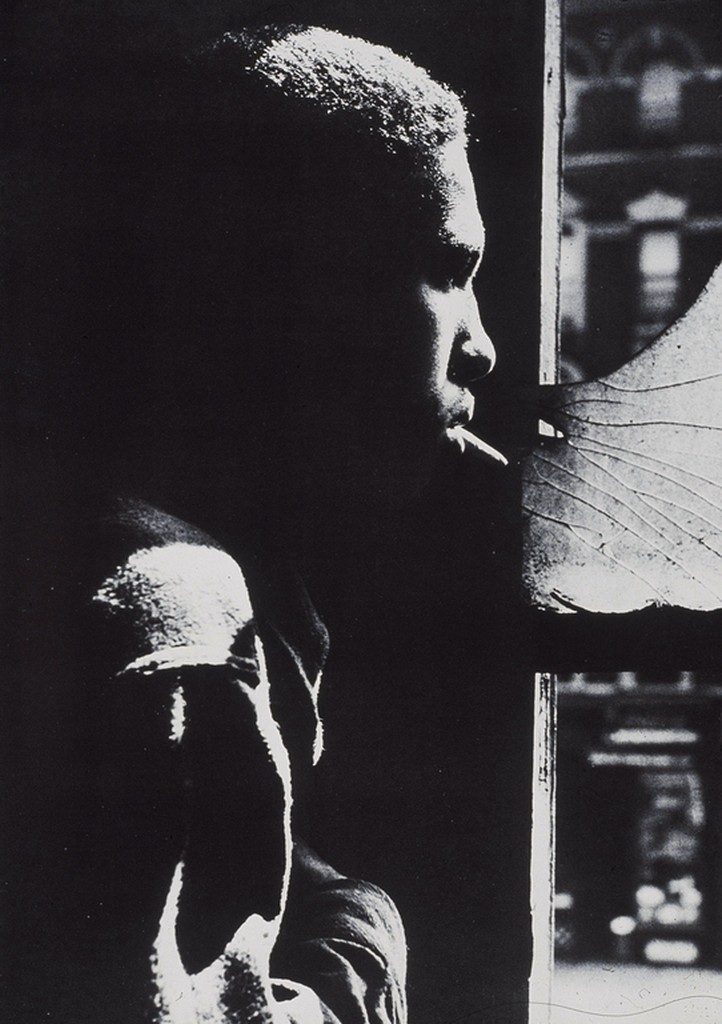
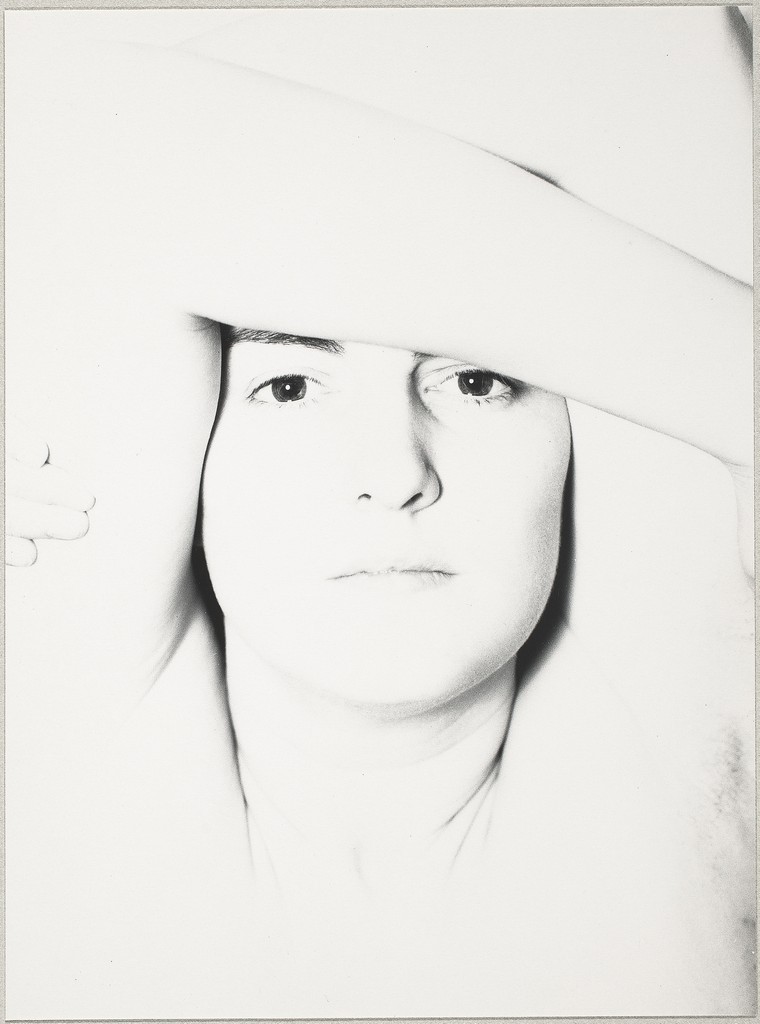
Portrait of the Eternal (Retrato de lo Eterno). Manuel Alvarez Bravo, 1932-33.MEXICO. Ajijic. Alex Webb. 1983McLean, Virginia, December 1978 Photographer: Joel Sternfeld, 1978Photographer: Renee DikstraPhotographer: Mark Savianefrom Petrochemical America Photographer: Richard Misrach
Measuring the Amount of Light
Exposure is the amount of light that comes into the camera to create the photograph.
Exposure is made up of three components:
ISO-Sensitivity to light.
Shutter Speed-the length of time that the camera’s shutter is open during the exposure.
Aperture-how wide the cameras lens opens to allow the light to come in.
All three are measured in stops. Each full stop of light represents that the amount of light has doubled or reduced by 1/2.
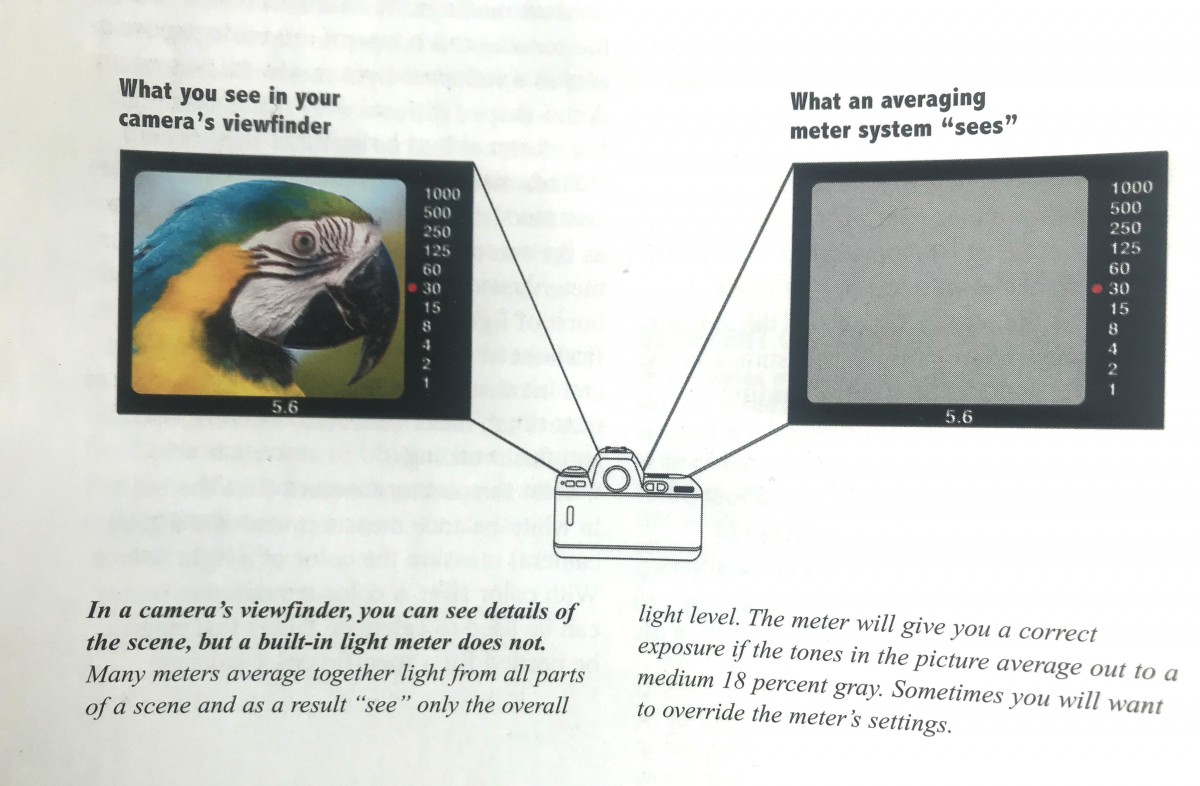
How your Camera Meter Works
Acronym: TTL – Through the Lens
The meter in your camera is a reflected-light meter.
A reflected light meter averages the tones in the scene and selects the aperture and shutter speed values that will make the whole scene medium gray.
Watch from :45 to 1:34 for an explanation of how your camera meter works.
What your camera meter “sees” From Photography, 10th Edition, Stone, London, Upton, P. 70
Challenges
There are certain predictable situations that will fool your meter.
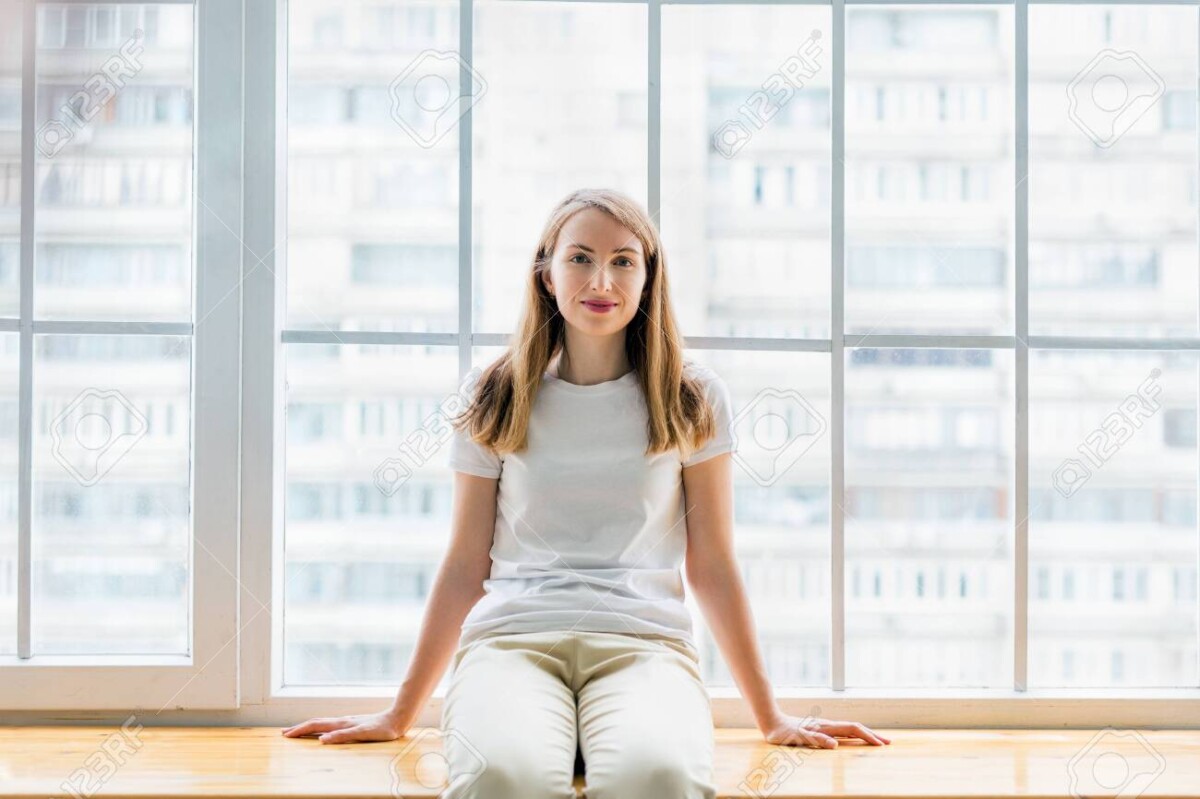
Backlight – a common example is a person against a window or against the sky. Add exposure to get the right exposure for the main subject and allow the background to be overexposed.
Photographer: Charles SchesslerHappy woman sitting in front of window. Portrait of young woman sitting on windowsill
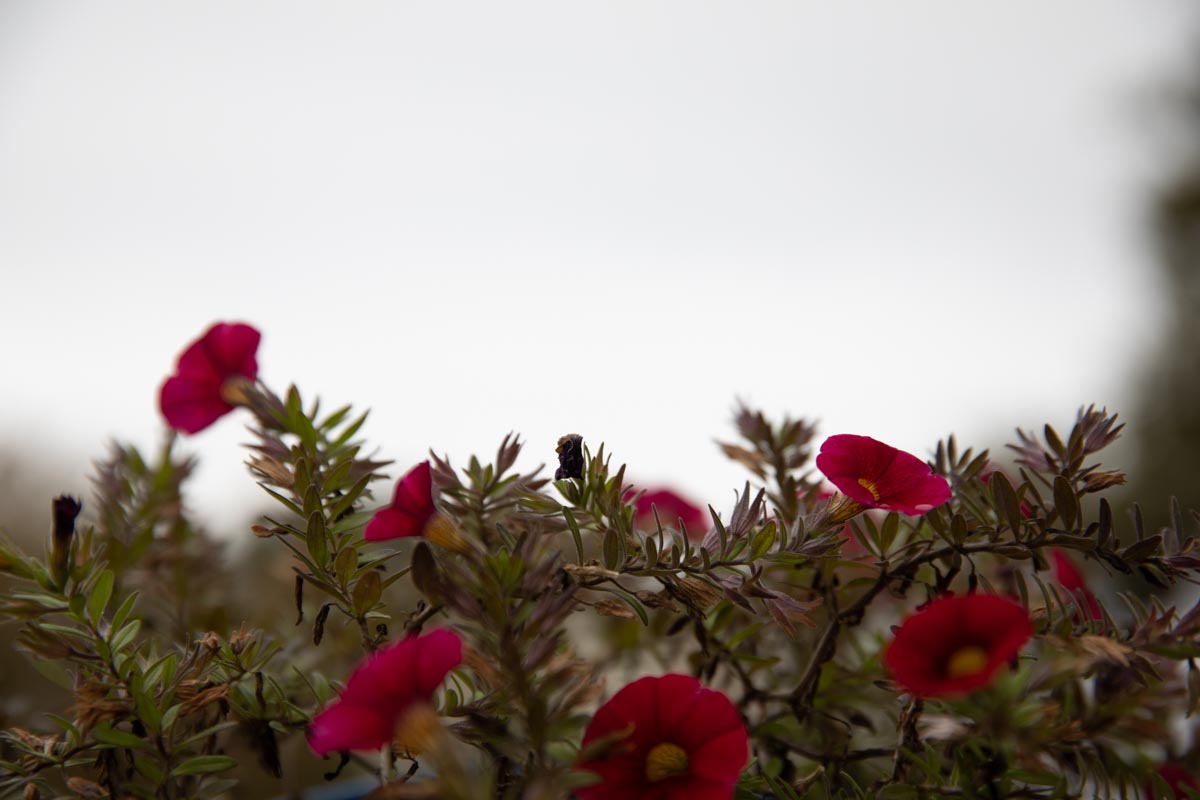
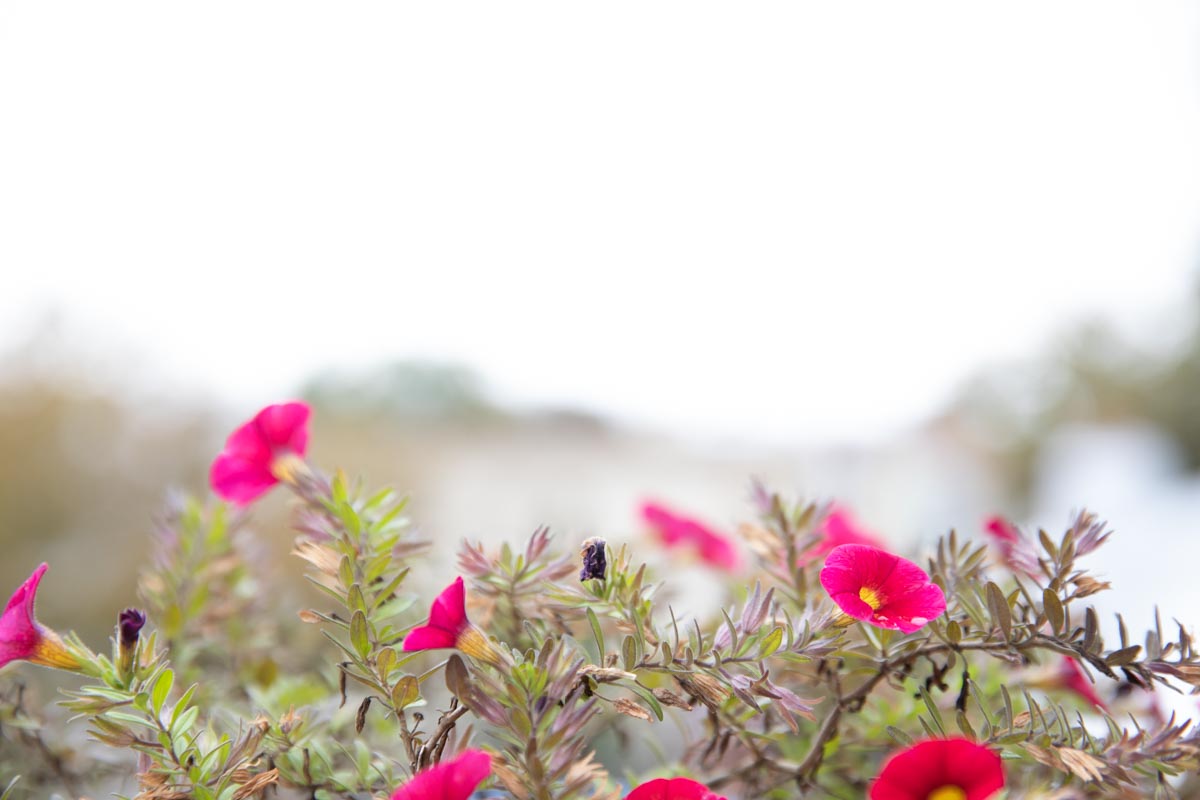
2. Landscapes with sky. The sky is brighter than the ground and to get a good exposure of the land portion of your photo, often you need to over expose the sky.
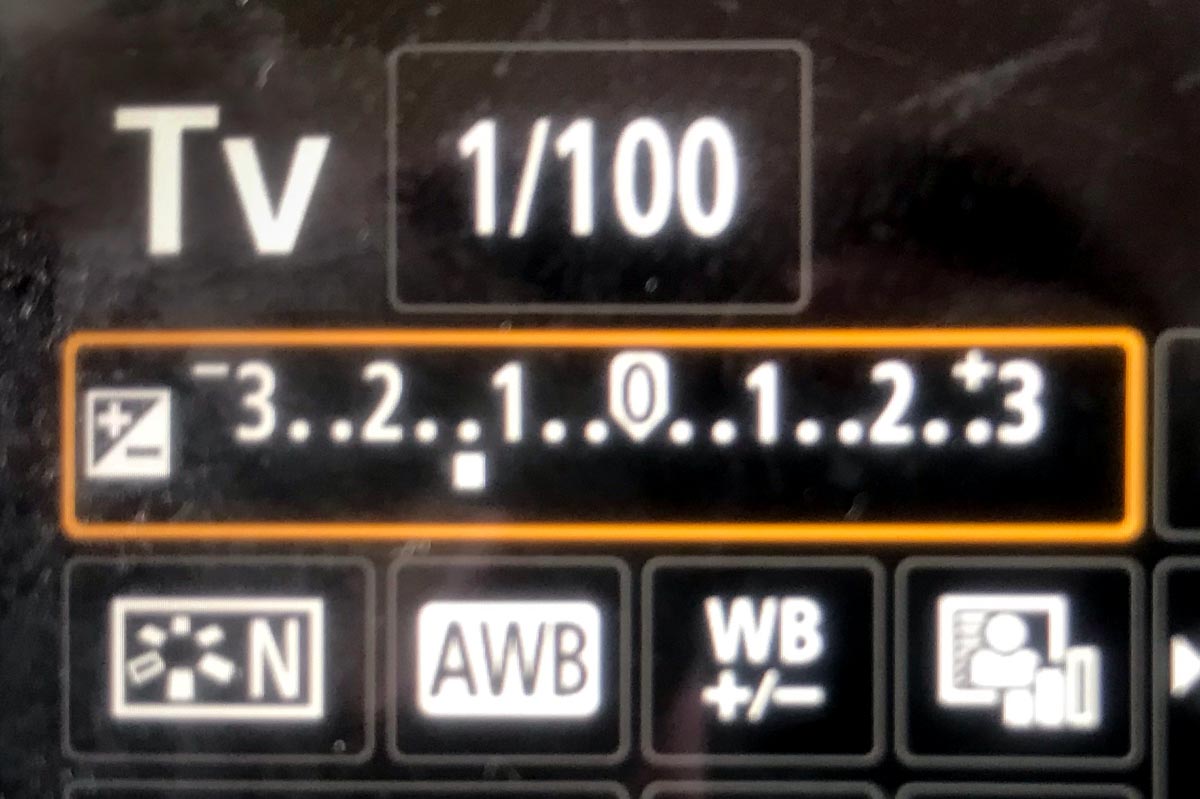
Tv reading with No adjustment+2EV with expsoure compensation
3. Snow
How to control exposure
With a camera: Use Exposure Compensation set to plus to increase the light and set to minus to decrease the light.
Exposure compensation scale set here to minus 1.3
Exposure Compensation-a way to force the camera to make an exposure either lighter or darker than the meter reading. Good for backlight or extremes of light and dark.
With a cameraphone: Touch the area where the main subject is and then drag the little sun icon up or down to increase or decrease the overall exposure.
Using Exposure for Creative Effect
Sometimes, you don’t want the tones in your image to average out to a medium gray. You want to tones to be low key-mostly dark or high key-mostly light.
Review for Quiz 1: Composition, shutter Speed, Motion Capture, Aperture, Depth of Field, Perspective, Exposure, How the Meter works, Exposure Challenges
Upcoming Schedule
October 4 – Quiz 1, Lightroom, Midterm Project Support
4 pts. Due Sept 27, 12 noon. 30 photos in an album on Flickr.
Shooting outside during the day at a location of your choice:
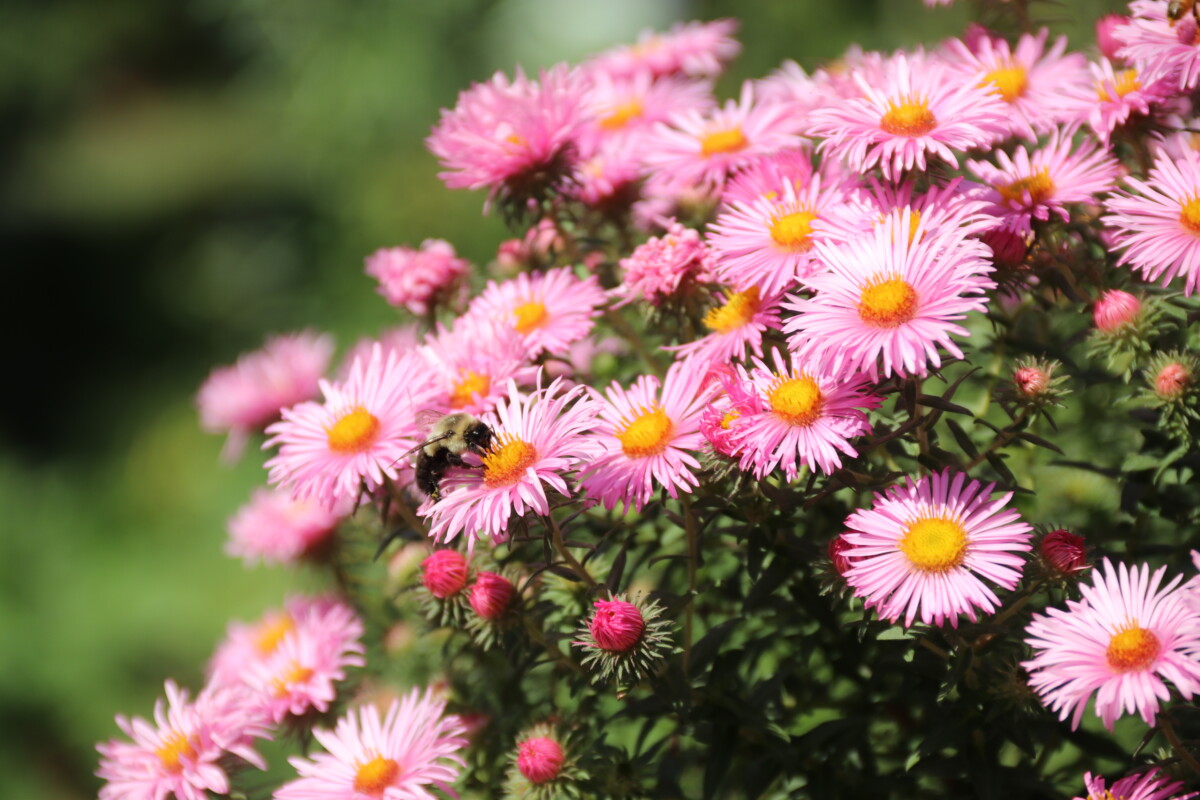
Take at least 10 different long shots that use perspective to depict deep space. This can be either converging lines or diminishing scale or both. These photos should use extensive depth of field meaning everything from near to far should be sharp. If you are shooting with a cameraphone, achieving extensive depth of field will be easy.
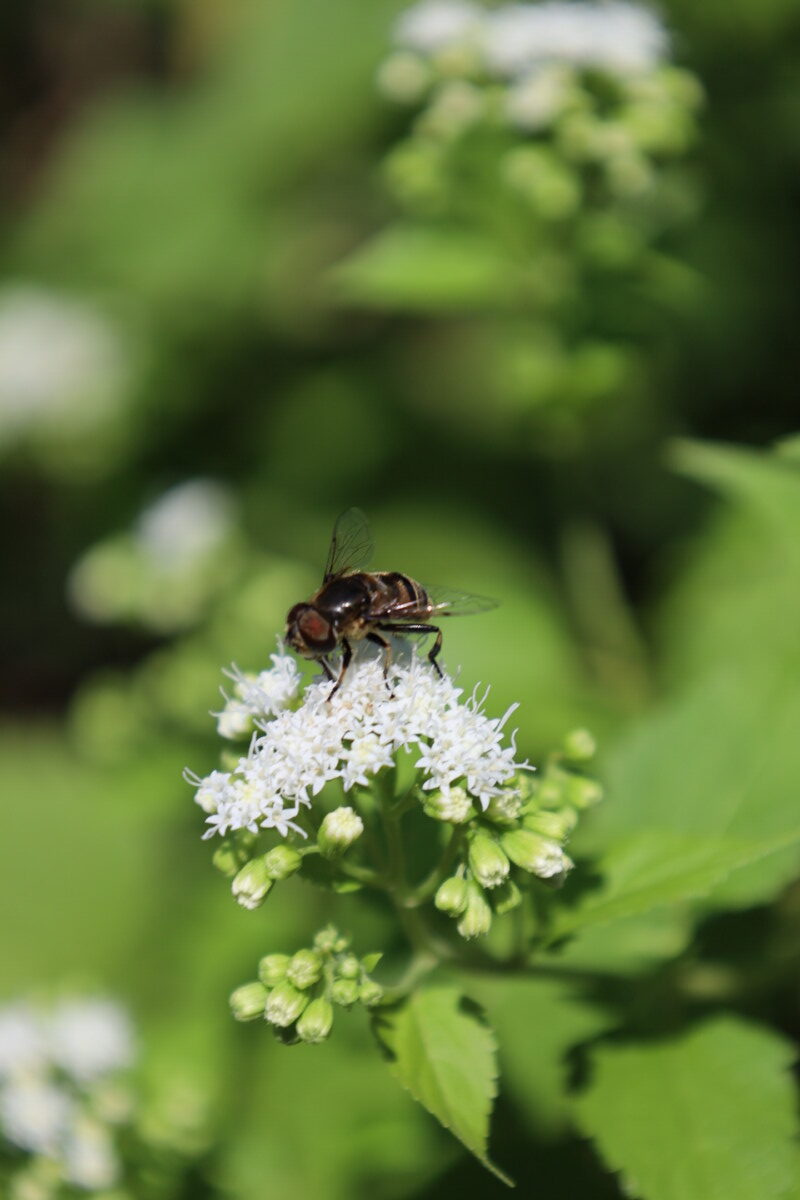
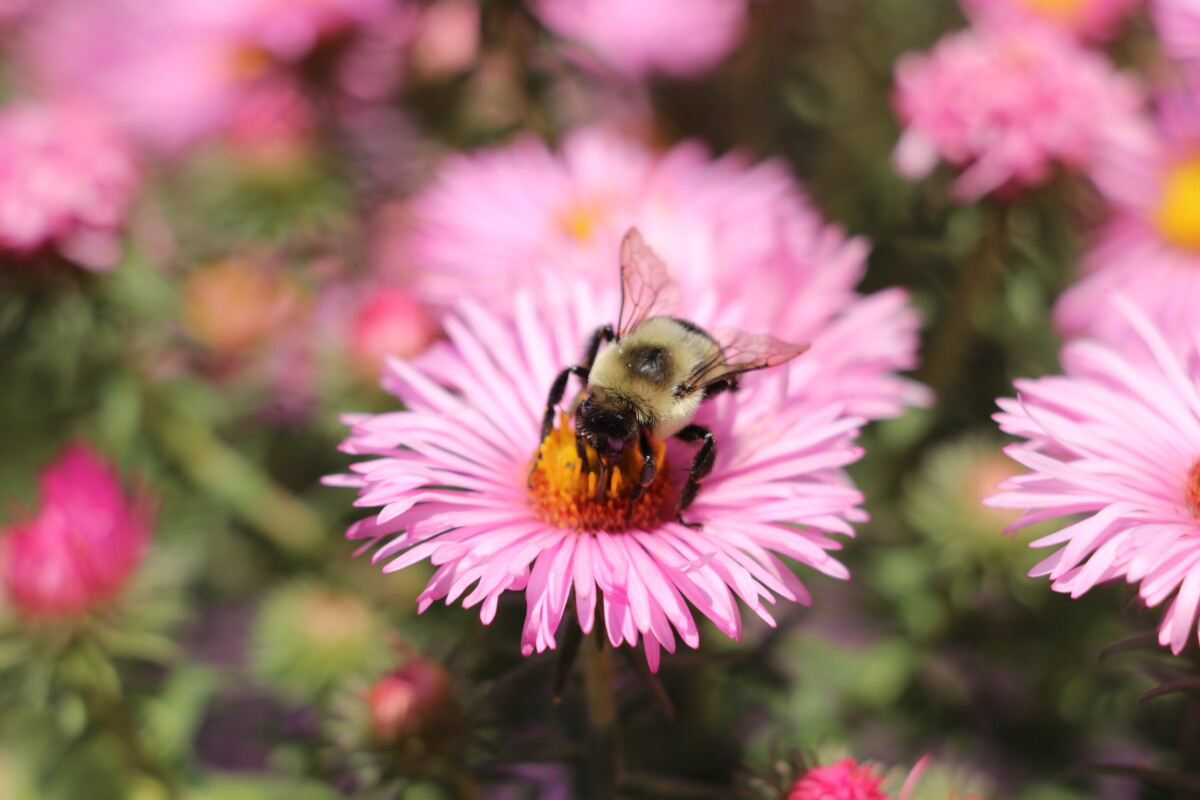
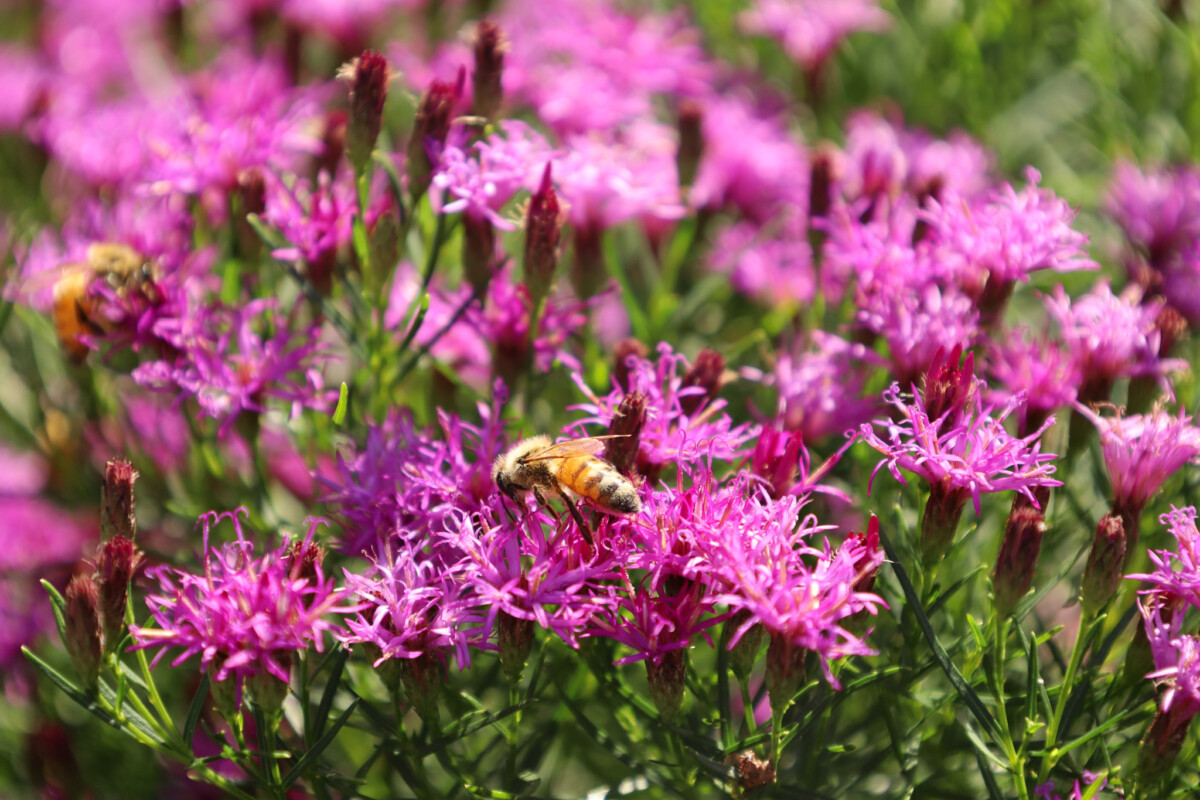
Take at least 20 different closeups that use shallow depth of field. The subjects of the photo need to be at varying distances from the camera. Somethings the closest thing should be in focus, sometimes the thing in the mid distance and sometimes the thing in the far distance. Of course sometimes, its not a thing but a person.
If you are shooting with a cameraphone, it can be challenging to achieve shallow depth of field. Please don’t use an app or portrait mode for this assignment.
Get close to the subject and allow for some real distance, actual space between the foreground object and the background.
Put the 30 photos in an album on Flickr. Send your best photo with deep space and perspective to the group as well as your best example of shallow depth of field.
Take at least 10 different long shots that use perspective to depict deep space. This can be either converging lines or diminishing scale or both. These photos should use extensive depth of field meaning everything from near to far should be sharp. Shooting with Av, use f/22 as the f/stop.
Take at least 20 different closeups that use shallow depth of field. The subjects of the photo need to be at varying distances from the camera. Sometimes the closest thing should be in focus, sometimes the thing in the mid distance and sometimes the thing in the far distance. Make sure that your shutter speed is fast enough that the blur in the photo is shallow depth of field and not motion blur.
Put your 30 photos in an album on Flickr. Send your single best example of perspective and your single best of shallow depth of field to the class group.


Recent Comments