Working with a light or lights, draw an image over time in the frame. Experiment with thin and thick lines, abstraction, words, and images.
Using a speedlite or a mono light, first expose a person in your shot and use the long exposure to draw into the scene. The more the subject and the light painting interact, the more successful your photos will be.
Upload a minimum of 20 images to Flickr. Send your best two to the class group.
The subject should be at least 4 or 5 feet in front of the backdrop to avoid casting a shadow.
Use 65mm focal length when you are using a camera with a cropped frame sensor, 85 mm for a full-frame sensor
Focus on the subject’s eyes.
The key or main light is the light that casts the shadows.
Working with just the key light:
Front view:
Photograph your subject with:
Rembrandt light – the light is at a 45 degree angle to the subject. Look for the key triangle -a triangle of light on the darker side of the face to position the light.
Do not place the light too high because this will cause shadows around the subject’s eye sockets.
Split light – the light is at a 90 degree angle to the subject. One side of the face is dark but light does fall on the other side.
Front light (butterfly) – Light falls on the subject from the camera position.
Three-quarter view:
The model’s face is turned to a 45 degree angle from the camera.
Photograph your subject with:
broad lighting by placing the light on the side of the visible ear. There will be a broad highlight on the subject’s hair. This works for subjects wearing glasses.
short lighting by placing the light on the side of the invisible ear.
Profile:
The model turns their face at a 90 degree angle to the camera. Place light like a side light. The subject faces the light BEING VERY CAREFUL NOT TO LOOK DIRECTLY INTO THE LIGHT.
Put your 20 best photos into an album on Flickr. Make sure to represent each one of these lighting styles:
Floodlight– light is diffused and wraps around the subject hitting it from many angles. shadows are soft.
Spotlight – light is direct and hits the subject from one angle. Shadows are hard.
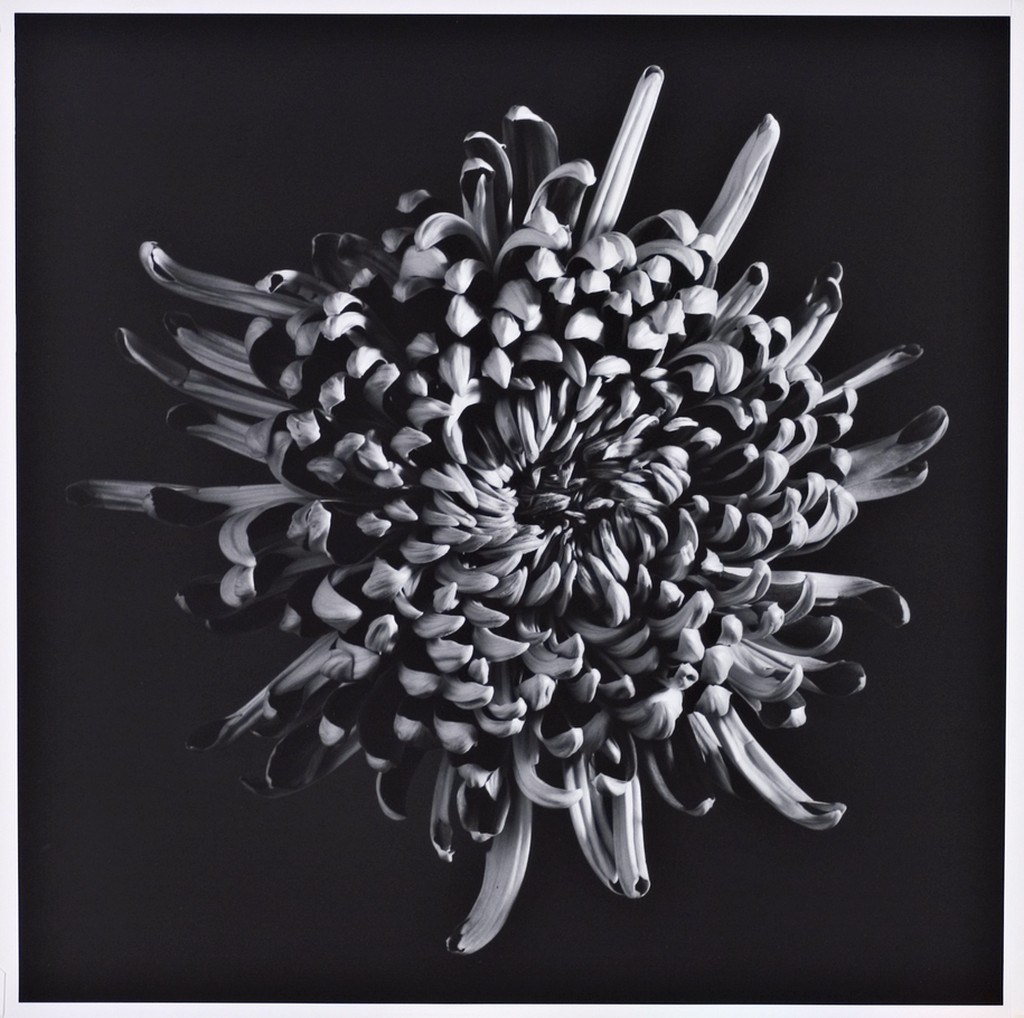
In-class Flower Shoot Camera Settings:
Resolution=RAW
ISO=800
WB=Flash
Shooting Mode=Tv
Shutter speed = 1/125
The camera sets the aperture
Every shot has a flower in it as the main subject. The ugly vase should not be seen in any photos. Fill the frame with the flower.
Flood Light
A. Front light: reduces detail, low contrast
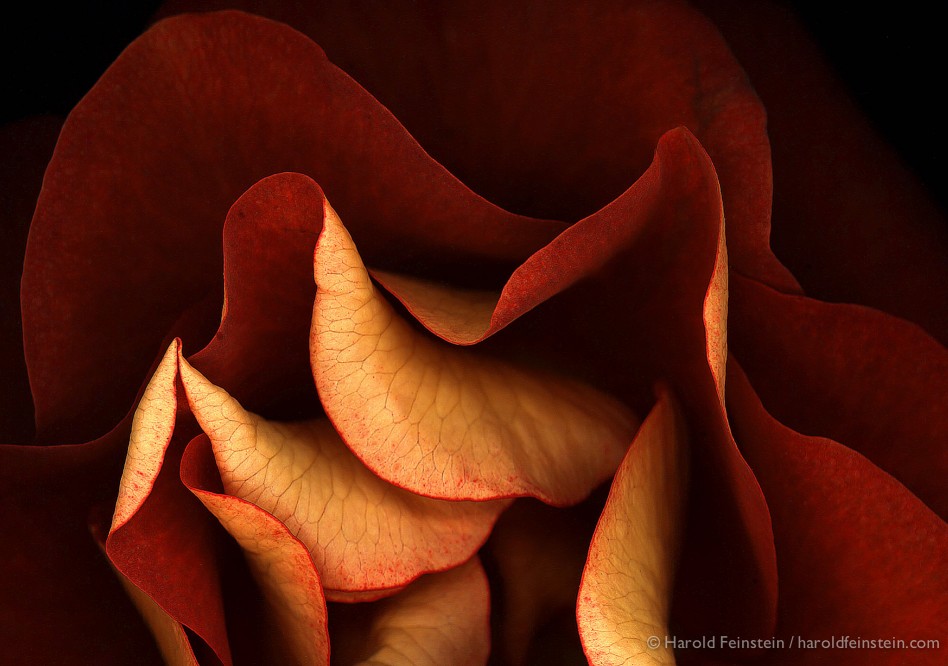
B. Side Light floodlight with diffusion: brings out texture.
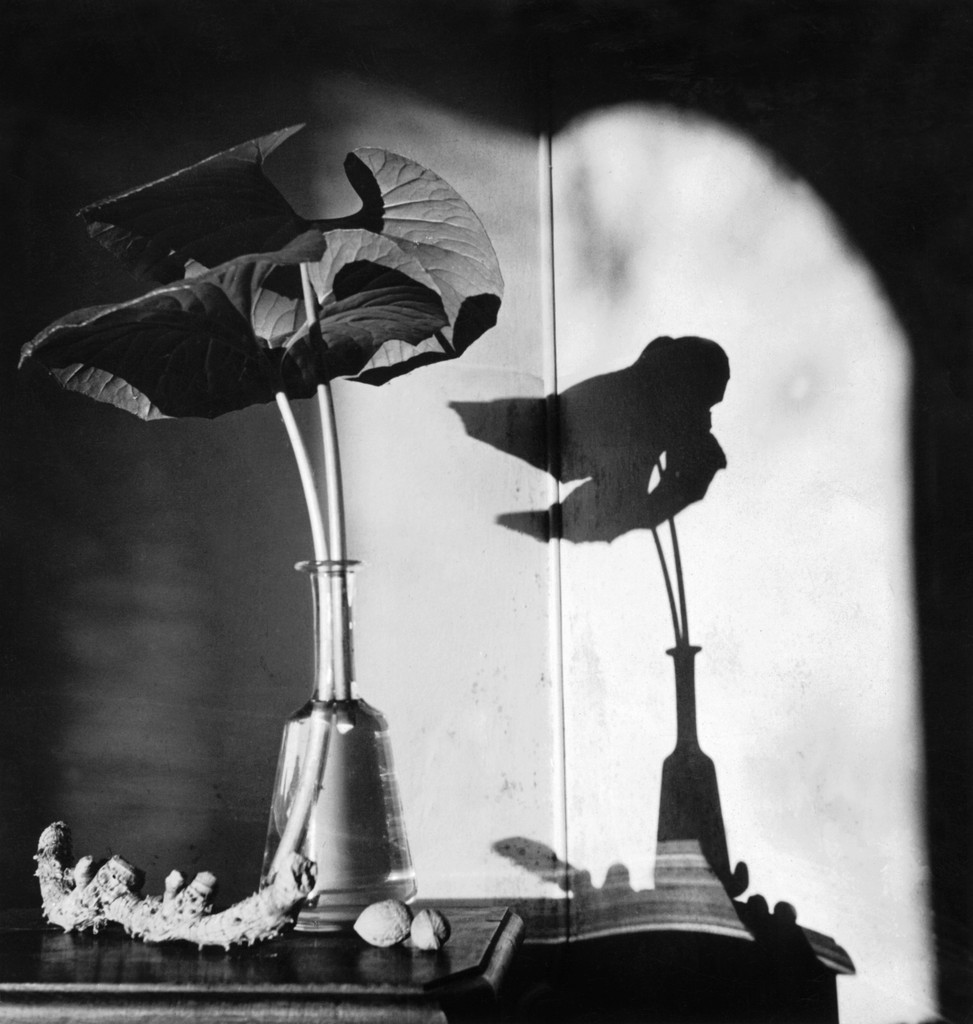
C. Back Light: shoot the subject against the light-shooting towards the lights.
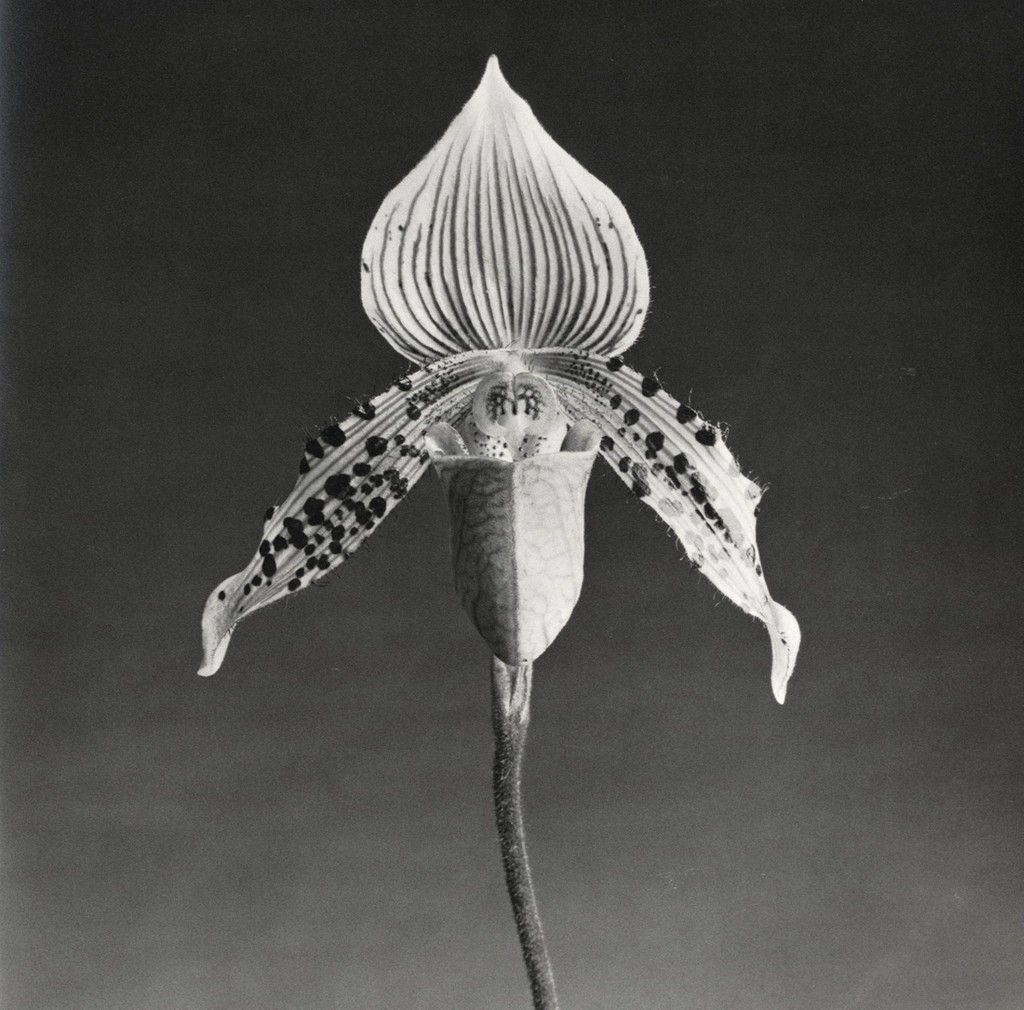
2. Spot Light
A. Front light: reduces detail, low contrast
B. Side Light spotlight: brings out texture, high contrast
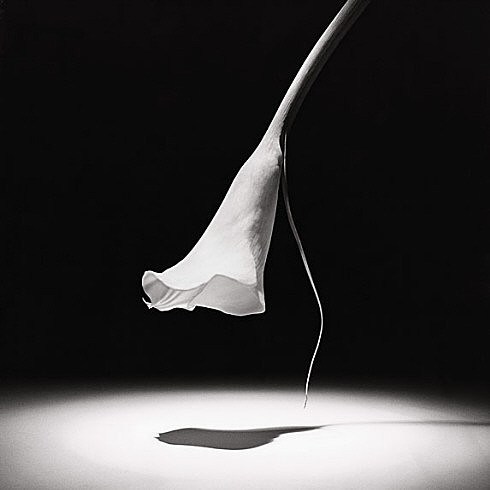
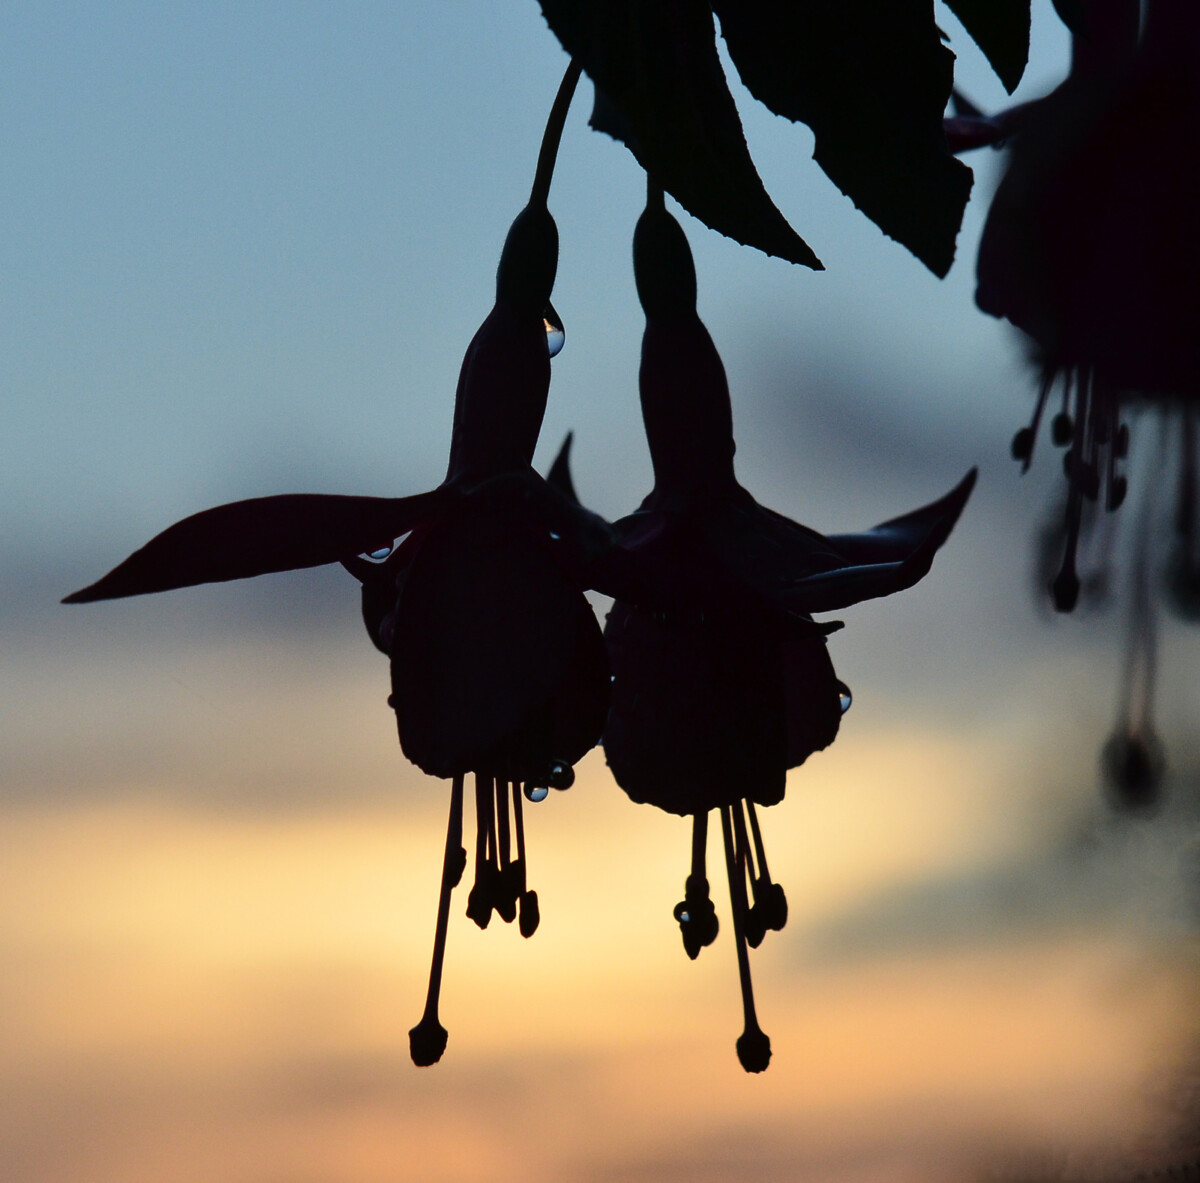
C. Back Light – Point the light at the background only to create a silhouette of the flower.
Either Light
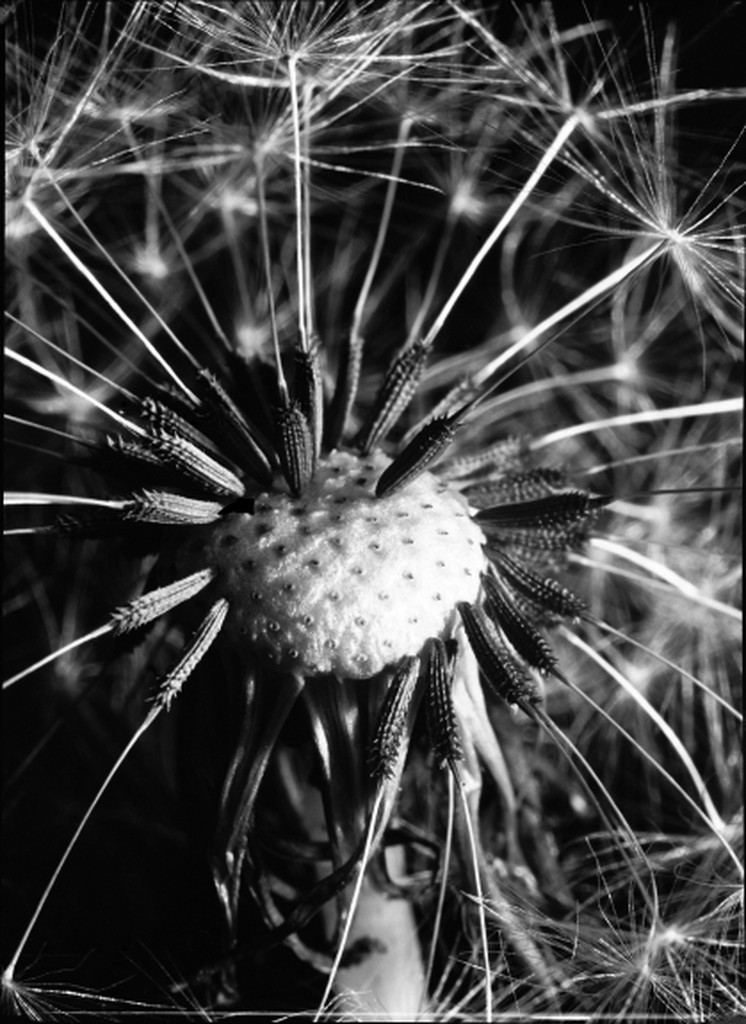
D. Extreme close-up for texture-use extension tube
Put your best 20 in an album on Flickr. Include at least one for spotlight: front, side, back and one for flood light: front, side, back. Please label your images accordingly so know what you intended. Send your best two to the class group.


Recent Comments