Robin Michals | COMD 1340 Photography 1

Category: Course Activities (Page 4 of 10)

HW 7: Lighting Direction

Due Nov 1. 12:00 pm, Noon. 4 pts.

Check the weather! Right now the best days to do this assignment are Thursday, Friday , Saturday, Tuesday or even Wednesday morning before class.

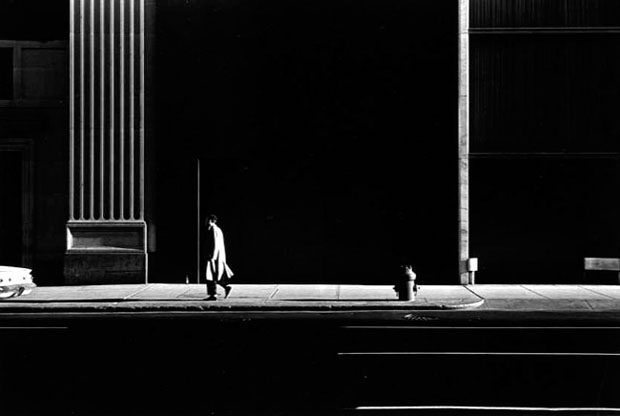
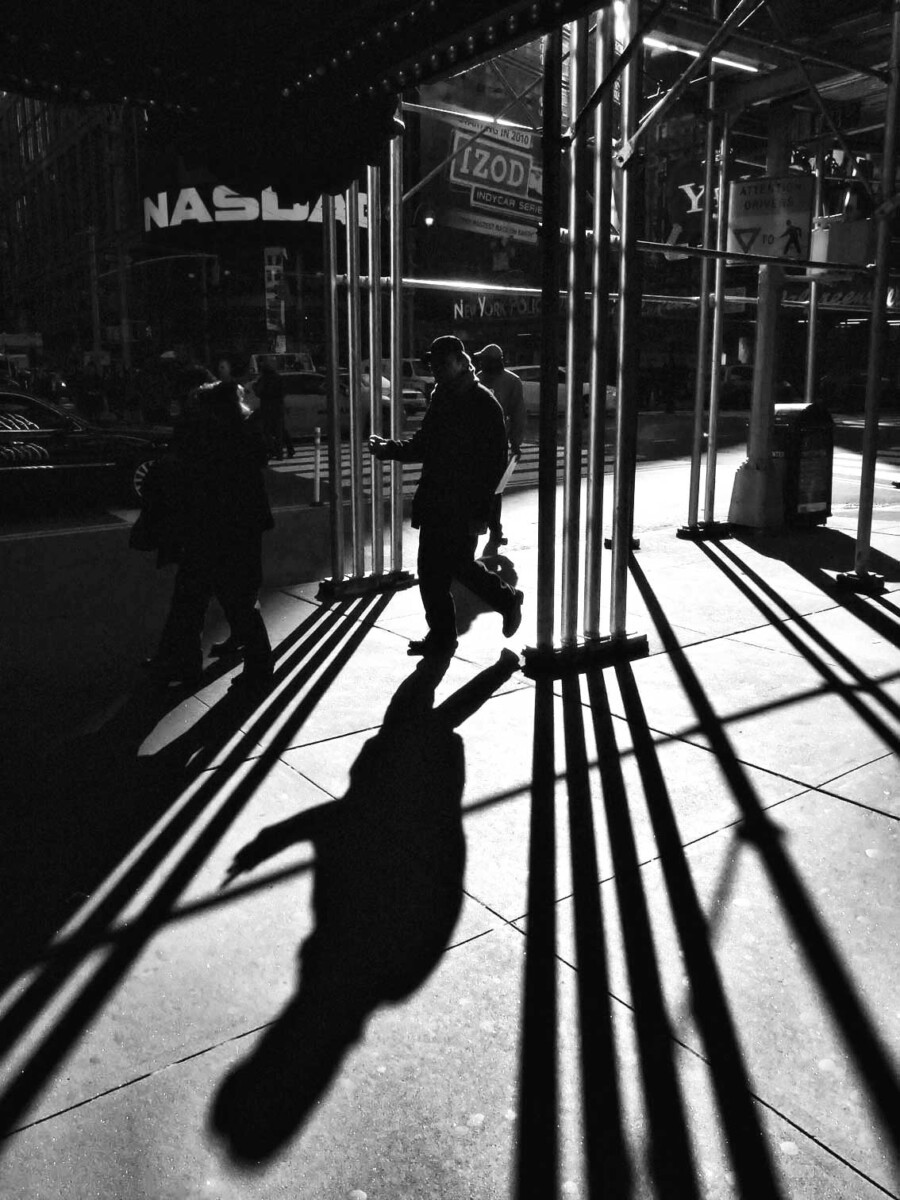
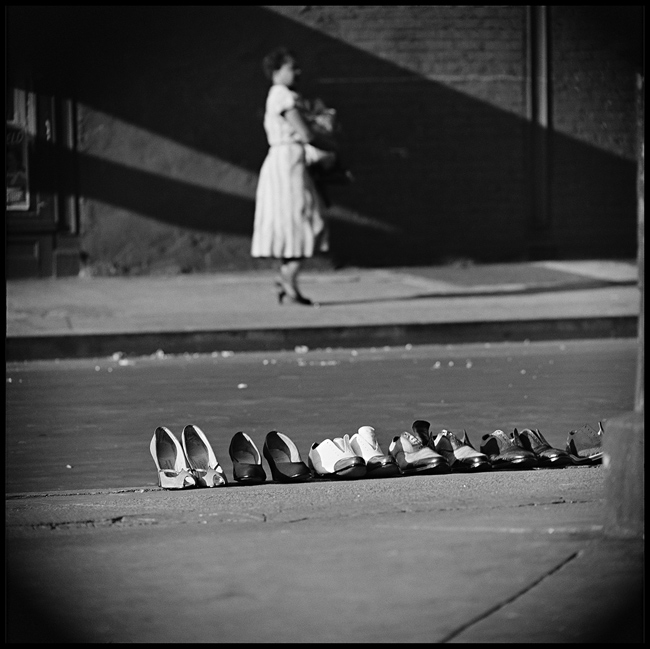
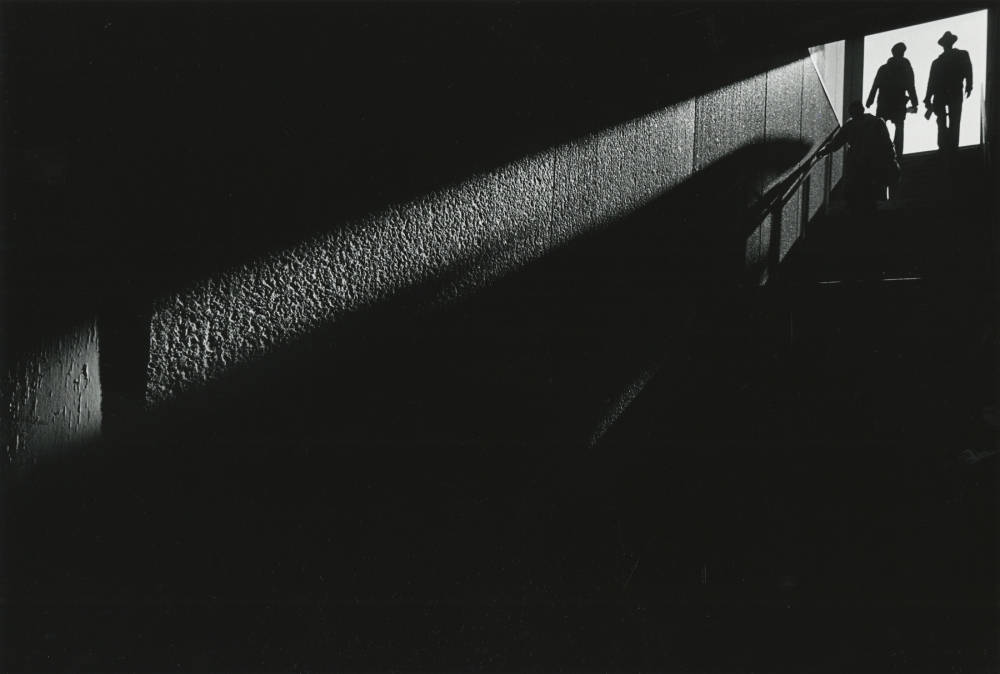
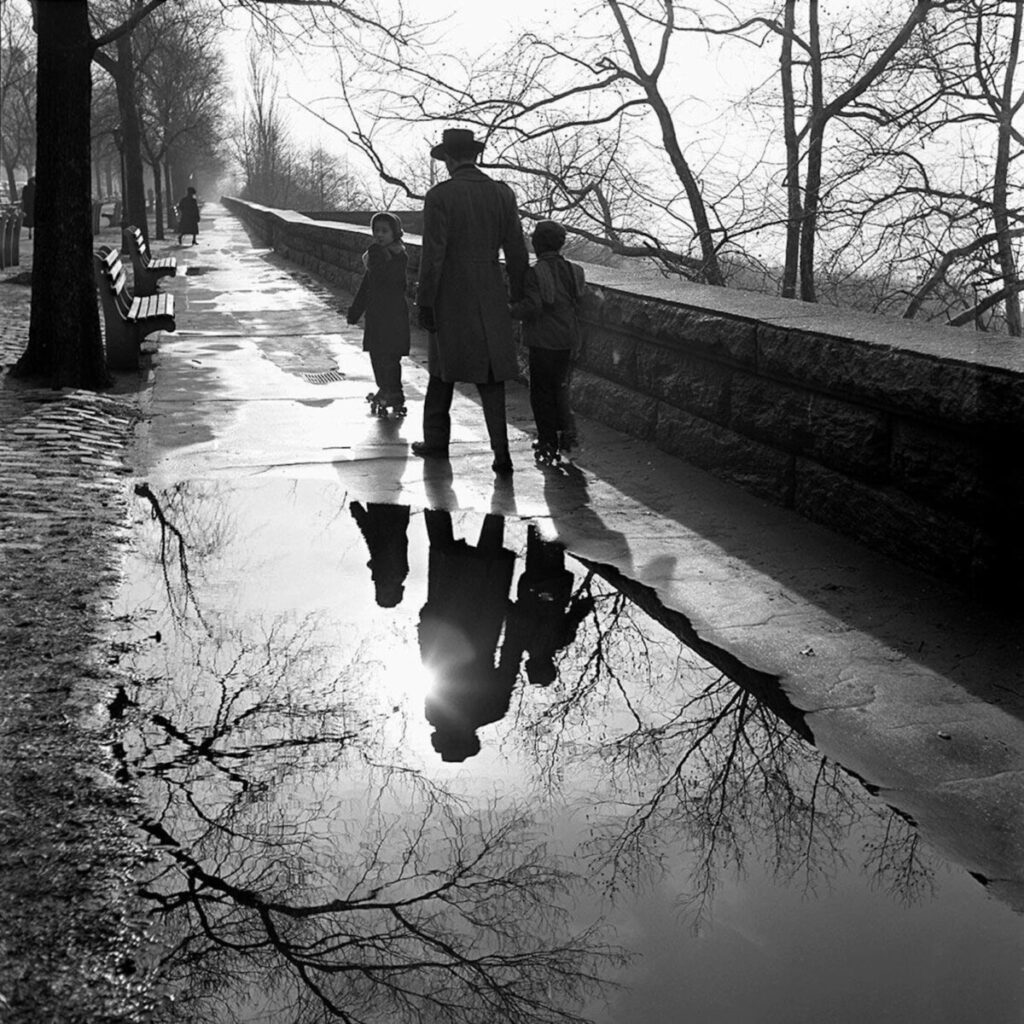
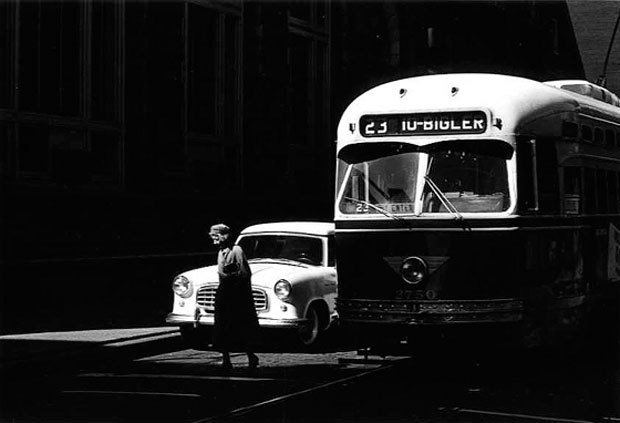
Working outside on a sunny day, photograph subjects and their shadows. Your subjects could be anything visually interesting: a statue, a person, a tree, a dog, a bridge. What counts is the light falling on it. Please no fire hydrants, garbage cans, street lights, etc. Make it beautiful.

Think of the sun as your main light and move so that it is a front light, a side light and a back light.

Take 10 photos of different subjects where the shadow falls away from the camera otherwise known as front light.

Take 10 photos of different subjects where the shadow falls to the side otherwise known as side light.

Take 10 photographs of different subjects where the shadow falls towards you otherwise known as back light.

Each photo should be unique.

Post to an album on Flickr and send the best examples of each type of light to the class group.

Due: November 1, 12:00 pm, Noon.

Lab: Week 9 – Lighting Quality and Direction

Photograph flowers with continuous lights.

Floodlight– light is diffused and wraps around the subject hitting it from many angles. shadows are soft.

Spotlight – light is direct and hits the subject from one angle. Shadows are hard.

In-class Flower Shoot Camera Settings:

  • Resolution=RAW
  • ISO=800
  • WB=Flash
  • Shooting Mode=Tv
  • Shutter speed = 1/125
  • The camera sets the aperture

Every shot has a flower in it as the main subject. The ugly vase should not be seen in any photos. Fill the frame with the flower.

  1. Flood Light

A. Front light: reduces detail, low contrast

B. Side Light floodlight with diffusion: brings out texture.

C. Back Light: shoot the subject against the light-shooting towards the lights.

2. Spot Light

A. Front light: reduces detail, low contrast

B. Side Light spotlight: brings out texture, high contrast

C. Back Light – Point the light at the background only to create a silhouette of the flower.

Either Light

D. Extreme close-up for texture-use extension tube

Put your best 20 in an album on Flickr. Include at least one for spotlight: front, side, back and one for flood light: front, side, back. Please label your images accordingly so know what you intended. Send your best two to the class group.

Week 9 – Light Quality and Direction

Next Week

Bring in a stuffed animal to work with approx. 6 inches to 12 inches in size.

Light Quality

Direct light or hard light – the rays of light are nearly parallel and strike the subject from one direction creating hard edged dark shadows with little detail.
Examples: a spotlight, sun on a clear day, or a bare flash

Diffused light or soft light– the rays of light are scattered and coming from many directions. It appears even and produces indistinct shadows. Examples: overcast daylight, a light covered with tracing paper or other translucent material.

Direct Light and Direction

Front light comes from in front of subject from the camera position and the shadows fall behind the subject not concealing any details.

Side Light comes from 90 degrees to the camera. it adds dimension and texture to the subject.

Backlight comes from behind the subject towards the camera.

Inspiration

Labs

Lighting Direction

Homework

HW 7: Lighting Direction

Week 8 – Outdoor Portraits

Portrait Poses

There are three basic positions for someone’s head and face in a portrait.

  1. Front view
  2. 3/4 view
  3. Profile

Expression

For family photos a smile is a must but not so for a portrait. It is however important that your subject look comfortable. It is your job as the photographer to talk with your subject and make them feel comfortable.

Focus

When shooting a portrait, the subject’s eyes must be in focus. Full stop. Period.

Inspiration

@dont_smile_nyc

https://www.instagram.com/dont_smile_nyc/

Considerations for any portrait:

Use a vertical orientation.

Focus on the model’s eyes.

Watch the background for distracting things behind the model’s head.

Considerations for outdoor portraits

Work with the model in shade or place the model with the sun BEHIND their head.

Use a reflector to add light to their face.

Do not use direct sunlight on the model’s face.

Resource

Using Fill flash

Ambient Light-the existing light that you cannot control

Fill Flash-brightens shadows

Built-in flash-part of the camera and throws light about 6 to 10 feet

External flash-added to the camera on the hot shoe and can throw light 15 to 20 feet 

ETTL (Evaluative-Through The Lens) is a Canon EOS flash exposure system that uses a brief pre-flash before the main flash in order to obtain a more correct exposure.

Use M or manual.

1/1 is full power. for fill flash, try 1/16 and adjust from there.

Use Zoom to spread or focus the light. Wide angle numbers (smaller numbers) spread the light. Higher numbers focus the light.

High speed sync-allows the camera to be set at shutter speeds higher than the camera sync speed 

Resource

Lab

Outdoor Portraits

Homework

HW 6: Window Light Portraits

Submit to the CUNY Photo Challenge by Oct 28th! 1 pt of extra credit if you send me the screen shot of your submission.

Lab: Week 8 – Outdoor portraits

Take portraits of your classmates in outdoor diffused light using reflectors and fill flash.

Start with using a reflector. Have your model stand with the sun to their back. use the reflector to reflect light back into their face. Hold the reflector higher for a more pleasing result.

Then try fill flash. You don’t want to cast any shadows on the face just brighten it.

Use your widest aperture. You may need to use a fast shutter speed to compensate. When using flash, make sure to set it to High Speed Sync (HSS) in order to be able to use a shutter speed faster than the sync speed.

Put your 20 best outdoor portraits in an album on Flickr and send the best two to the class group.

« Older posts Newer posts »