Robin Michals | COMD 1340 Photography 1

Author: rmichals (Page 4 of 8)

Week 8 – Outdoor Portraits

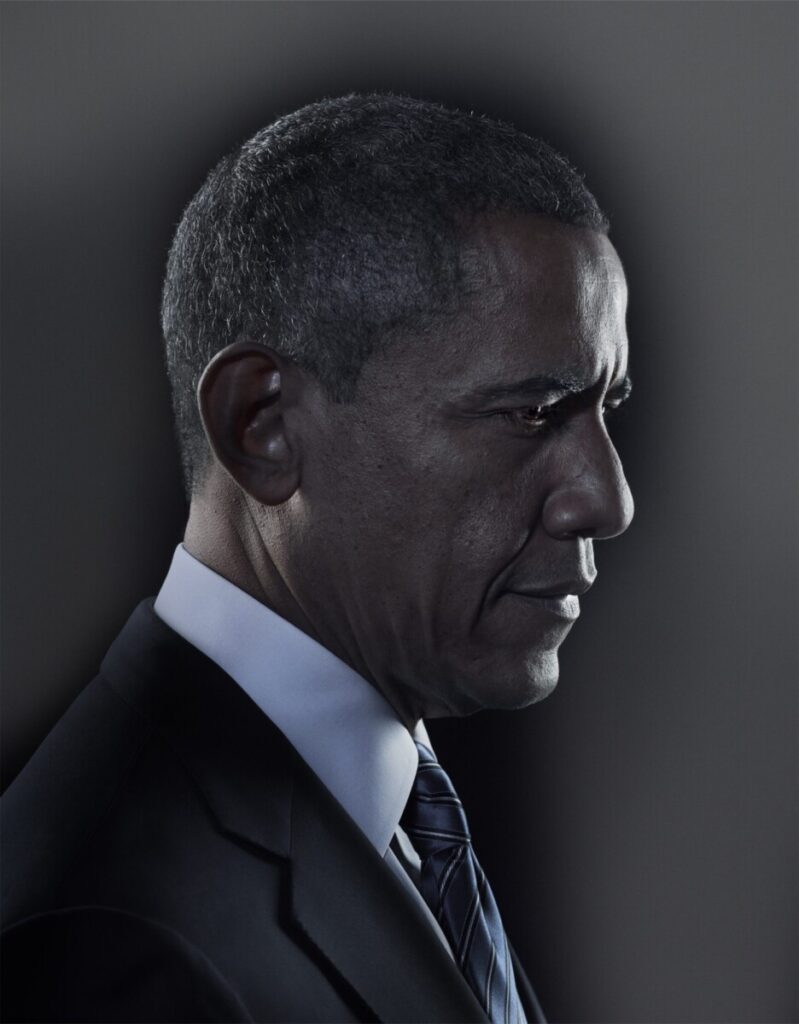
Portrait Poses

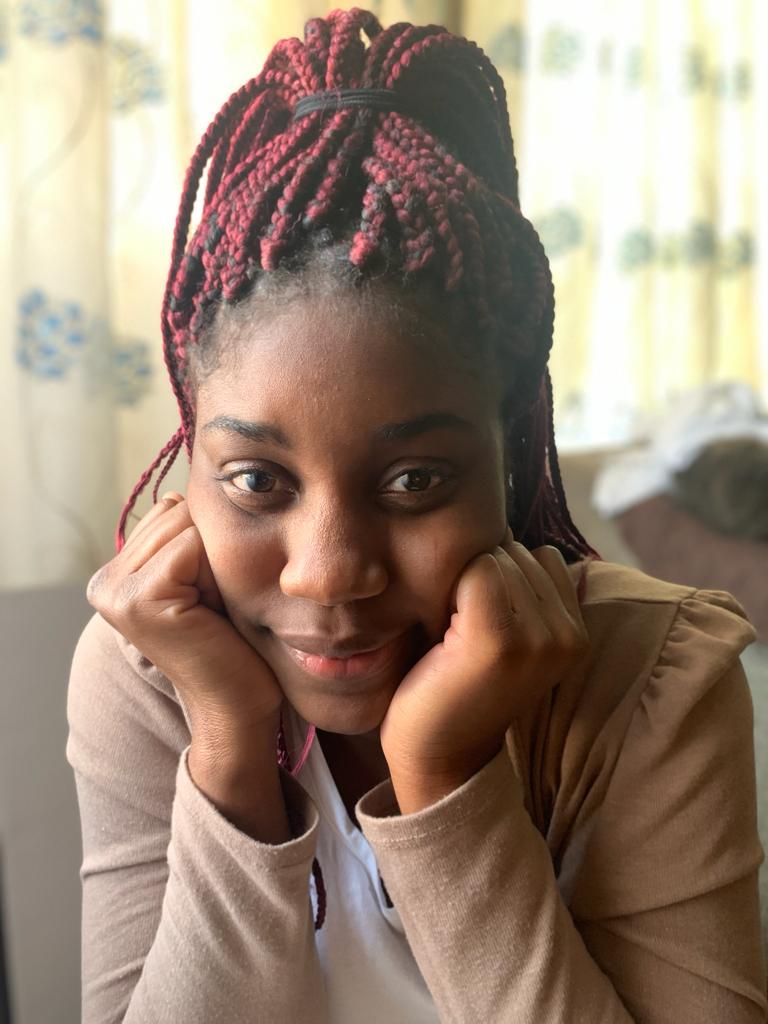
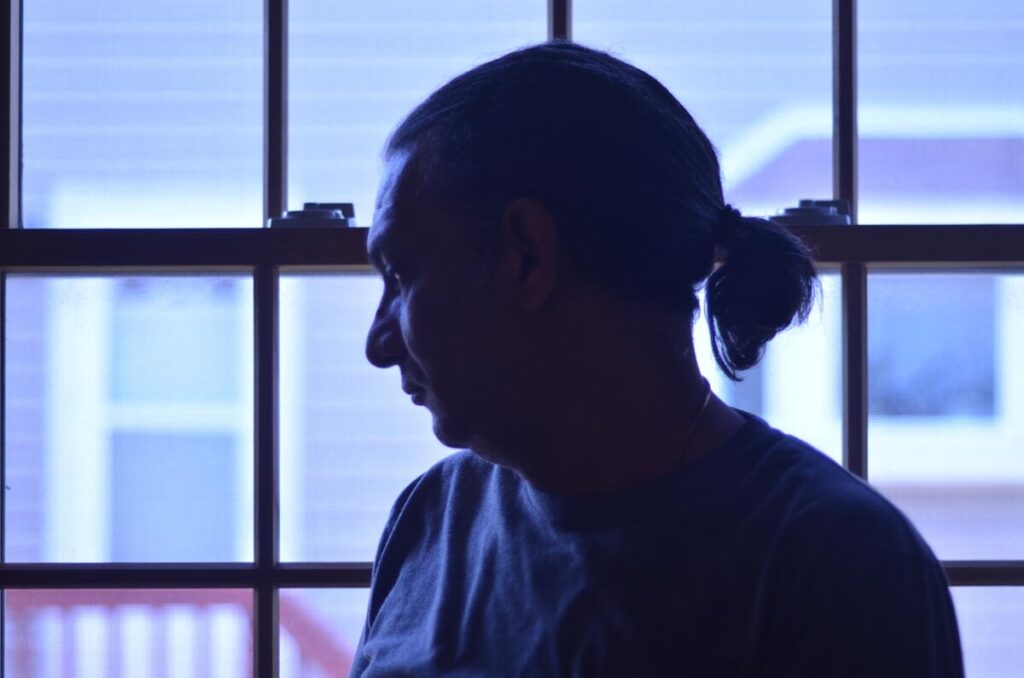
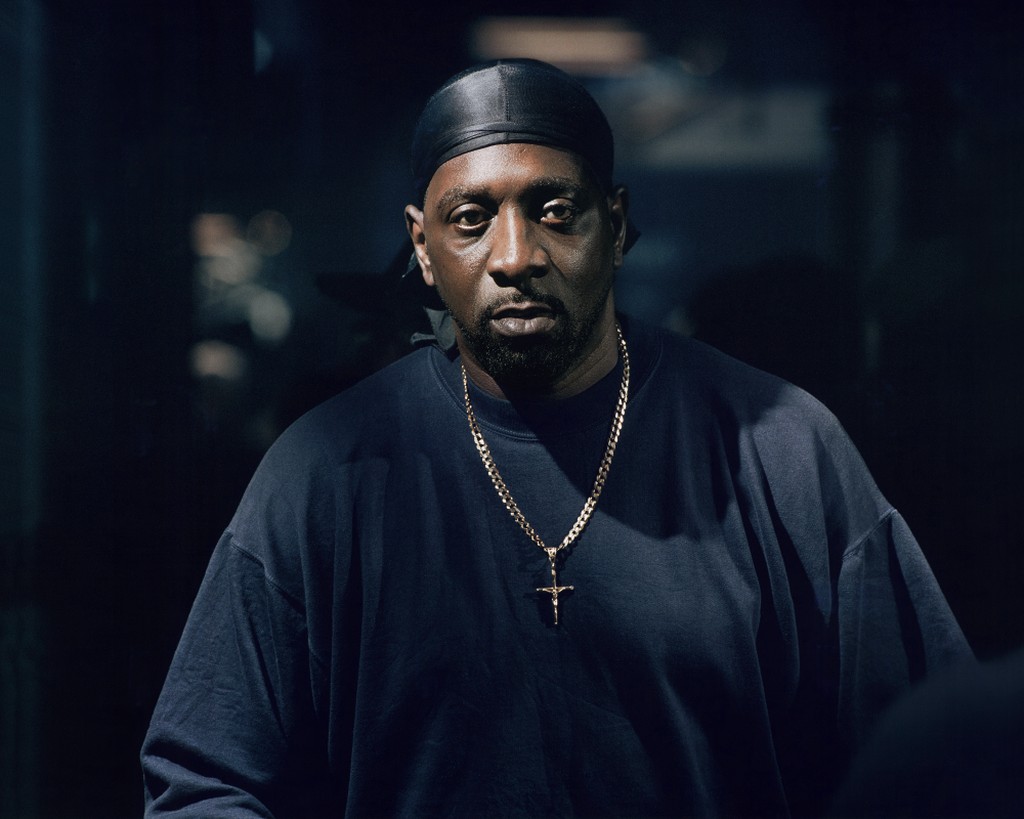
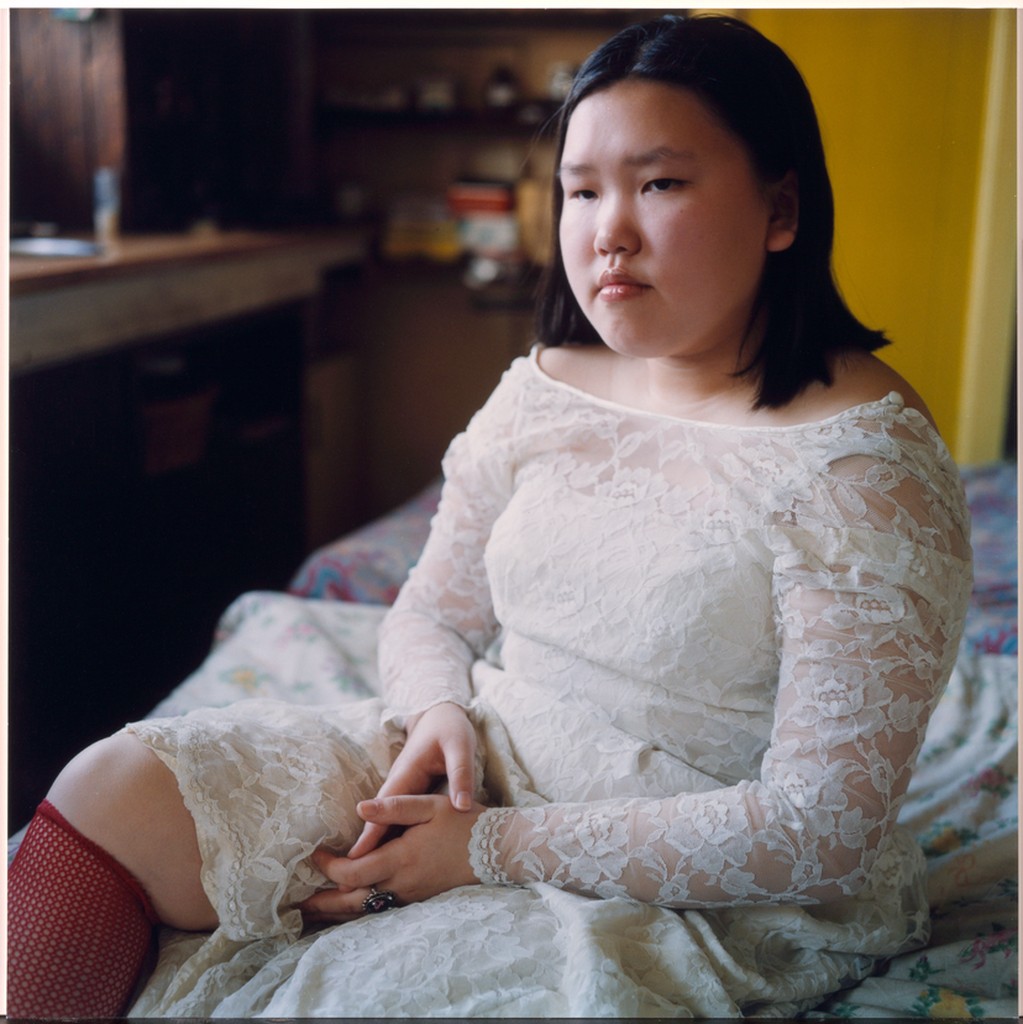
There are three basic positions for someone’s head and face in a portrait.

  1. Front view
  2. 3/4 view
  3. Profile

Expression

For family photos a smile is a must but not so for a portrait. It is however important that your subject look comfortable. It is your job as the photographer to talk with your subject and make them feel comfortable.
Focus

When shooting a portrait, the subject’s eyes must be in focus. Full stop. Period.

Inspiration

@dont_smile_nyc

https://www.instagram.com/dont_smile_nyc/

Considerations for any portrait:

Use a vertical orientation.

Focus on the model’s eyes.

Watch the background for distracting things behind the model’s head.

Considerations for outdoor portraits

Work with the model in shade or place the model with the sun BEHIND their head.

Use a reflector to add light to their face.

Do not use direct sunlight on the model’s face.

Resource

Using Fill flash

Ambient Light-the existing light that you cannot control

Fill Flash-brightens shadows

Built-in flash-part of the camera and throws light about 6 to 10 feet

External flash-added to the camera on the hot shoe and can throw light 15 to 20 feet 

ETTL (Evaluative-Through The Lens) is a Canon EOS flash exposure system that uses a brief pre-flash before the main flash in order to obtain a more correct exposure.

Use M or manual.

1/1 is full power. for fill flash, try 1/16 and adjust from there.

Use Zoom to spread or focus the light. Wide angle numbers (smaller numbers) spread the light. Higher numbers focus the light.

High speed sync-allows the camera to be set at shutter speeds higher than the camera sync speed 

Resource

Lab

Outdoor Portraits

Homework

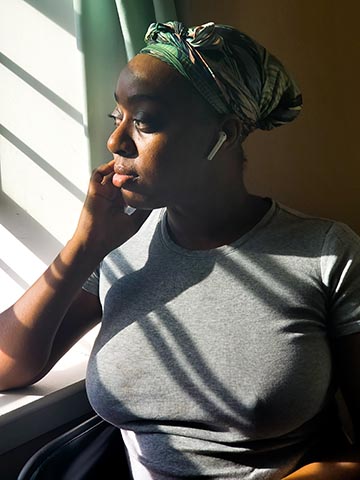
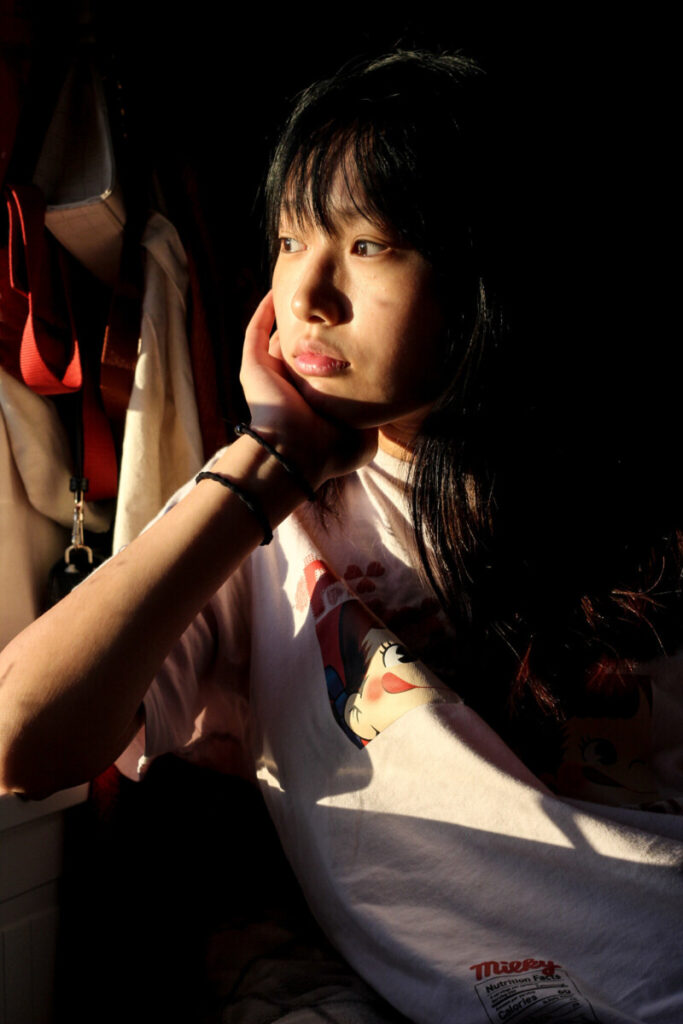
HW 6: Window Light Portraits

Submit to the CUNY Photo Challenge by Oct 28th! 1 pt of extra credit if you send me the screen shot of your submission.

Lab: Week 8 – Outdoor portraits

Take portraits of your classmates in outdoor diffused light using reflectors and fill flash.

Start with using a reflector. Have your model stand with the sun to their back. use the reflector to reflect light back into their face. Hold the reflector higher for a more pleasing result.

Then try fill flash. You don’t want to cast any shadows on the face just brighten it.

Use your widest aperture. You may need to use a fast shutter speed to compensate. When using flash, make sure to set it to High Speed Sync (HSS) in order to be able to use a shutter speed faster than the sync speed.

Put your 20 best outdoor portraits in an album on Flickr and send the best two to the class group.

HW 6: Window Light Portraits

Due Oct 25, 12 pm Noon. 4 pts.

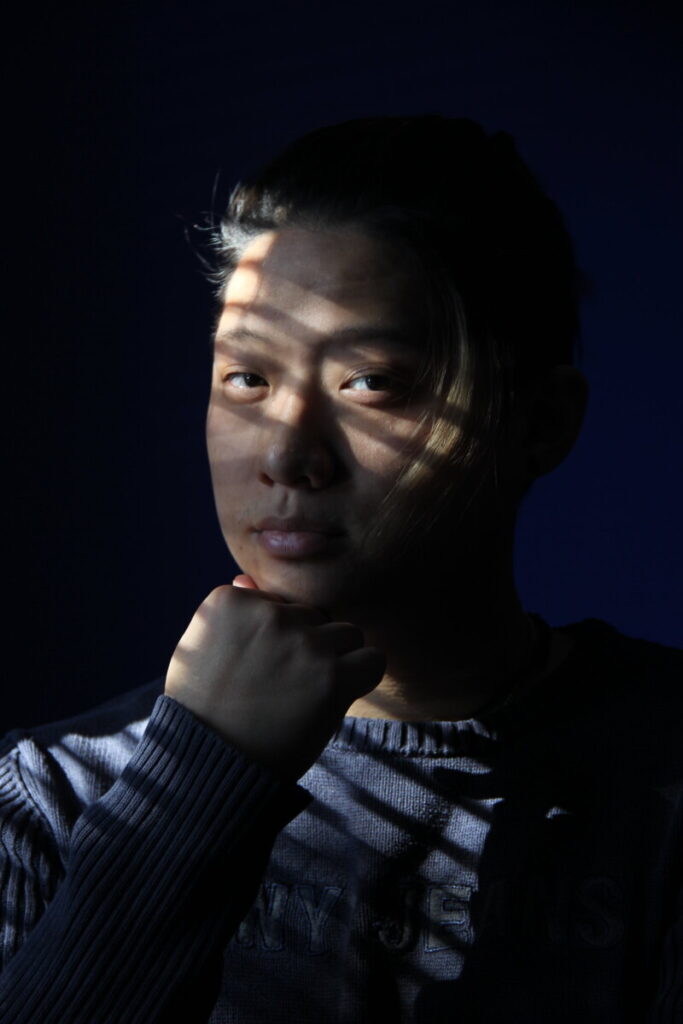
Create a series of 30 portraits of at least 3 different subjects using window light or outdoor diffused light.

For each subject, shoot some in front view, some in three quarter view and some in profile.

Try the 5 lighting styles: front light, Rembrandt light, split light for front view poses, and broad light and short light for three-quarter poses. When you are working with a window, you can’t move the light source so you and the subject must move.

You should be near or next to a window during the day. 

The window can be in the photo or you can just use the light from the window.

Pay attention what is in the frame and make sure the background adds to the photo and is not distracting.

Your photos should use light and expression to be expressive. No props. If you have curtains or venetian blinds, you may use them as elements in the photos.

Experiment with different expressions and gestures and different framing (how much of your subject is in the frame.)

Upload the 30 photos to OpenLab and put them in an album. Send your best 3 – the best of each subject- to the class group.

Examples from previous semesters


Week 7 – Midterm – Critique Guidelines

Critique Etiquette

  1. Respect the presenter. Give them your full attention.
  2. Ask questions about your colleague’s photography. This is not the time to ask questions about your personal concerns.
  3. Start with the positive when you comment on your colleague’s works. Use the terms below that we have learned this semester.
  4. Be generous. Offer your thoughts. Your opinion and judgements are important. Do not leave the work of giving feedback to the others in the class.
  5. Conversely, please do not speak over your classmates.

Vocabulary

Framing: How the frame brings together the elements inside the rectangle juxtaposing them, creating relationships between them

Types of shots: how much information is in the frame

  • a long shot
  • a medium shot
  • a close up
  • an extreme close up.

Frame within a frame – use elements in the frame to enclose the main subject and draw attention to it. A frame within a frame can be a window or door or it can be items in the foreground such as branches.

Angle of View:  describes the camera position in relationship to the subject. The angle of view may be: 

  • a worm’s-eye view
  • a low-angle
  • eye-level
  • a high-angle
  • a bird’s-eye or aerial or overhead view
  • an oblique angle.

Rule of Thirds – Instead of placing the main subject in the center of the frame, divide the frame into thirds horizontally and vertically and place the main subject at one of these intersections.

Symmetry-fold the image in half and the two sides are equivalent

Fill the Frame –  (get closer) – do not leave empty areas that do not add to the composition and plan to crop in later.

Diagonals – Sloping lines

Leading Lines – lines in the photograph that lead the eye to the main subject

Perspective-the creation of the feeling of a 3D space on a 2D surface usually with converging lines or diminishing scale

Patterns – repeated elements. Break the pattern for visual interest

Figure to Ground -the relationship between the subject and the background sometimes described as negative and positive space.

Diffused light – light that comes from many directions and creates soft shadows

Direct light– light that come from one direction and creates hard shadows

Contrast: The measure of difference between bright areas (highlights) and dark areas (shadows) in a photo

High contrast : Large difference between highlights and shadows. Mostly lights and darks without many mid tones        

Low contrast :  Little difference between lights and darks. Mostly mid tones.

High Key– most tones are light

Low Key – most tones are dark

Frozen Motion-Motion is stopped and captured in the frame with a fast shutter speed.

Blurred motion-moving elements blur with a longer shutter speed.

The Decisive Moment: A term coined by Cartier Bresson- “the simultaneous recognition, in a fraction of a second, of the significance of an event as well as the precise organization of forms which gives that event its proper expression.”

Homework

HW 5: Reflections

HW 5: Reflections

Due Oct 18, 12 pm. 4 pts. 30 photos including reflections.

Reflection – 1. the throwing back by a body or surface of light, heat, or sound without absorbing it.

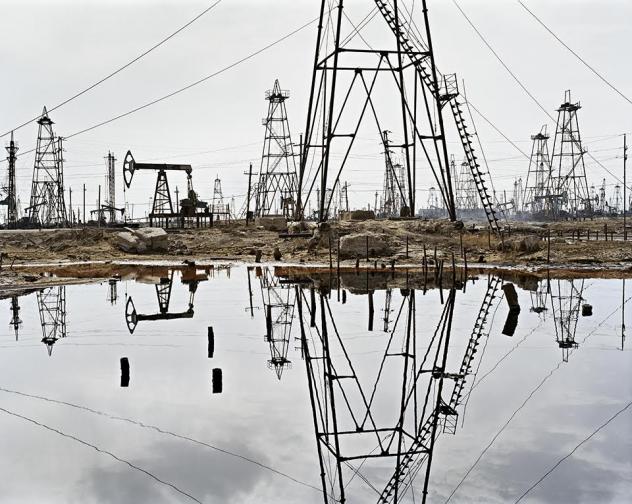
Working outside during the day, photograph reflections to create strong compositions that include a combination of elements that are seen directly and by reflection. Reflections can be found in water, windows, and cars among other surfaces. Do not confuse reflections with shadows. Working outside during the day, take enough photographs to end up with 30 interesting photographs with reflections. No credit will be given for improperly exposed photographs or out of focus photographs. No credit will be given for photos taken inside without sufficient light.  Upload to an album on Flickr. Send your best two to the class group.

Reflections example by Edward Burtynsky:

« Older posts Newer posts »