Robin Michals | COMD 1340 Photography 1

Author: rmichals (Page 3 of 8)

Week 10: Lighting for Mood

Review:

Lighting Quality

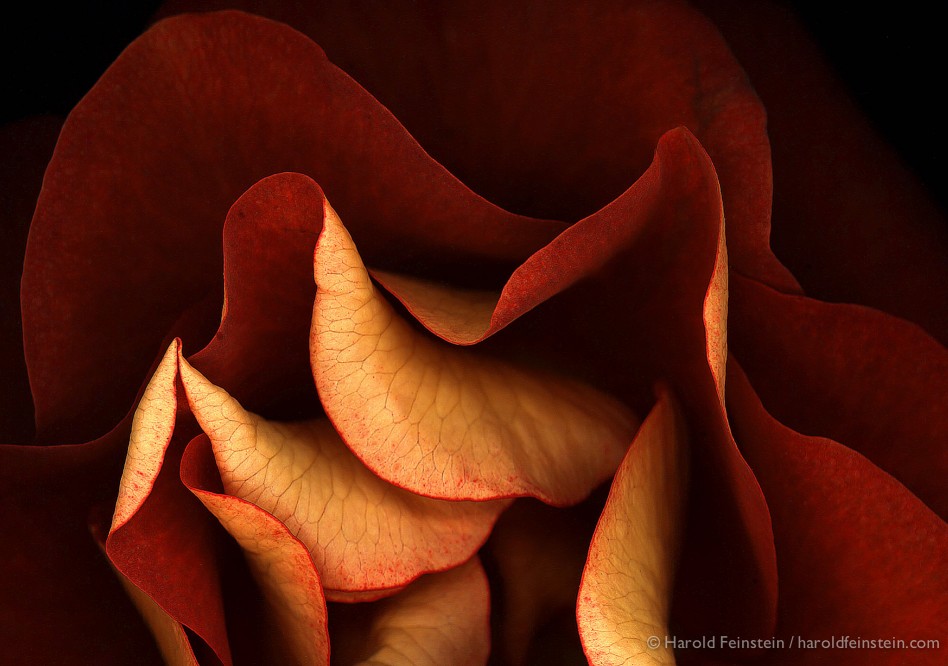
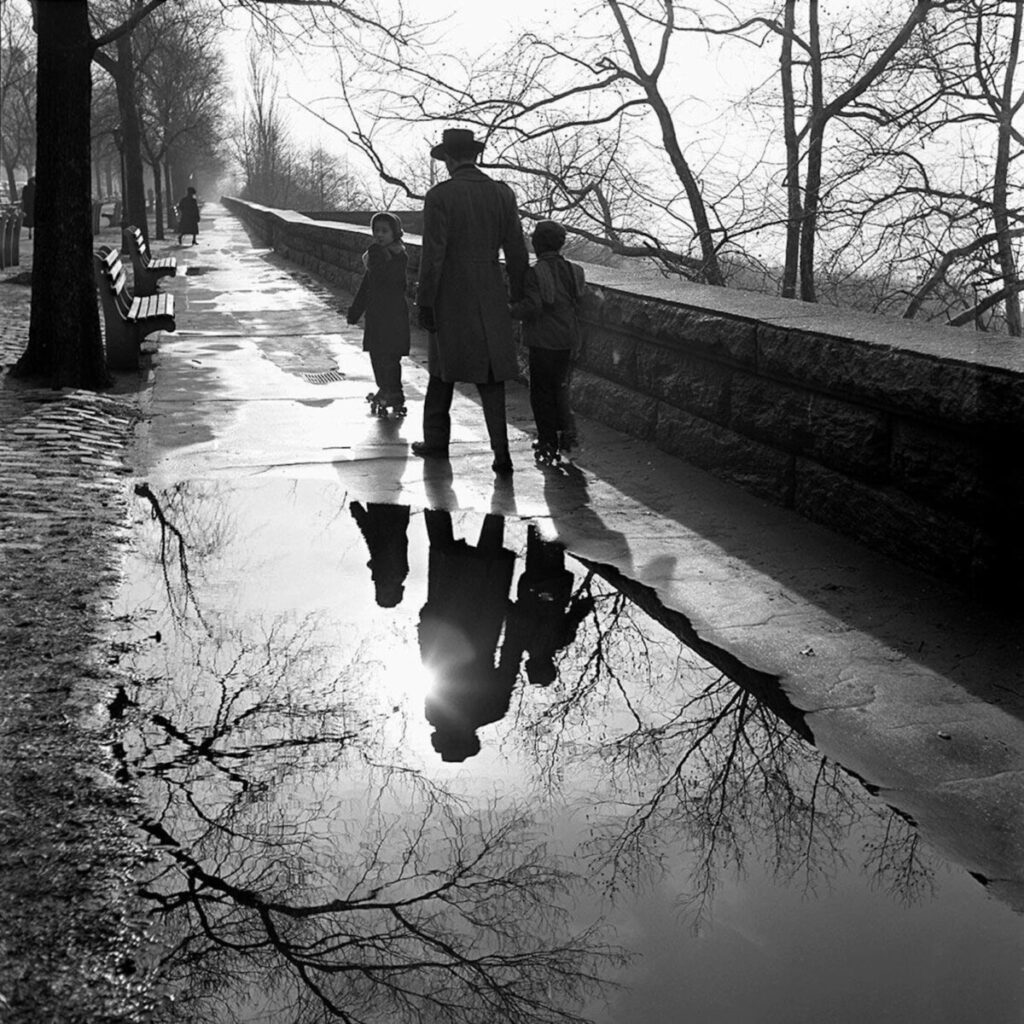
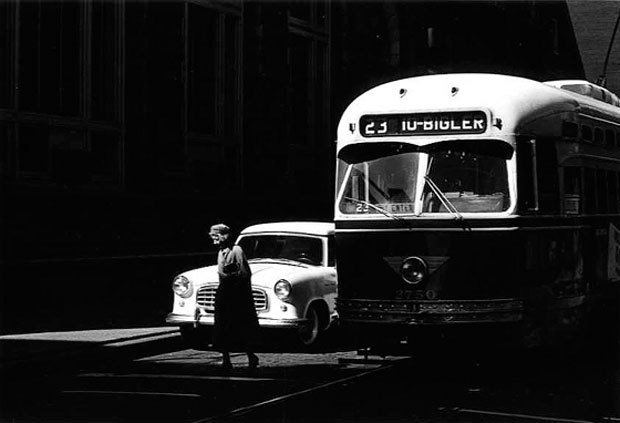
Diffused– light hits the subject from all directions and the shadows are soft

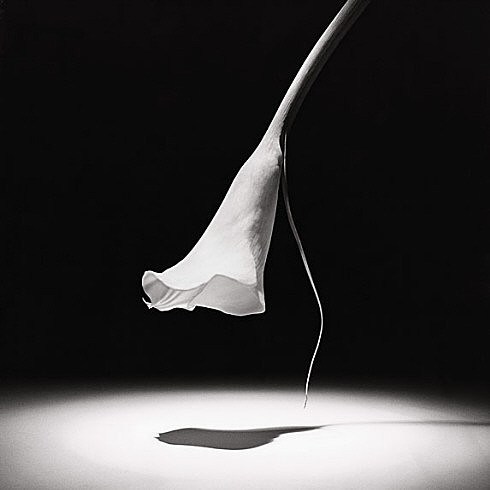
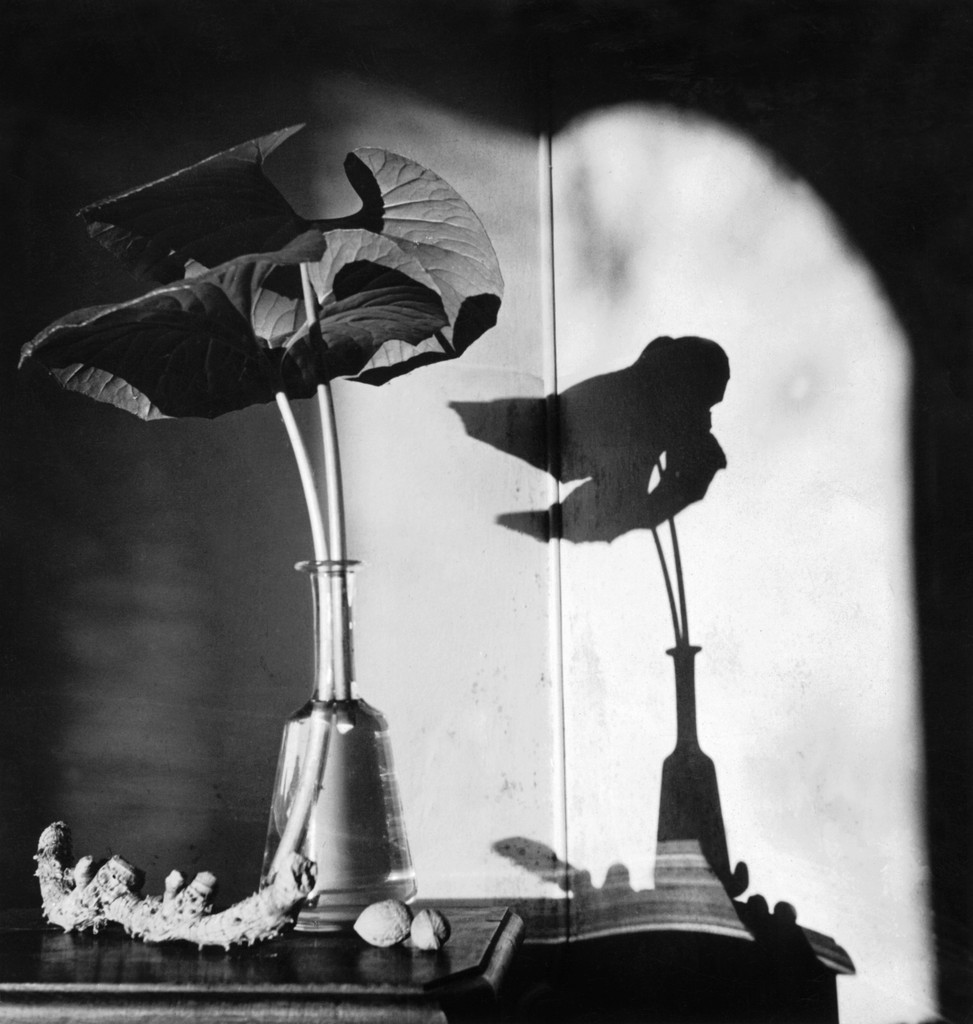
Direct– light hits the subject from one angle and the shadows are crisp with sharp edges

Lighting Direction

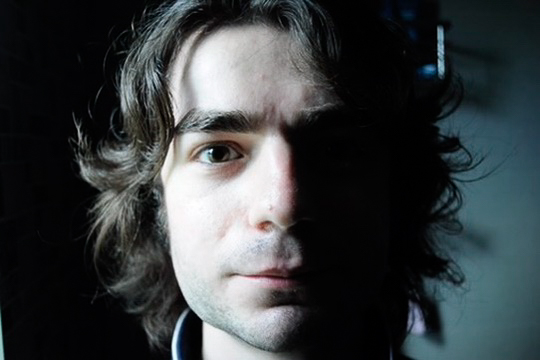
Front light – light comes from near the camera position.

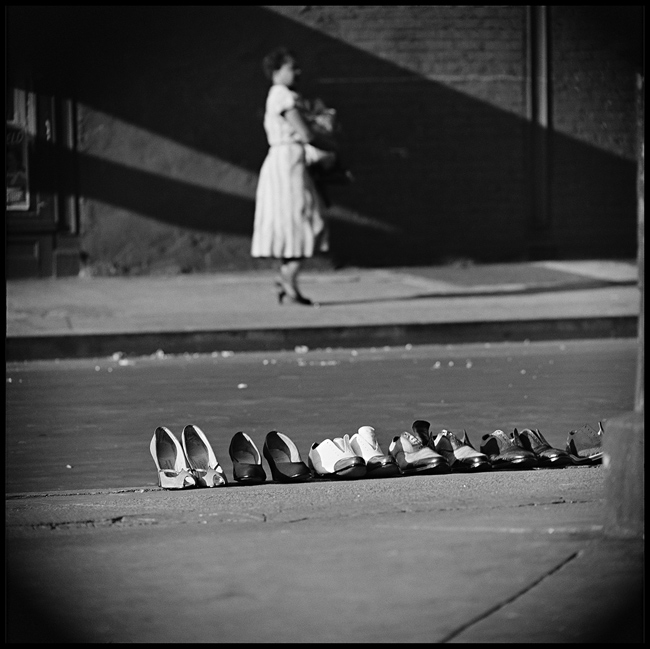
Side light – light come from 90 degrees to the camera position.

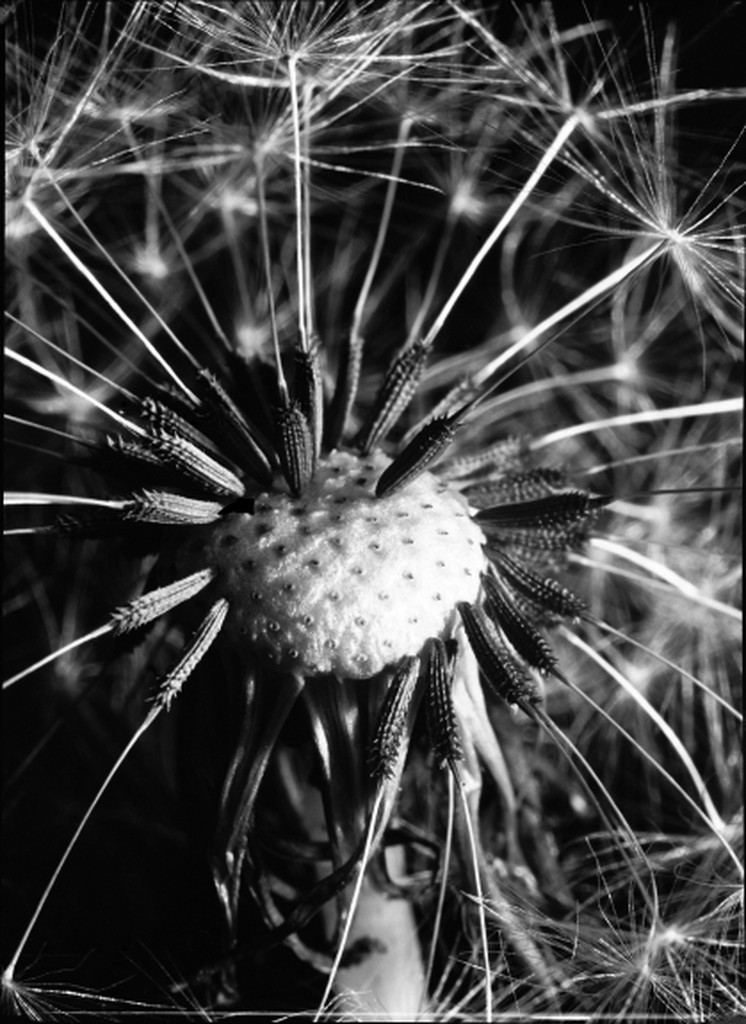
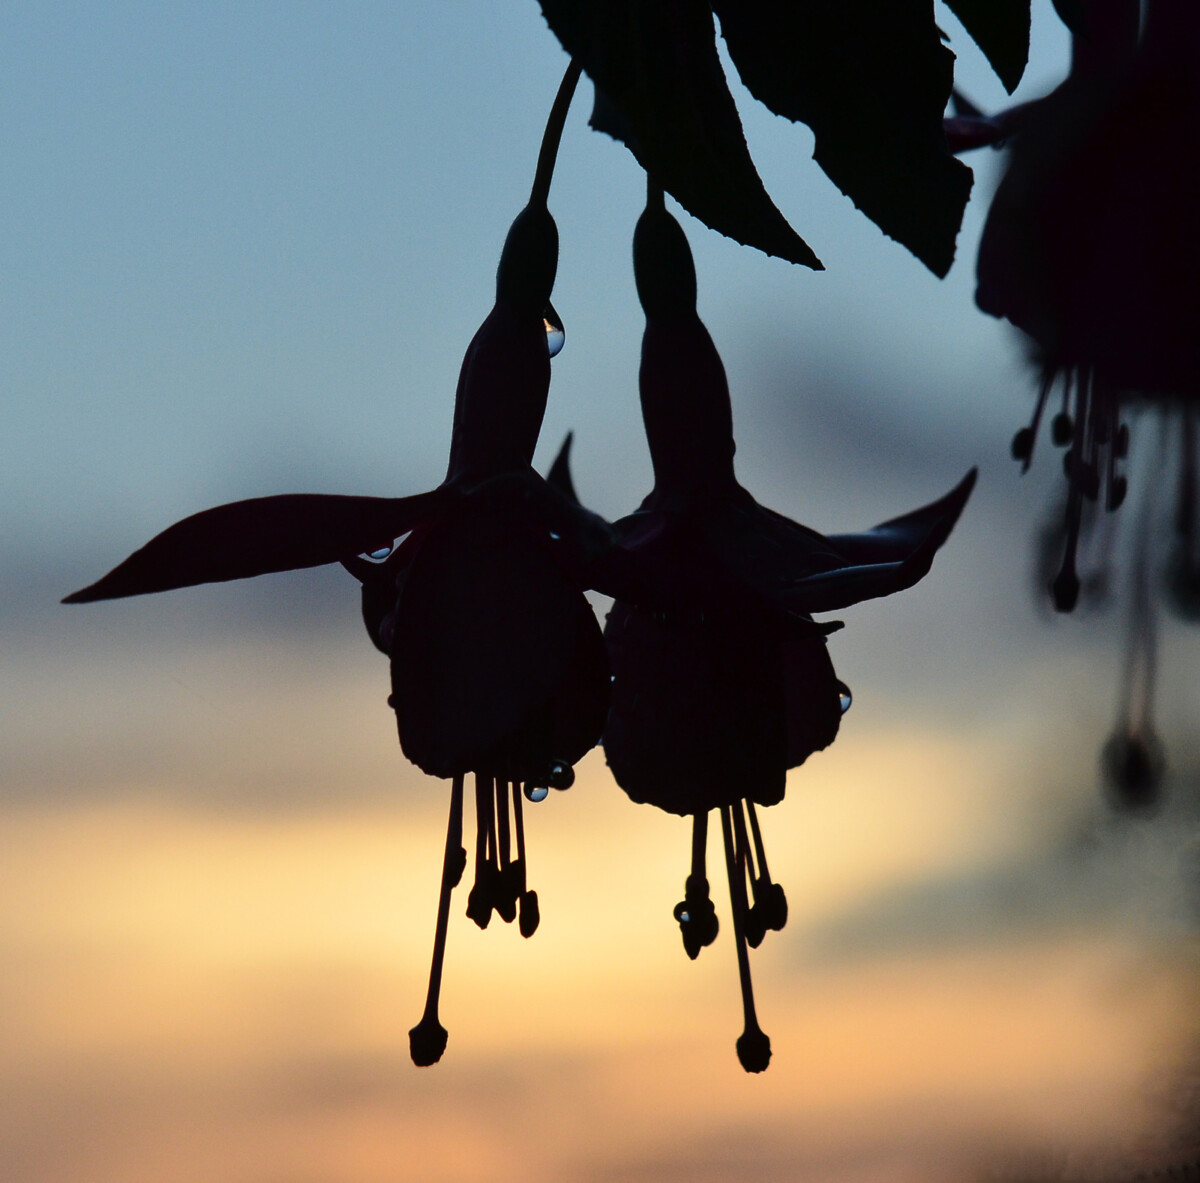
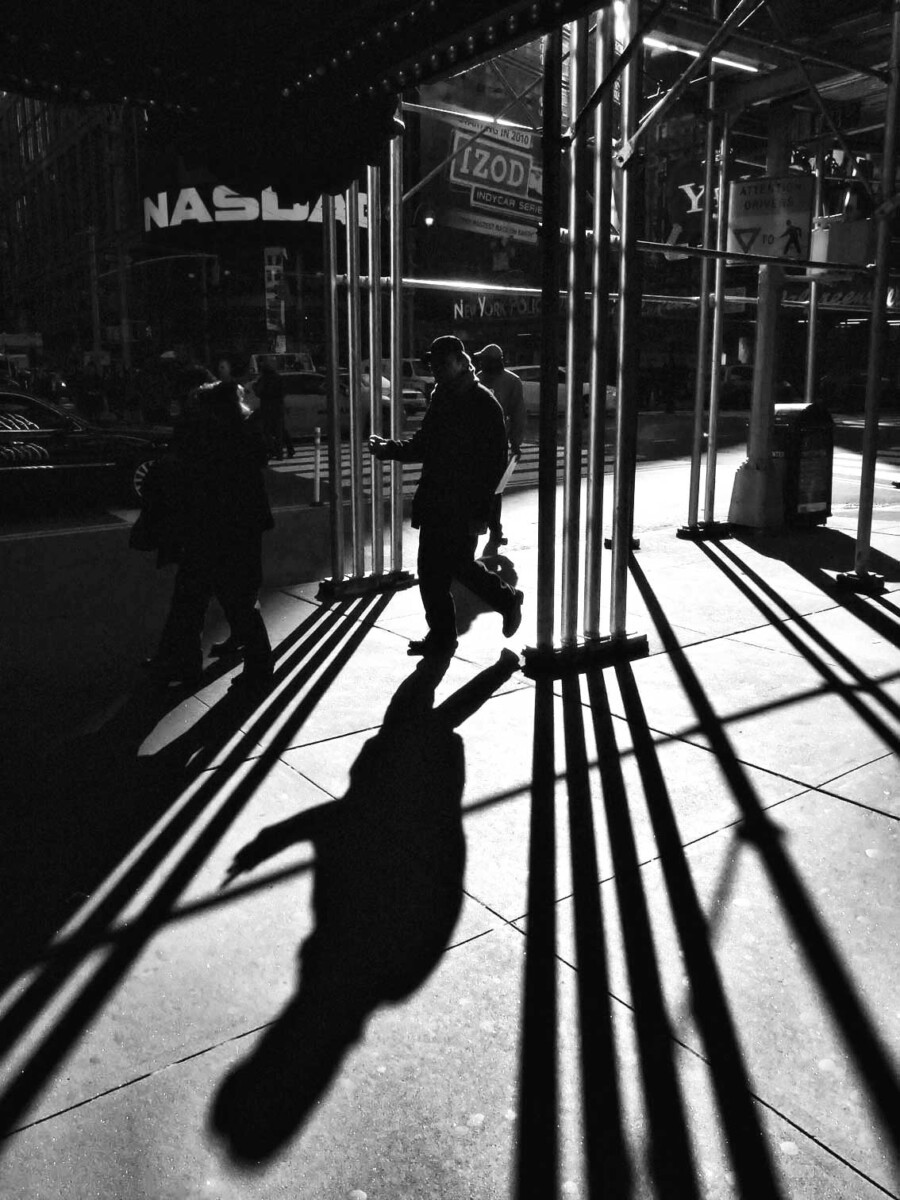
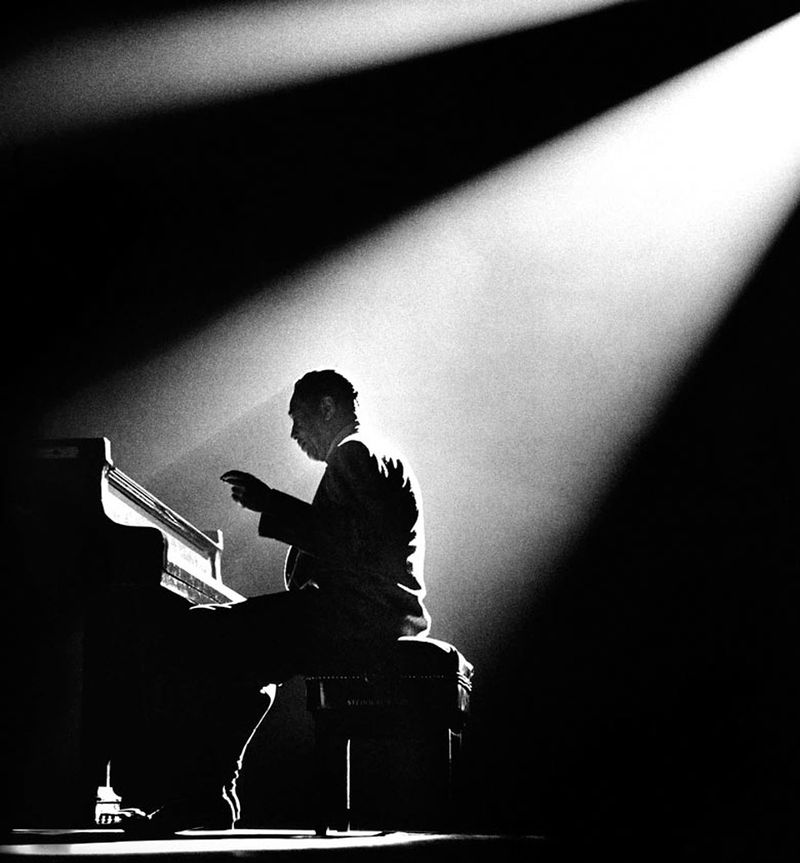
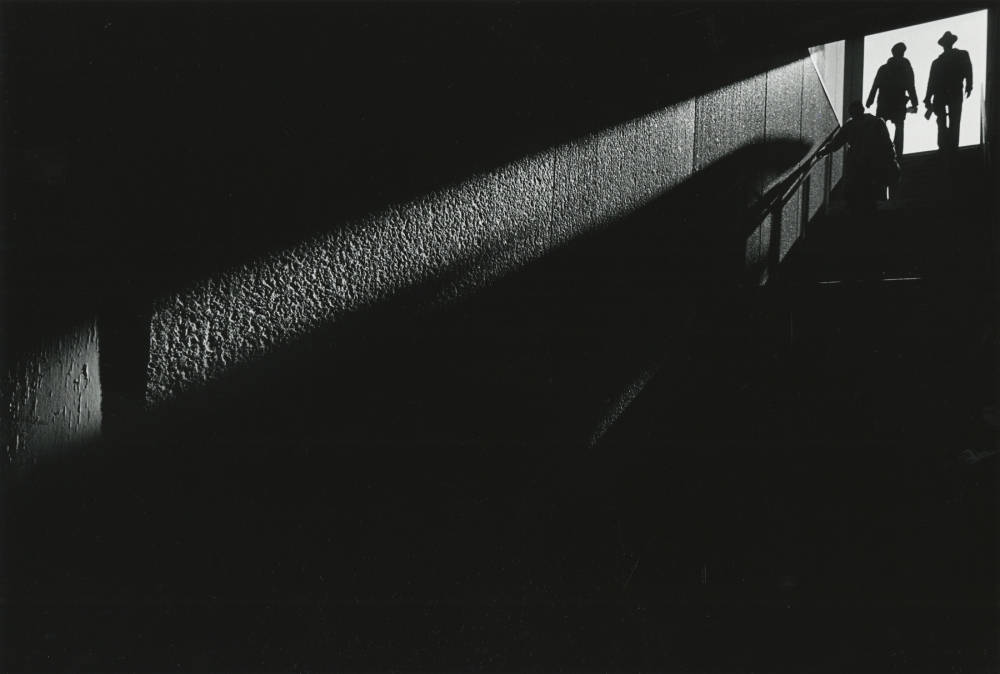
Back light – light comes from behind the subject and aims towards the camera.
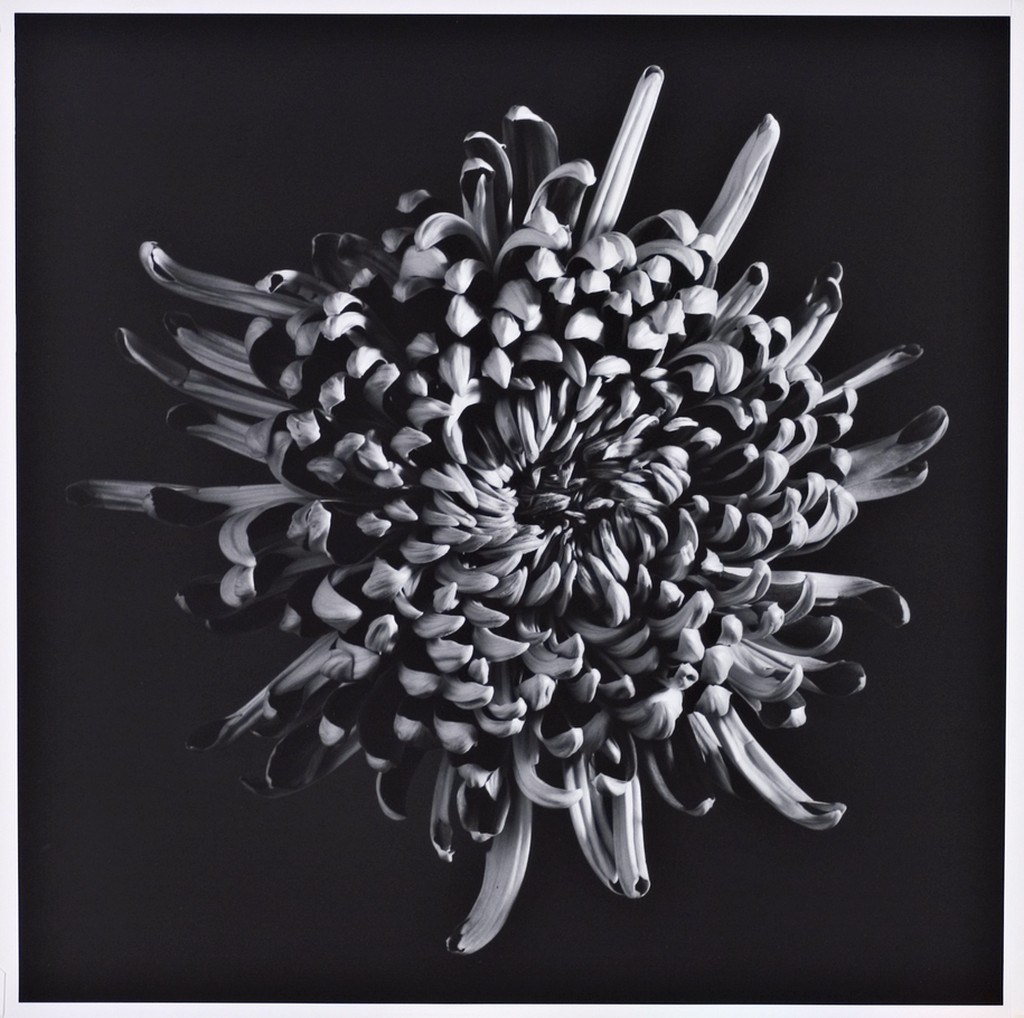
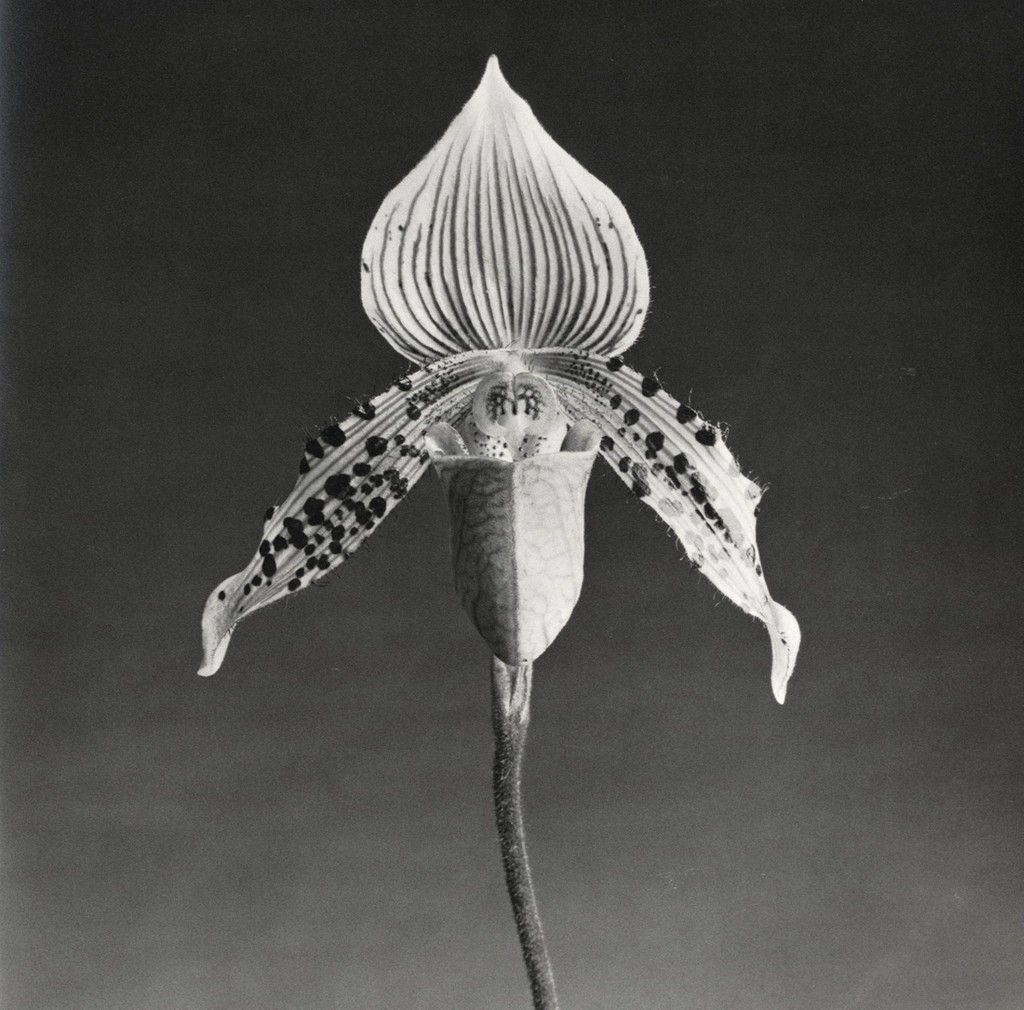
Contrast

Contrast: The measure of difference between bright areas (highlights) and dark areas (shadows) in a photo

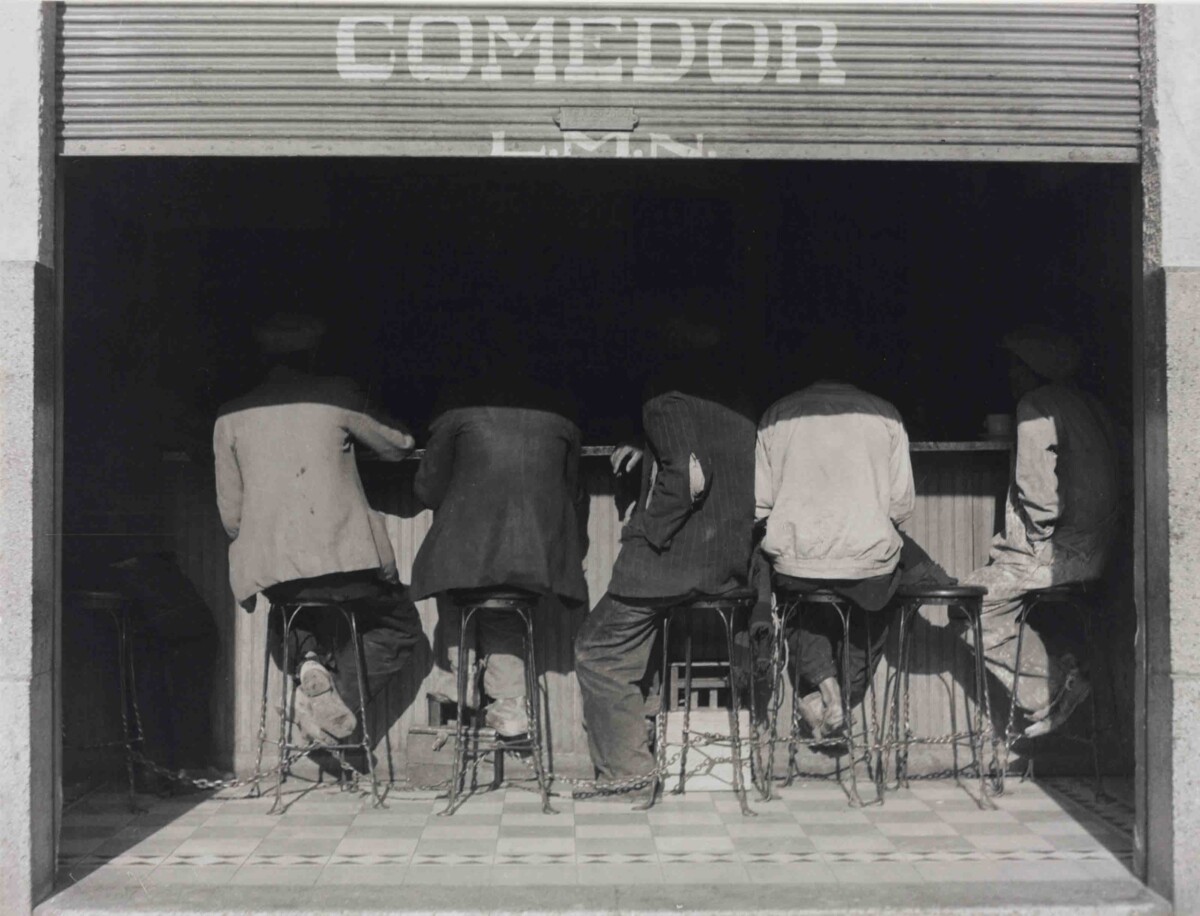
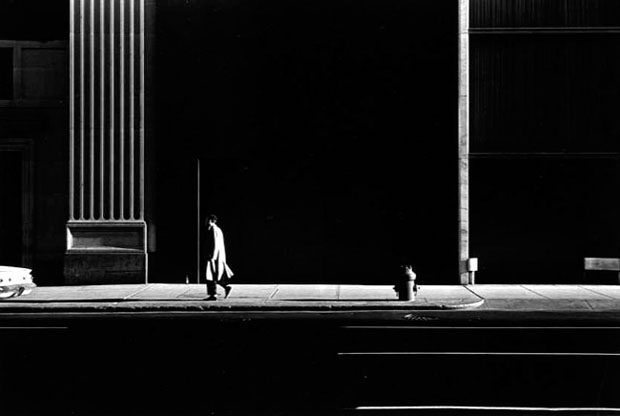
High contrast : Large difference between highlights and shadows. Mostly lights and darks without many mid tones  

Low contrast :  Little difference between lights and darks. Mostly mid tones.              
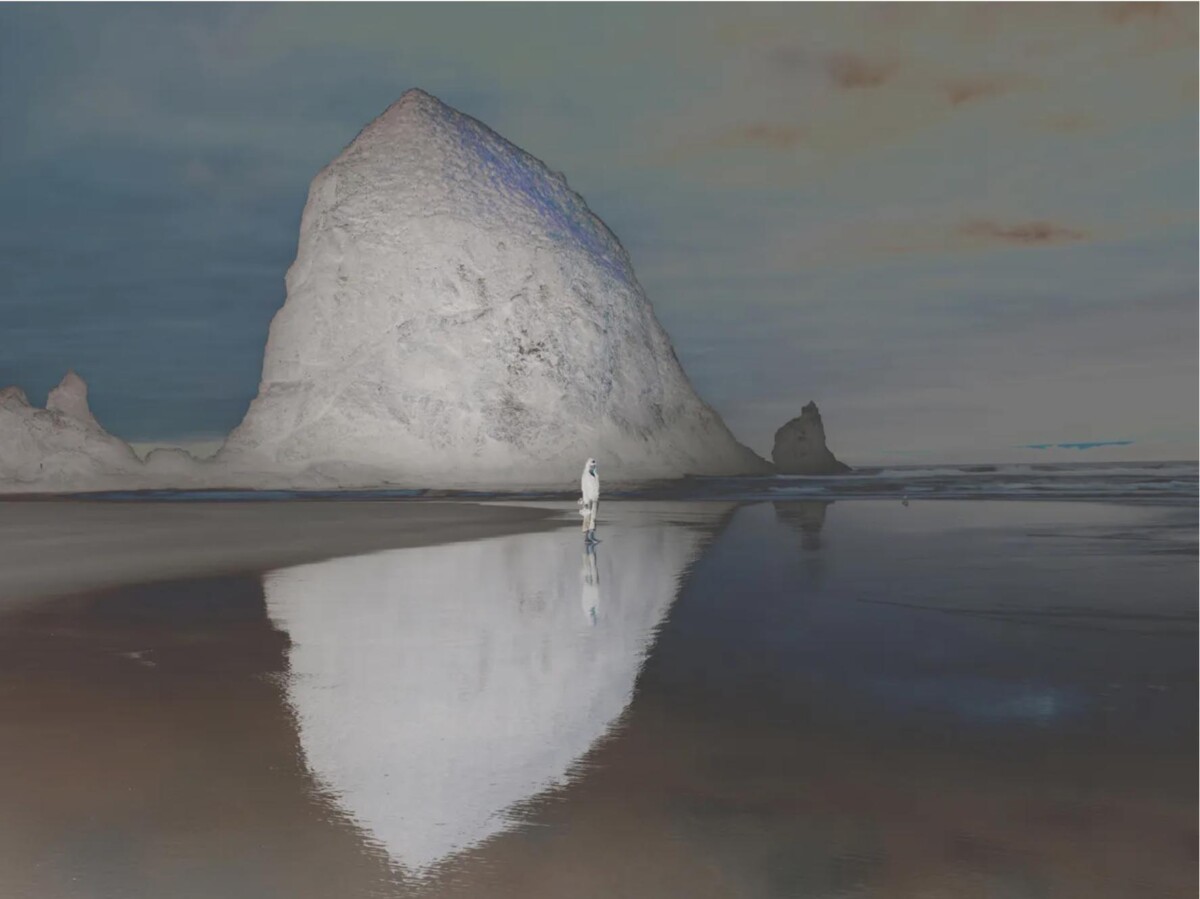
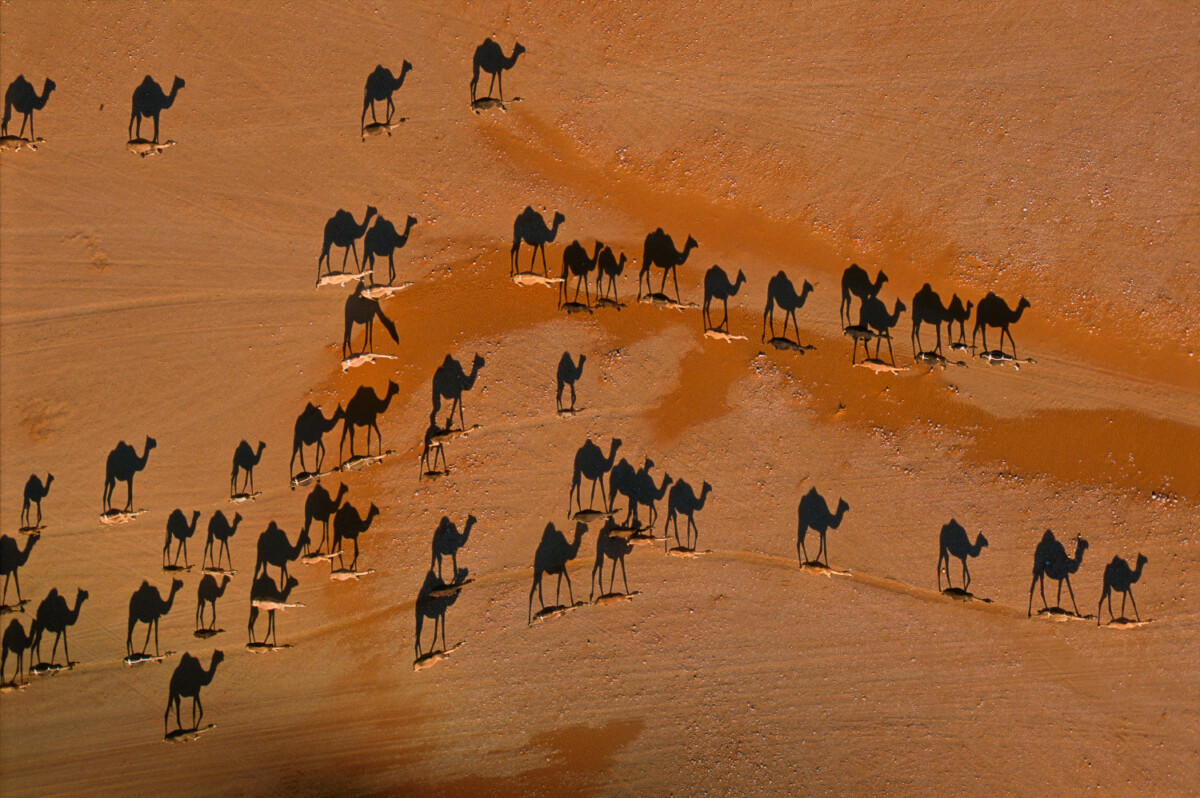
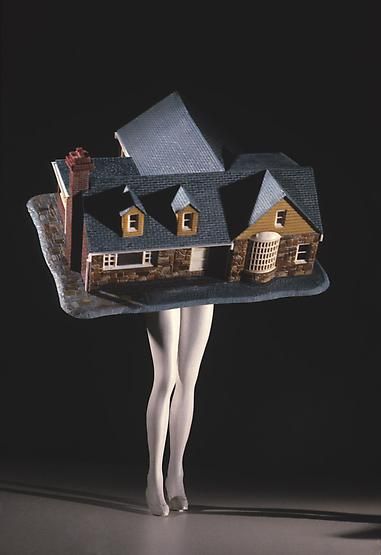
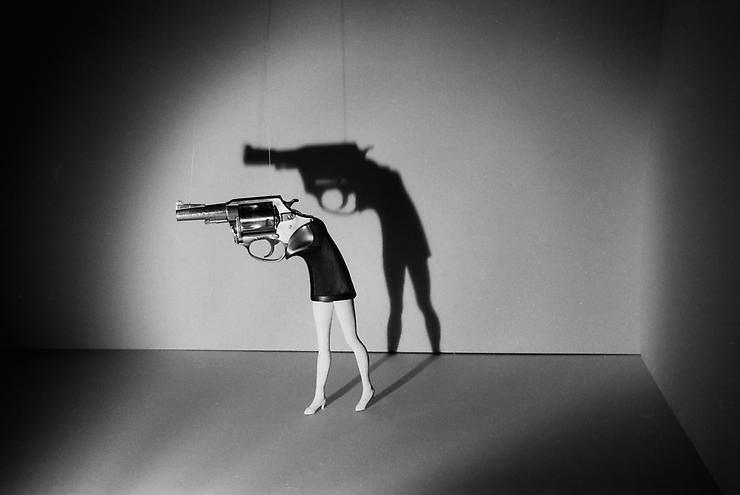
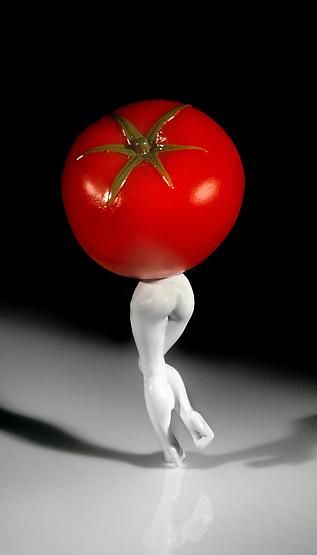
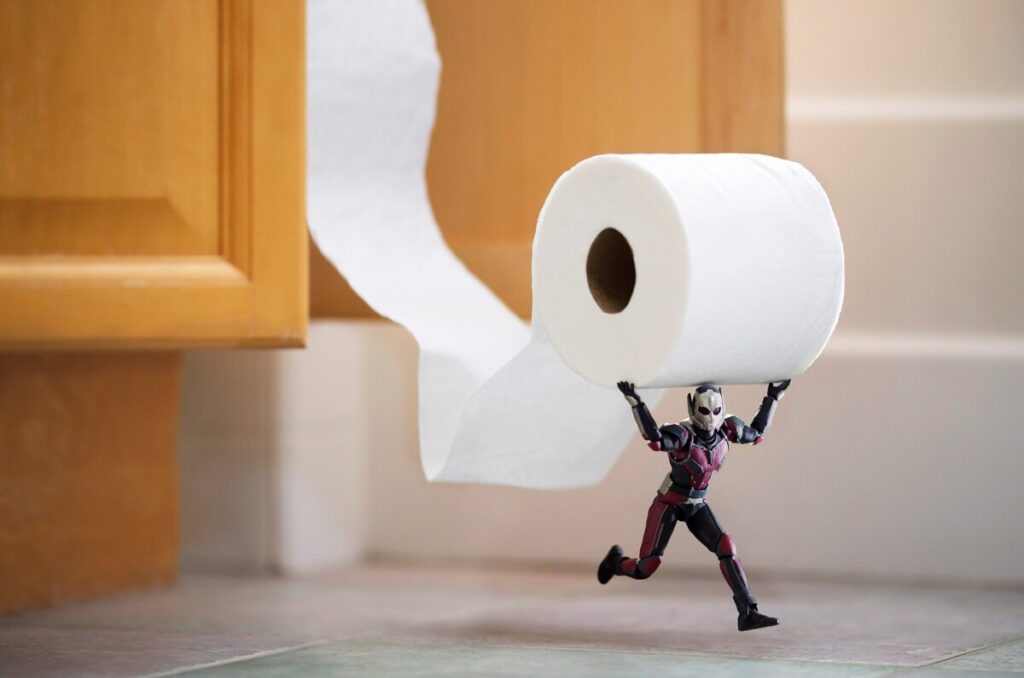
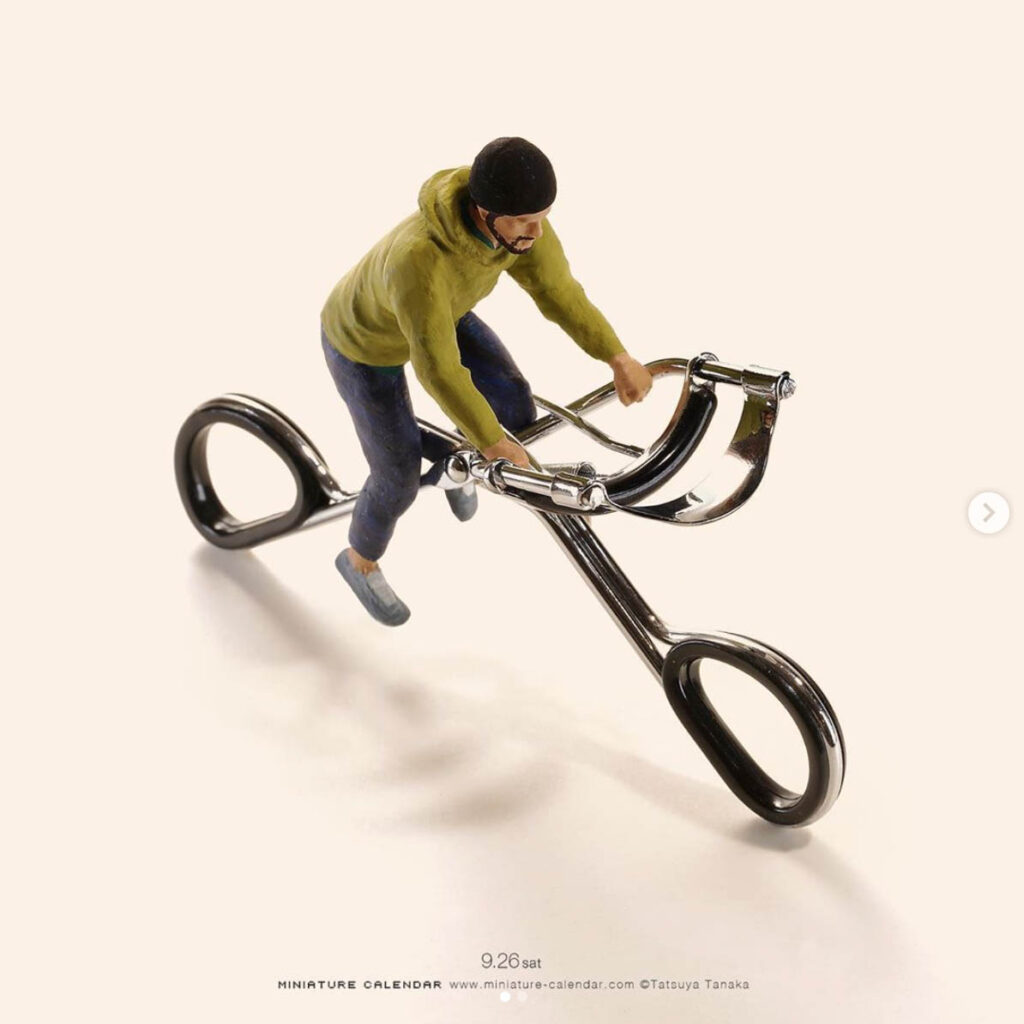
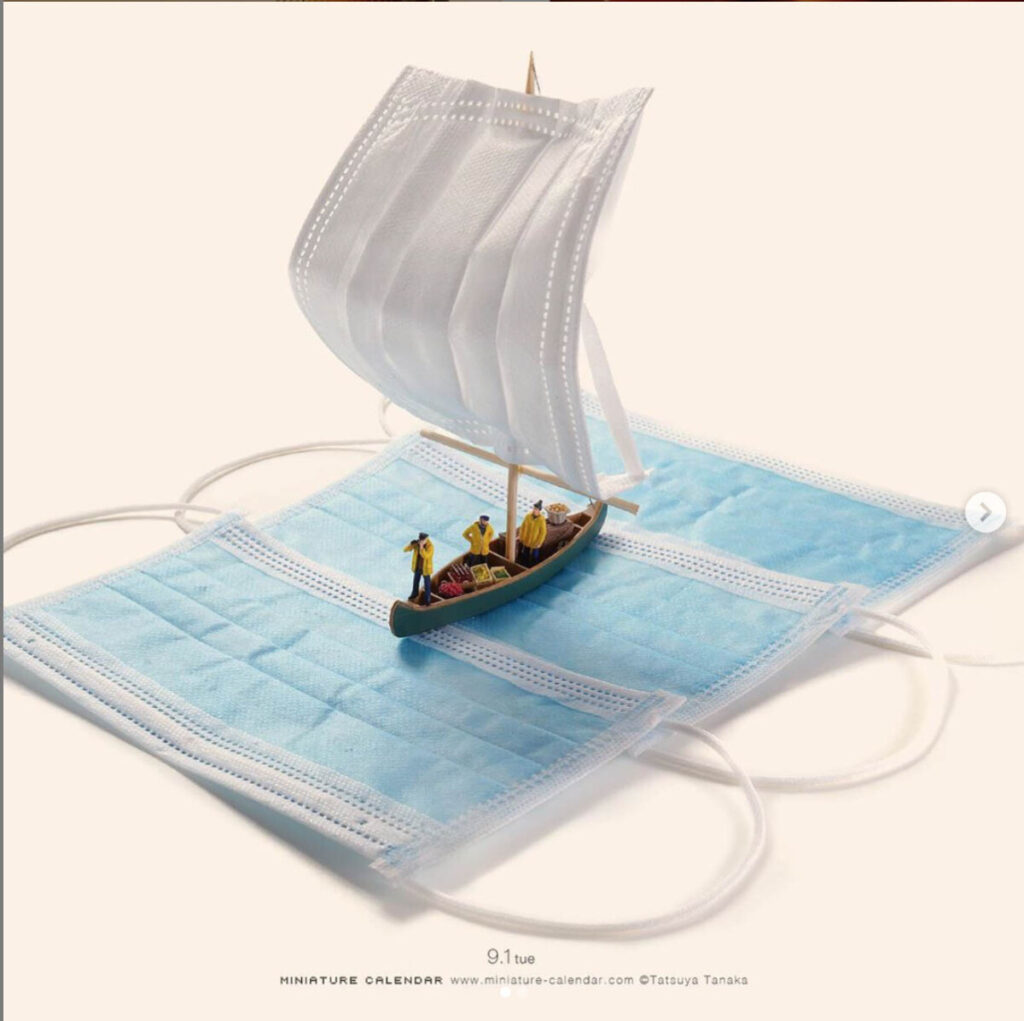
Inspiration

View:

http://filippodrudi.com/project-thefork.html

Other terms to know

Ambient Light-The light that is already there sometimes called available light

Continuous Lights-Always on, may be incandescent, halogen, fluorescent, LED

Strobe Lights – lights that fire when the exposure is made

Strobes have two bulbs:

  • the modeling light which helps you see where the light will fall
  • the flash bulb that fires when you press the shutter release

A trigger on the camera uses radio waves to tell the receiver to fire the light. The power pack stores the power used to make the exposure.

Modifiers

In studio photography, we put modifiers on the flash heads to change the quality of the lights. Two basic categories of modifiers are:

  1. Softboxes- these spread and diffuse the light. The light hits the subject from many directions making the shadows softer.
  2. Grids – these concentrate and focus the light. The light hits the subject from one direction making the light harsher and the shadows sharper.

Lab Exercises

Stuffed Animals

HW 8: Final Project Proposal and Mood Board

Final Project

HW 8: Final Project Statement and Mood Board

Due Nov 8th, 12 pm, Noon. 4 pts. A final project proposal of 300 words min plus a gallery of images for inspiration otherwise known as a mood board.

The goal of the Final Project is to create a series of 10 related images on a theme.

You may choose to do either:

A series of portraits (not 10 pictures of 1 person but 10 pictures of 10 people) OR

A portrait of a neighborhood

OR another theme that you are passionate about: dogs, skateboarders, basketball players, street fashion to name a few possibilities.

Decide which assignment(s) you most enjoyed. What are you most interested in? Then consider: do you have people to work with? What is your schedule like and what is practical?

Final Project statement: Describe your project. What is your theme? What is the story you want to tell? What is the subject matter? Where will you shoot and when will you shoot? What kinds of techniques will you use?

Find a minimum of 6 images by 6 different photographers that show what you want your project to look like. Put them in a gallery in the post with your final project statement.

Category on OpenLab: Final Project Statement

Grading Rubric

Deliverables and dates:

Due Week 11: Nov 8 – a 300 word final project statement posted to Openlab with “a mood board”

No class Nov 22

Due Nov 29: Shoot 1 – minimum of 40 images in an album on Flickr

Due Dec 6: Shoot 2 – minimum of 40 images in an album on Flickr

Reading Day – Dec 13

Due Dec 20: Shoot 3 -minimum of 40 images in an album on Flickr PLUS

  • final 10 images selected, adjusted in Lightroom, and posted to an album on Flickr
  • a presentation to the class of the final images.

Examples:

Christopher Adams – LES

IMG_0809.jpg

Ilda Medel- A Neighborhood Portrait

IMG_0127 (1)

Rezwan Haque

https://www.flickr.com/photos/193829300@N02/albums/72157720239713781

Jennifer Humala – Portraits

Tais Chichiza

20220514045807_IMG_3208

HW 7: Lighting Direction

Due Nov 1. 12:00 pm, Noon. 4 pts.

Check the weather! Right now the best days to do this assignment are Thursday, Friday , Saturday, Tuesday or even Wednesday morning before class.

Working outside on a sunny day, photograph subjects and their shadows. Your subjects could be anything visually interesting: a statue, a person, a tree, a dog, a bridge. What counts is the light falling on it. Please no fire hydrants, garbage cans, street lights, etc. Make it beautiful.

Think of the sun as your main light and move so that it is a front light, a side light and a back light.

Take 10 photos of different subjects where the shadow falls away from the camera otherwise known as front light.

Take 10 photos of different subjects where the shadow falls to the side otherwise known as side light.

Take 10 photographs of different subjects where the shadow falls towards you otherwise known as back light.

Each photo should be unique.

Post to an album on Flickr and send the best examples of each type of light to the class group.

Due: November 1, 12:00 pm, Noon.

Lab: Week 9 – Lighting Quality and Direction

Photograph flowers with continuous lights.

Floodlight– light is diffused and wraps around the subject hitting it from many angles. shadows are soft.

Spotlight – light is direct and hits the subject from one angle. Shadows are hard.

In-class Flower Shoot Camera Settings:

  • Resolution=RAW
  • ISO=800
  • WB=Flash
  • Shooting Mode=Tv
  • Shutter speed = 1/125
  • The camera sets the aperture

Every shot has a flower in it as the main subject. The ugly vase should not be seen in any photos. Fill the frame with the flower.

  1. Flood Light

A. Front light: reduces detail, low contrast

B. Side Light floodlight with diffusion: brings out texture.

C. Back Light: shoot the subject against the light-shooting towards the lights.

2. Spot Light

A. Front light: reduces detail, low contrast

B. Side Light spotlight: brings out texture, high contrast

C. Back Light – Point the light at the background only to create a silhouette of the flower.

Either Light

D. Extreme close-up for texture-use extension tube

Put your best 20 in an album on Flickr. Include at least one for spotlight: front, side, back and one for flood light: front, side, back. Please label your images accordingly so know what you intended. Send your best two to the class group.

Week 9 – Light Quality and Direction

Next Week

Bring in a stuffed animal to work with approx. 6 inches to 12 inches in size.

Light Quality

Direct light or hard light – the rays of light are nearly parallel and strike the subject from one direction creating hard edged dark shadows with little detail.
Examples: a spotlight, sun on a clear day, or a bare flash

Diffused light or soft light– the rays of light are scattered and coming from many directions. It appears even and produces indistinct shadows. Examples: overcast daylight, a light covered with tracing paper or other translucent material.

Direct Light and Direction

Front light comes from in front of subject from the camera position and the shadows fall behind the subject not concealing any details.

Side Light comes from 90 degrees to the camera. it adds dimension and texture to the subject.

Backlight comes from behind the subject towards the camera.

Inspiration

Labs

Lighting Direction

Homework

HW 7: Lighting Direction

« Older posts Newer posts »