Robin Michals | COMD 1340 Photography 1

Category: Course Activities (Page 2 of 10)

Week 13 – Outdoor Portraits

Next week

On May 13, class will start with a quiz. Topics include: shutter speed, aperture, depth of field, perspective, portrait lighting styles, light roles: main, fill, separation or background.

Examples

@dont_smile_nyc

https://www.instagram.com/dont_smile_nyc/

Reminder: Focus

When shooting a portrait, the subject’s eyes must be in focus. Full stop. Period.

Considerations for any portrait:

  1. Use a vertical orientation.

2. Focus on the model’s eyes.

3. Keep the background clean and without distraction.

Considerations for outdoor portraits

  1. Work with the model in shade or place the model with the sun BEHIND their head.
  2. Do not use direct sunlight on the model’s face.

3. Use a reflector or flash as the main light.

On-camera Flash

You can dial the flash down and use it directly to raise the light on the subject’s face or bounce it off a reflector.

Ambient Light-the existing light that you cannot control

Fill Flash-brightens shadows

Built-in flash-part of the camera and throws light about 6 to 10 feet

External flash-added to the camera on the hot shoe and can throw light 15 to 20 feet 

ETTL (Evaluative-Through The Lens) is a Canon EOS flash exposure system that uses a brief pre-flash before the main flash in order to obtain a more correct exposure.

Use M or manual.

1/1 is full power. If you are pointing the flash right at the model, try 1/64 and adjust from there.

Use Zoom to spread or focus the light. Wide angle numbers (smaller numbers) spread the light. Higher numbers focus the light.

High speed sync-allows the camera to be set at shutter speeds higher than the camera sync speed 

Lab 12

Outdoor Portraits

Homework

Final Project

Final Project

20 pts. The goal of the Final Project is to create a series of 10 related images on a theme. The images should show your range as a photographer. Depending on the project, each image should be visually engaging and contribute to your story in a unique way.

You may choose to do either:

A series of portraits (not 10 pictures of 1 person but 10 pictures of 10 people) OR

A portrait of a neighborhood

OR another theme that you are passionate about: dogs, skateboarders, basketball players, street fashion to name a few possibilities.

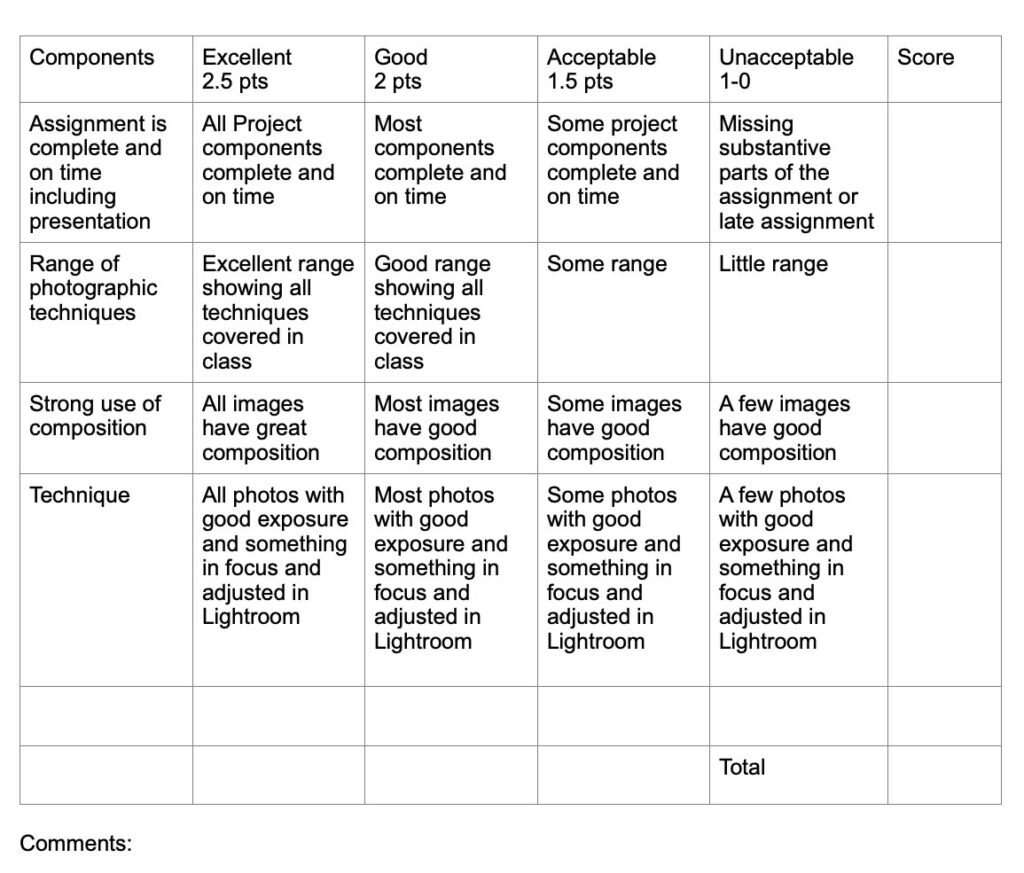
Grading Criteria:

Deliverables and dates:

Due May 7: Shoot 1 – minimum of 40 images in an album on Flickr

Due May 16: Shoot 2 – minimum of 40 images in an album on Flickr

Due May 21: Shoot 3 -minimum of 40 images in an album on Flickr PLUS

  • final 10 images selected, adjusted in Lightroom, and posted to an album on Flickr
  • a presentation to the class of the final images.

Total = 4 albums: 1 for each of three shoots, 1 with the final edited images

All late coursework must be submitted by no later than 11:59 pm on Tuesday, May 14th, 2023.

Lab 11: Painting with Light

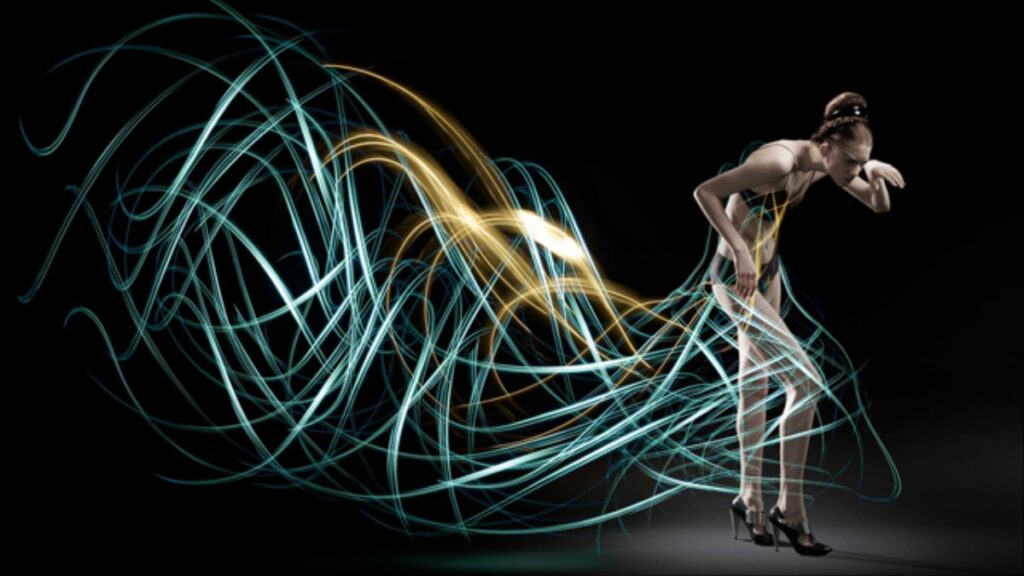
Working with a light or lights, draw an image over time in the frame. Experiment with thin and thick lines, abstraction, words, and images.

Using a speedlite or a monolight, add a person to your shot. fire the flash and then with a long exposure keep drawing into the shot. The more the subject and the light painting interact, the more successful your photos will be.

Upload a minimum of 20 images to Flickr. Send your best two to the class group.

Week 12 – Painting with Light

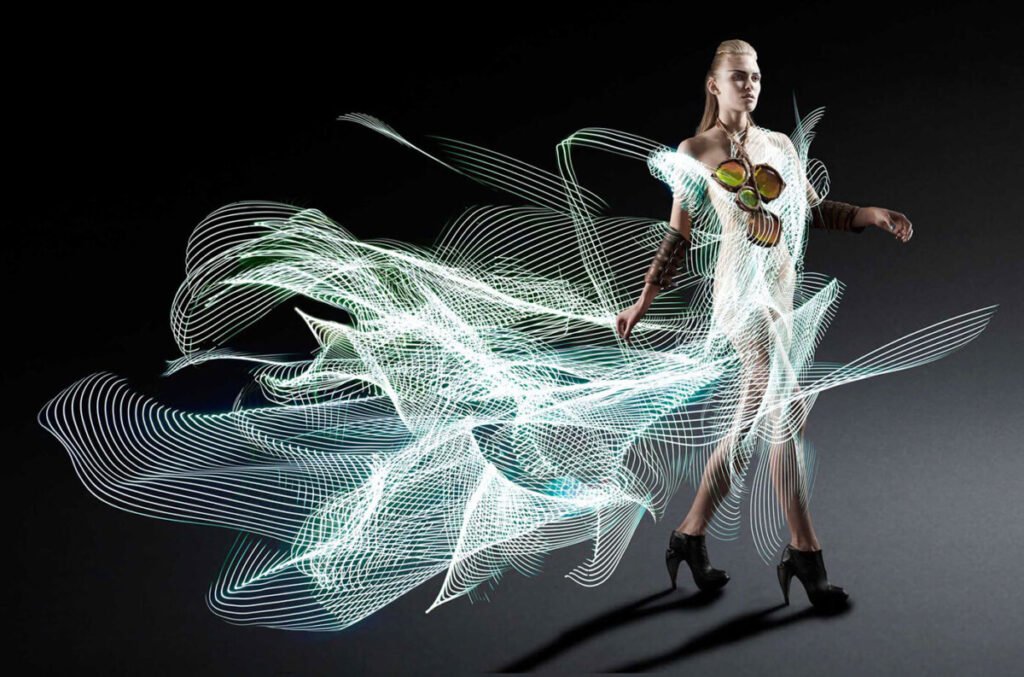
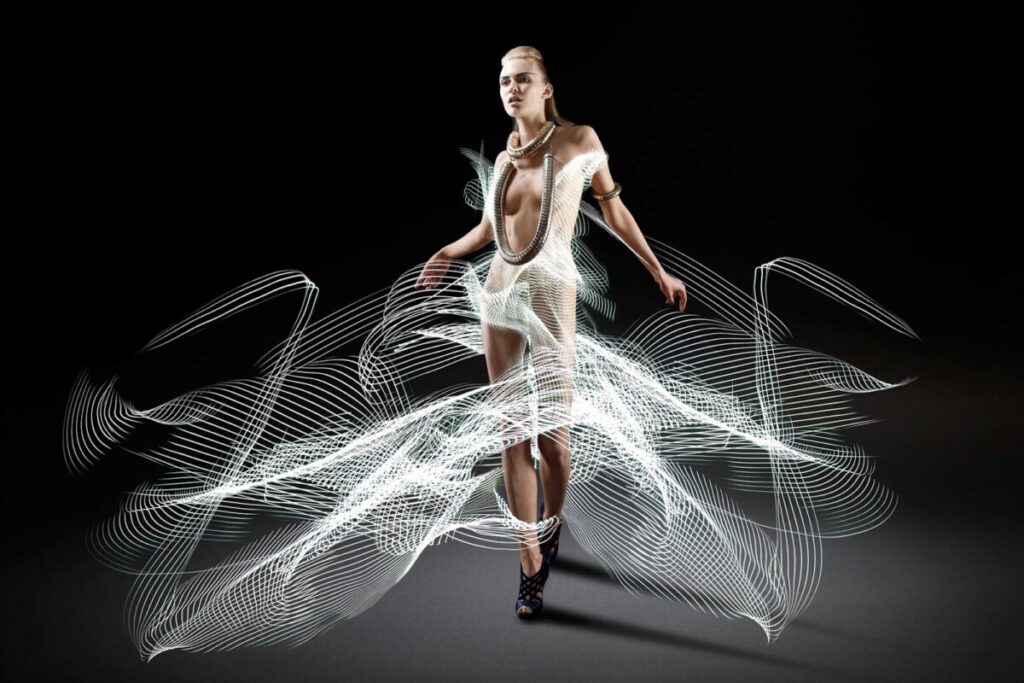
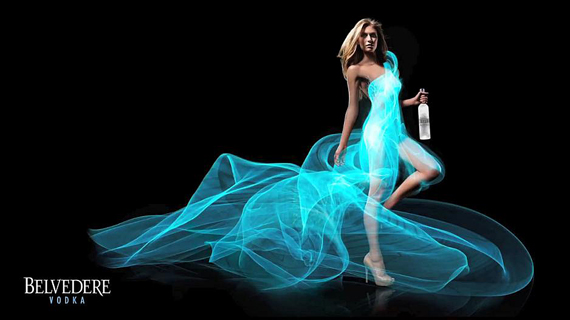
Painting with light is drawing with light over the course of a long exposure.

Inspiration: Atton Conrad

Sprint Campaign: http://lightpaintingphotography.com/?s=sprint 

Tripod use

  • Spread the legs out and make sure the tripod is stable. Use the height from the legs before using the neck of the tripod. Put one leg forward and the two legs on your side.
  • Put the plate on the camera and make sure that the lens arrow is pointing towards the lens. Insert the plate into the locking mechanism and make sure that the camera is secure.
  • Use the camera timer and DO NOT TOUCH the camera or the tripod during the exposure.

Considerations for painting with light: 

1. Use a tripod 

2. Use Manual as the shooting mode.

3. Set the ISO to 100

4. Set the aperture to f/11 as a starting point to get a wide range of depth of field. 

5. Set the shutter speed to 2″ as a starting point.

6. Use manual focus. Make sure the subject is in focus. To do this shine a light on the subject and use auto focus. Then flip the lens back to MF. Remember that if the distance of the subject to the camera changes, you need to refocus!

Mixing Strobe Lights or Flash with Painting with Light 

The aperture controls the exposure of whatever is lit by the strobe lights. 

The shutter speed controls the illumination of the background. 

Lab

Lab 11: Painting with Light

Homework

Final Project

Lab 10: Two and three light portraits

Photograph your classmates in each of the four set ups:

  • Three point lighting
  • Butterfly light
  • Wide angle distortion
  • color

Create a wide range of mood.

Post at least 20 photos to an album on Flickr with at least one of each lighting style. Send your two best to the class group.

« Older posts Newer posts »

© 2024 COMD1340TueSpr24

Theme by Anders NorenUp ↑