Robin Michals | COMD 1340 Photography 1

Category: Lab Exercises (Page 2 of 4)

Lab: Week 6 – Global Corrections

Make global adjustments on each example:

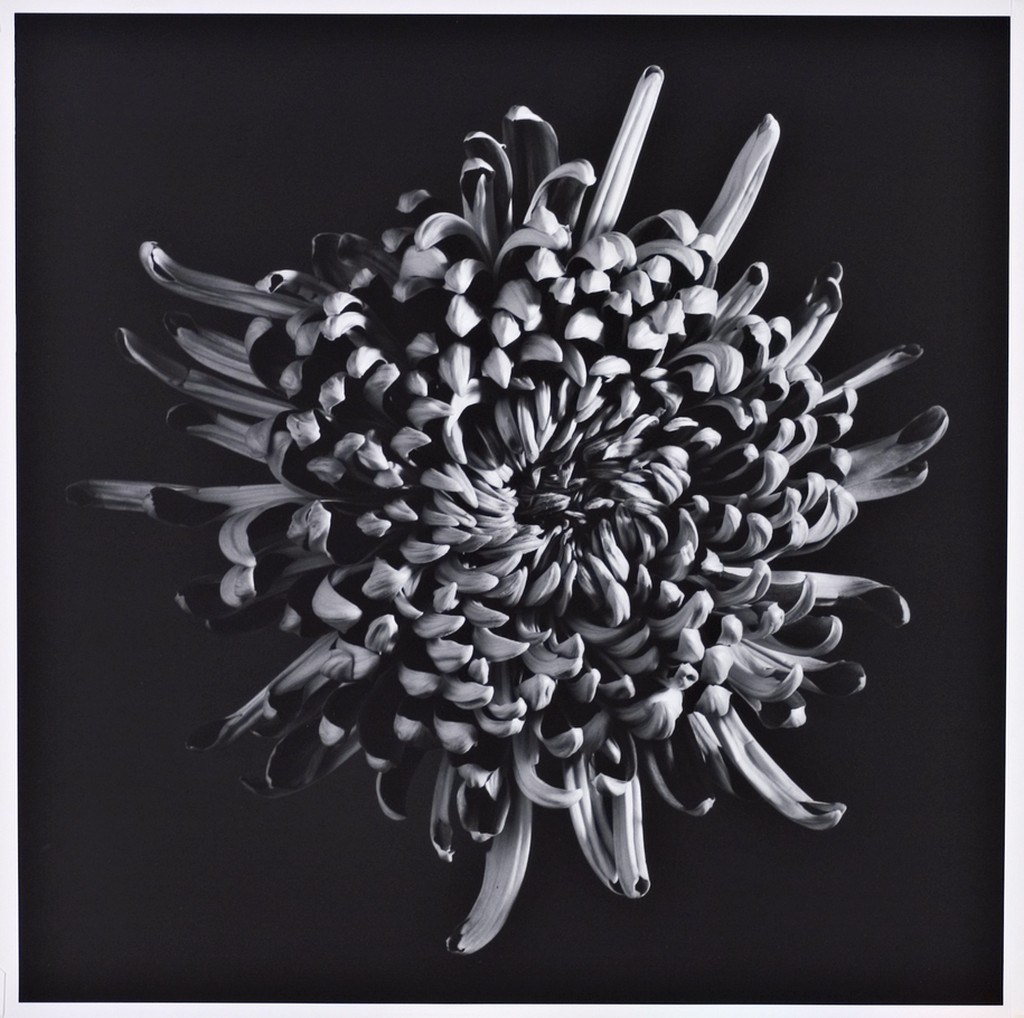
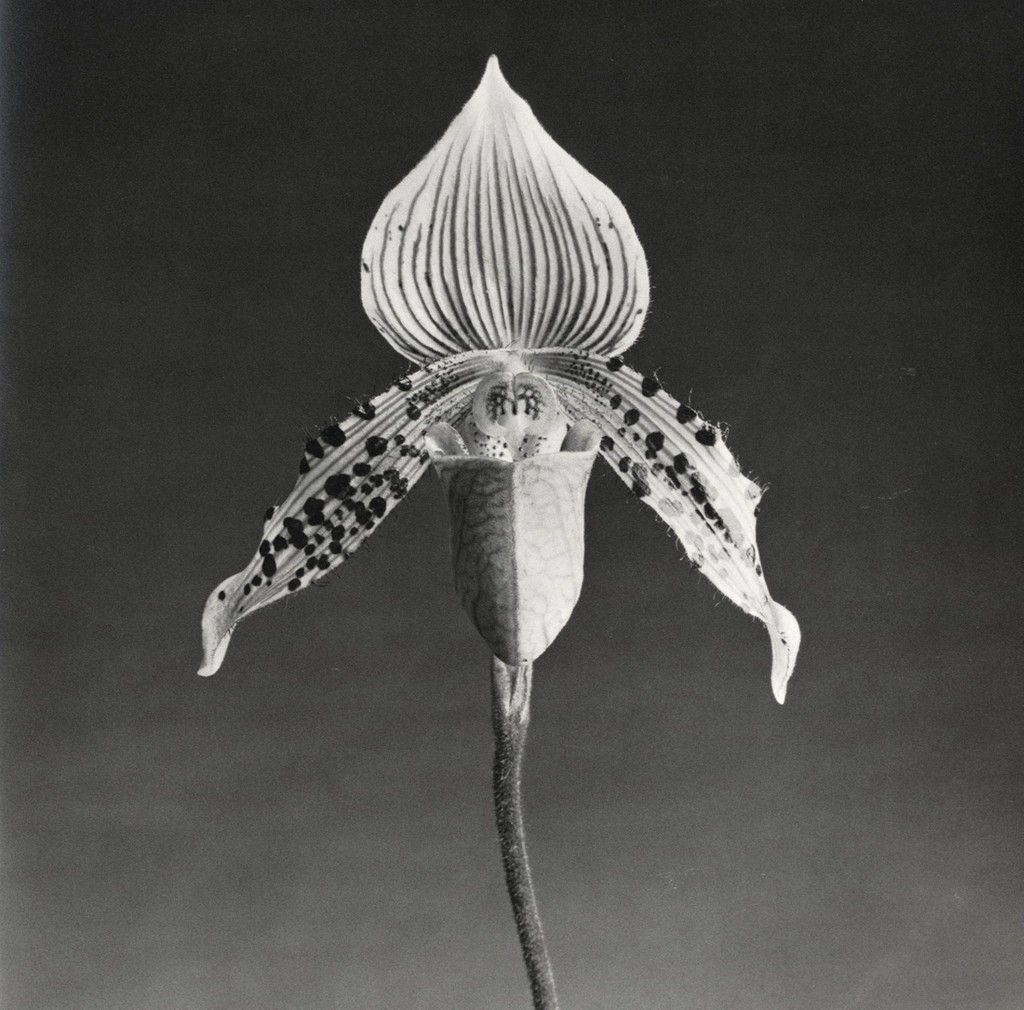
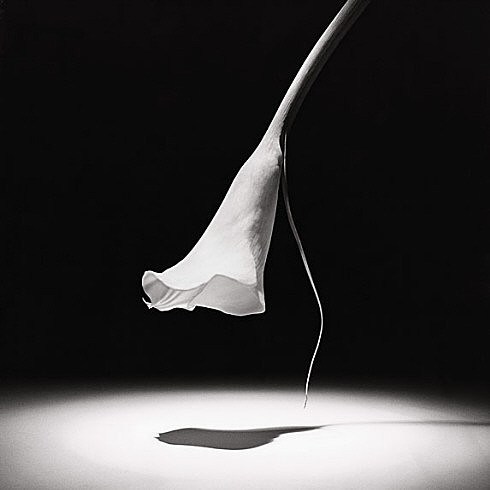
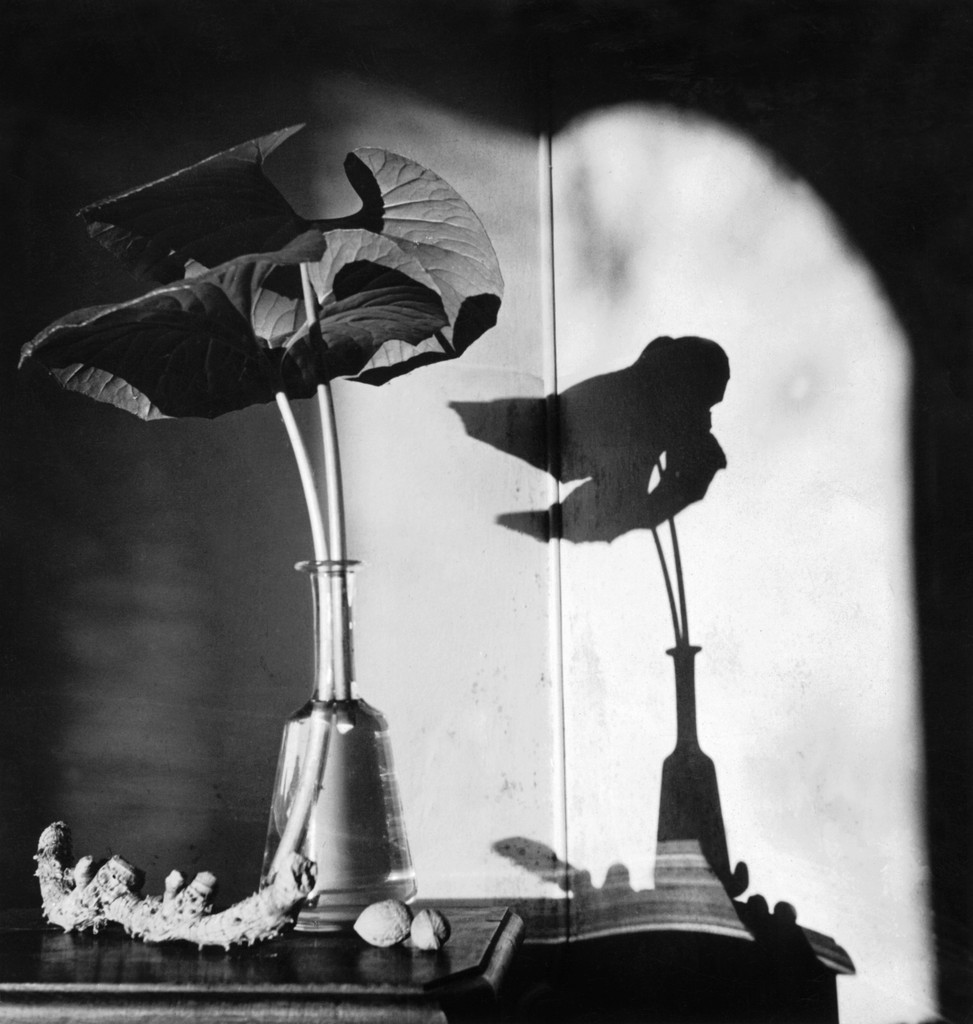
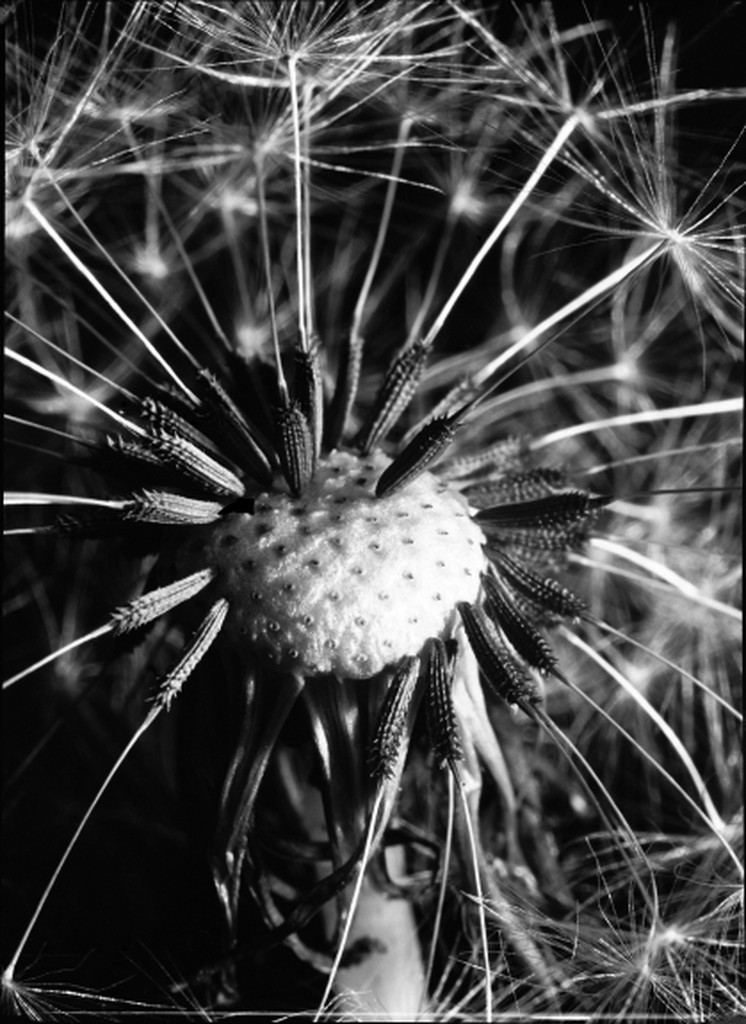
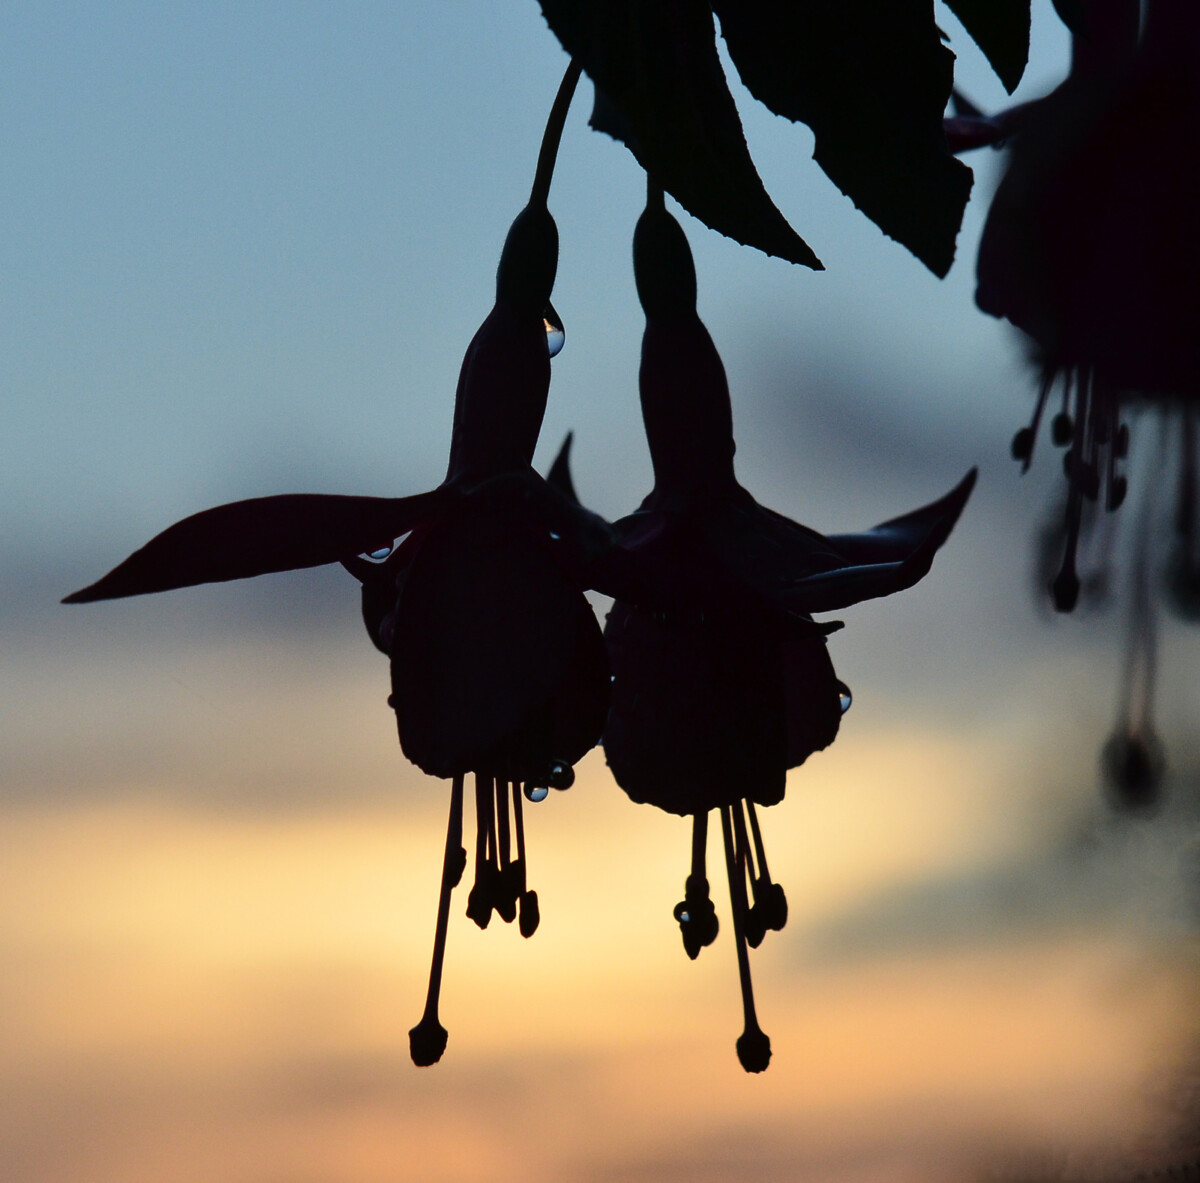
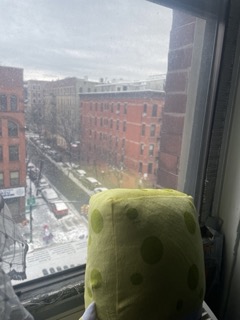
Photographers, from left to right, top to bottom: Paloma Pryor, Blair Milord, Sasha Tourkova, Charles Izzo

Post your corrected versions of all four to Flickr.

Select your favorite of your partner’s photos that could look better with some adjustment. Tone it in Lightroom. Your partner will also adjust the same photo. Compare your results.

Now, reverse it. Your partner picks their favorite of your photos. And you both adjust it.

Post the results to the class group in Flickr.

Lab 5: Street Photography

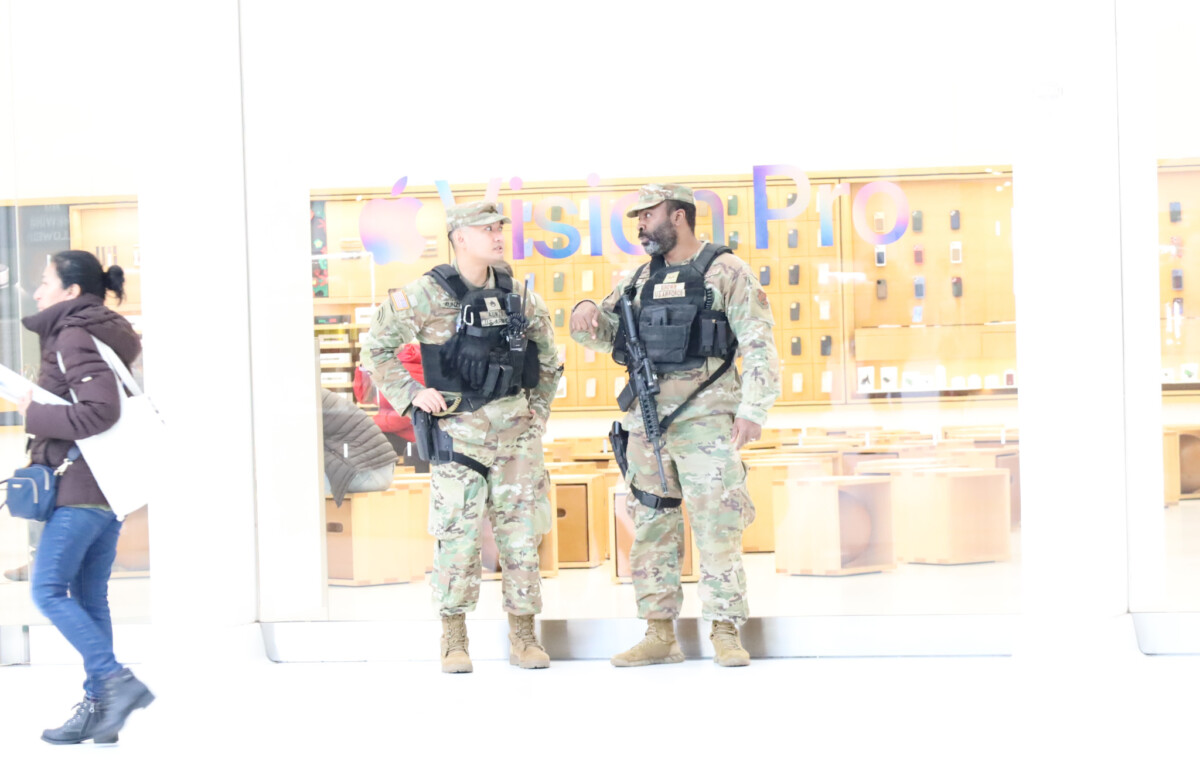
Street photography is candid (unposed) photography of everyday people in public places.

Take pictures during the field trip of the places we visit and the people we see. Include people in all of your shots, whether very close or very far. Use everything we have discussed in class so far: composition, angle of view, and use the light as much as possible. We will take the subway, walk through the oculus, across the 9/11 memorial to Brookfield Place. The light will change as we move through different spaces. think about how to use it to your advantage.

Put your 30 best photos in an album on Flickr and send your best two to the group.

Lab: Week 4 – Light in the Studio

Photograph flowers with continuous lights.

Continuous lights are always on. Strobe lights fire when you make the exposure.

Floodlight– Light is diffused and wraps around the subject hitting it from many angles. Shadows are soft.

Spotlight – Light is direct and hits the subject from one angle. Shadows are hard.

In-class Flower Shoot Camera Settings:

  • Resolution=RAW
  • ISO=800
  • WB=Auto
  • Shooting Mode=Tv
  • Shutter speed = 1/125
  • The camera sets the aperture

Every shot has a flower in it as the main subject. The ugly vase should not be seen in any photos. Fill the frame with the flower.

Flood Light

1. Front light: reduces detail, low contrast

2. Side Light floodlight with diffusion: brings out texture.

3. Back Light: shoot the subject against the light-shooting towards the lights.

Spot Light

4. Front light: reduces detail, low contrast

5. Side Light spotlight: brings out texture, high contrast

6. Back Light – Point the light at the background only to create a silhouette of the flower.

Either Light

7. Extreme close-up for texture-use extension tube

Shooting for Mood

8. Create an image that shows the joy of spring.

9. Create an image that could be used on a sympathy card, an image to comfort someone feeling great sorrow.

Put your best 20 in an album on Flickr. Include at least one for each item on the shot list.

Send your best Joy and Sorrow images to the class group.

« Older posts Newer posts »

© 2024 COMD1340TueSpr24

Theme by Anders NorenUp ↑