Prof K Pelka : Monday 6:00 - 9:20

Category: Class Topics (Page 2 of 3)

Week 6 – Digital Darkroom – Global Corrections

Needed for this class

  • Lightroom Classic or Lightroom

Global Corrections

Global corrections adjust the entire file. In Lightroom and the Lightroom/Photoshop App, it includes the controls under Light, Color and Effects. In Lightroom classic, this includes everything in the basic panel: White balance, Tone and Presence.

Using the Histogram

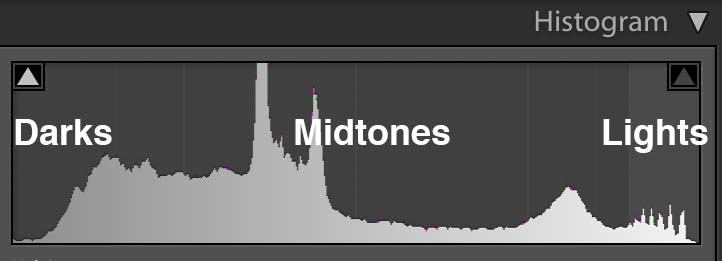
The histogram is a graphic representation of the tones in the photograph. It is a guide to exposure decisions. Most images look best when there is a full range of tones from black to white in the image. But there are no iron clad rules.
Below is a terrific photo shot by Bryan Rodriguez. The expression of the card player is perfect and you can feel him making a decision about what to play.
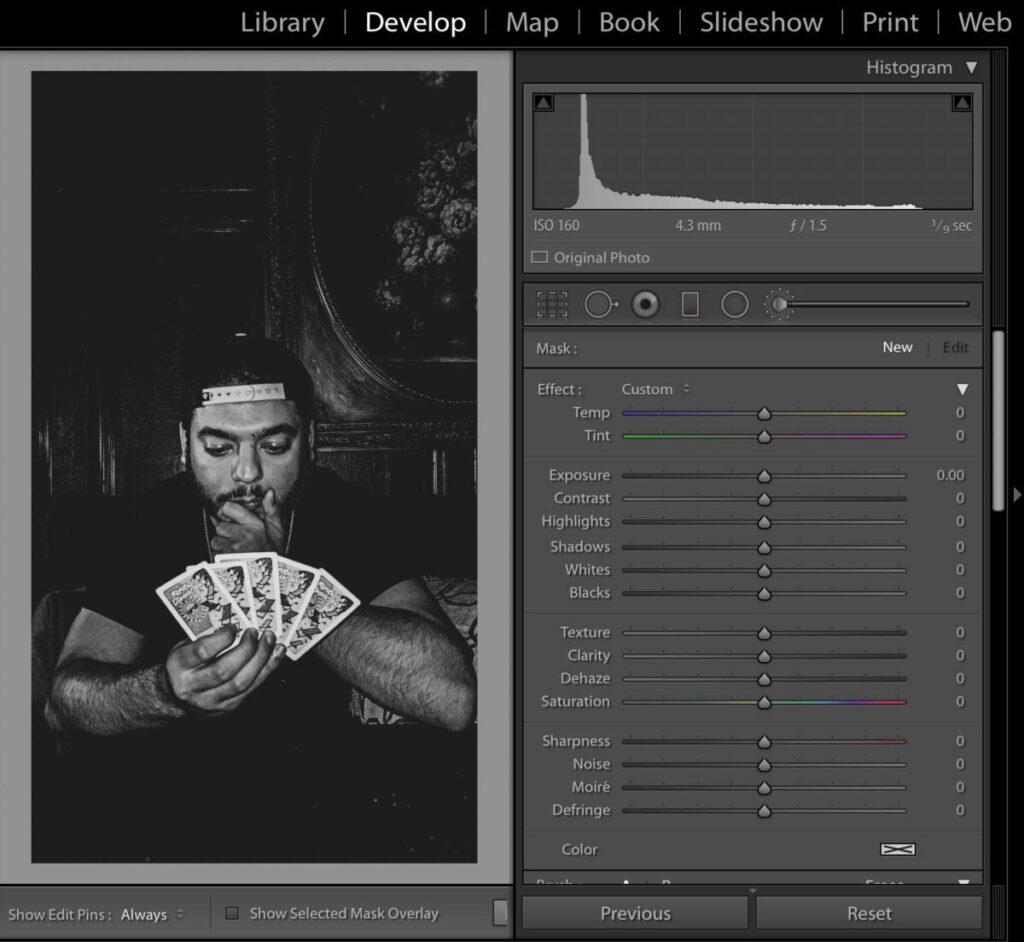
Card player

Looking at the histogram, we can see that most of the tones are dark. There is no true black or white. To raise the contrast of the image and use the full tonal range, use the following adjustments:

  • blacks slider to the left until the data hits the left side of the histogram
  • whites slider to bring attention to the right until the date just touches that aide
  • shadows slider to +50 add detail to the dark areas
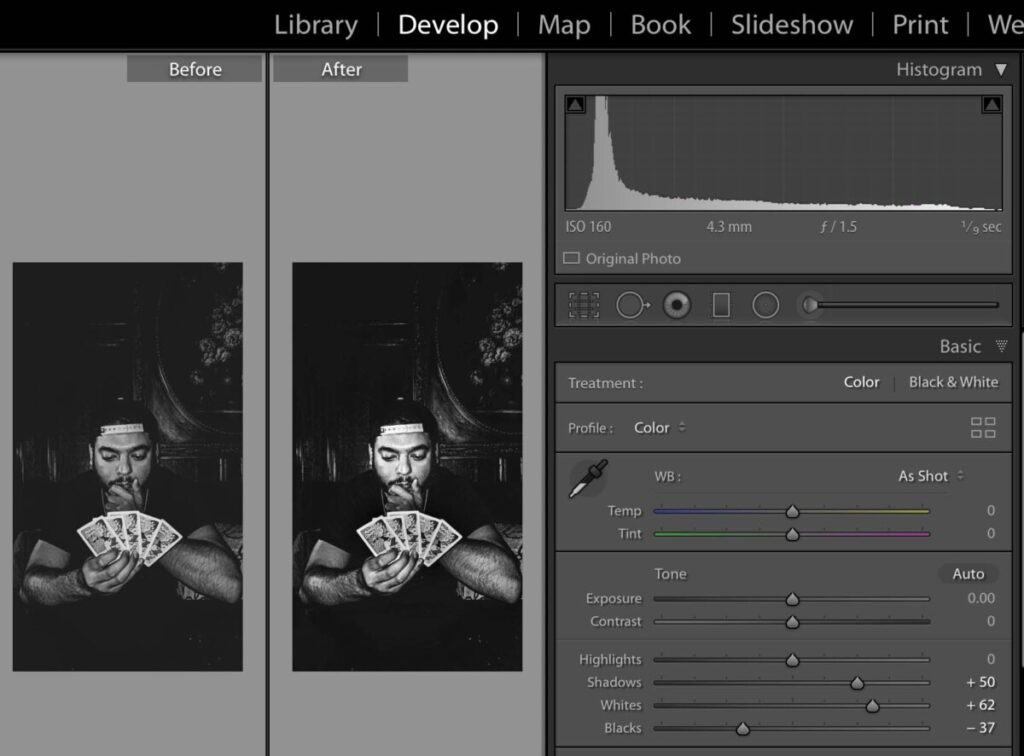
Card Player with histogram

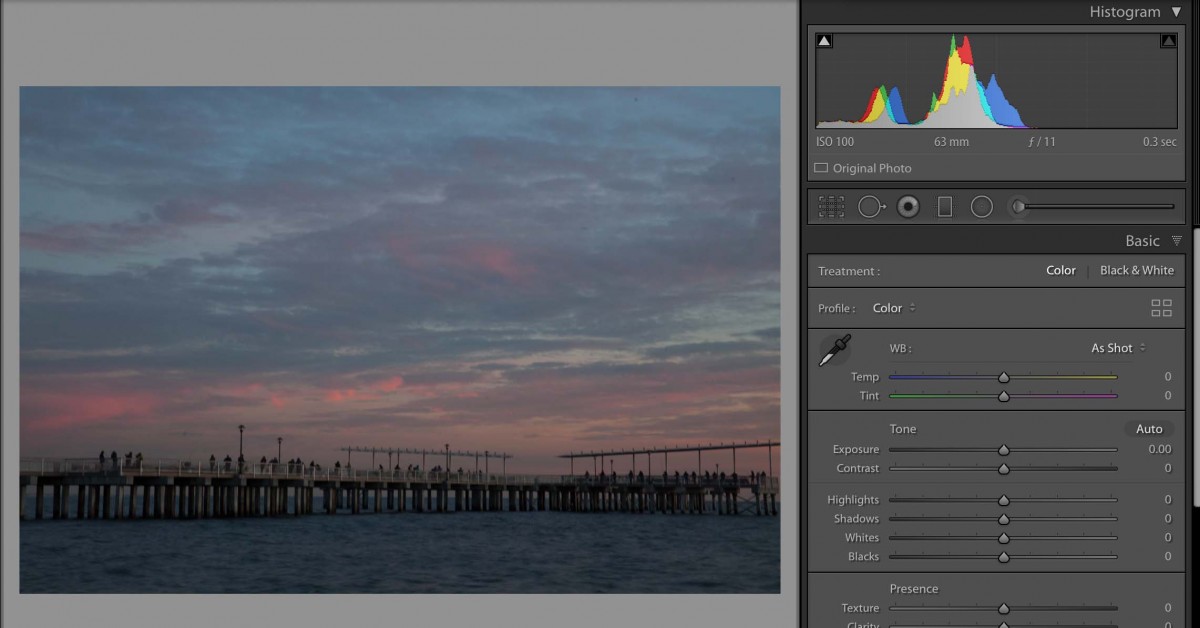
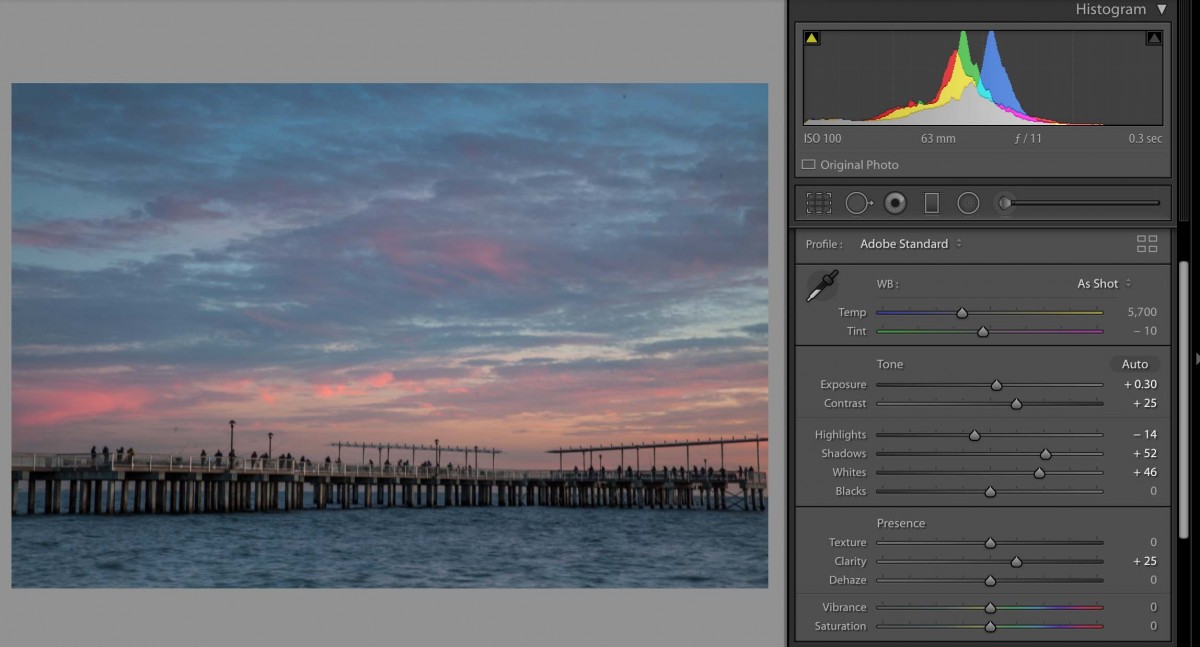
In this photo of the pier in Coney Island, the histogram shows that is underexposed. But we also know that it is an evening scene and that there is nothing in the photo that should be bright white.

A few tips for Lightroom / Photoshop app

  1. To access the histogram, tap on the image with two fingers. If you can’t really see the histogram background, brighten the display.
  2. To see the image before your corrections, press on the image.

Lightroom Workflow:

  1. Lightroom: crop Classic: rotate and straighten.
  2. Lightroom: Crop. Upper right next to histogram Classic: Crop. Left below the histogram. Keep the lock on to maintain aspect ratio.
  3. Lightroom: Color Set white balance Classic: WB on basic panel – Set white balance.
  4. Lightroom: Light section- Exposure section on basic panel – Read the histogram to set exposure. Most images should have the widest possible dynamic range, meaning that there should be data across the entire histogram.

    Both:
    a. Exposure slider-use to adjust the overall tonality
    b. Set black point-shift double click.
    c. Set white point-shift double click.
    d. Use highlight slider to adjust light tones e. Use shadows slider to to adjust dark tones
  5. Lightroom: Effects. Adjust clarity(mid tone contrast ) Classic: Presence section of basic panel 
  6. Lightroom: Color Adjust Vibrance Classic: Presence section of basic panel
  7. Lightroom: Color Adjust saturation if necessary.. Use with care + 10 at the most. Classic: Presence section of basic panel 
  8. Lightroom: Detail panel. Sharpen. Usually around 50 Classic: Detail panel 

Aspect Ratio-the proportion of the width of the image to the height of a 2D image

Clipping-the intensity of the light falls outside of what can be recorded by the camera and there is a loss of detail.

Color Profile-the data for a digital device, such as a printer or monitor, which describes its gamut, or range of colors. Used to match the gamut from one device to another.

Exif Data-information stored by the camera in the file.

Gamut-range of colors

Histogram- a graphic representation of the tones in an image. A spike of data on the left side indicates underexposure, on the right overexposure.

Neutral Value-RGB values are equal or gray

Non-destructive Editing-adjust the image without overwriting the original image data. Instructions are written to a sidecar file that tells the software how to interpret the image.

White Balance-the setting that adjusts for the color temperature of the light and that will make a white object appear white or a gray object a neutral value

Workflow-the tasks to be performed and the order of those tasks. When working with Lightroom to optimize the appearance of your photos, the order of the steps makes a difference. Follow the workflow recommended below for the best results.
Lightroom Classic Resource

Lab Exercises

Homework 6. Shooting for midterm project

Midterm Project

Week 5 – The Interplay of Light and Dark

Needed for this class

  • Camera or cameraphone
  • Lightroom Photoshop App
  • Review: Light quality-direct and diffused, exposure compensation

Light and Dark

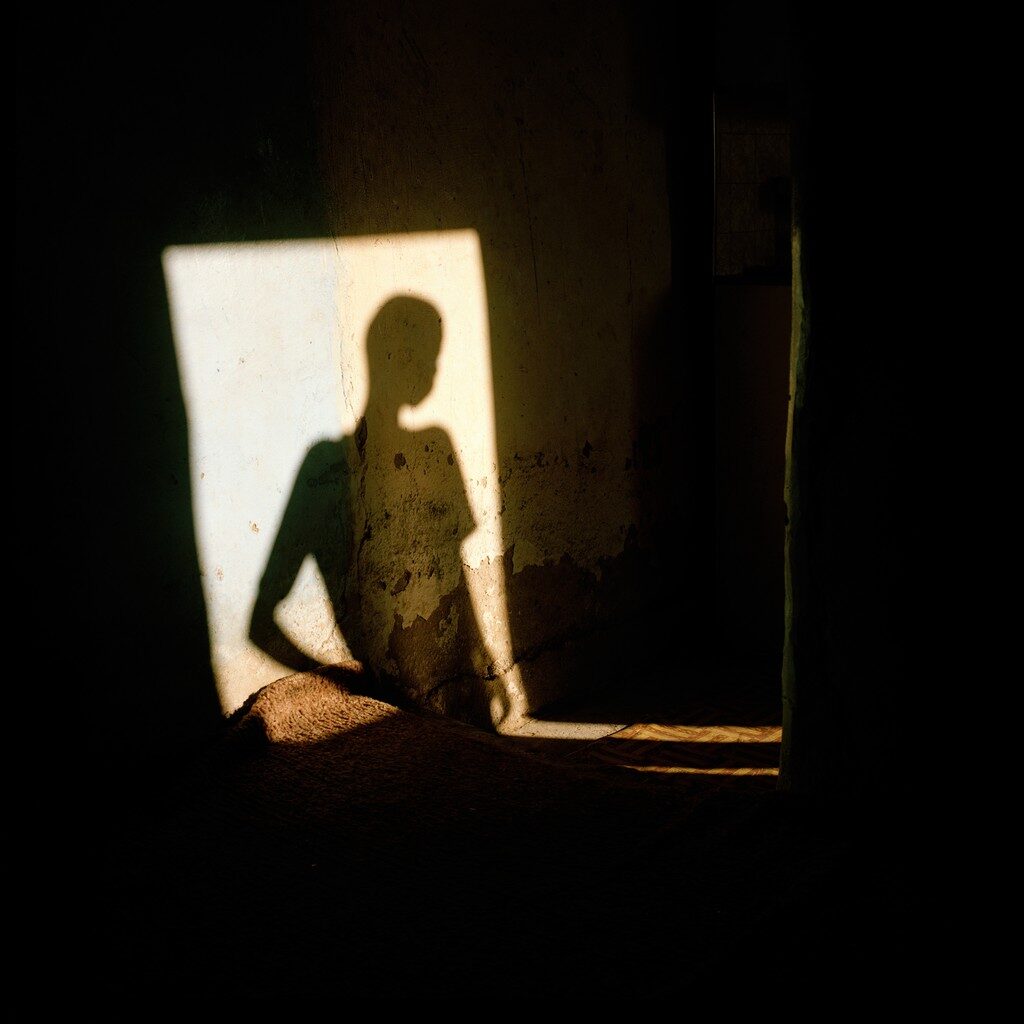
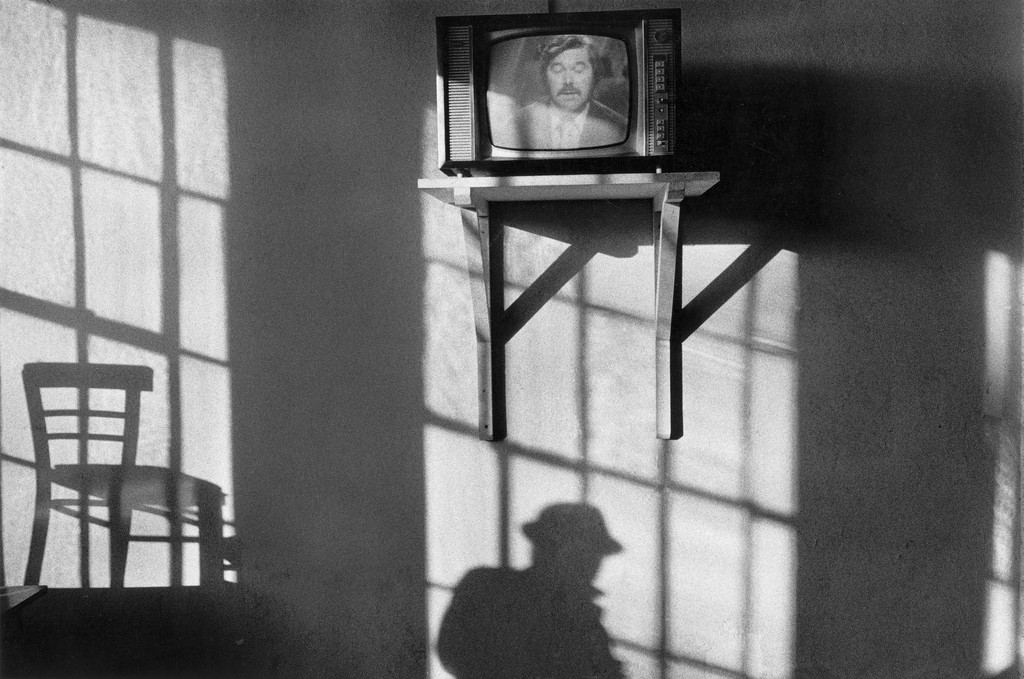
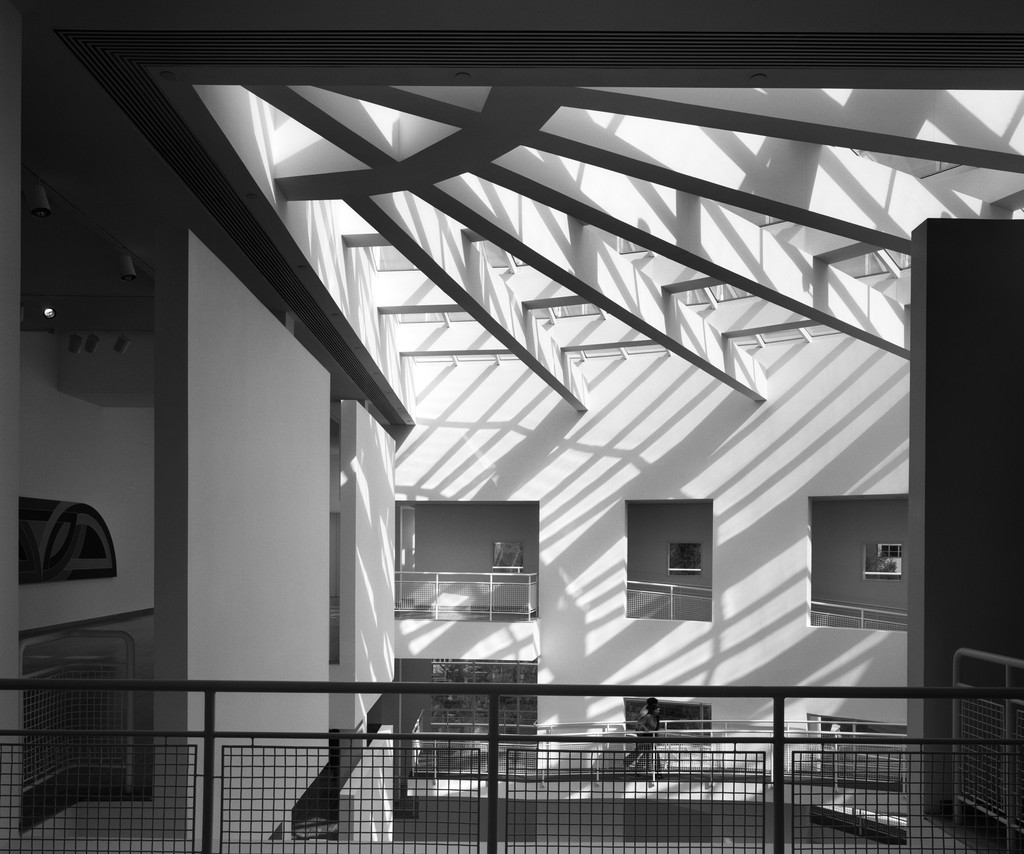
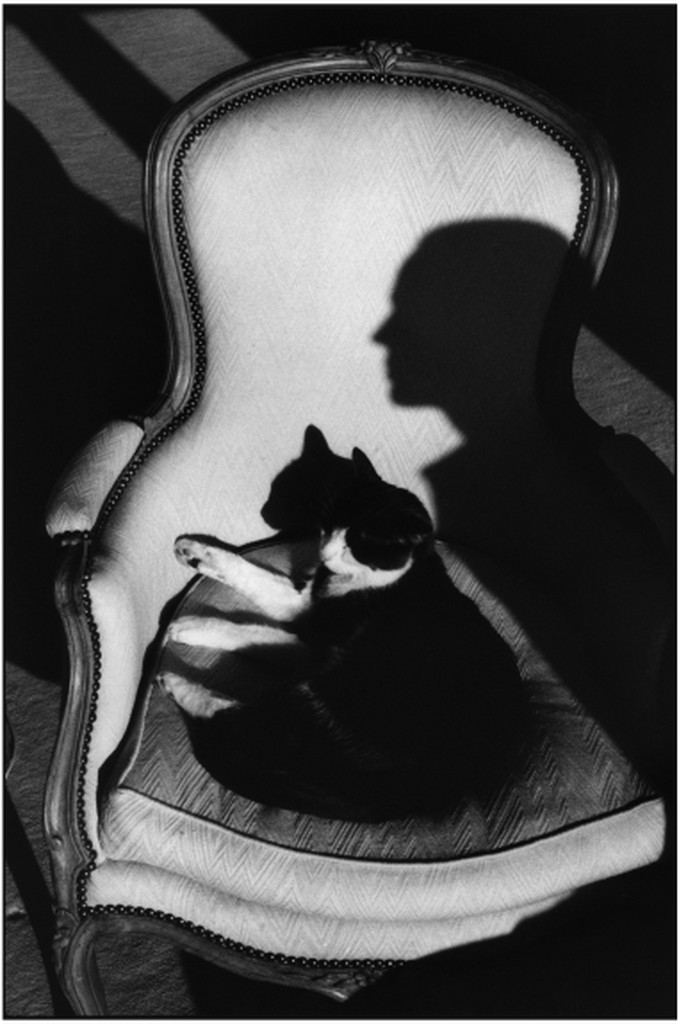
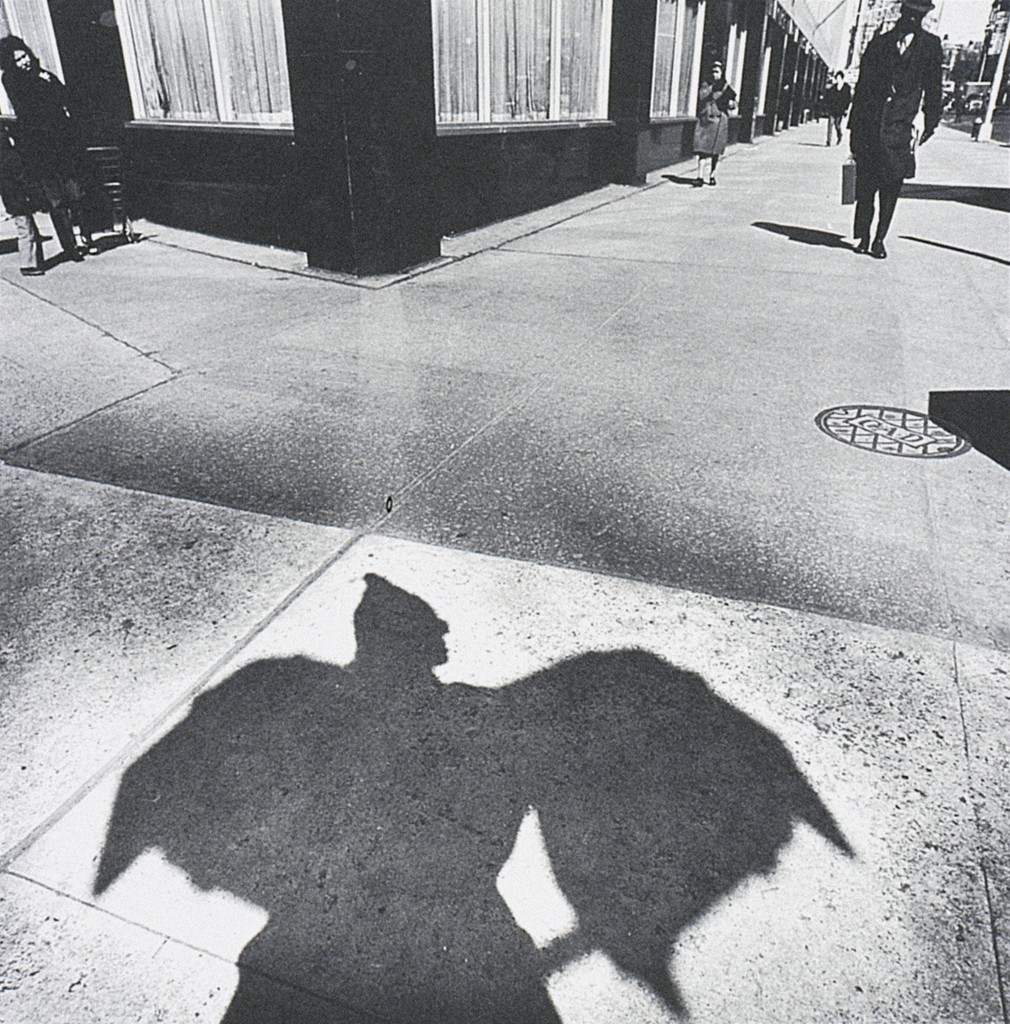
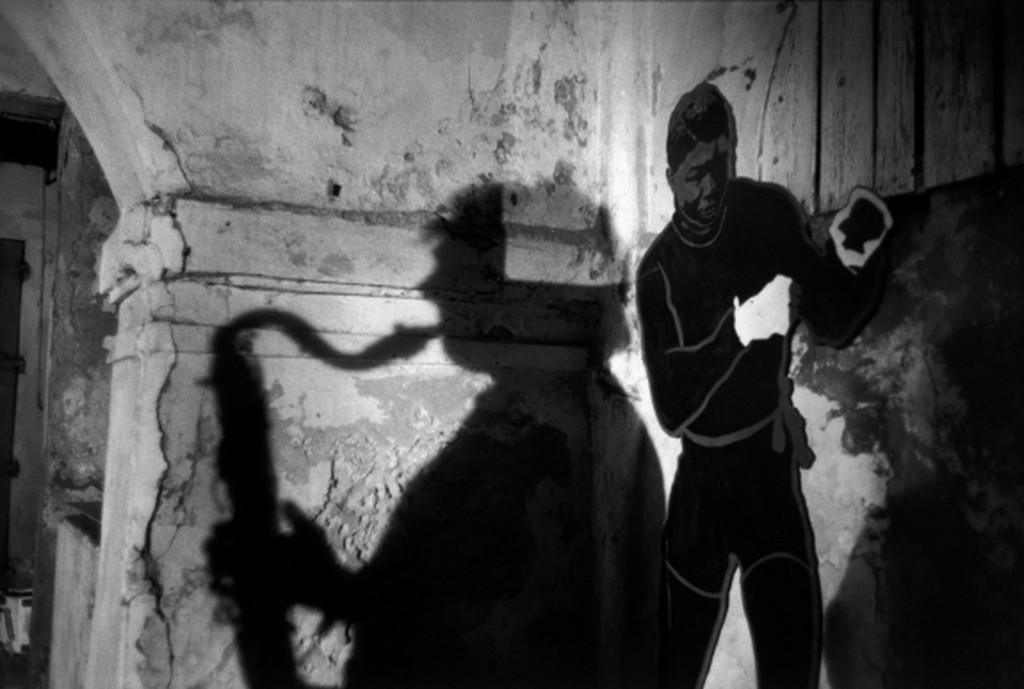
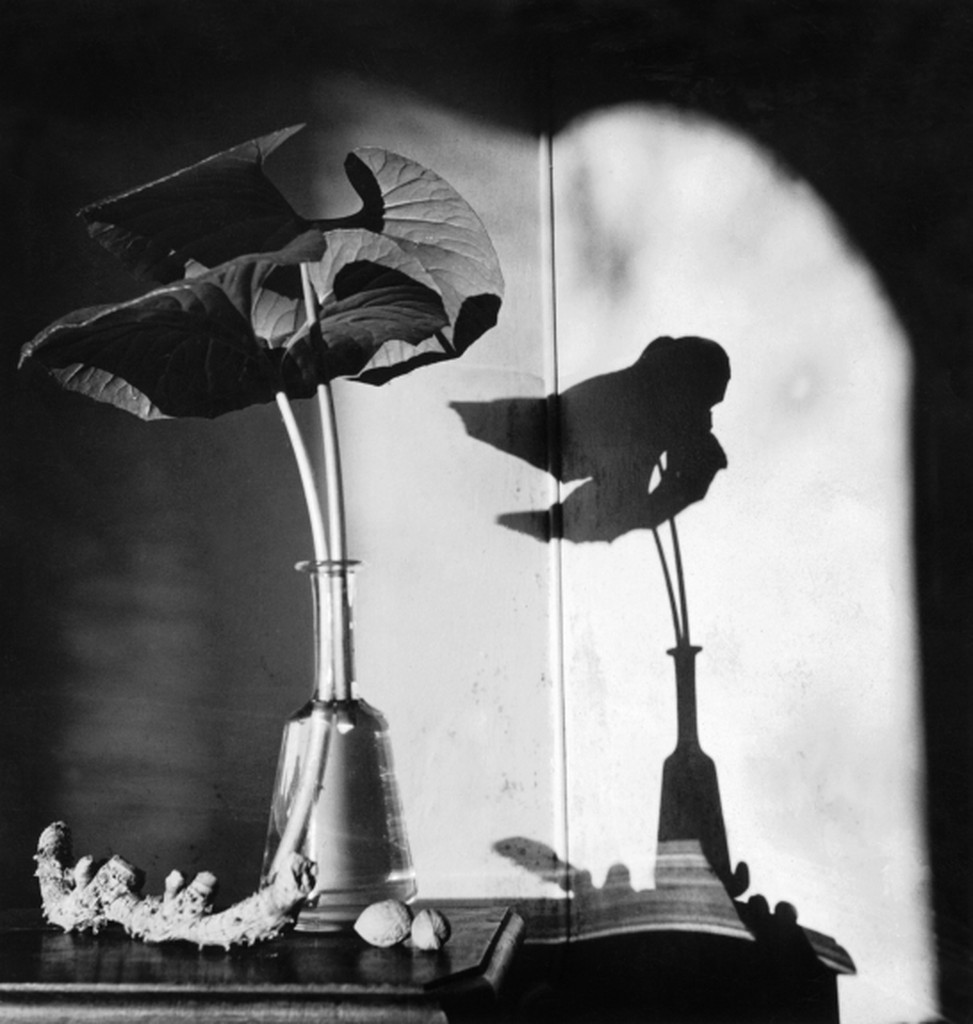
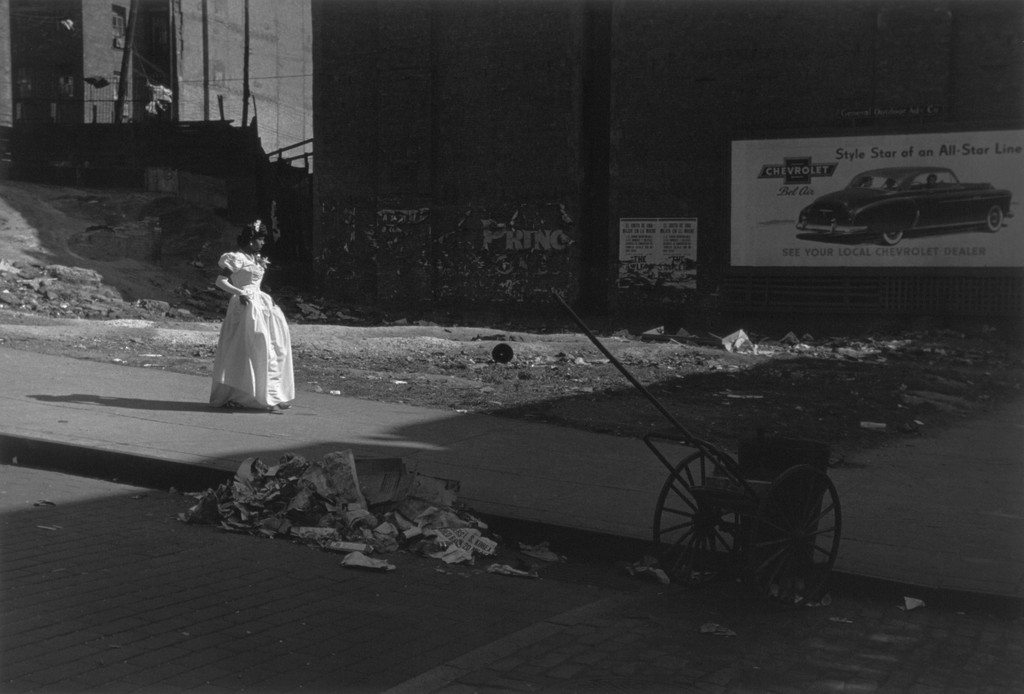
The word photography is rooted in Greek meaning “ writing with light “  One of the main concerns of photographers is how light illuminates a scene or subject. While we focus attention on light, it’s easy to not pay attention to shadows. Shadows, although dark, can be as dynamic as light. The shadows shape light, define texture, and act as compositional elements. 
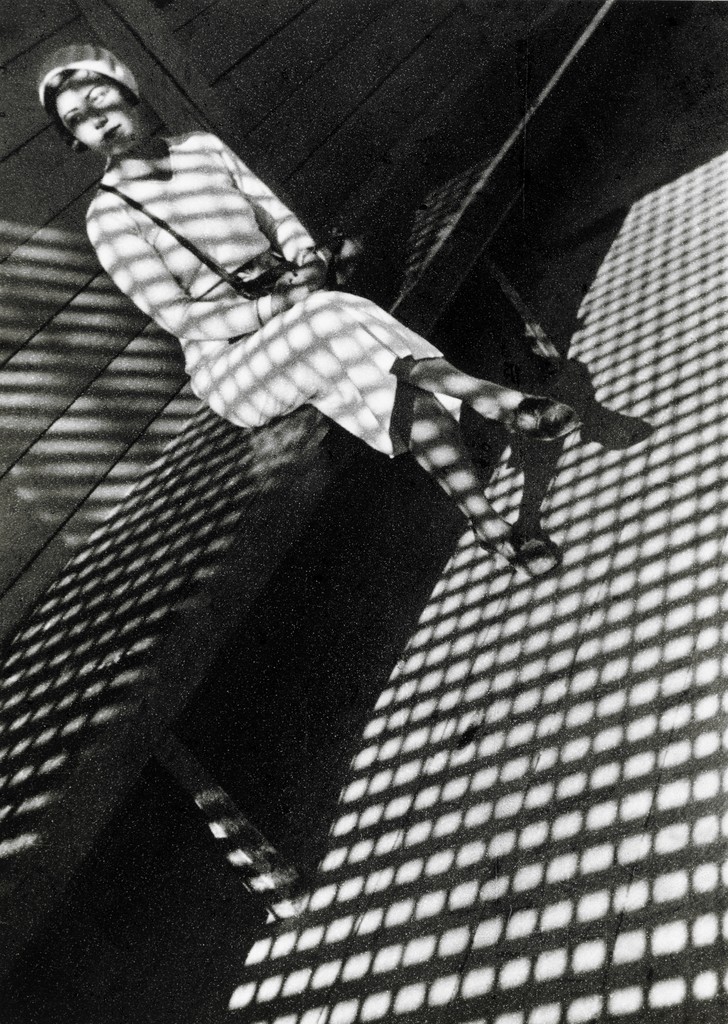
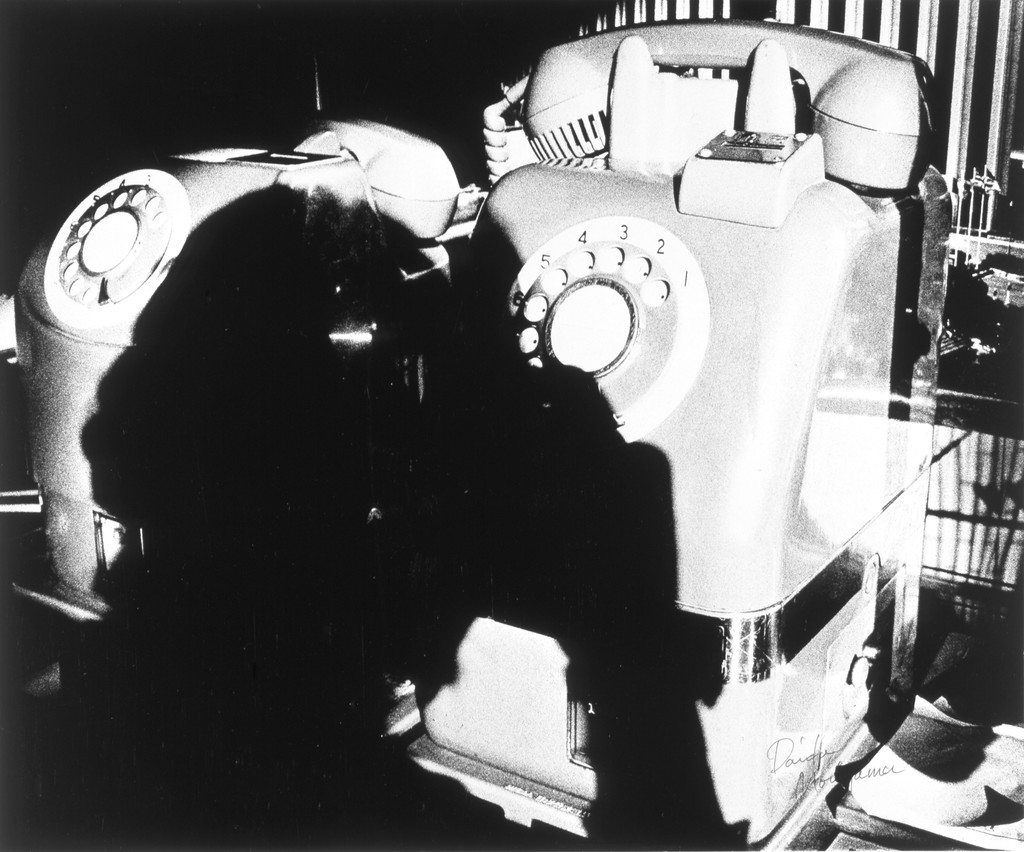
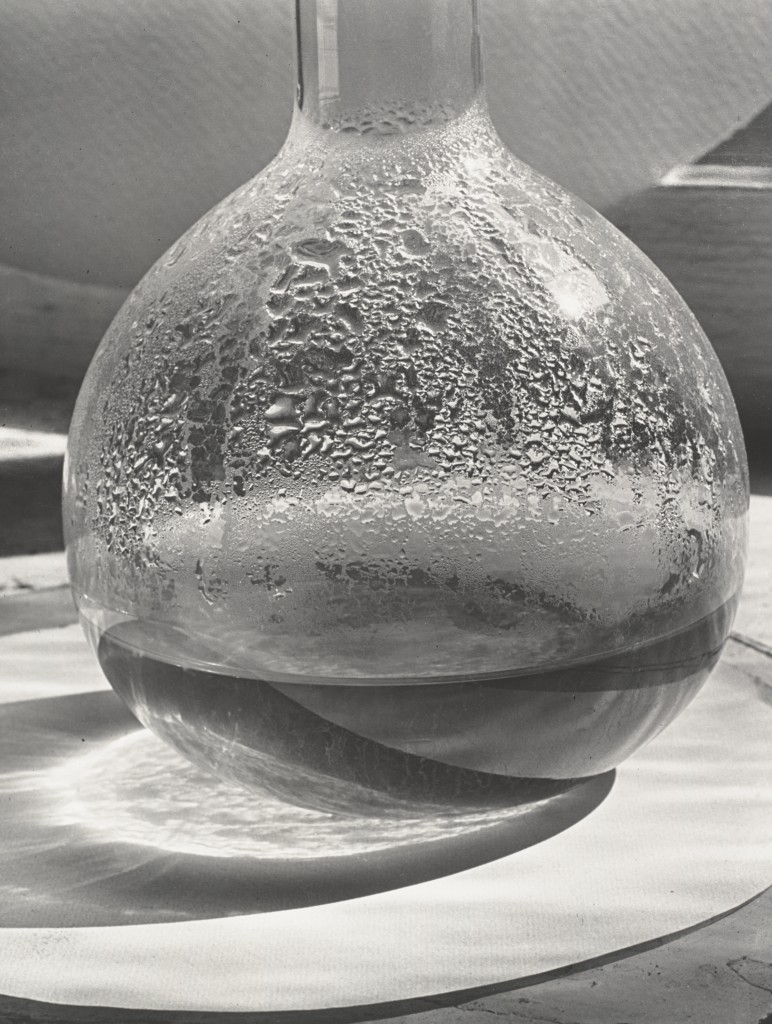
Contrast: The measure of difference between bright areas (highlights) and dark areas (shadows) in a photo

High contrast : Large difference between highlights and shadows. Mostly lights and darks without many mid tones  
             

Photographer: Daido Moriyama

Low contrast :  Little difference between lights and darks. Mostly mid tones
Photographer: Alma Lavenson

Shadows –  dark areas in photo that can range from black with no detail to dark tone with detail

Uses of light and shadow: Light and shadow are complementary elements in photography. The quality and direction of light affect how a subject looks while  producing shadows in various forms

  1. Contrast and Drama :  Shadows can be used to create contrast to produce a dramatic effect. Attention of the viewer is drawn to tonal contrast which can not happen without shadows. In this interplay of light and shadow, the lighting effect is enhanced by the shadows.  
FRANCE. Ile-de-France region. Paris.1985.Charles de Gaulle-Roissy airport. by Harry Gruyaert
Paris,France, Young Ballerinas 1979 by Martine Franck
  1. Shadows can be used to direct the viewer’s attention. Shadows can be be shapes that may be used as compositional elements  to direct attention to the center of interest in a photo. Also shadows can surround a light area to make it a center of interest
Russia, Moscow V Day,2005by Paolo Pellegrin
AFGHANISTAN. Rabat. 1992. Asylum by
Steve McCurry
  1. Reveal form: Using shadows will give form to subjects and make them look more three dimensional. The shadows don’t necessarily need to be black for this to happen. As long as one part of subject is light and one part is darker the photo will look more three dimensional. For dramatic effect, direct light will produce dark shadows. But for some subjects, dark hard shadows can be distracting or cause loss of detail. For subjects where detail is important, using partially diffused light will make soft shadows that will show form and maintain detail. 
Asylum,1994 by James Casebere
  1. Reveal texture: Side light with shadow will show texture
  1. Shadows can be shapes and patterns that can be used to complete a composition.

How light falls on your subject is key to using shadows in photography. The best direction for a combination of light and shadow will be light coming from the side. For dramatic effect photograph when the light( direct light ) is at a lower angle which  will produce longer dramatic shadows. For less dramatic effect, use slightly diffused light or totally diffused light.

Exposing for photos that contain light and dark areas you will need to use exposure compensation. If there is large dark areas in the photo, the meter will over expose the light areas. In this case you need to use exposure compensation to lower the level of the lighter areas. 

Lab Exercises

Shadow

Black and White

Due next class:

Homework 5

Week 4 – Light and Exposure

Needed for this class

  • Camera or cameraphone
  • White and black cards or paper

Light Quality

Light is either direct or diffused.

Direct light: the light strikes the subject from one angle and creates sharp shadows. Sunlight is an example of direct light.

Graduation, New York. 1949
Photographer: Roy DeCarava

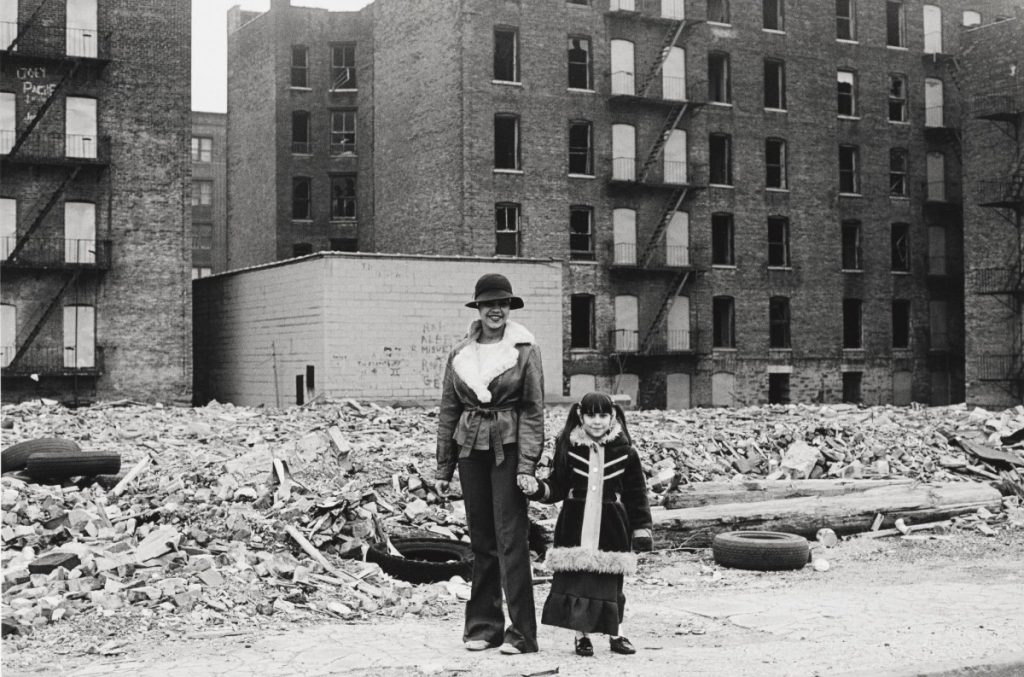
Diffused Light: the light hits the subject from many angles and creates soft shadows. The light is diffused on an overcast day or in the shade.

Mother and daughter pausing in the ruins, which was still their home. Claremont Parkway. 1976-82.
Photographer: Mel Rosenthal

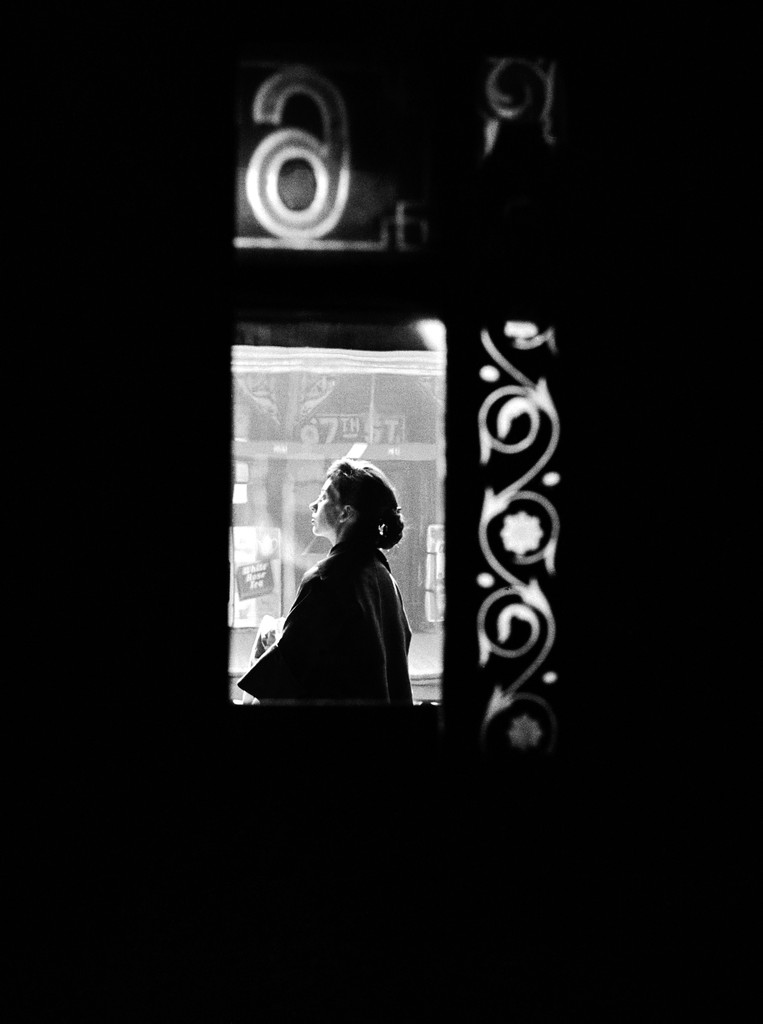
Third Avenue El. Leonard Freed1956
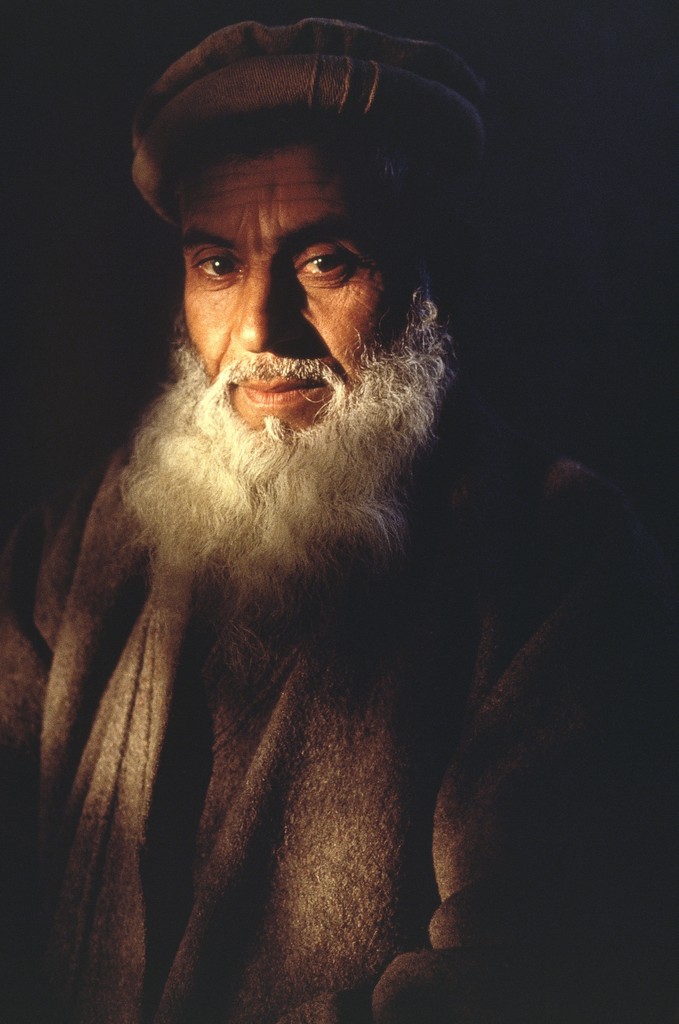
Afghanistan. Kabul Steve McCurry 1992

Measuring the Light

Exposure is the amount of light that comes into the camera to create the photograph.

Exposure is made up of three components:

  1. ISO-Sensitivity to light.
  2. Shutter Speed-the length of time that the camera’s shutter is open during the exposure.
  3. Aperture-how wide the cameras lens opens to allow the light to come in.

https://images.app.goo.gl/paiAeMEtVoyr123z8 Aperture, shutter speed, iso

All three are measured in stops.

How your Camera Meter Works

Acronym: TTL – Through the Lens

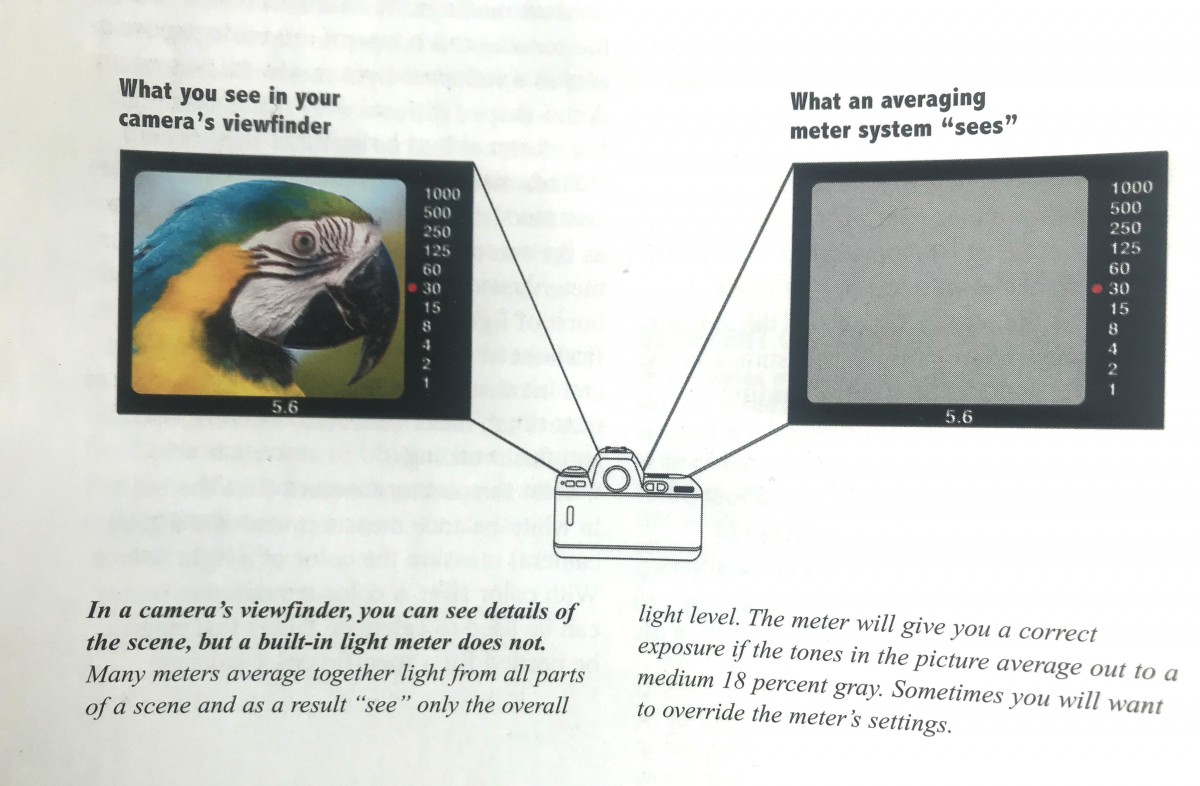
The meter in your camera is a reflected-light meter.

A reflected light meter averages the tones in the scene and selects the aperture and shutter speed values that will make the whole scene medium gray.

Watch from :45 to 1:34 for an explanation of how your camera meter works.

What your camera meter "sees"
What your camera meter “sees” From Photography, 10th Edition, Stone, London, Upton, P. 70

Using Exposure for Creative Effect

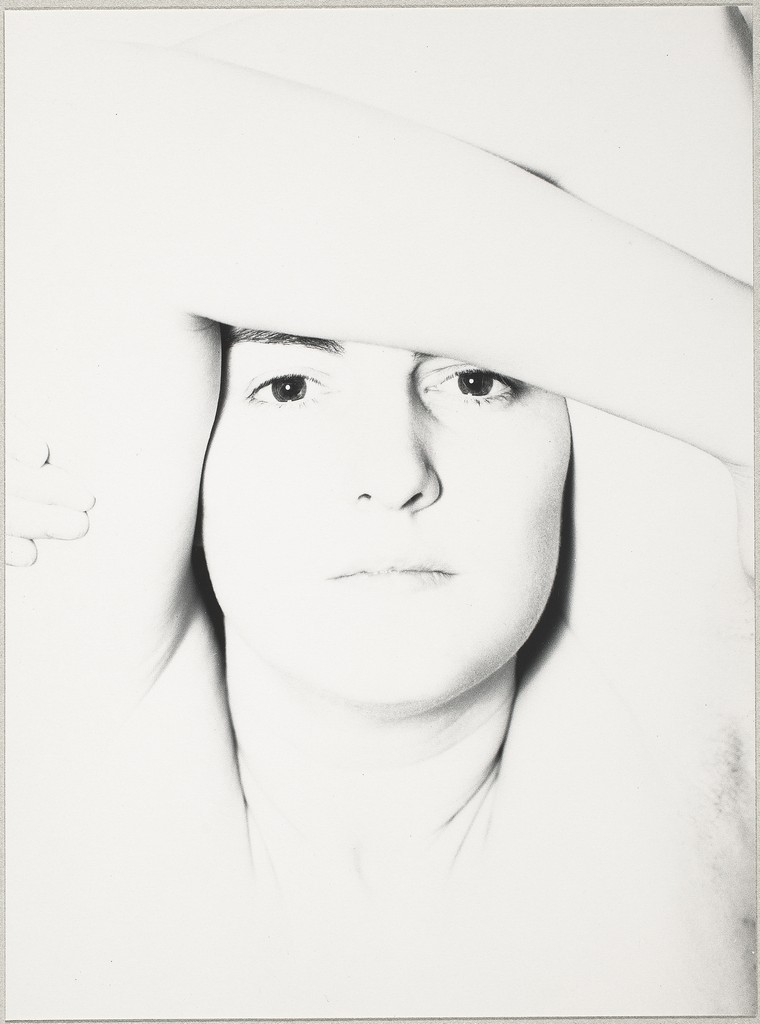
Sometimes, you don’t want the tones in your image to average out to a medium gray. You want to tones to be low key-mostly dark or high key-mostly light.

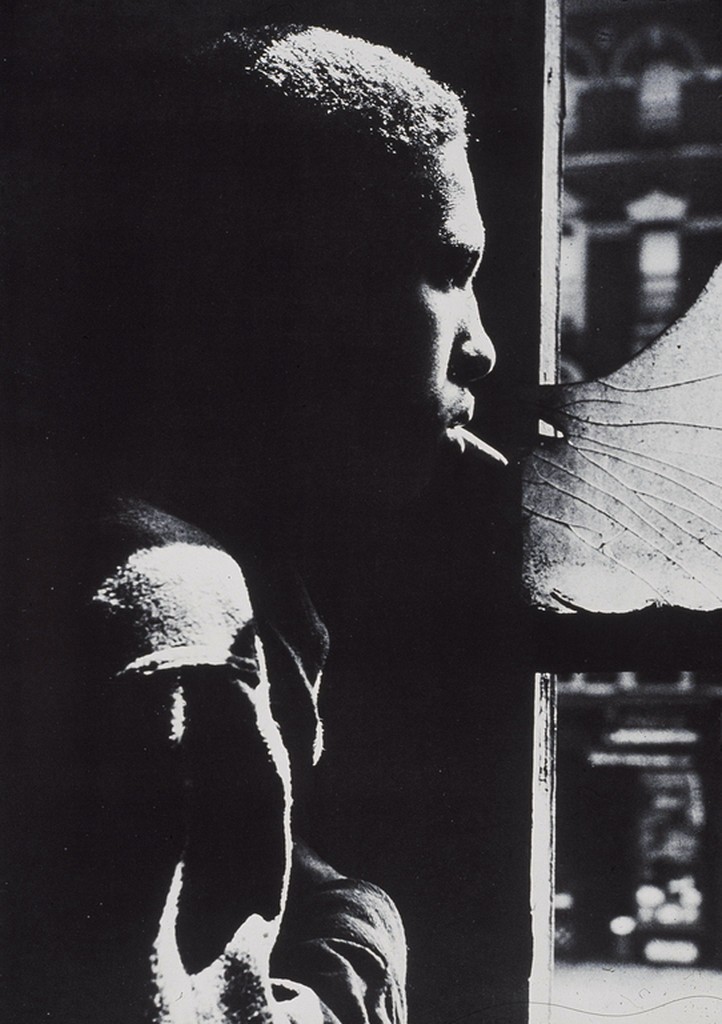
Red Jackson at a window
Red Jackson. 1948.
Photographer: Gordon Parks
Eleanor, Chicago. 1947.
Photographer: Harry Callahan

How to control exposure

With a cameraphone: Touch the area where the main subject is and then drag the little sun icon up or down to increase or decrease the overall exposure.

With a camera: Use Exposure Compensation to take the two photos.

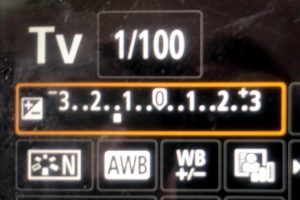
Exposure compensation scale
Exposure compensation scale set here to minus 1.3

Exposure Compensation-a way to force the camera to make an exposure either lighter or darker than the meter reading. Good for backlight or extremes of light and dark.

Lab Exercises

Lab Exercise: How your camera meter works

Lab Exercise: Using Exposure for Effect

Due Next Class:

Homework: Light and Exposure Due 3/7

Discussion 4: Visual response to another students photo Due 3/7

Week 1 – Course Overview

Review syllabus

Light and the lens:

The purpose of a lens is to gather light rays and form an image behind the lens on the focal plane.

The focal plane of a lensis the plane behind the lens where the image is focused. Cameras place their light sensitive surface on the focal plane

The sensor is the light sensitive part of a digital camera 

Focal length of a lens is the distance from the lens to the focal plane. Focal length determines image magnification. The larger the focal length, the larger the magnification.

Exposure is the action of light hitting the sensor. Determines lightness or darkness of image.

Exposure is controlled  by aperture, shutter speed and ISO. Aperture controls the amount of light and shutter speed controls the length of time light will reach the sensor. ISO determines the sensitivity of the sensor to light. 

Aperture is the size of the opening of the lens. It controls the amount of light reaching the sensor.

Shutter Speed is the amount of time the shutter is open. Shutter speed controls the length of time light will hit the sensor. Usually denoted by fraction of seconds.

ISO is a rating that describes the sensitivity of the sensor to light. The higher the ISO, the more sensitive the sensor is to light. ISO settings will determine exposure settings.           

Camera Settings – real life doesn’t have an outline. Exposure triangle
https://images.app.goo.gl/q2cjDi7AFfY4Ggko9

https://www.dpreview.com/forums/thread/3635946 lens captures light

https://images.app.goo.gl/paiAeMEtVoyr123z8 Aperture,shutter speed, iso

Lab: Hands

Due next class:

Homework 1 Textures

Discussion 1: Finding your voice

Interview with Dawoud Bey

Interview with Carrie Mae Weems – The Kitchen Table series

Week 2 – Composition: The Frame

Needed for this class

  • Camera or cameraphone
  • Light source: a window or a desk lamp
  • two objects that represent opposites

Thinking about the Frame

By its nature, the photograph is a 2D representation of an original scene. A representation that has its’ own life and meaning. When making a photograph think about what you want to show. Use the frame to crop the original scene to eliminate distracting details and non-essential elements. This can be accomplished by moving in closer or changing the angle at which the photograph is shot.The frame can be used horizontally or vertically. Always consider which will be best for your subject

How does the difference in framing change the impact on the viewer of these two portraits?

Framing: How the frame brings together the elements inside the rectangle juxtaposing them, creating relationships between them

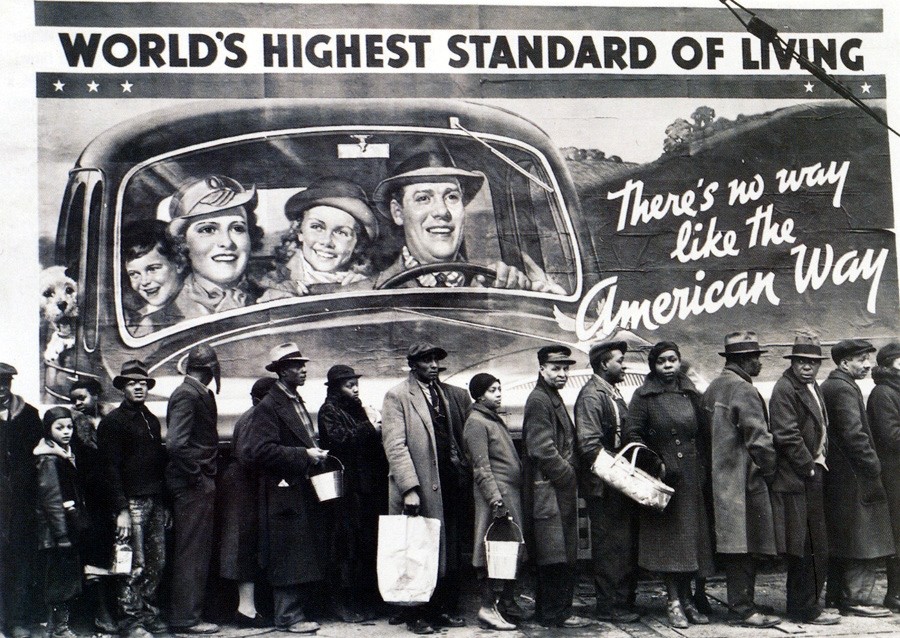
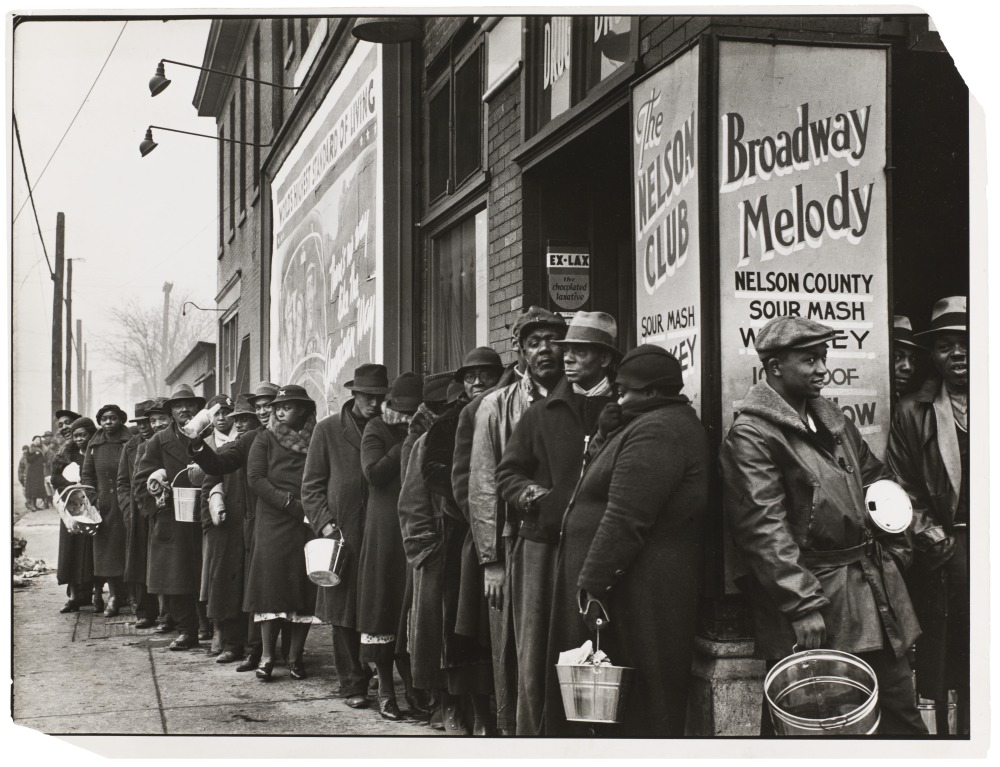
At the time of the Louisville flood. Louisville, KY. 1937
Photographer: Margaret Bourke-White
Photographer: Margaret Bourke-White, Louisville Flood,Louisville,KY. 1937 from the collecttion of the New Orleans Museum of Art

Types of shots: how much information is in the frame

  • a long shot
  • a medium shot
  • a close up
  • an extreme close up.

Angle of View:  describes the camera position in relationship to the subject. The angle of view may be:

  • a worm’s-eye view
  • a low-angle
  • eye-level
  • a high-angle
  • a bird’s-eye or aerial or overhead view
  • an oblique angle.

Frame within a frame – use elements in the frame to enclose the main subject and draw attention to it. A frame within a frame can be a window or door or it can be items in the foreground such as branches.

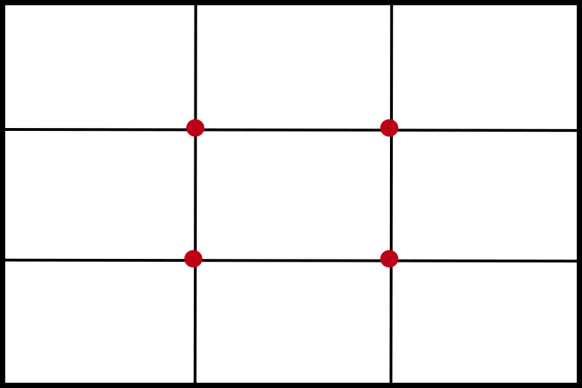
Rule of Thirds – Instead of placing the main subject in the center of the frame, divide the frame into thirds horizontally and vertically and place the main subject at one of these intersections.

Fill the Frame –  (get closer) – do not leave empty areas that do not add to the composition and plan to crop in later.

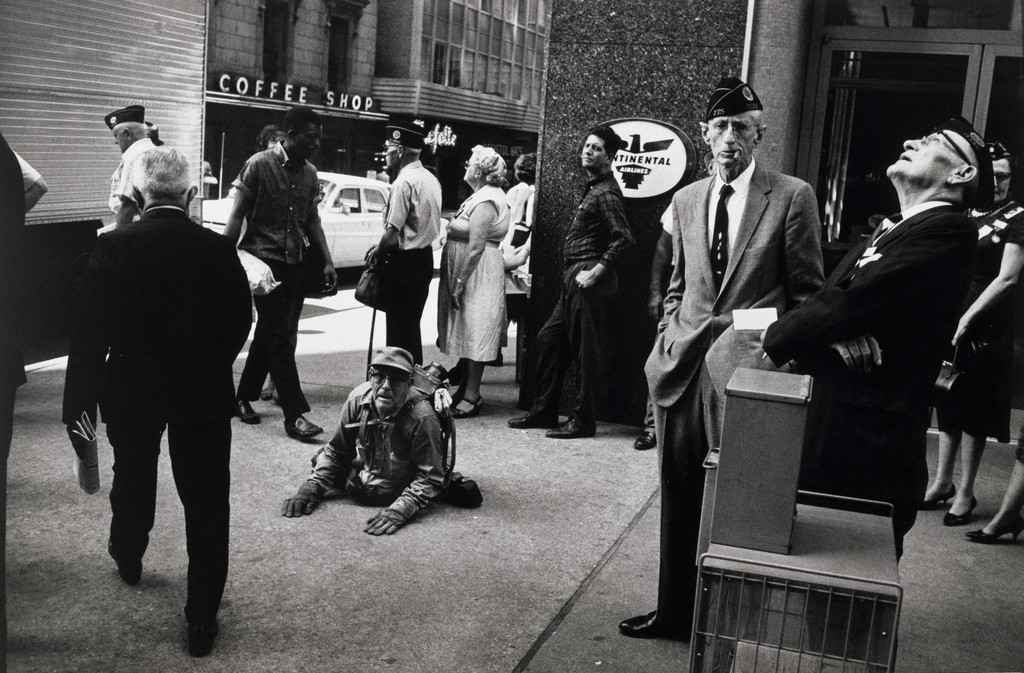
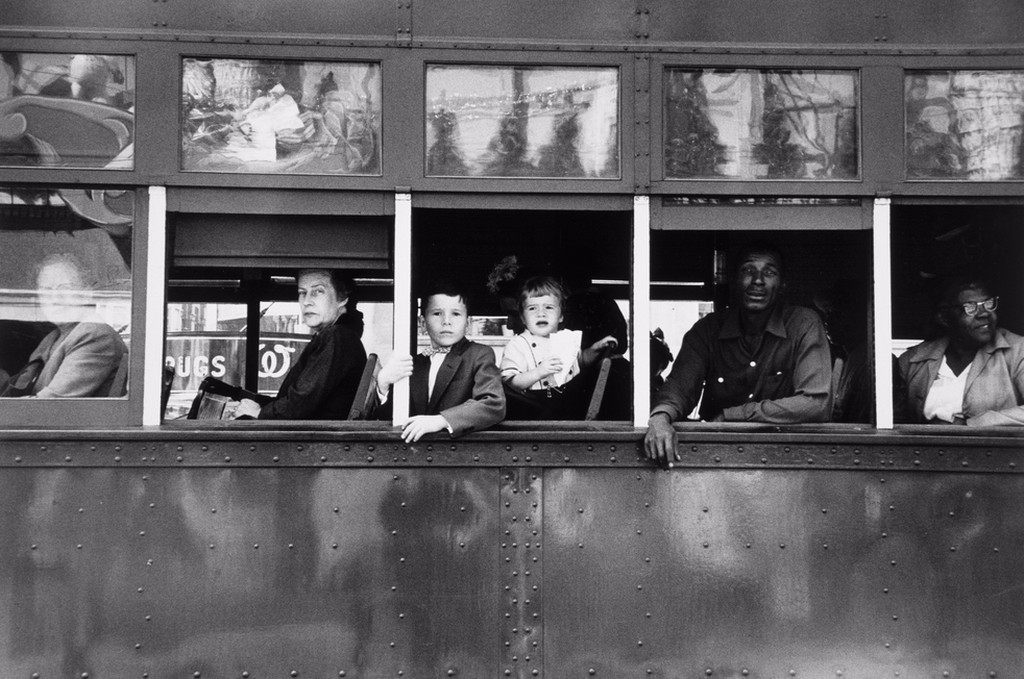
Juxtaposition: Essentially is about the principle of comparison. The photographer puts two or more objects in the frame to accentuate their difference. Generally when are using juxtaposition, you are making a statement through the apparent contrast of elements in the photo.

Photographer: Gary Winogrand

Resources

Joel Meyerowitz on the frame

Lab Exercise2: Angle of View

Lab Exercise 2B: Juxtaposition

Homework 2 Working the subject

Discussion 2: Importance of the frame

« Older posts Newer posts »