Needed for this class
- Camera or cameraphone
- Light source: a window or a desk lamp
- two objects that represent opposites
Thinking about the Frame
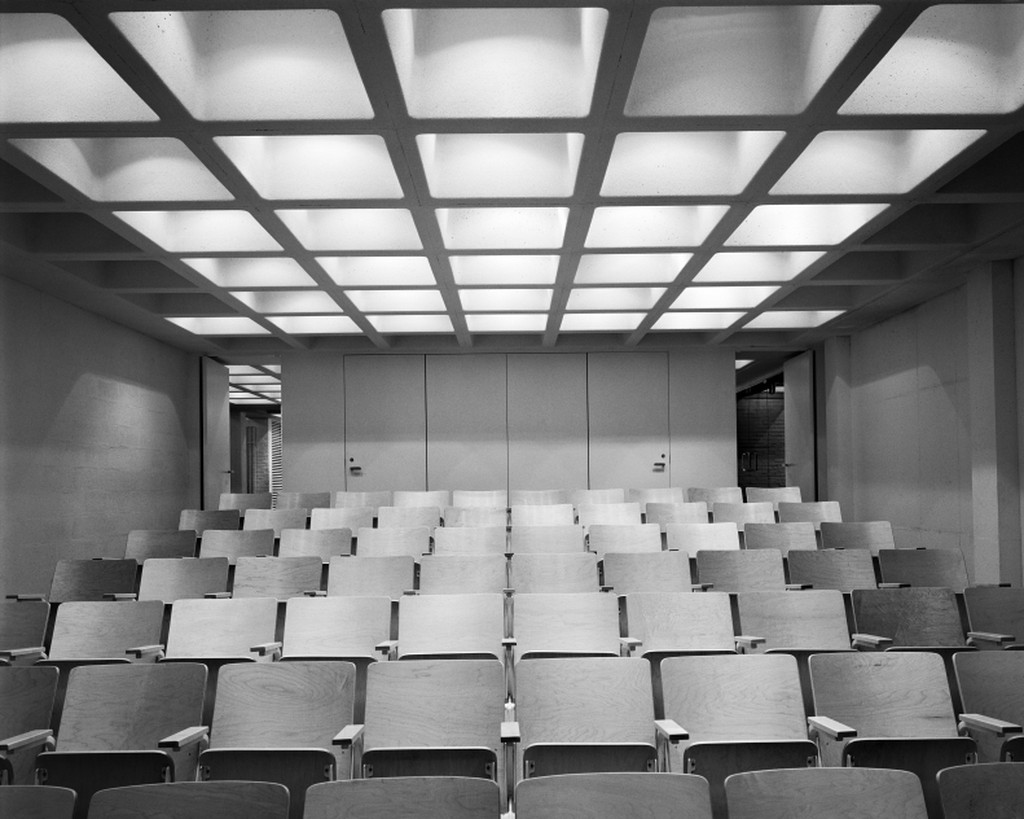
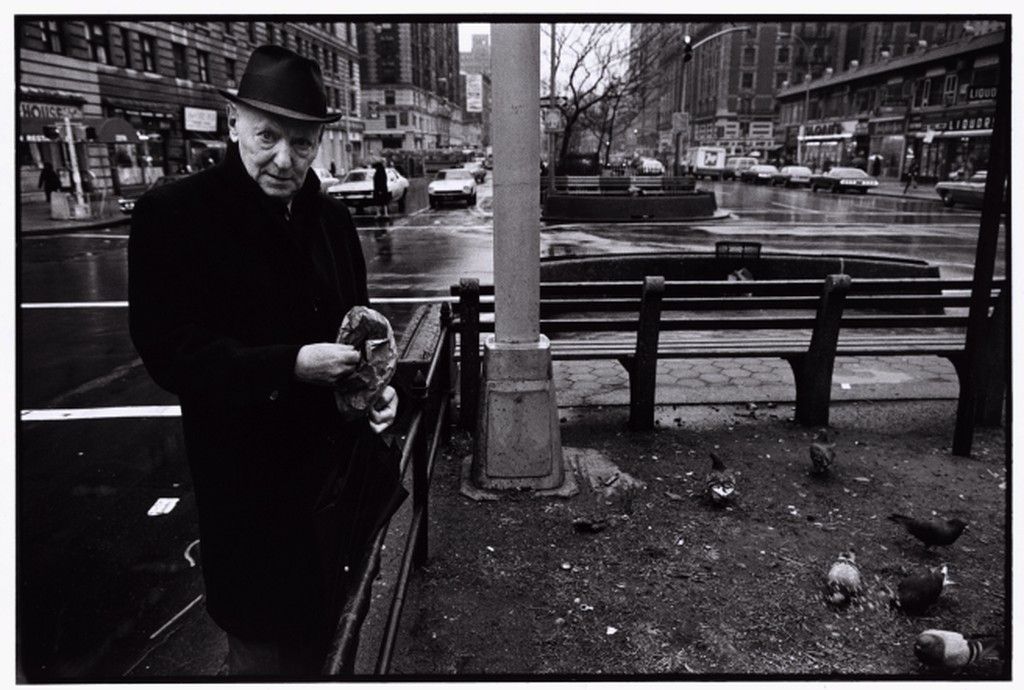
By its nature, the photograph is a 2D representation of an original scene. A representation that has its’ own life and meaning. When making a photograph think about what you want to show. Use the frame to crop the original scene to eliminate distracting details and non-essential elements. This can be accomplished by moving in closer or changing the angle at which the photograph is shot.The frame can be used horizontally or vertically. Always consider which will be best for your subject
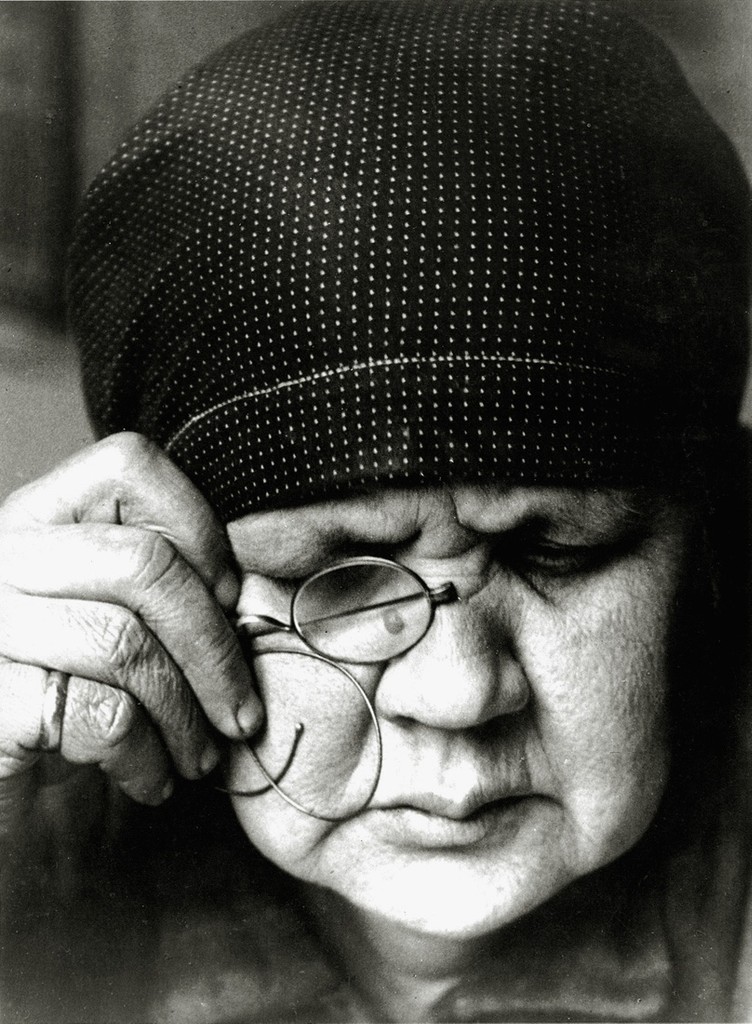
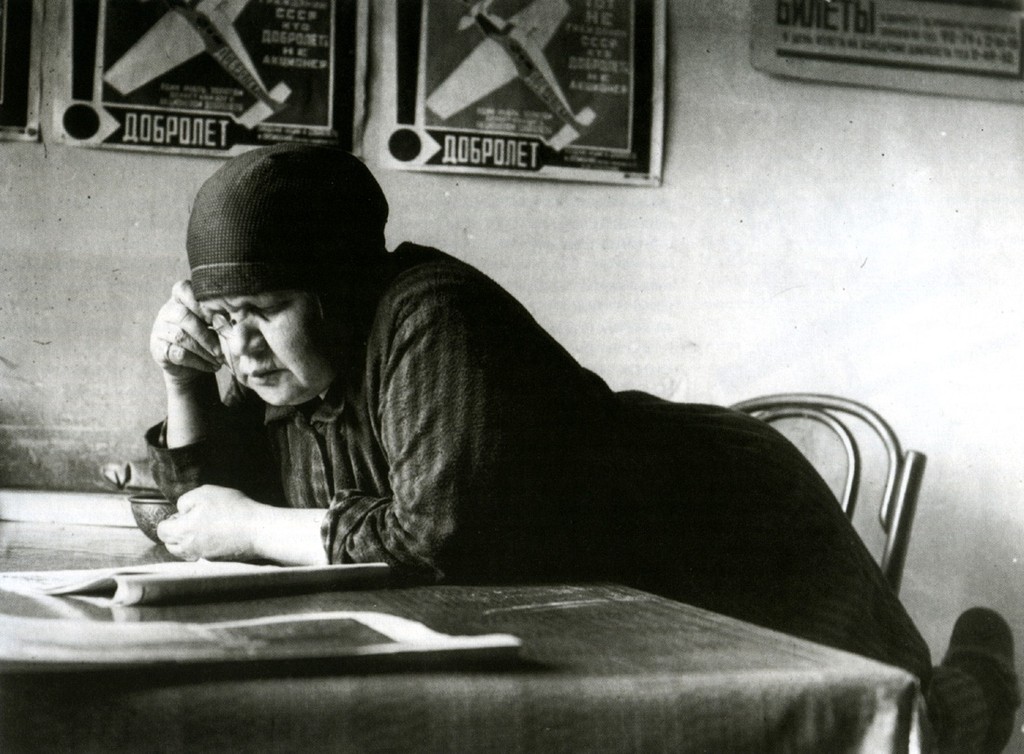
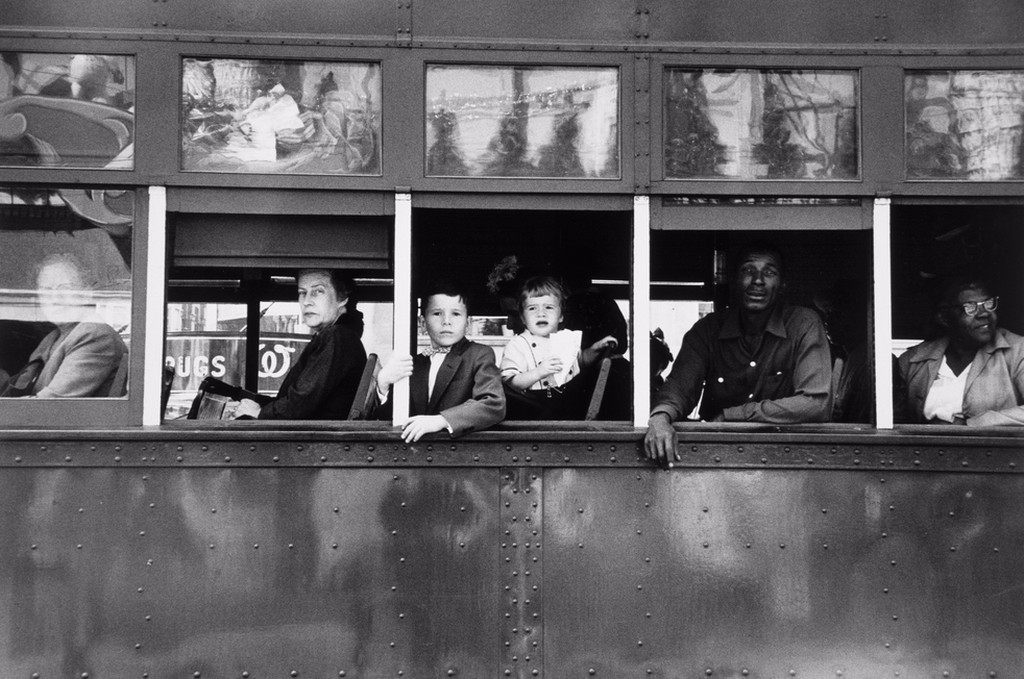
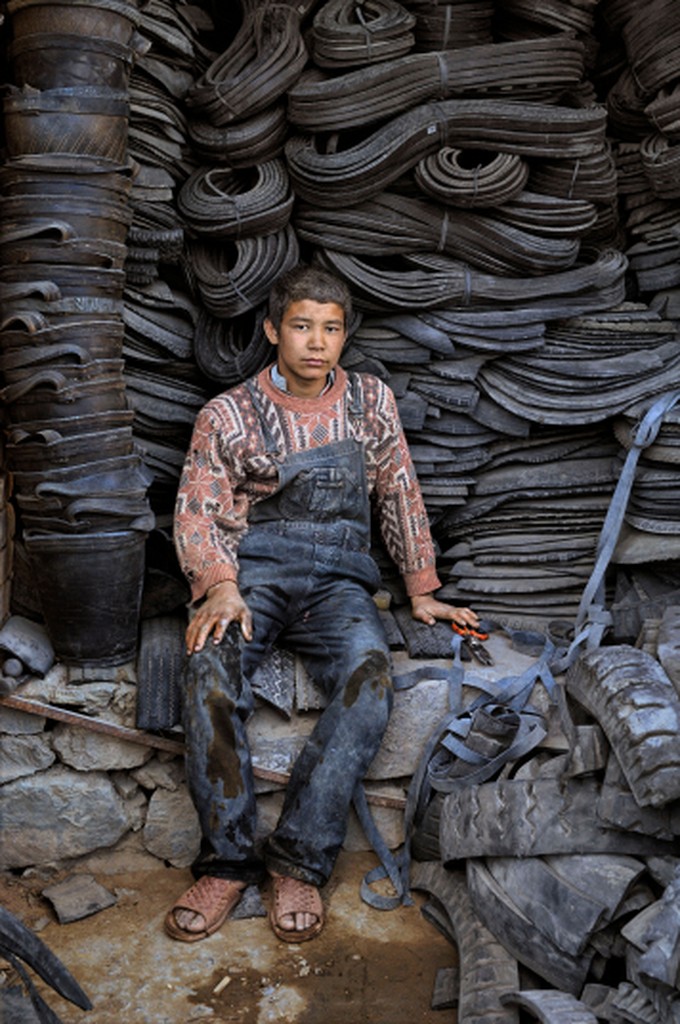
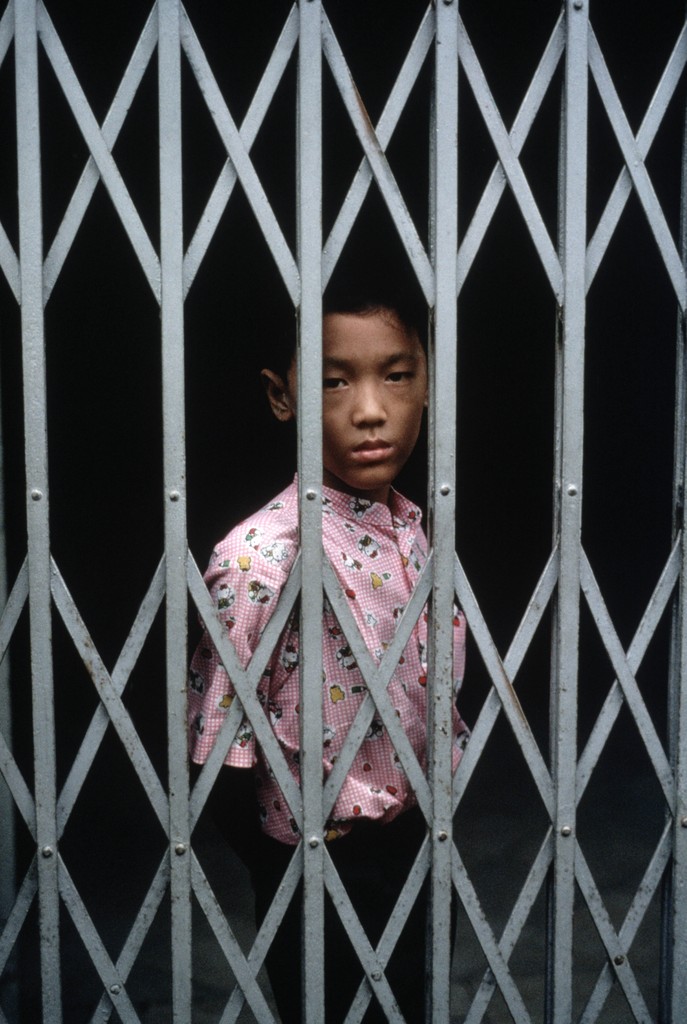
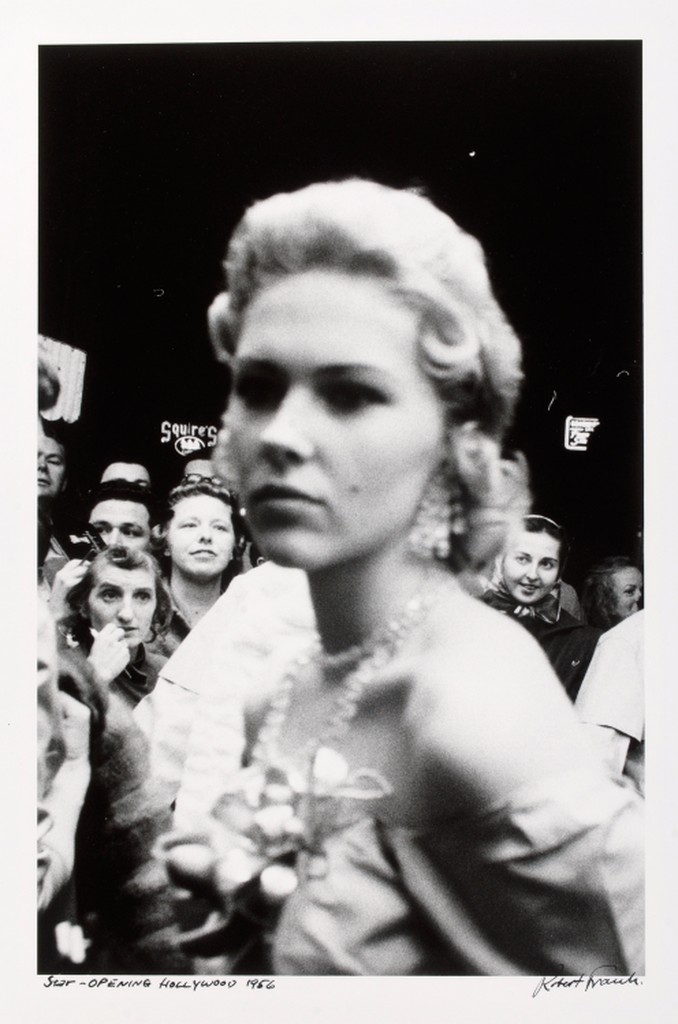
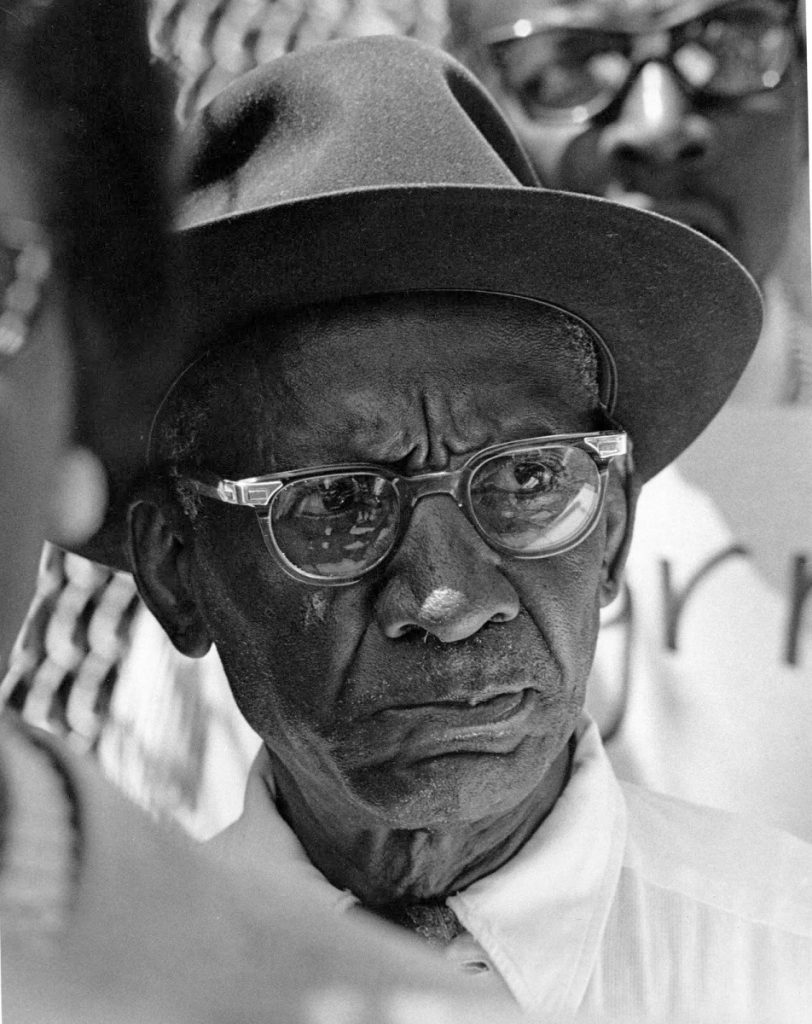
How does the difference in framing change the impact on the viewer of these two portraits?
Framing: How the frame brings together the elements inside the rectangle juxtaposing them, creating relationships between them
Photographer: Margaret Bourke-White
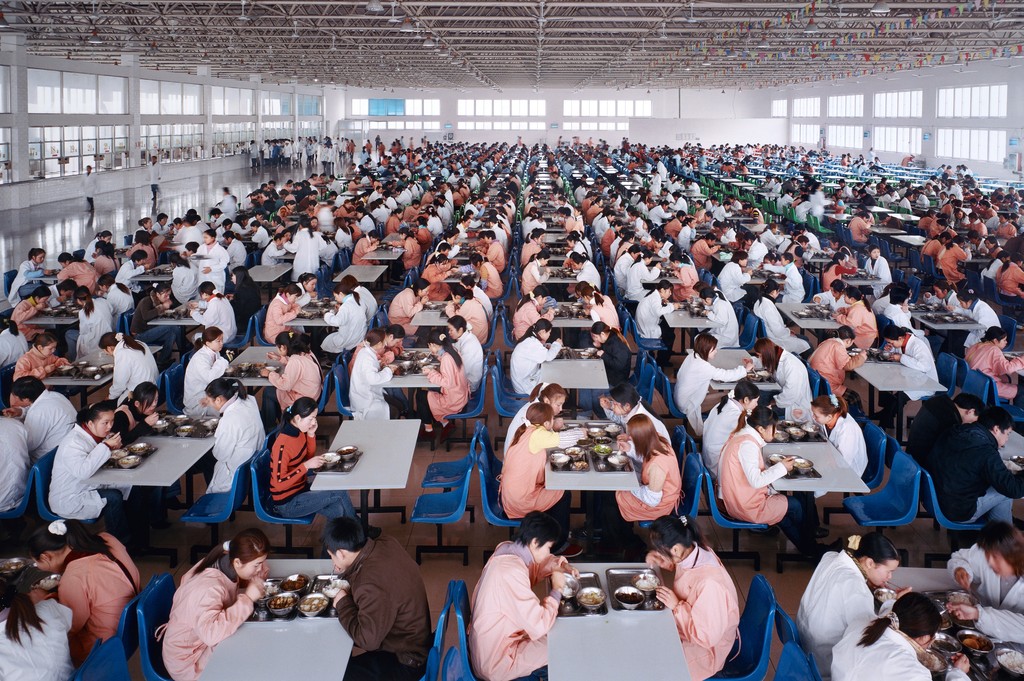
Types of shots: how much information is in the frame
- a long shot
- a medium shot
- a close up
- an extreme close up.
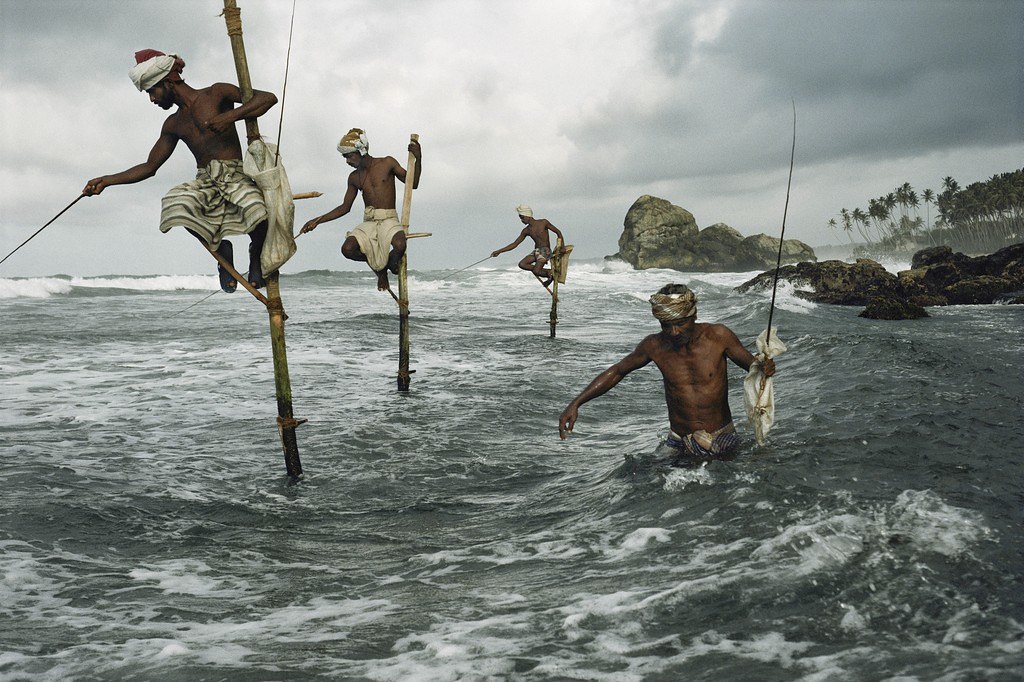
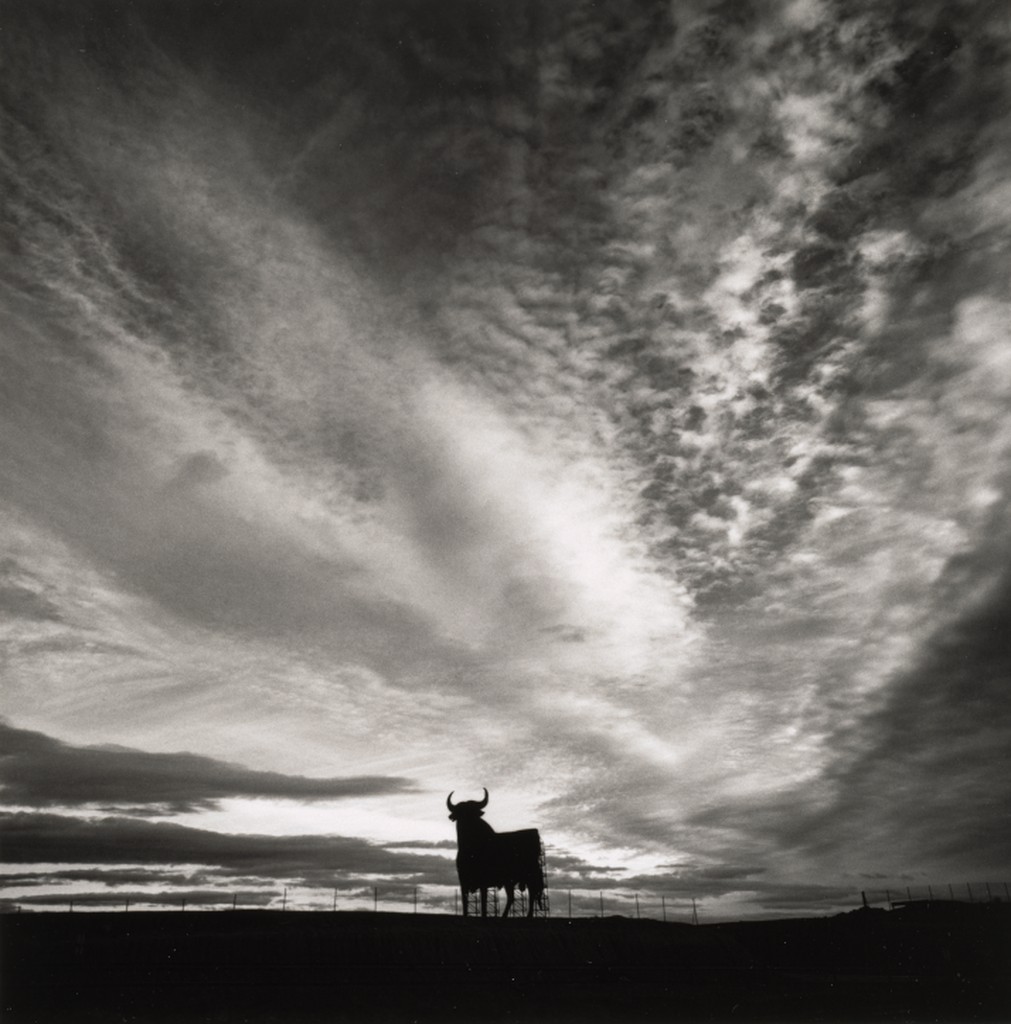
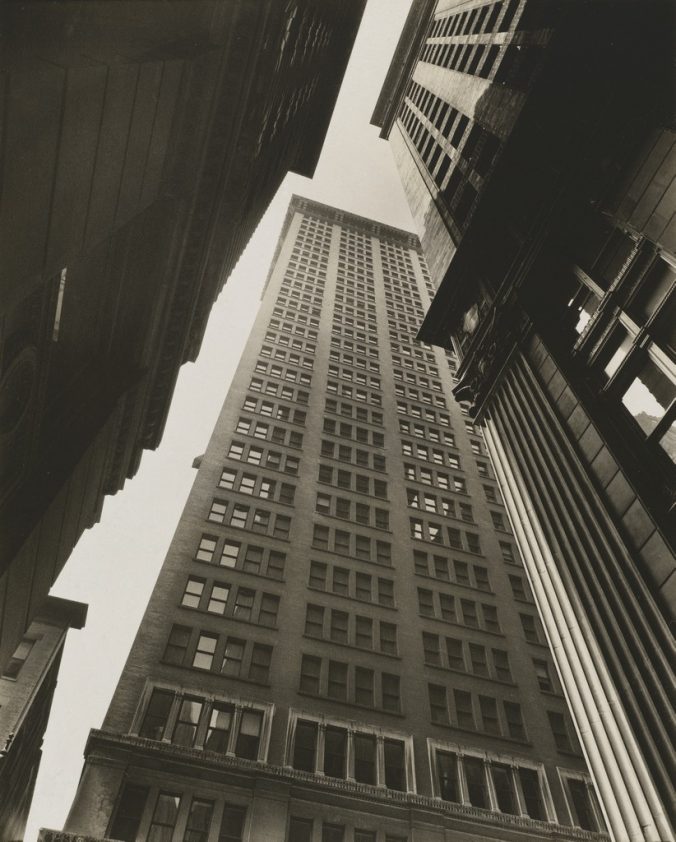
Angle of View: describes the camera position in relationship to the subject. The angle of view may be:
- a worm’s-eye view
- a low-angle
- eye-level
- a high-angle
- a bird’s-eye or aerial or overhead view
- an oblique angle.
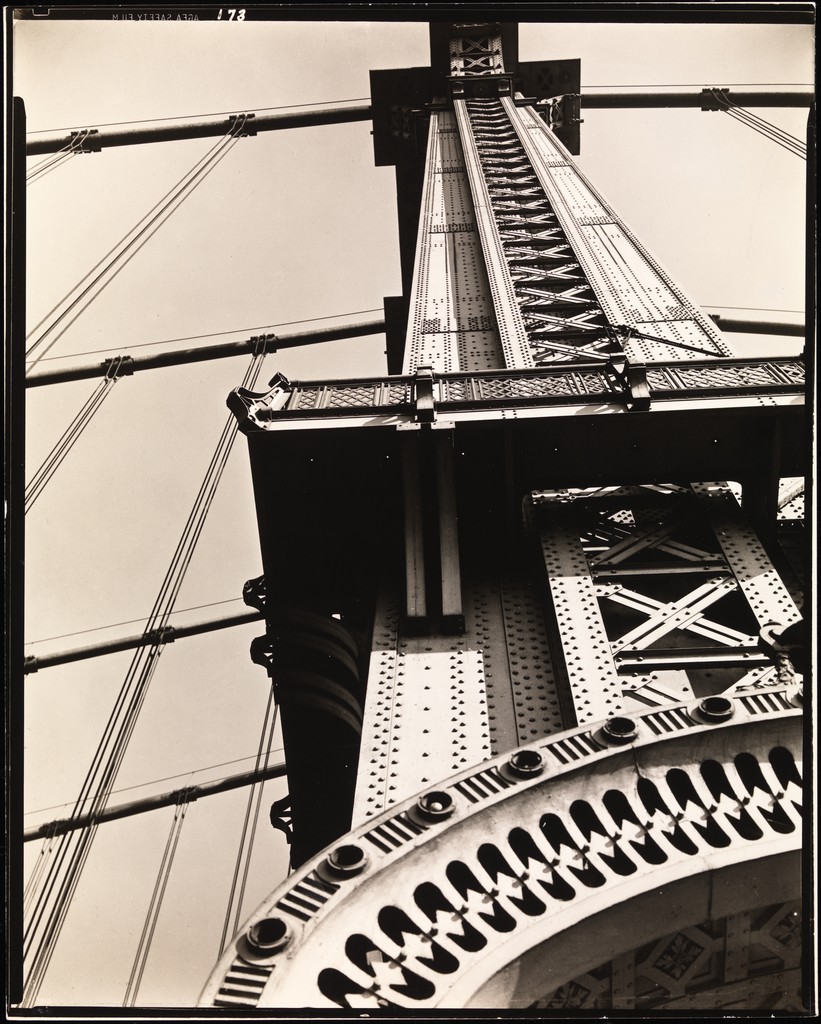
Manhattan Bridge, Looking Up.1936. Berencie Abbott.
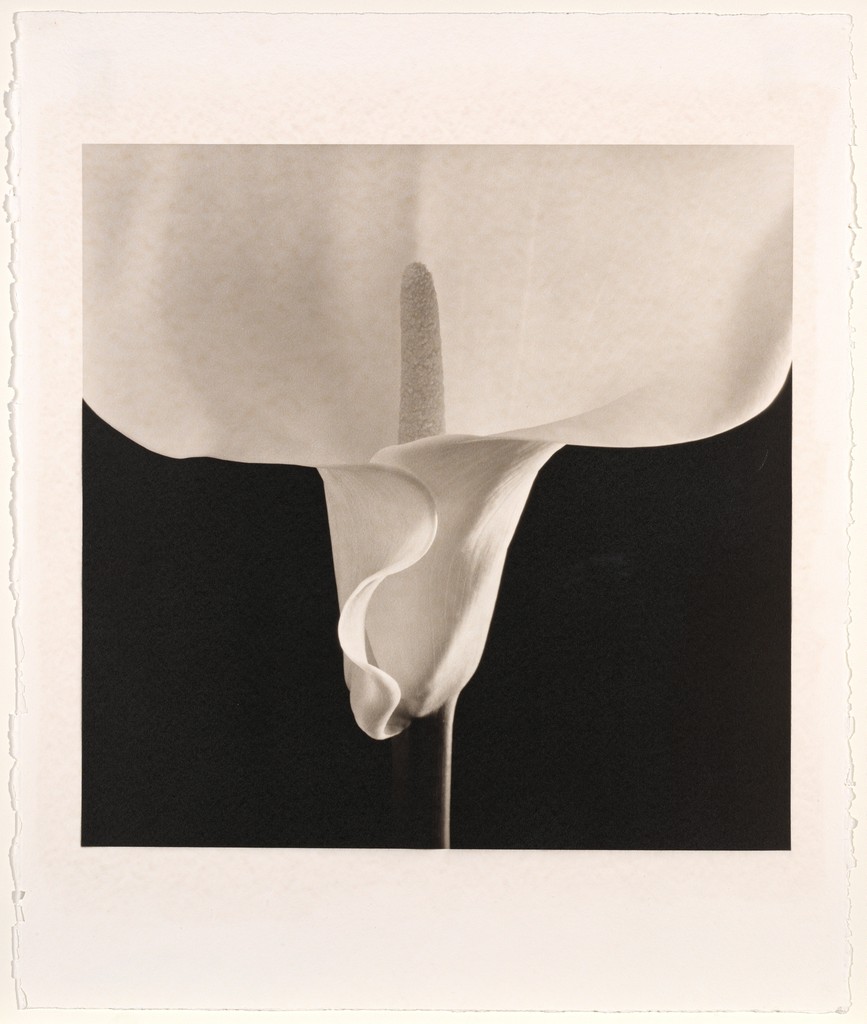
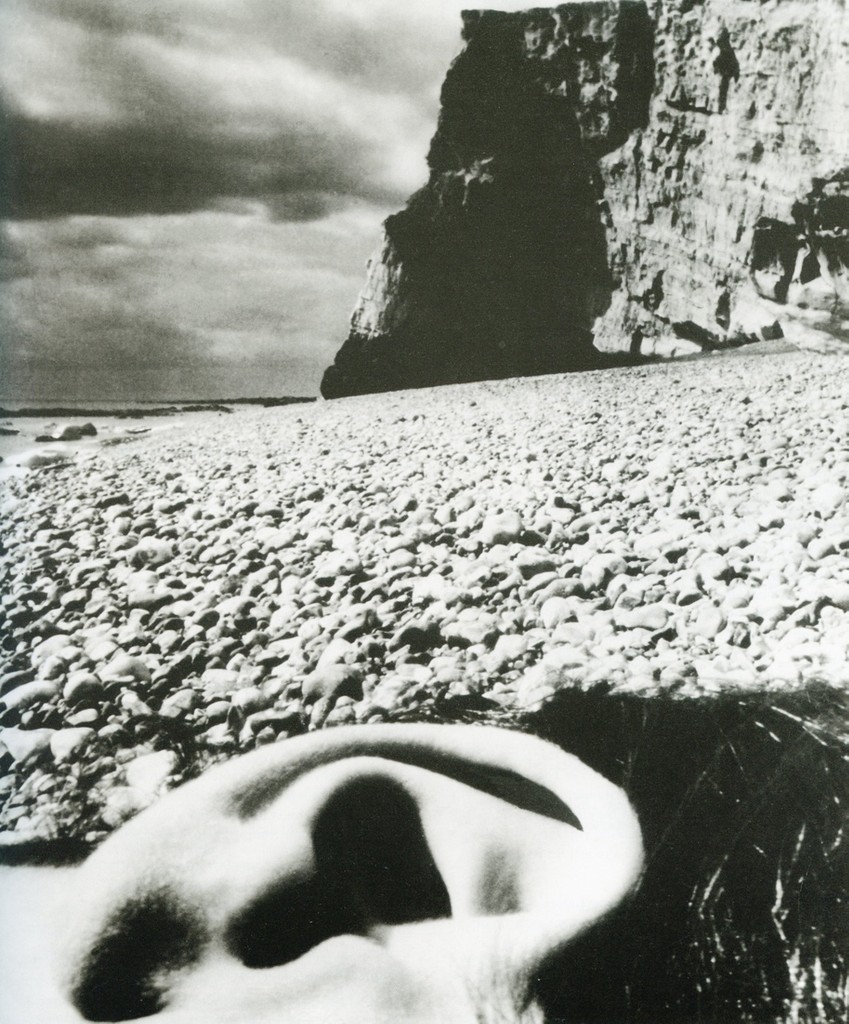
Edward Weston
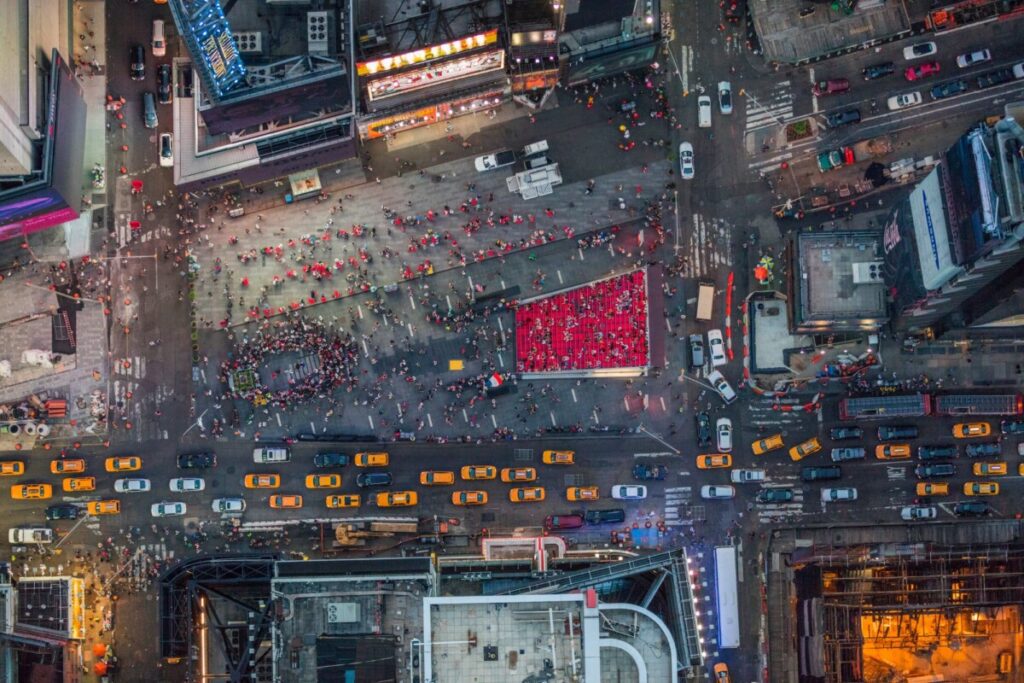
George Steinmetz
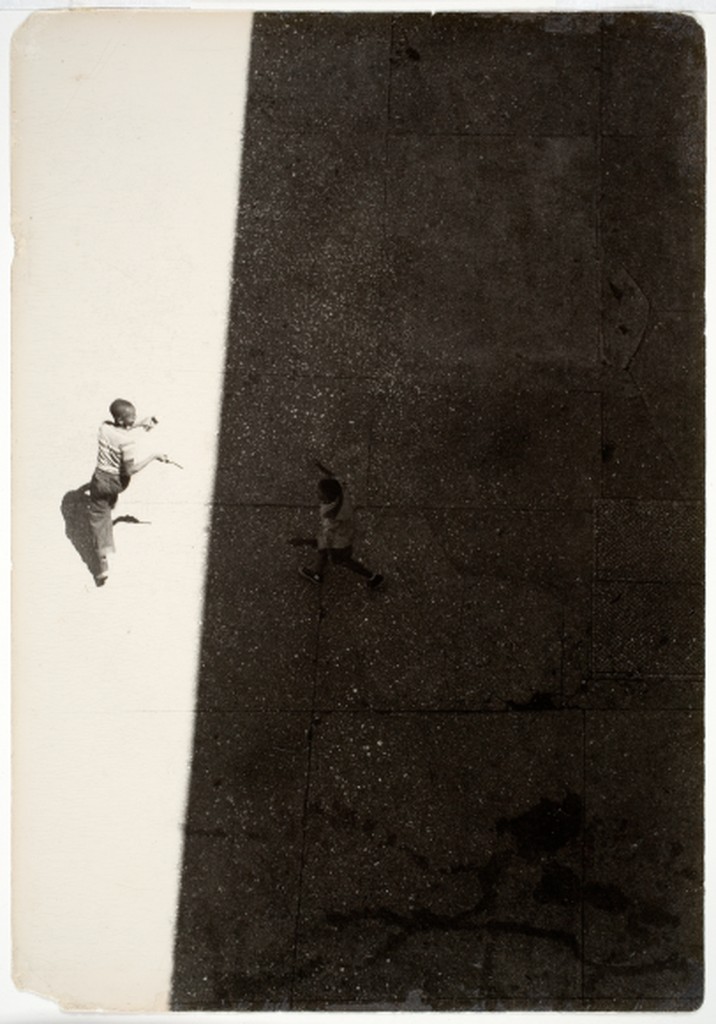
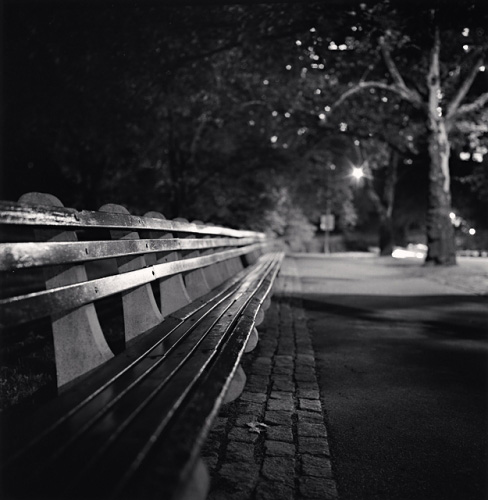
Sun and Shade. 1952. Roy DeCarava.
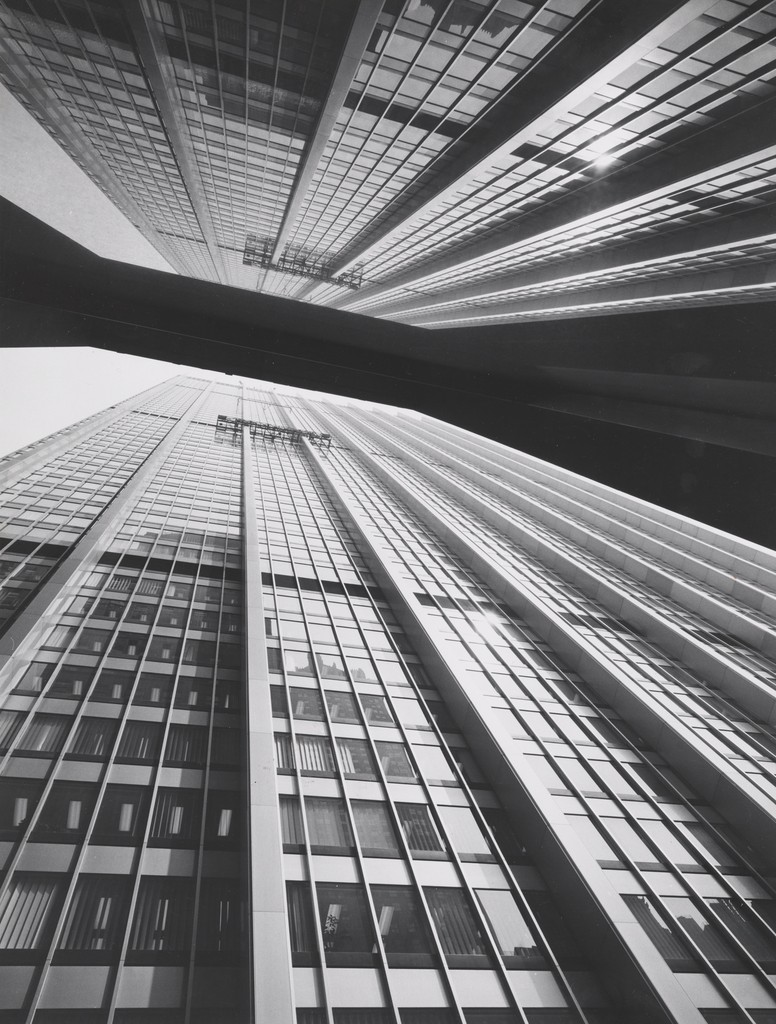
Andres Feininger1962
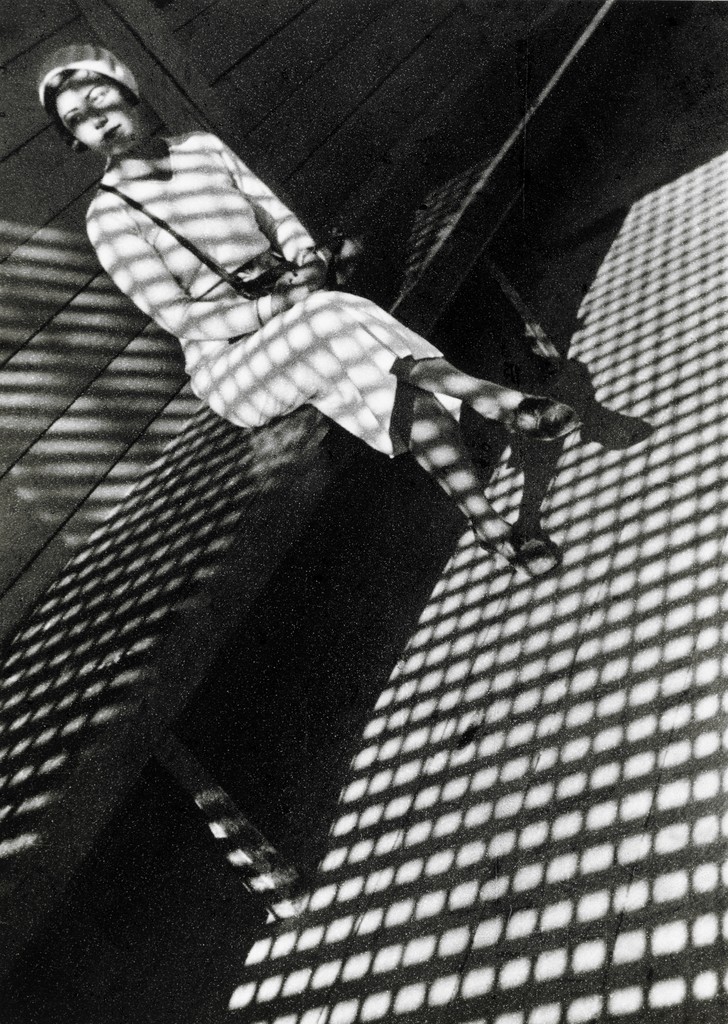
Rodchenko 1934
Frame within a frame – use elements in the frame to enclose the main subject and draw attention to it. A frame within a frame can be a window or door or it can be items in the foreground such as branches.

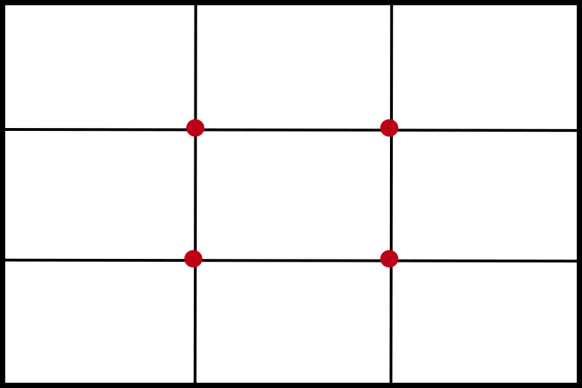
Rule of Thirds – Instead of placing the main subject in the center of the frame, divide the frame into thirds horizontally and vertically and place the main subject at one of these intersections.
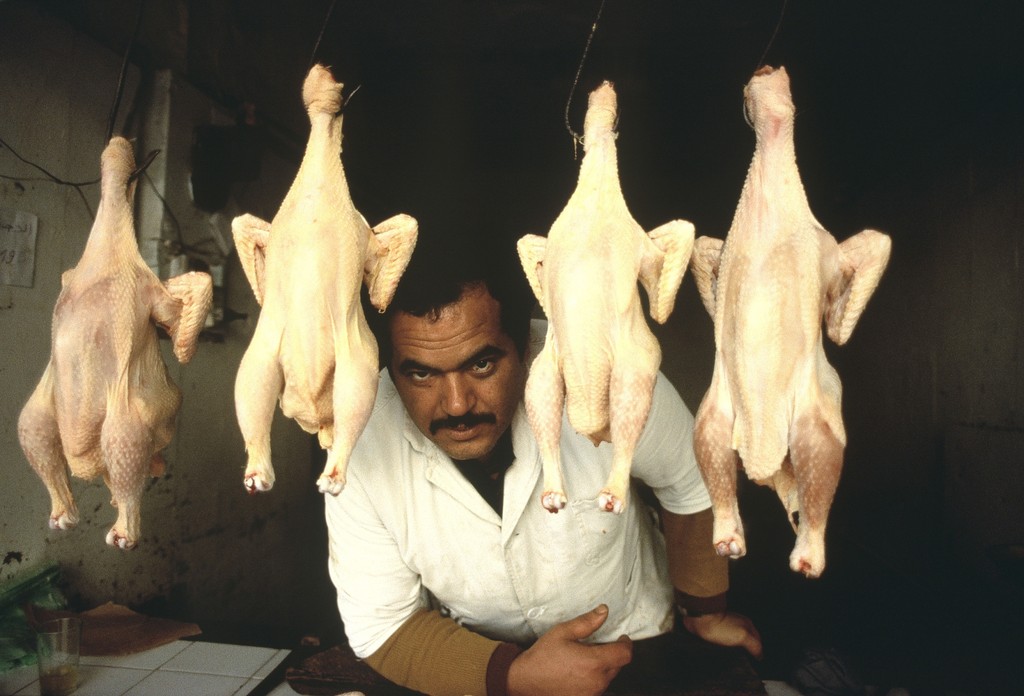
Fill the Frame – (get closer) – do not leave empty areas that do not add to the composition and plan to crop in later.
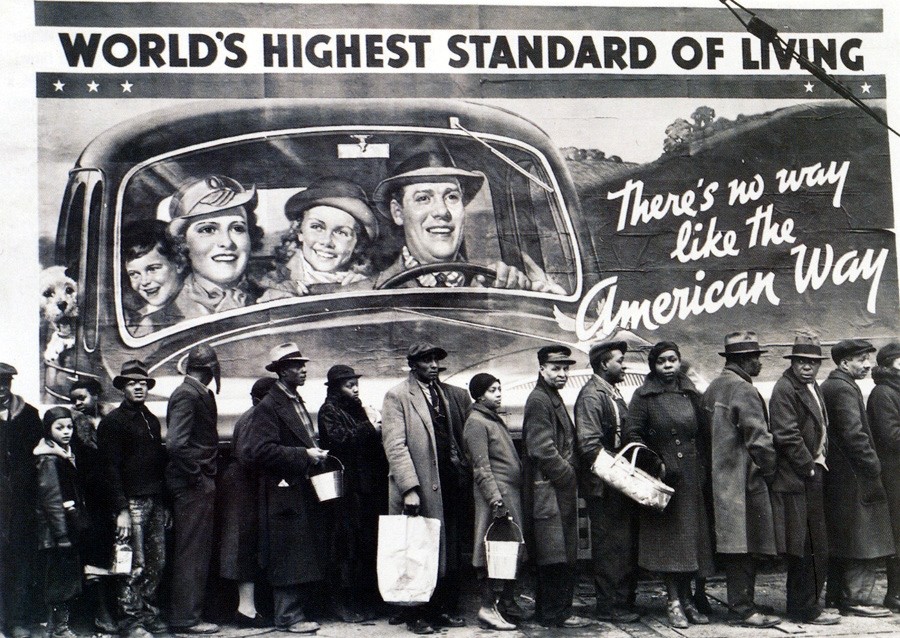
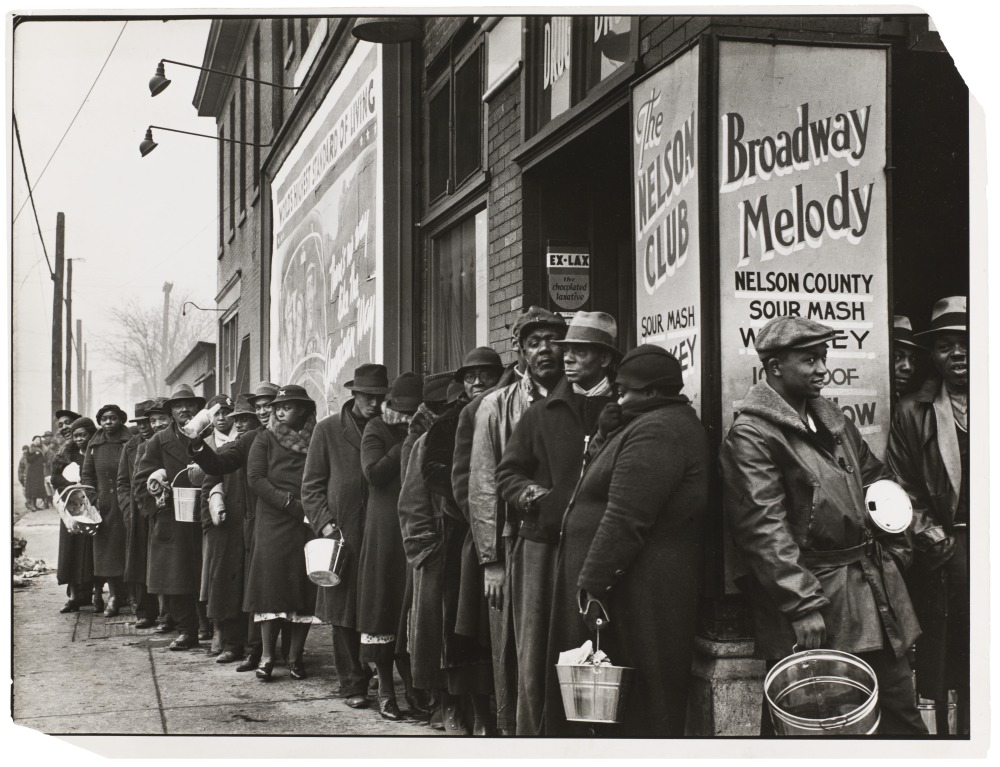
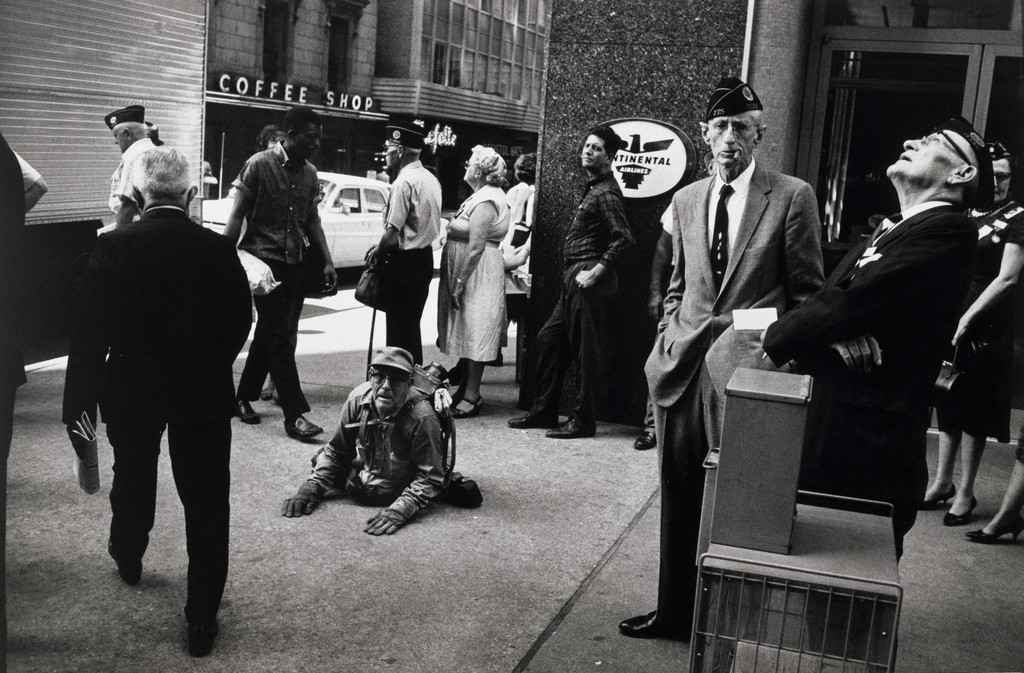
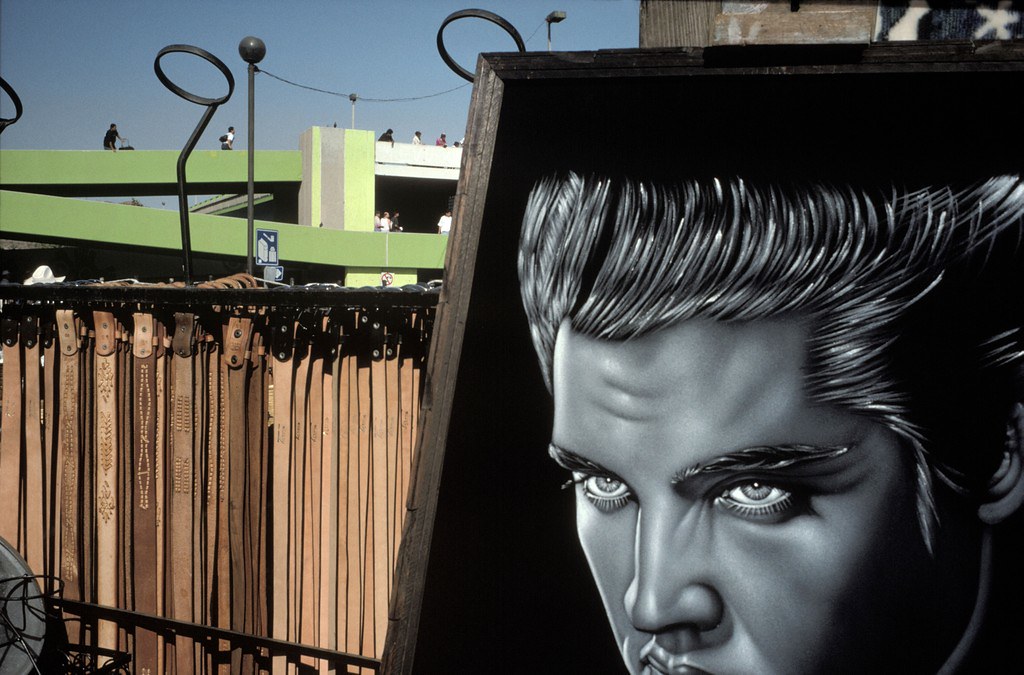
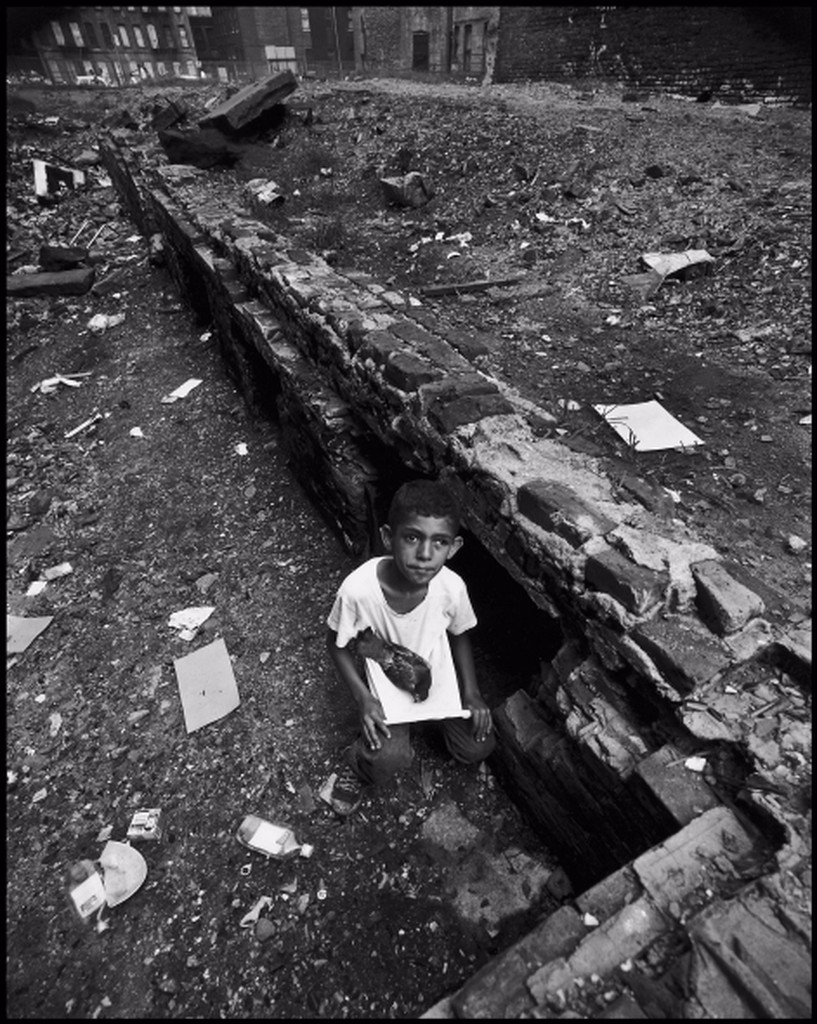
Juxtaposition: Essentially is about the principle of comparison. The photographer puts two or more objects in the frame to accentuate their difference. Generally when are using juxtaposition, you are making a statement through the apparent contrast of elements in the photo.
Resources
Joel Meyerowitz on the frame
Lab Exercise2: Angle of View
Lab Exercise 2B: Juxtaposition


Recent Comments