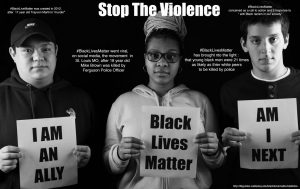
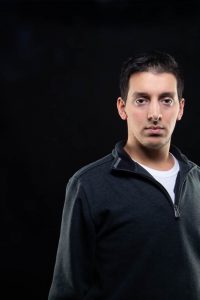
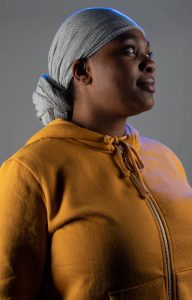
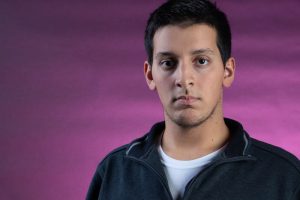
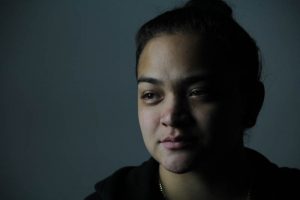
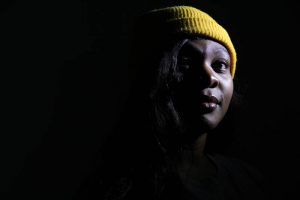
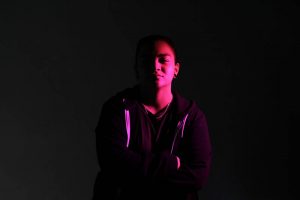
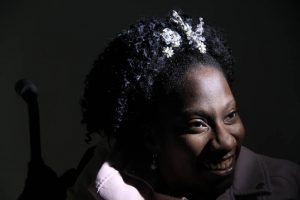
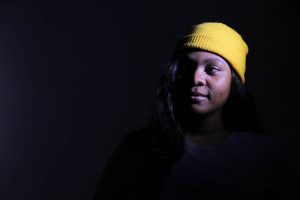
The topic of my PSA is Stop the Violence focusing on #BlackLivesMatter. I had to really put on my creative director hat today in order to achieve my photo. Making sure all my classmates looked serious and held their statement paper in the same position. First I took shots of each classmate by themselves, an a few together. I really liked how the photo of all three classmates looked so I settle on one photo. I also added statistics on Black Lives Matter and made the photo black and white. I enjoyed this assignment!!!
Author Archives: Ebony Star
Learning Log #11 Magazine Cover
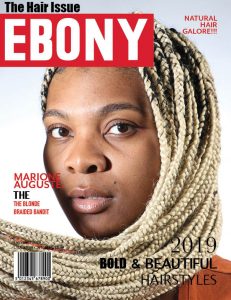
Here is my final look for my magazine cover. I had issues finding the right shot for the cover and editing due to my photoshop issues. Overall it was fun creating a magazine with my name there’s a lot of history behind the magazine and name itself. Also dedicating the issue to something I’m passionate about “Hair”.
Homework #9 Recreate a Photo/Painting
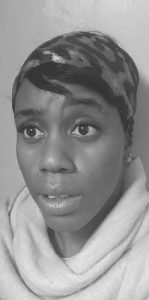
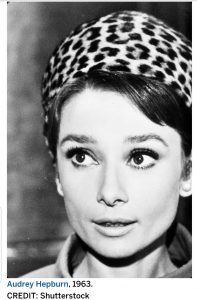
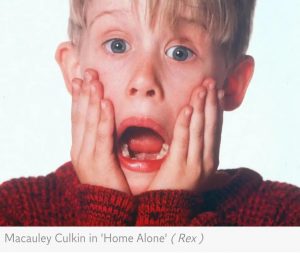
Here are my 2 best-recreated photos. The first ones recreating Audrey Hepburn were actually hard because I used myself as a model. It was hard to try and catch top light in my apartment to achieve some shadow under my neck. Also, it’s just harder taking a picture without looking and focusing on one facial expression. The one I recreated of Macauley Culkin with my son was really fun because Home Alone is one of our favorite holiday movies. I was only able to use split lighting, due to light placement and trying to use a white wall, to catch some shadow on one side of the face. I had to use a lot of direction to catch the exact expression and pose, overall I think I captured some good shots.
Learning Log #10 Product Photograghy
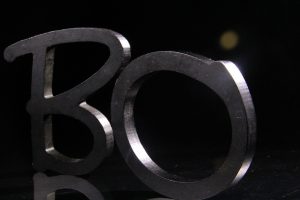
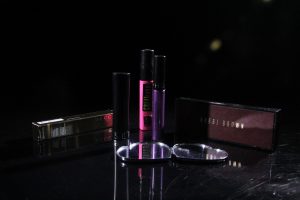
Taking pictures for me was very interesting. I tried to be different a bring letters for DIY decor. There was some difficulty with keeping them up but Galick helped with taping them down. I like the reflection that was cast of the letters in the area with a lighter background with window lighting. I think my darker background images came out better with the help of highlights and shadows coming from the light being placed above the products. Thanks Briana for the extra beauty products!!
Final Project
Ebony S. Wilson
Final Project – “Fairy Tale/Nursery Rhyme”
“Jack and Jill” Lyrics
Jack and Jill went up the hill
To fetch a pail of water.
Jack fell down and broke his crown,
And Jill came tumbling after.
Then up got Jack and said to Jill,
As in his arms he took her,
“Brush off that dirt for you’re not hurt,
Let’s fetch that pail of water.”
So Jack and Jill went up the hill
To fetch the pail of water,
And took it home to Mother dear,
Who thanked her son and daughter
For my final project I will be reenacting the nursery rhyme Jack an Jill. To achieve the setting I will use a location in a Harlem Park that has a steep hill. They will be dressed in old warn out clothing, Jack will wear a crown, and Jill will wear a headscarf, while both children hold a pail. While they both run up the hill I will capture their excitement. The scene where Jack falls down the hill breaking his crown, I will capture, the tumble also the disbelief and shock on Jill’s face. Then Jill will also tumble. The next scene will be Jack comforting Jill as he helps her to stand and cleans the dirt off her. The next scene is capturing them going back up the hill with the pail in hand.
Learning Log #9 Light Painting
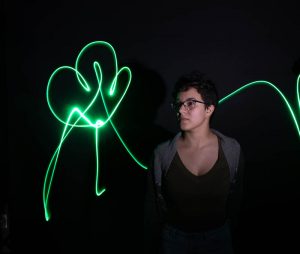
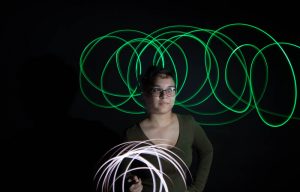
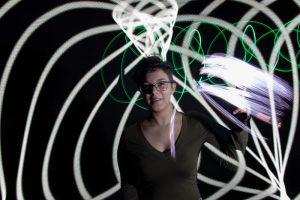
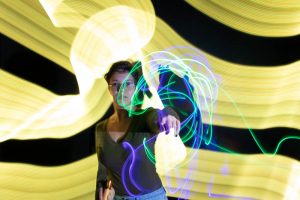
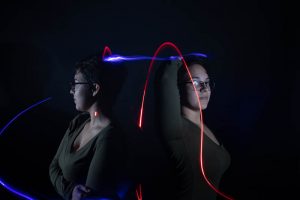
Here is my 5 best light painting images. This was by far the most fun I’ve had in this class. We had to work as a team working with the shutter speed, speed light, and the actual light painting. The more practice we had the better the pictures turned out. While shooting Kiara I focused on keeping her in the shot which is really hard to do in the dark. We also had to investigated with the stop light creating double images of the each other, like the last one of Kiara. It was really cool having the pixel stick which created some really nice, and cool light painting for the background. Great class!!!
Learning Log #8 – Portrait lighting 2
Here are my 4 Portrait lightings from today class. To achieve these images we moved around to different locations to catch a different light at each station. For the clamshell lighting we used a reflector to shine light under his face that would create highlights. I had to stand directly behind the fill light to achieve this photo. Edge lighting I placed Peter in my point of view, and stood behind the fill light which we also diffused a bit with the help of paper. The lights were placed on the side if him but towards the back of Peter. 3 point lighting Marion stood under the hair light an we used a gel to create color on top of her. With Peter for the background light he stood in front of the backlight which create a highlight of lights behind him. The played around with the butterfly light using the feather technique taught today also. Overall I really like the way my photos came out, and I learned a-lot.
Learning Log #7- Portrait Lighting 1
Here are the best 5 shots of each different type of lighting that we learned today. These took a lot of directing with each model. With all 5, I directed my classmates to follow my finger and to adjust their heads either facing away or toward the light. These are by far the hardest images to achieve yet this semester because you had to pay very close attention to where the light landed in order to get the correct lighting on the face. We had to move the light up and down due to hight and positioned the light closer to achieve harsher shadows. It was also hard to distinguish all five at one time, but I really learned a lot an phases that helped me remember. Like the closer, the light it’s broad light on your model, and the farthest away from the light is the short light side, (sounds right).
Learning Log #6 High & Low Key Lighting for Still Life
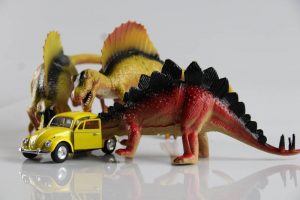
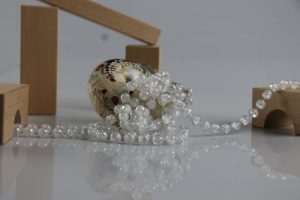
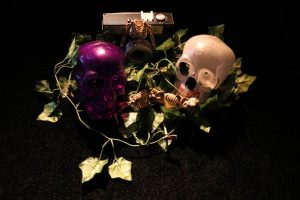
These are my 3 best images for high & low key lighting assignment. I really like how all of my high key images came out. We used artificial lighting to create highlights and shadows. With the help of the white table and continuous light, there was a very nice light with a lot of intensity that bounced off the table, which created a reflection and highlights on the props being photographed. I moved the continuous light around. I positioned myself directly in front up close to the props. The first image was photographed to fill the frame, focusing more on the red dinosaur and car. The second image was photographed in my point of view, focusing on the shell and beads. With the low key image, I used a diffused orange gel to create a dark mood to match the skull vibe. Highlights and shadows were created with a dimmed light setting. I stood away and over the props to create an wider view. Now looking at the image I should have zoomed in a bit more to get less of the table. Overall I liked learning new ways to play with lighting in images.
Learnin Log #5- Action/Motion Portraits
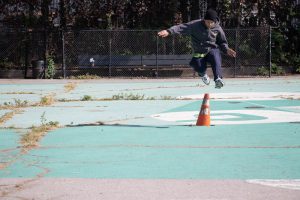
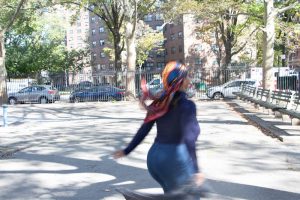
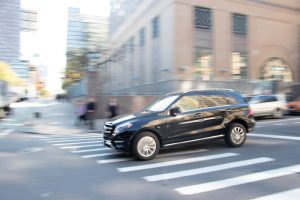
These are my 3 best photos for motion. The first photo I went for frozen motion. Using the Rule of thirds composition, and a large shutter speed, I caught Peter in the air as he jumped over the cone. The second photo is a semi motion, I had to lower the shutter speed to caught Marion’s body, scarf an sweater motions. I focused more on her an worked really hard not to create a blurry background. I really like the movement a caught from her scarf. The last photo was the hardest because it was really hard to catch cars at the location so I took advantage of the walk back. I used the panning technique an focused on the car while using a larger aperture to capture the car in motion and with doing that created a blurry background. I enjoyed these but they were not easy. You have to move as fast as the object to catch the motion an you have to still pay attention to composition, while focusing on your subject a lot to factor in for the shot!

