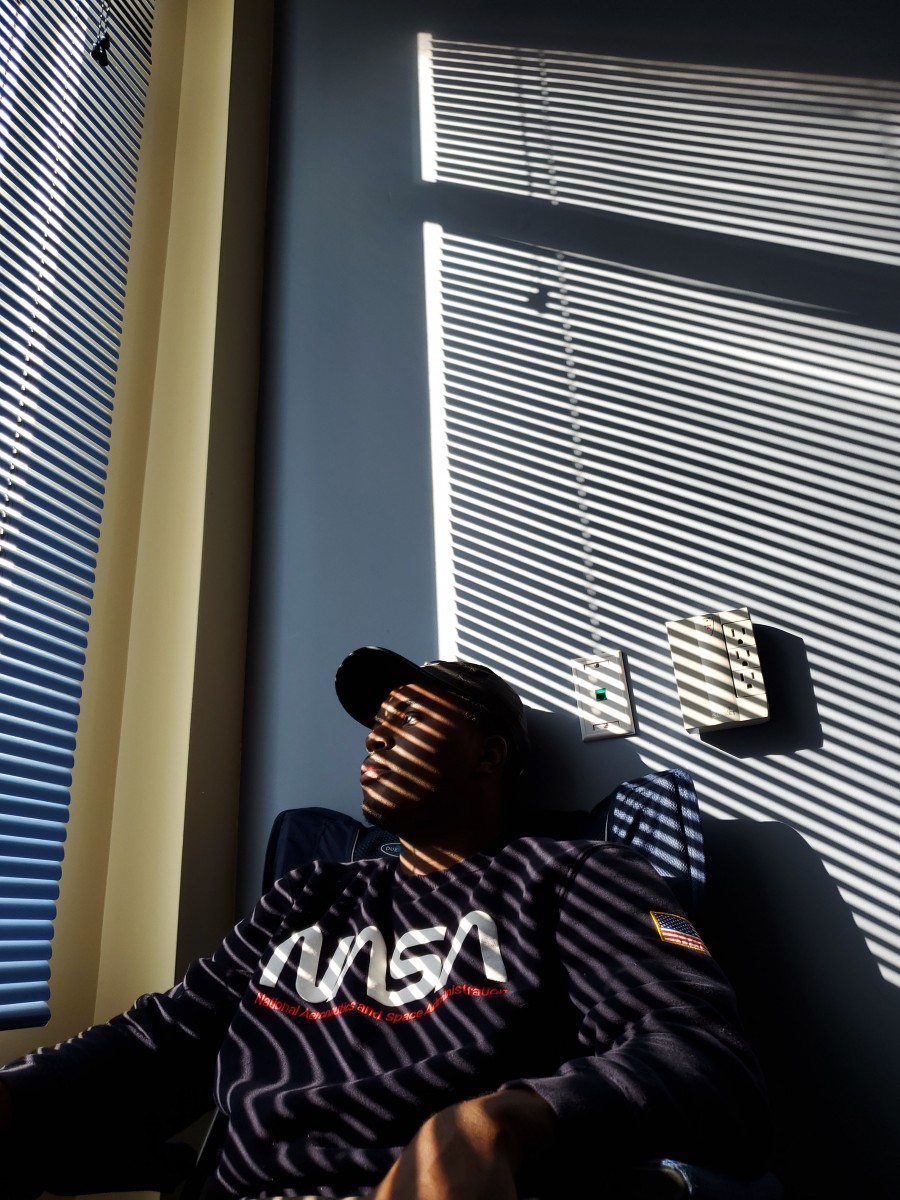
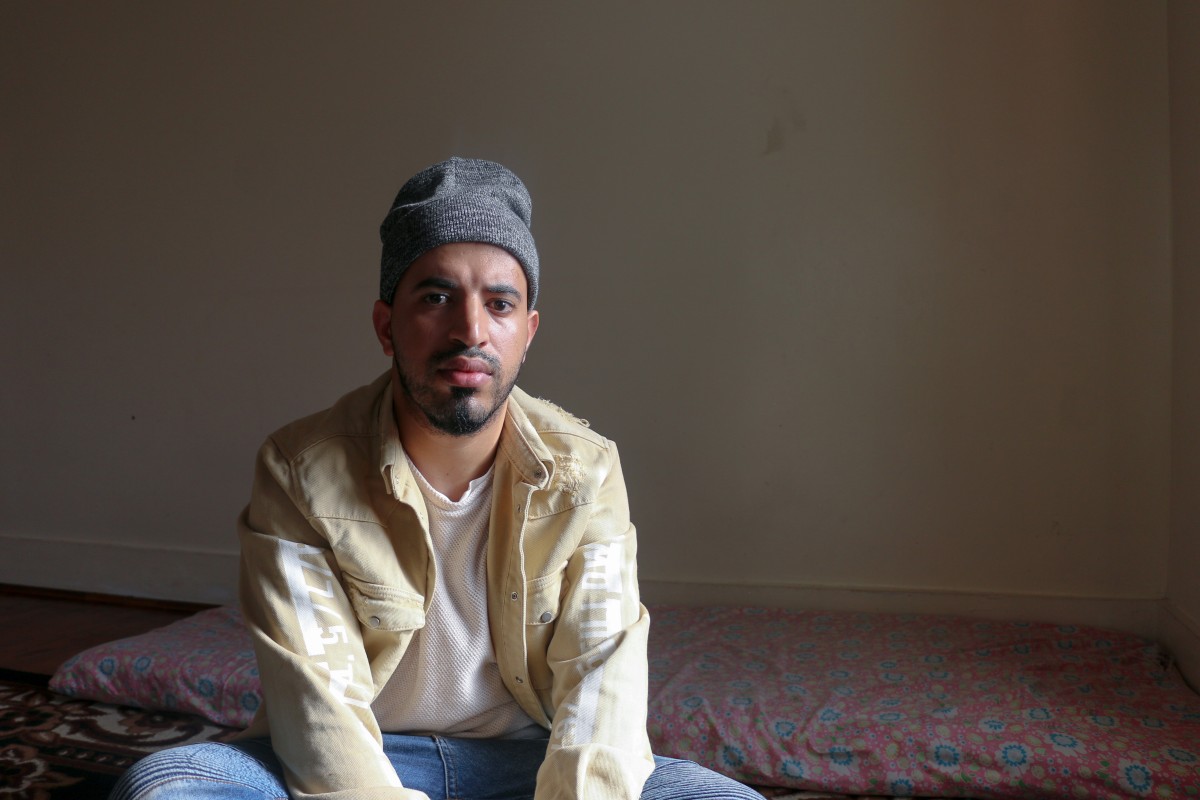
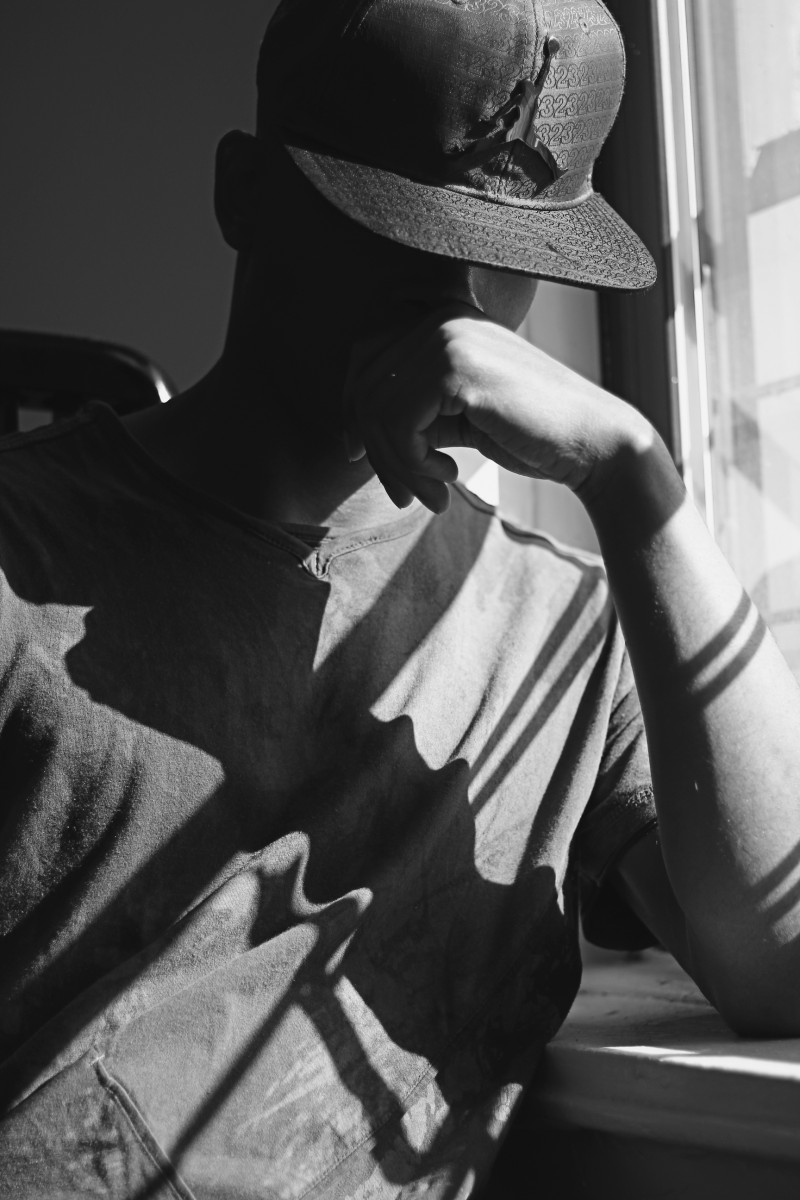
The goal of the Final Project is to create a series of 10 related images on a theme.
You may choose to do either:
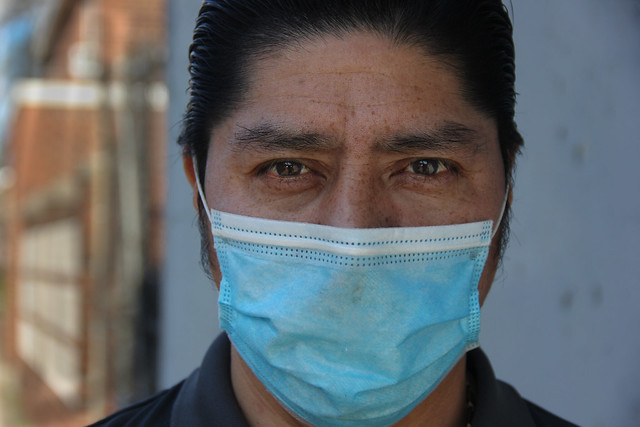
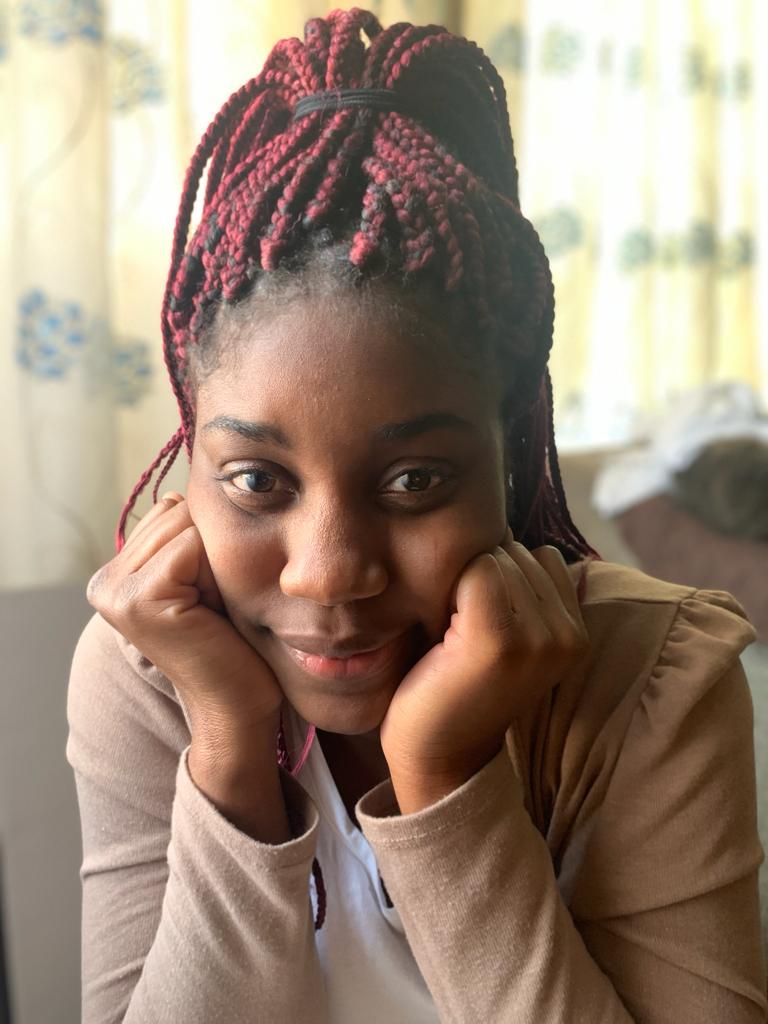
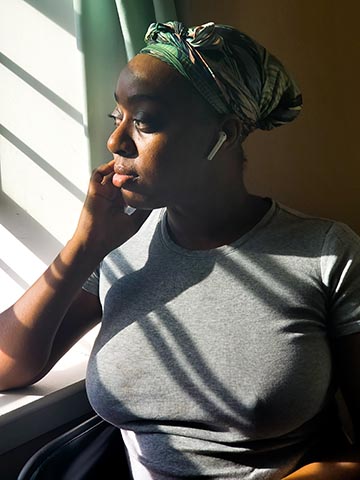
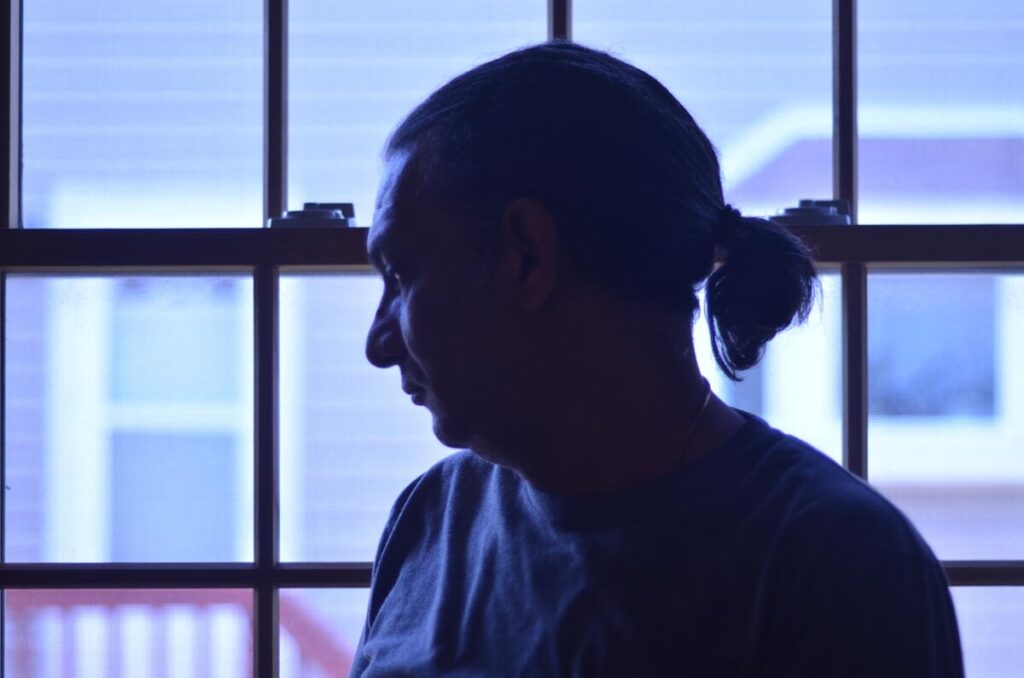
A series of portraits OR
A portrait of a neighborhood
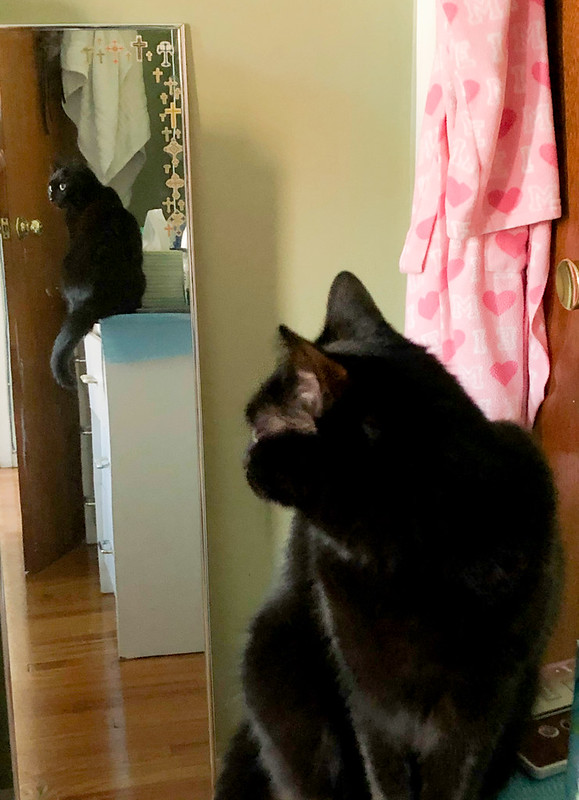
OR working outside during the day a series on Mirrors (reflections) and Windows.
First decide which assignment(s) you most enjoyed. Then consider: do you have people to work with? What is your schedule like and what is practical?
Deliverables and dates:
Due Week 13, November 30: Shoot 1 – minimum of 30 images in an album on Flickr
Due Week 14, December 7: Shoot 2 – minimum of 30 images in an album on Flickr
Due Week 15, December 14: Shoot 3 -minimum of 30 images in an album on Flickr PLUS
- final 10 images selected, adjusted in Lightroom, and posted to an album on Flickr
- a presentation to the class of the final images.
Examples:
Ilda Medel- A Neighborhood Portrait
Jing Wang – A Neighborhood portrait
https://www.flickr.com/photos/189946022@N05/albums/72157717331742888
Example Projects:
Jennifer Humala – Portraits
Inspiration for Mirrors and Windows:
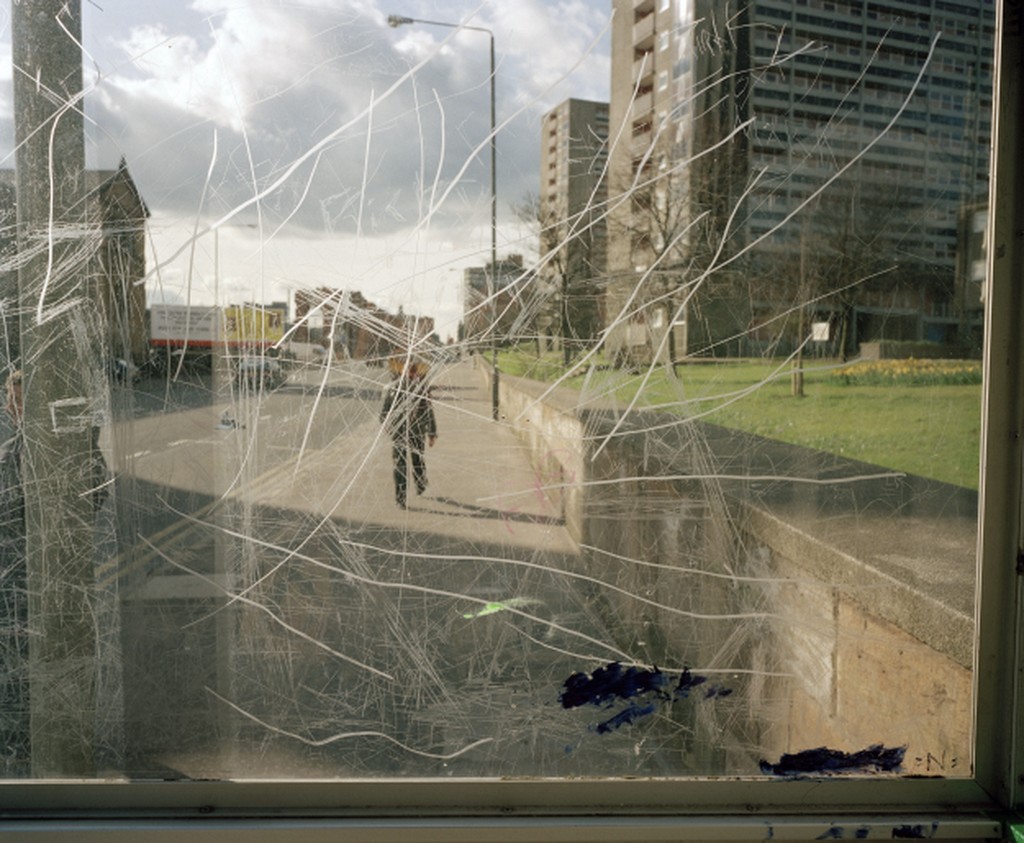
Photographer: Martin Parr 
Photographer: Helen Levitt 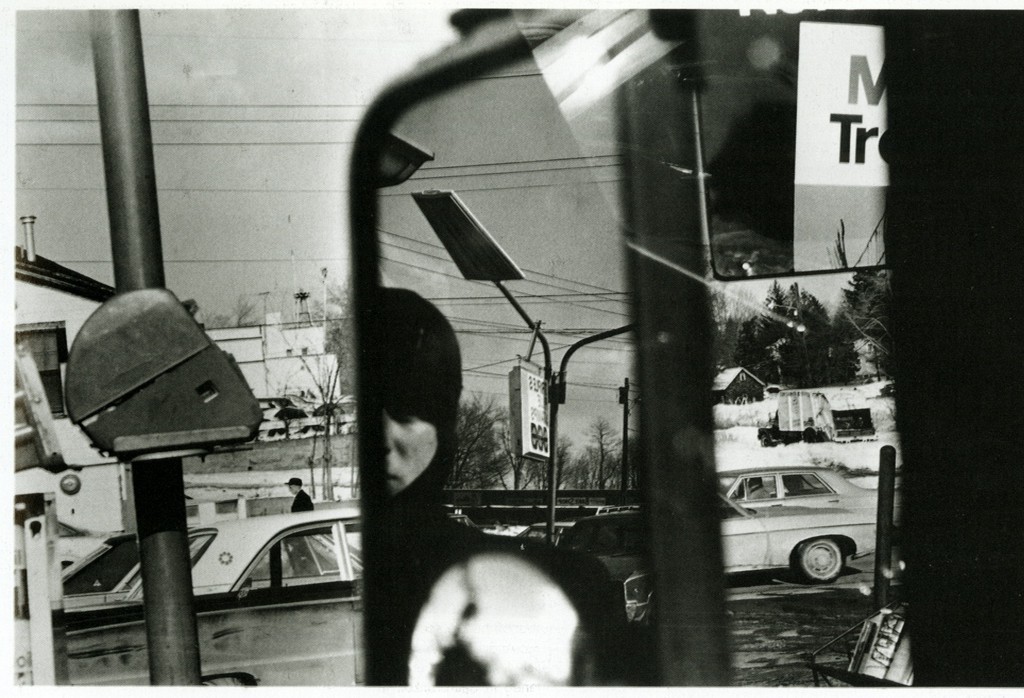
Photographer: Lee Friedlander 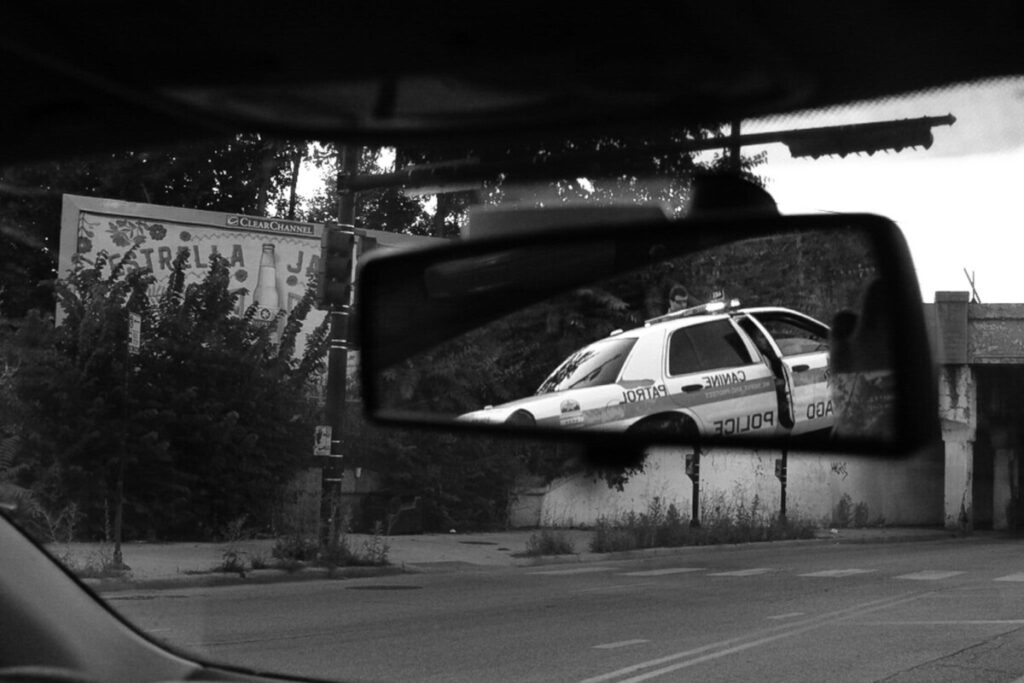
Photographer: SEbastian Hidlago 
Photographer: Bruce Davidson 
Photographer: Bruce Davidson


Recent Comments