Robin Michals | COMD 1340 Photography 1 DO97
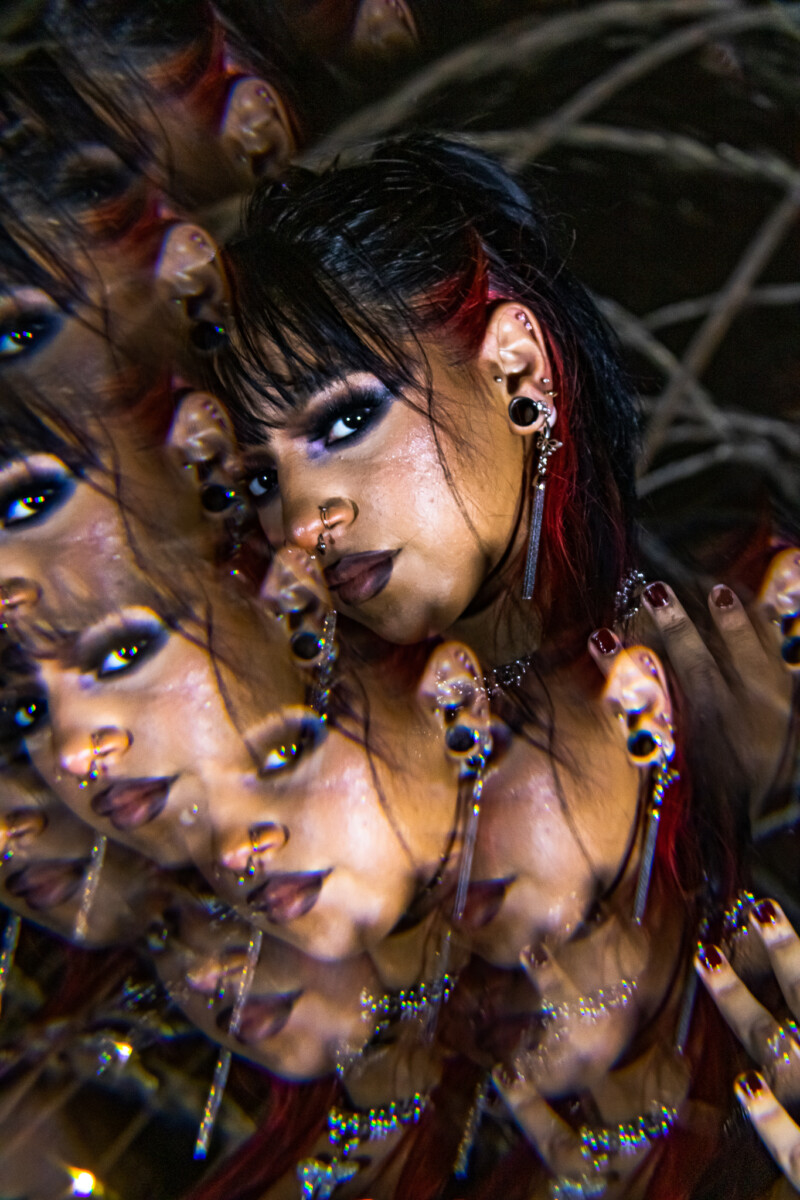
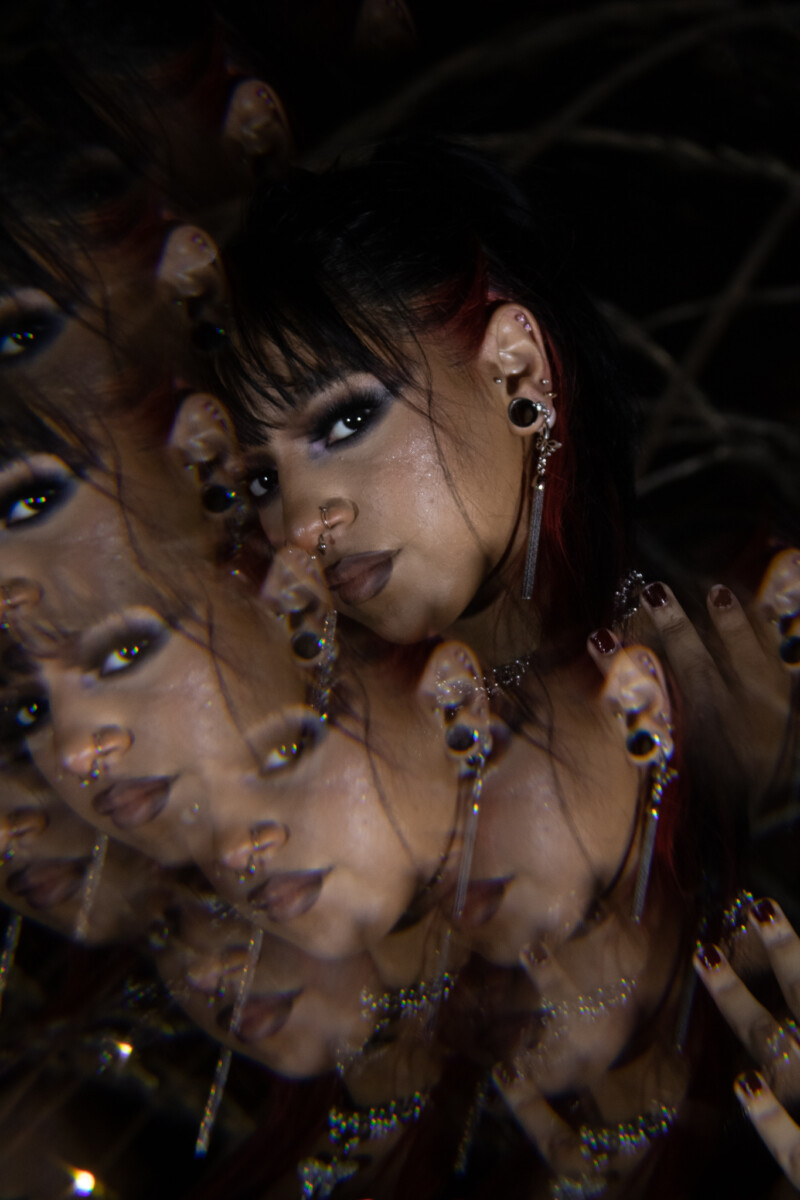
Select one of the photos that you will include in your final project that needs some local as well as globl corrections.
First make the global corrections.
Then identify what is the most important thing in your photo. Consider how to best direct our attention there.
Then using the adjustment brush and or the graduated filter, make the needed local corrections.
Put a before and after version of your file with local corrections into a gallery block in a post on OpenLab. Include a list of the global and then local corrections that you made to the file.
Category: Lab: Week 14 – Local Corrections
Pick any photo that you will be including in your final project presentation.
Please consult the topic page on Global corrections for more detail.
Make global corrections:
Put the before and after versions of your photo in a gallery block into a post on OpenLab. Include a list of the adjustments you made to the photo.
Category-lab: Week 14 – Global Corrections
Photograph the same classmate in each of the four lighting set ups. create the widest range of mood possible.
Post at least 20 photos to an album on Flickr and send your four best, one of each lighting style, to the class group.
Set up:
The key or main light is the light that casts the shadows.
Working with just the key light:
Front view:
Photograph your subject with:
Three-quarter view:
Photograph your subject with:
Profile:
The model turns their face at a 90 degree angle to the camera. Place light like a side light. The subject faces the light BEING VERY CAREFUL NOT TO LOOK DIRECTLY INTO THE LIGHT.
Put your 20 best photos into an album on Flickr. Make sure to represent each one of these lighting styles. Send your 2 best to the class group.

© 2024 COMD 1340 DO97
Theme by Anders Noren — Up ↑
The OpenLab is an open-source, digital platform designed to support teaching and learning at City Tech (New York City College of Technology), and to promote student and faculty engagement in the intellectual and social life of the college community.


Recent Comments