This is a foundation course in typography with an emphasis on using type for a multiple of industry related applications ranging from print to interactive.

Category: Class Notes

New Project: Chap Books Specs

Now that the Type Book is finished, we are ready to begin the next project. We already began this project in class by creating templates and master pages together, but here are the details so that you can make certain you stay on track.

  • Your Chap Book project will be a 12-page booklet. This includes the cover.
  • It can be  autobiographical or on a topic of your choice that you’re interested in. Please have your topic cleared by me. I want to make certain you have a plan for your content.
  • All of the content will be your own. You will do the writing and the photos or illustrations or graphic elements. Any content you find elsewhere must be properly created, otherwise that would be copyright infringement or plagiarism.
  • When you set up your pages in InDesign, the measurements are 5.5″x8.5″ (or 33picas x 51picas). This time your document will be set up as facing pages.
  • Remember to use a grid system to help you keep things organized and aligned. You will determine the number of columns for your grid system, but 4 columns is a good grid for pages this size.
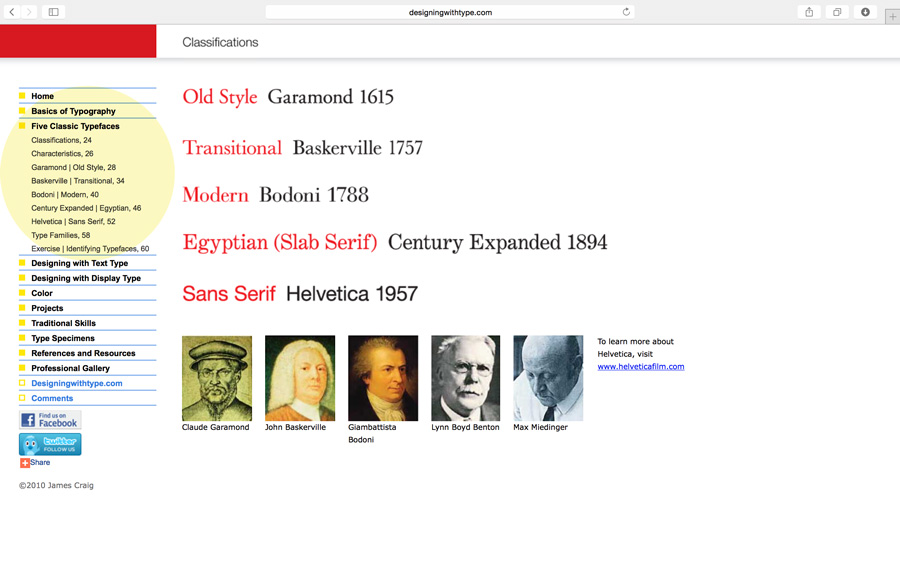
  • We have begun to learn the anatomy of magazine pages, so you are expected to use what you’ve learned when creating your Chap Book design. If you missed that lecture, use this links for the information: Anatomy of a Magazine Layout, Elements of a Magazine Page
  • When the design is complete, you will assemble the layout for printing, then staple down the center of the spine to create saddle-stitching.
  • You may print in black and white to save money, but your design will be in color.
  • After the print version, you will recreate your design for interactive publishing (with video, audio, etc) so that it can be read in a web browser or on a tablet.


Homework Due – Wednesday, April 19, 2017

  • When we return to class after spring break, you should come in with your cover complete and ready to begin adding your interior content.
  • Begin your cover with 3 thumbnail sketches to help your come up with the best idea.
  • While creating your Chap Book you are responsible for good type usage. That means making good type choices, kerning, tracking, and styling your type to look its best.
  • You will have some class time to work on this project, and I will be looking to see that you are making good progress.

Class 4 Recap – Introduction to Adobe InDesign CC

During class we reviewed letterspacing/tracking and kerning. We also began to explore the working environment of Adobe InDesign.

Areas covered:

  • Creating a new document
  • The InDesign workspace
  • Working with text boxes, fonts, point sizes, leading alignment
  • Leading, measurements, kerning
  • Installing fonts using Font Book software
  • Font Squirrel

We also discussed increments of measurements:

  • type is measured in points (pts)
  • 12 pts = 1 pica
  • 6 picas = 1 inch
  • 72 pts = 1 inch

If you missed the class, or need a review, here is a video that might help you with getting started in InDesign. It is a bit long but pretty thorough in helping your get started:


Homework — Due Wed, 2/15/17

  • Reading Assignment in textbook: pgs 151-173
  • Complete the Letterform worksheets
  • Complete your tracing assignment
  • As you walk through your neighborhood, take 2-3 photos of different typography in your neighborhood—billboards, storefront signage, posters, graffiti, etc. On this website write 1-2 paragraphs in a post describing what these examples of type say about your neighborhood. Do you see more modern or old style typefaces? Be sure to upload the photos (no more than 3).

Class 3 Recap – Kerning, Tracking and Letterspace

The main topic of the discussion was kerning, tracking and letterspace. We also did an introduction to the InDesign workspace. As a review of the Five Families of Type, here’s a link to an added resource. Navigate through the links highlighted in yellow: Designing with Type

Kerning vs Tracking

Do you know the difference between kerning and tracking? You need to make sure you understand.

kerning = adjustment of the space between two letters to improve the appearance. Kerning is more specific than tracking. Kerning becomes more important with large or display type.

tracking = adjustment of the space between letters for the a whole word, sentence, page or document.

Continue reading

Class 2 Recap – The History of Typography

Wed, Feb 1, 2017

Let’s review some of the things we learned during our second session:

Introduction to the Five Families of Type

Old Style – Garamond
Transitional – Baskerville
Modern – Bodoni
Egyptian or Slab Serif – Century Expanded
Sans Serif – Helvetica

You need to become very familiar with these families/categories and the characteristics of each.
Download lecture slides

Continue reading

Class 1-Introduction and History of Letterform

It is important that you check here frequently during the week. There are also times when you will be required to contribute to the content here. As mentioned, this and all class participation is part of your grade.

Your Next Steps

  • Make sure you have access to your City Tech email account. This is where the college and I will communicate with you about college related information.
  • Purchase your required textbook.
  • Purchase your required supplies. Be sure to bring your supplies to class for Wednesday’s class.
  • Complete the contact information questionnaire.
  • Read the very first post entitled “Welcome” and type your answer to the question in the comments section.

Class Recap: History of Letterform

  • There are many different typefaces or fonts available for use. As the designer your will be responsible for selecting the typeface or font, the point size, the linespace (also known as leading). Typography is practiced by typesetters, graphic designers, art directors and even graffiti artists.
  • How is letterform studied? Through epigraphy, paleography, and calligraphy.
  • Letterform means a letter’s shape. It is also an synonym of the word glyph. Glyph = a specific way a letter or character is drawn. Let’s take a look at the evolution of letterform to understand how we got to our modern day 26 letter alphabet.
  • Pictographs were used as the earliest known form of writing, examples having been discovered in Egypt and Mesopotamia from before 3000 BC.
  • Ideographs are symbols that represent an ideal rather than just a word. Eventually, there were so many combinations of symbols that it became a problem to memorize them all. The term “ideogram” is used to describe logographic writing systems such as Egyptian hieroglyphs and Chinese characters.
  • The evolution of our 26 letter alphabet—Phoenician alphabet, Greek alphabet, Roman alphabet.
  • One of the reasons the capital letters didn’t have curves is because the writings were carved into stone or other hard surfaces.
  • Originally, alphabets were only written as capital (majuscule) letters. Writing quickly with the pen is caused the letters to take on a curved shape and that is how small (minuscule) letters developed.
  • The early writings of the Greeks and Romans had no punctuation—the words either ran together or were sometimes separated by a dot or dash.
  • Punctuation was formalized with the rise of printing in the 14th and 15th centuries.

Continue reading