This week we are downloading, testing out a few apps for iPads and iPhones and reviewing our findings for our blogs. I dowloaded a few apps and messed around with each a bit. The apps I downloaded were Autodesk Sculpt and 53 Paper. Here is my review for each app, respectfully.
Autodesk Sculpt
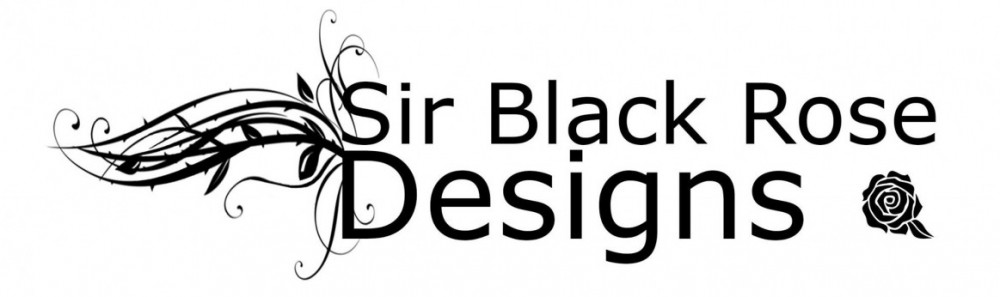
As mostly a 3D modeler, I decided to download Autodesk Sculpt, an app very similar to Pixologic’s Sculptris. The controls and overall interfacing with the app are very similar. You have the inflate tool, draw tool, smooth tool, flat tool, pinch tool and even the paint tool. Here we can see the results of me fiddling with the app. Yes, I totally made an eye. On a side note, eye can see you. Ha ha.
It’s an eye!
For those who are not familiar with these terms:
- Inflate tool – as the name suggests, inflates the area underneath the cursor.
- Draw tool – Adds to the geometry, used to make extra pieces to a sculpture. (for example, you can add limbs, wings or antenna to the geometry.)
- Smooth tool – smoothes out the surface of the geometry
- Flat tool – flatness out the geometry.
- Pinch tool – creates a pinch within the geometry.
- Paint tool – Paint onto of the geometry.
I first started out with a simple sphere shape and added some veins to make the eye seem more realistic. I did this by using the inflate tool with a small sized brush set to medium opacity. I then took a larger sized brush with the same opacity and created the lens area of the eyeball. That ends my modeling of the eyeball. So much work I did, right?
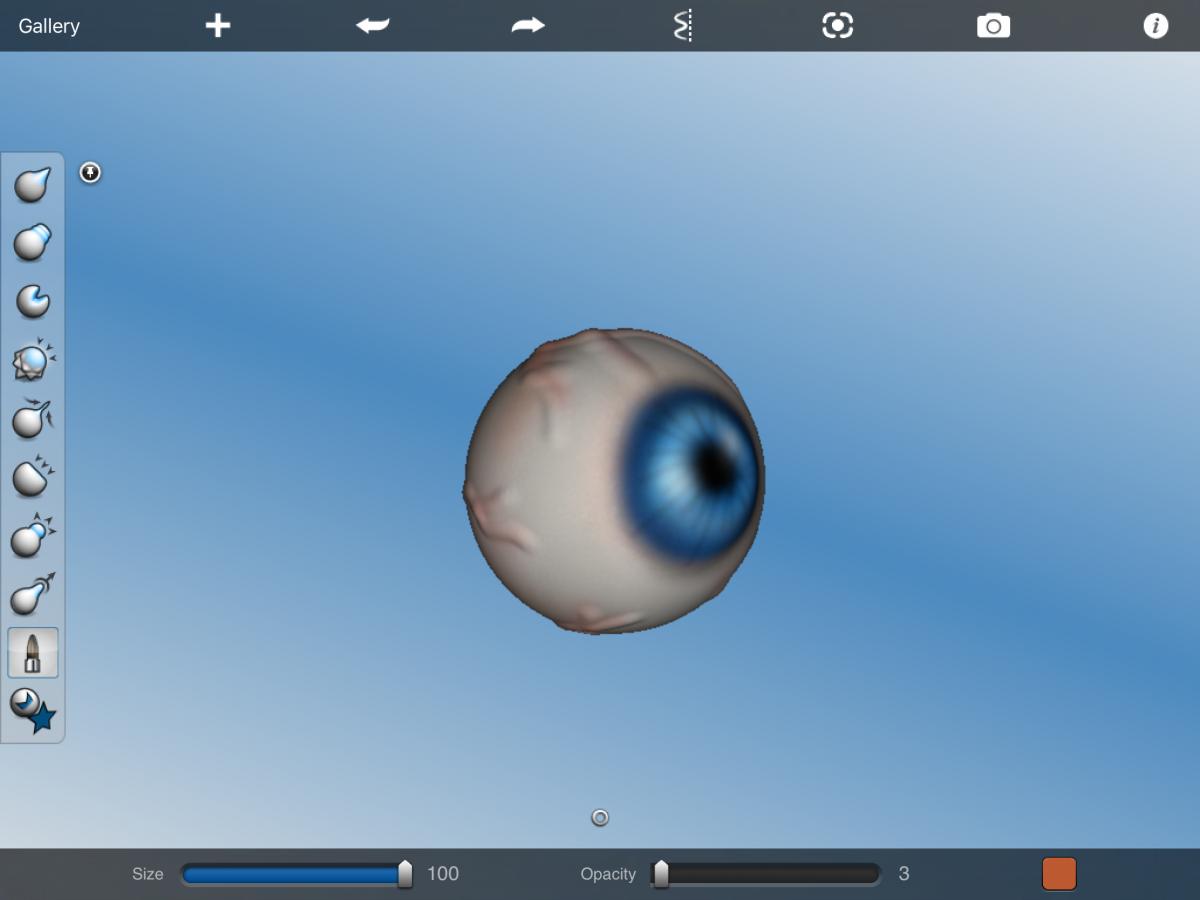
Then I began to paint the eyeball. I started off by adding a gray shadow to the sides and back of the eyeball following this up by painting the veins in by taking a red hue, from the color selector menu, and setting my brush to maximum with about 5% opacity and gently tracing over each one.
Veins!
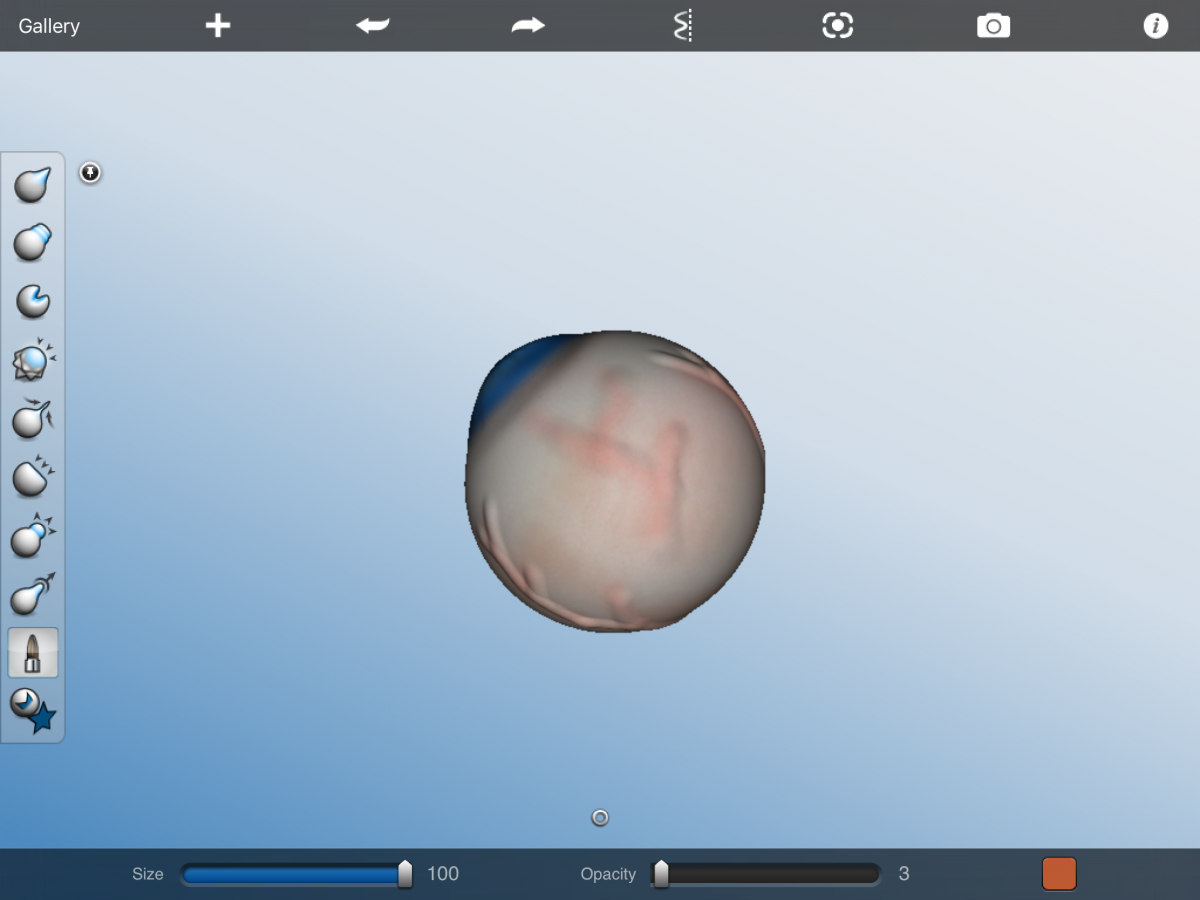
Now it’s time to color in the iris and pupil! I decided on a cool blue color, since I already had some warm reds in there, and set my brush to maximum size as well as opacity. One dab and we have a blue iris! I took a lighter colored blue with a 5% opacity and small sized brush to create some light areas around the pupil. Setting my brush to maximum opacity, I took black and dabbed a pupil in. I then followed up by tracing the very edge of the pupil with the black with my brush set to 3% opacity and medium size. Lowering the size to the smallest settings I then began making lines, starting from the pupil and ending around the midway point between the edge of the iris and pupil. I then dabbed in some areas of white for some highlighted effects. I then proceeded to give the entire eyeball a muted red color with my brush set to about 5% opacity and maximum size. Voila, we have a finished eyeball!
53 Paper
An app I’ve heard most illustrators shouldn’t be without, Paper is an all around easy to use app and has some very interesting additions that you may not find in other iPad apps of it’s kind. One of the first things I’ve always done, as an artist and generally curious person is try to learn everything I can on my own without reading a manual or looking up tutorials. It’s how I taught myself Adobe InDesign so it’s paid off very well for me so far, why stop now? That is exactly what I did with Paper; pressed everything it has to figure out what it does. I ended up making a typographic piece with the apps name. Of course I can do better but this was still very interesting to mess with.
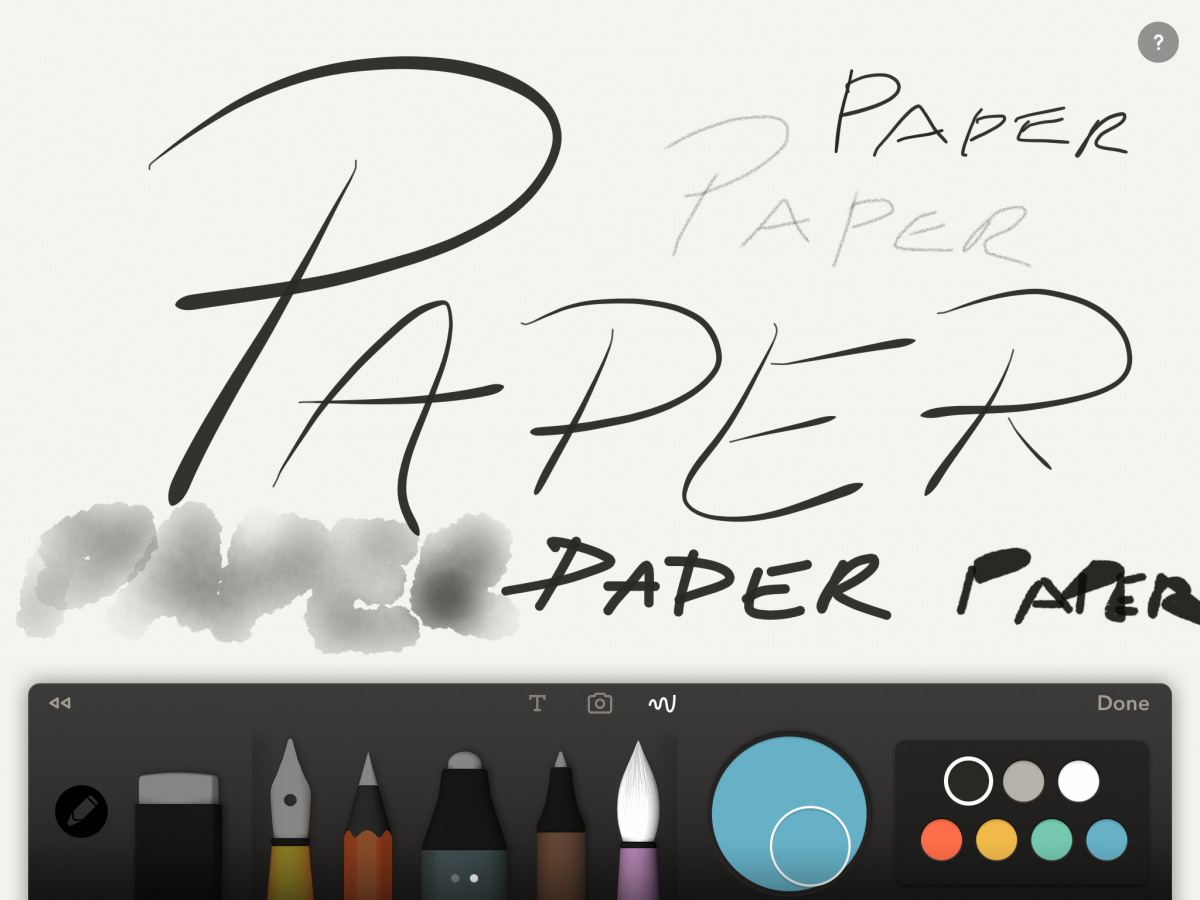
Paper, paper, paper.
The app allows you to sketch, paint, draw, erase and even type! You can even choose what color you want and what size brush as well as change the opacity of your brush. Naturally, I tried each brush possible and ended up using the tools you see in the picture the most. From what Ive seen you have the ink pen brush, marker brush, watercolor brush, pigment liner brush, pencil brush, airbrush, pen brush, several different hardness levels of graphite pencils and of course an eraser! I prefer the ink pen tool the most, as you can tell, as it is the largest sized text in the picture. It has an easy consistency and really makes you feel as if you are actually using the ink pen, based on how the ink is placed on the canvas.
The brush tool I lest cared for was the watercolor brush, lower left hand corner. However, that is probably because of the amount of canvas I gave myself to experiment with that tool on. The brush bleeds, as all watercolor paint would, so I would recommend anyone, when using that brush to make text, to give yourself more space or you won’t be able to read the text, as mine shows. I don’t know why anyone would use a watercolor brush to make text but to each their own.
Another neat feature of this app is the idea section where you can post and edit your previous creations and even caption them! I decided to give mine an obvious caption. You can make different spaces or albums in the app and organize them as you see fit. The default space is private so you can store any pictures or private notes without anyone seeing your business. A pretty handy addition, if you ask me!
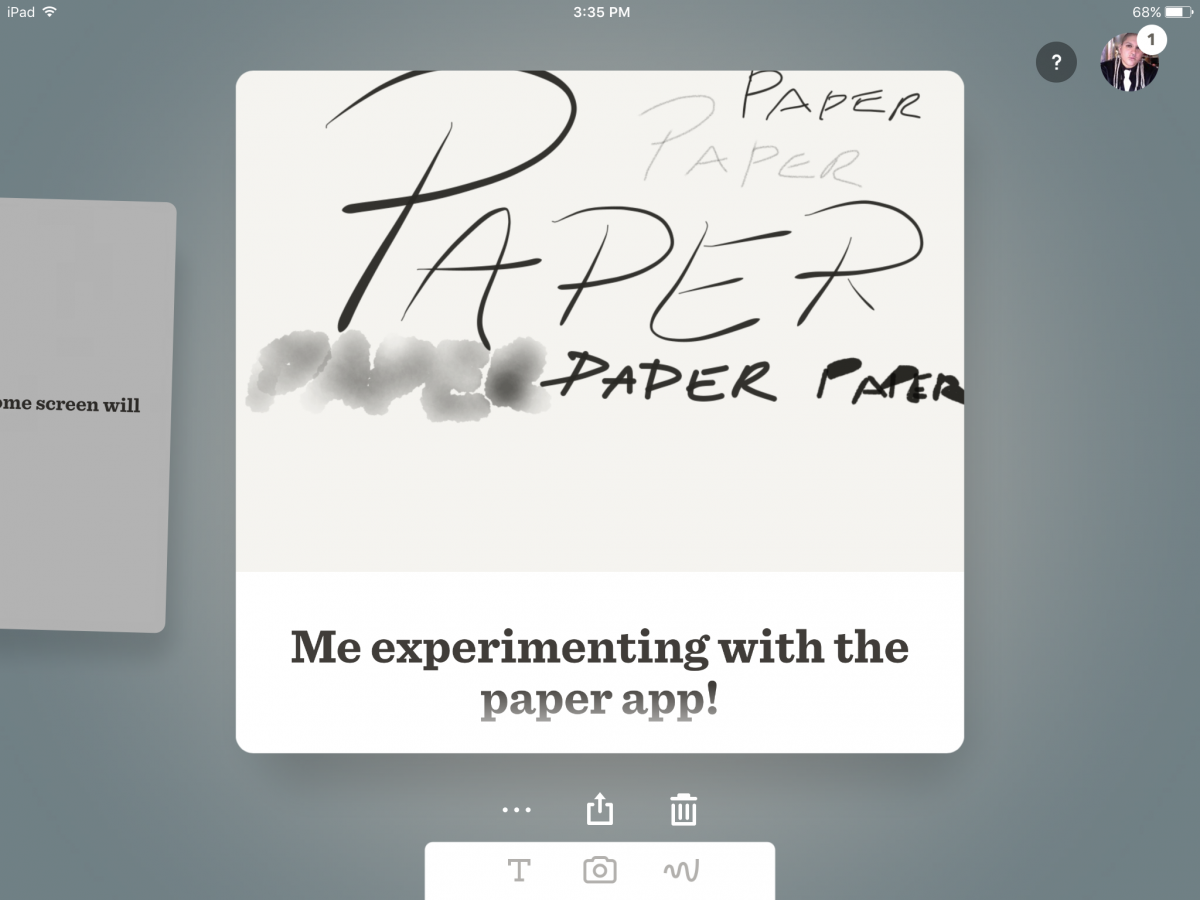
Experimenting is always good.
Both apps, especially the sculpting one, are very interesting and useful for any animator or illustration enthusiast/student. I recommend you pick up one, if not both, of these great apps! Now to go mess with my eyeball some more, I might even animate it to make it blink at you!

