Needed for this class
- Camera or cameraphone
- A window w/daylight
Portrait Poses
There are three basic positions for someone’s head and face in a portrait.
- Front view
- 3/4 view
- Profile

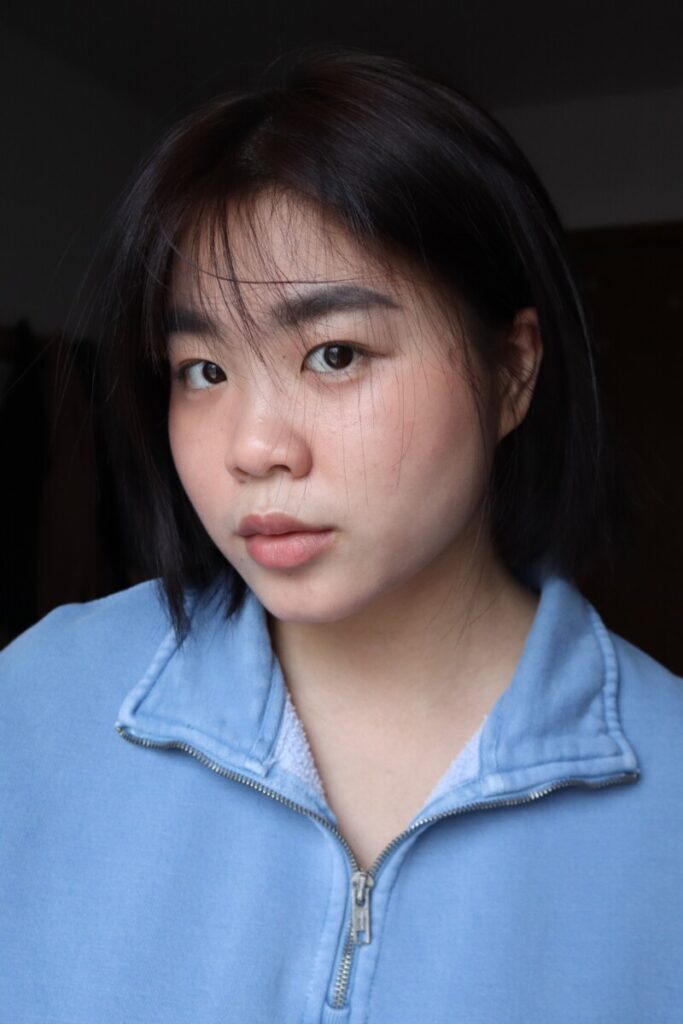
Front View
By: Celeste Sloman
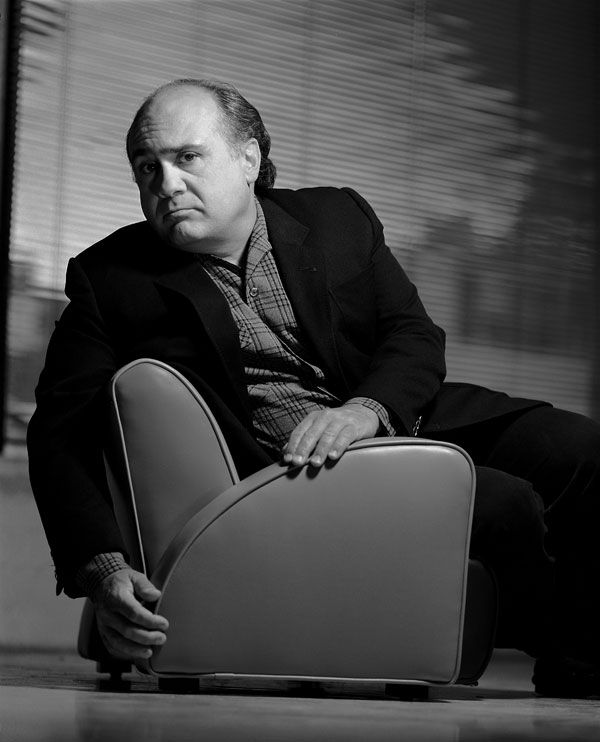
Three quarter view
By: Celeste Sloman
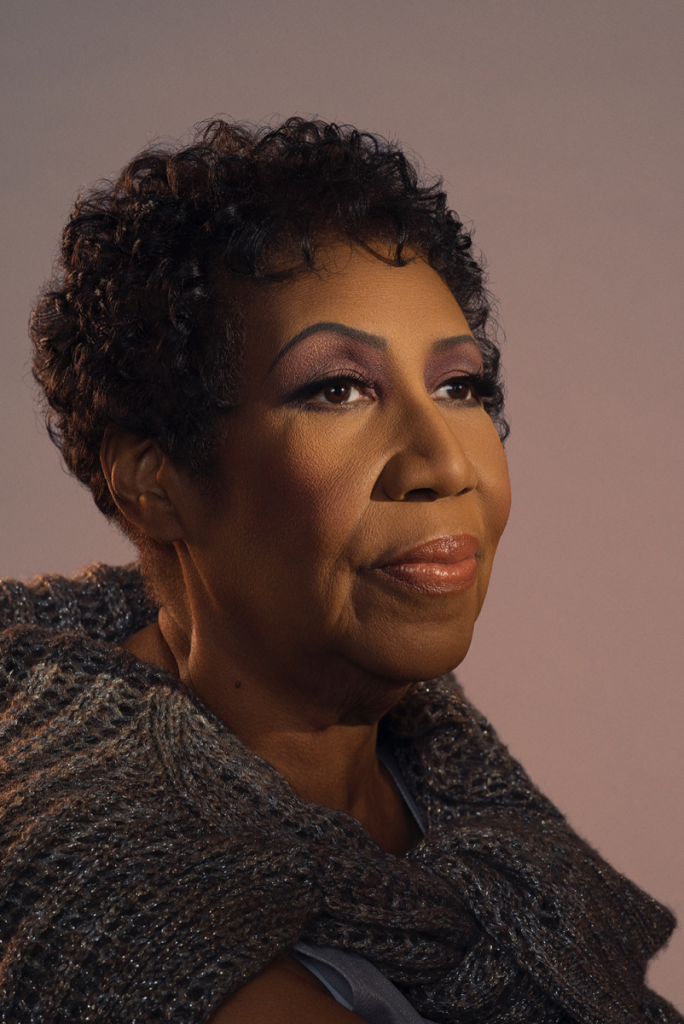
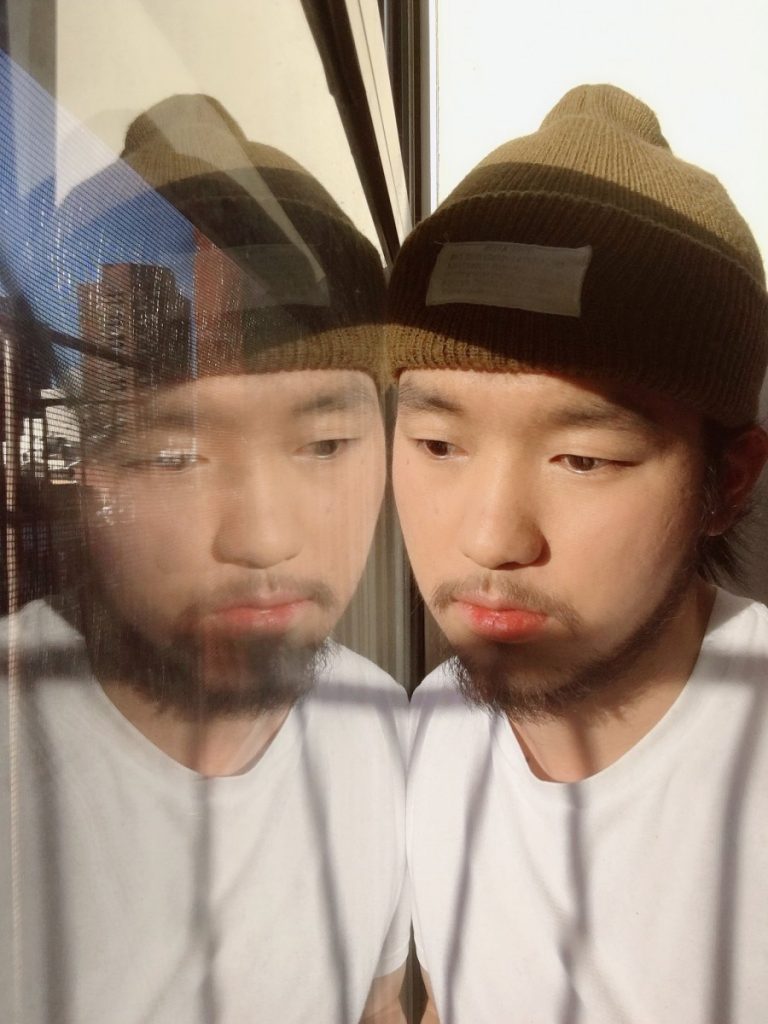
Profile
By: Nadav Kandar
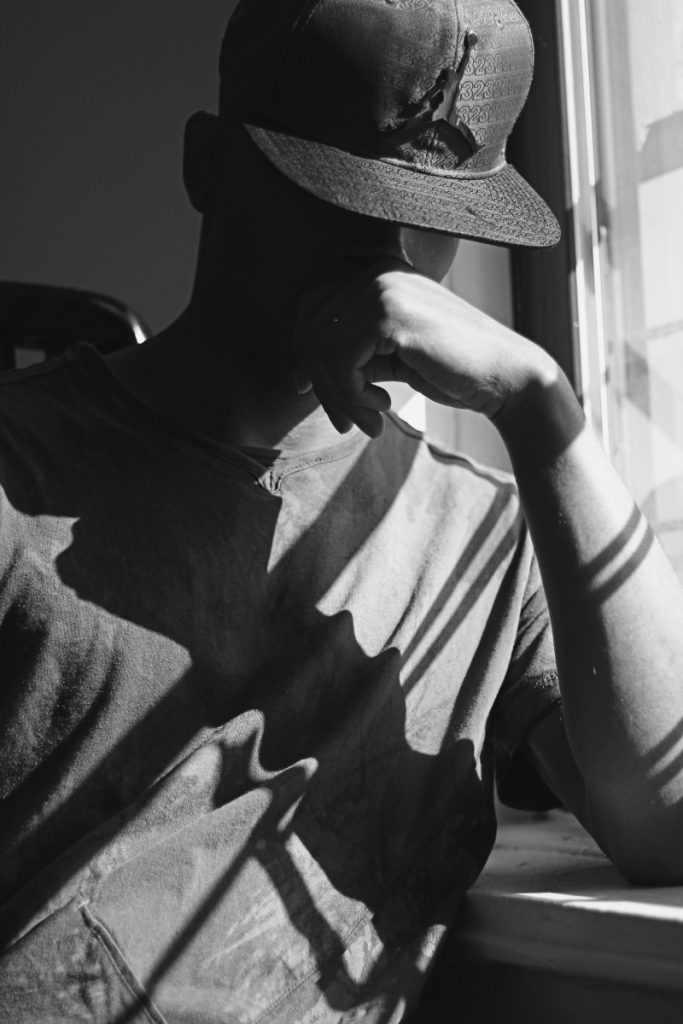
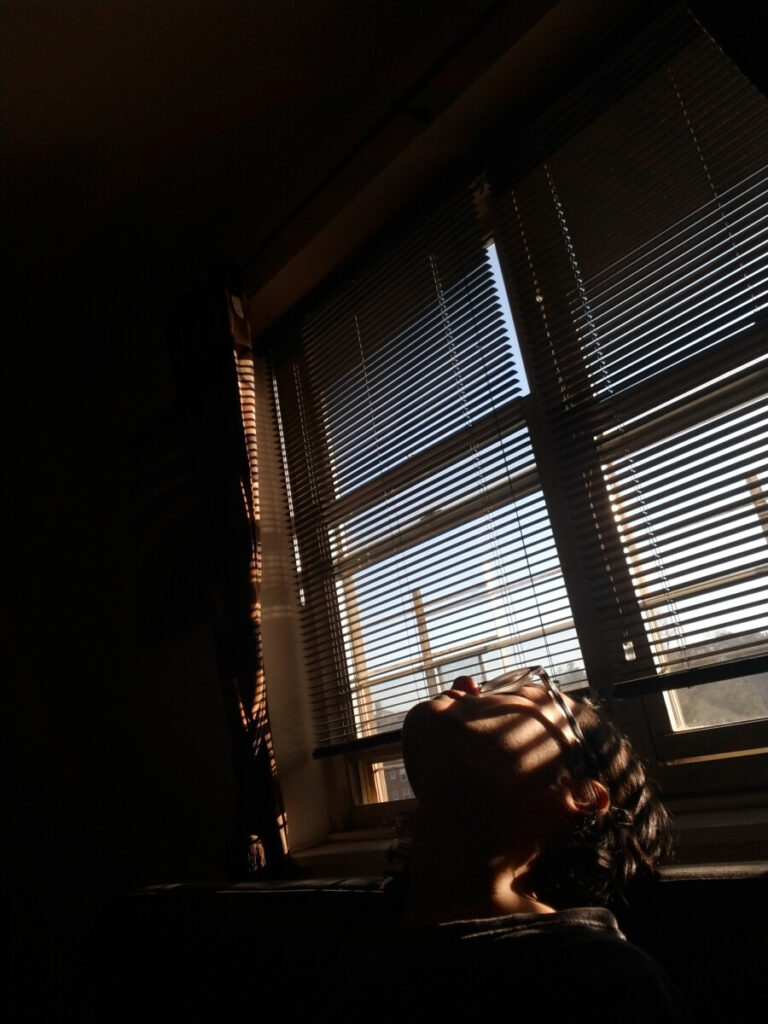
Expression
For family photos a smile is a must but not so for a portrait. It is however important that your subject look comfortable. It is your job as the photographer to talk with your subject and make them feel comfortable.
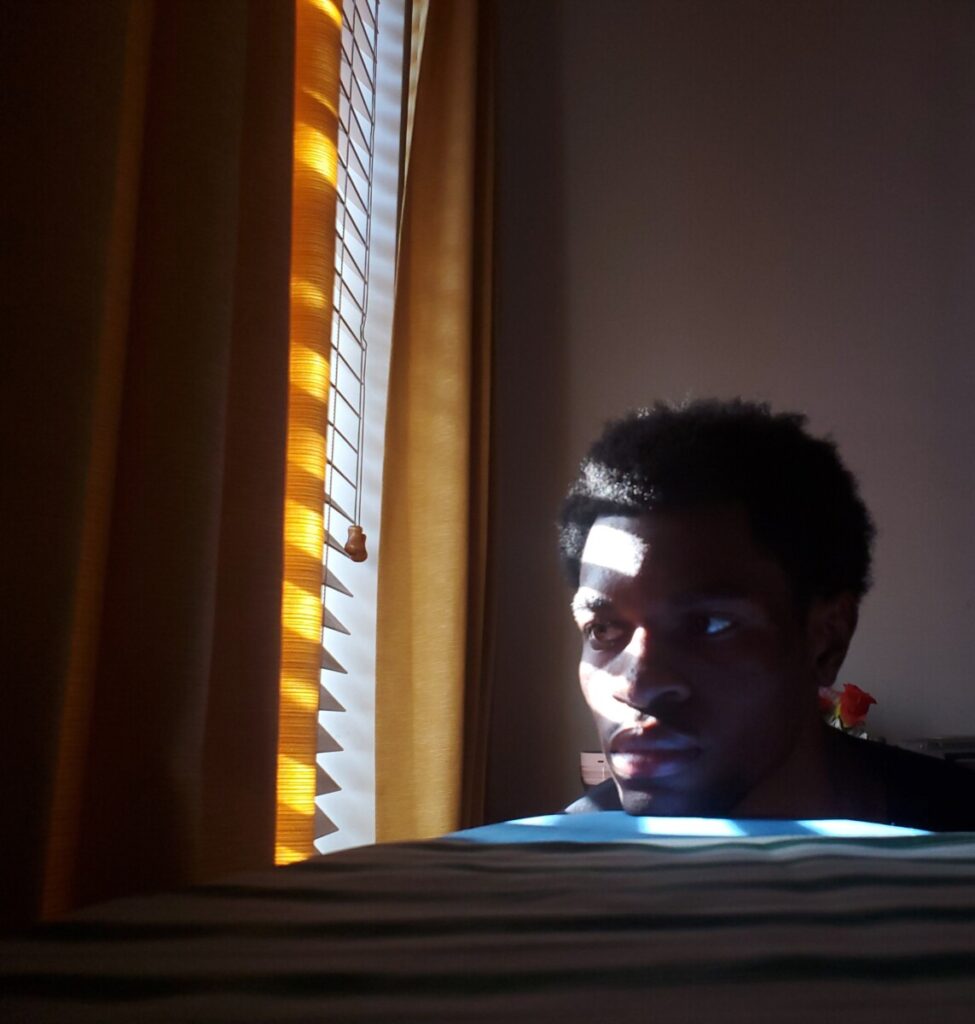
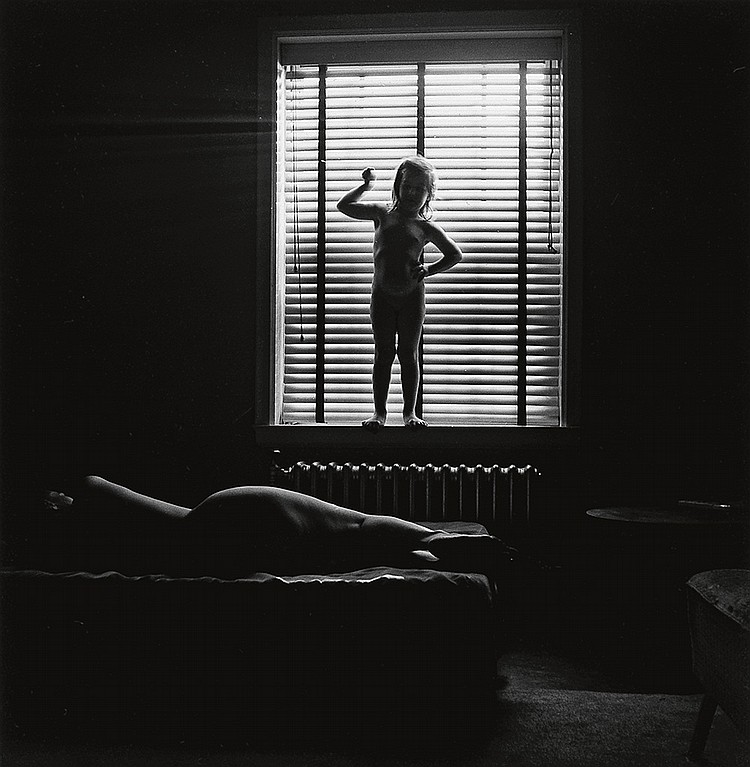
Focus
When shooting a portrait, the subject’s eyes must be in focus. Full stop. period.
Generally, portraits are shot with shallow depth of field to separate the subject from the background. Be careful to have enough depth of field so that the subject’s face from what is closest to the camera to what is farthest is in focus.

By: Phillip-Lorca diCorcia 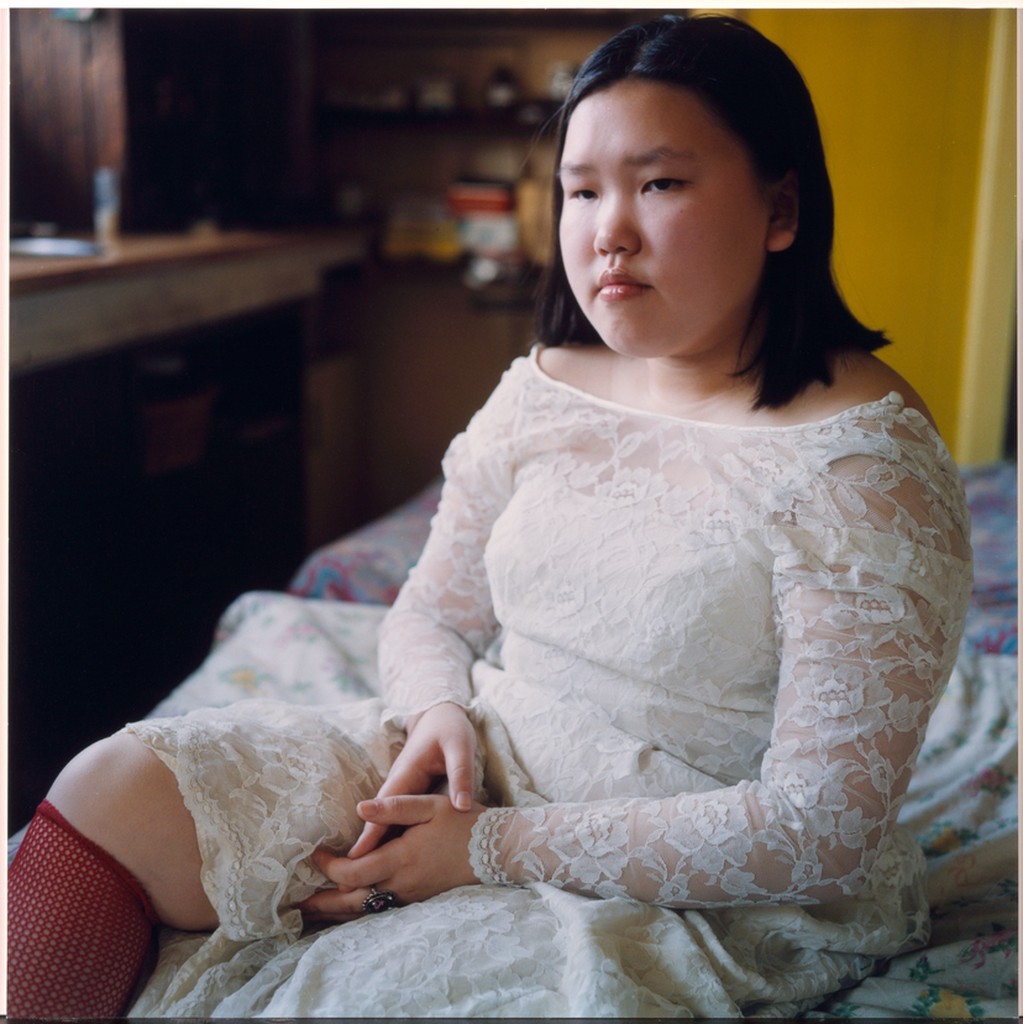
By: Helene van Meene
Wide Angle Distortion

Wide Angle Distortion is created when using a wide-angle lens AND the camera is very close to the subject. The object close to the lens appears abnormally large relative to more distant objects, and distant objects appear abnormally small and hence more distant – distances are extended.
Focal length and proximity to the camera affect how a person’s face looks in a photograph. A wide focal length and proximity between the subject and the camera create wide angle distortion and will distort a person’s features.
Photographer: Chip Simons
Think about selfie sticks. What are they for but to get the camera away from your face? This makes the photograph look more complimentary to the subject. This is really important with a cameraphone because it has a wide angle lens. The center of the lens and the sensor cannot be very far apart given the thin design of cellphones.
Homework 30 photos for first shoot for final project


Recent Comments