Homework 12. 30-40 photos for final project
Test next class
Prof K Pelka : Monday 6:00 - 9:20
Homework 12. 30-40 photos for final project
Test next class
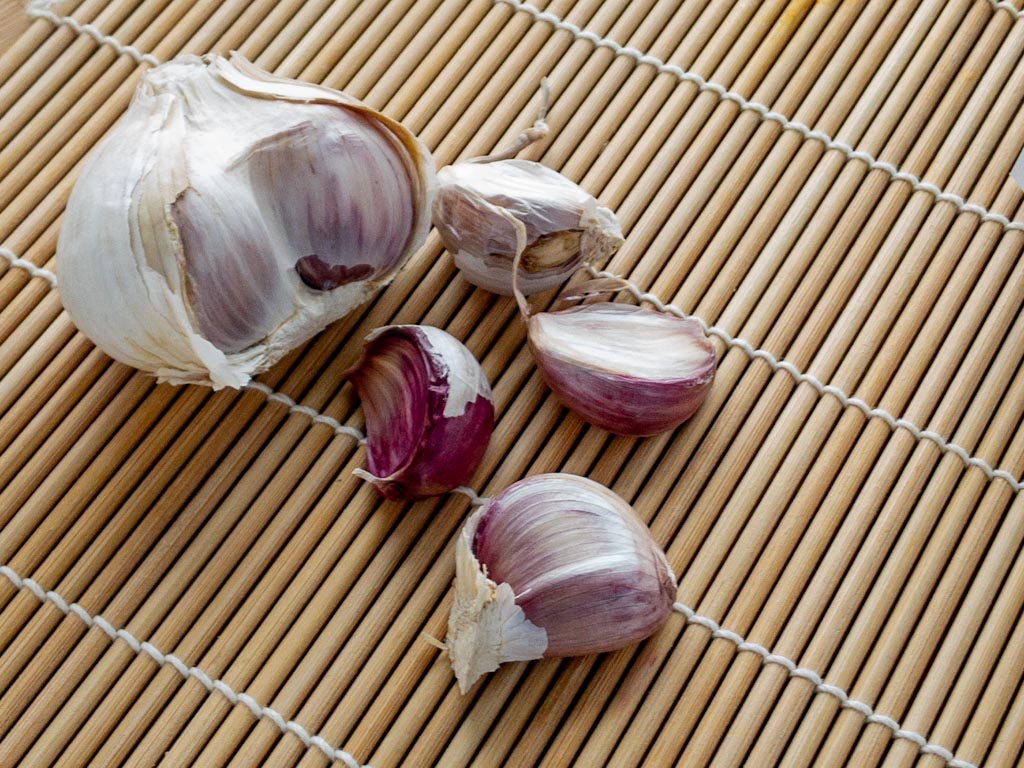
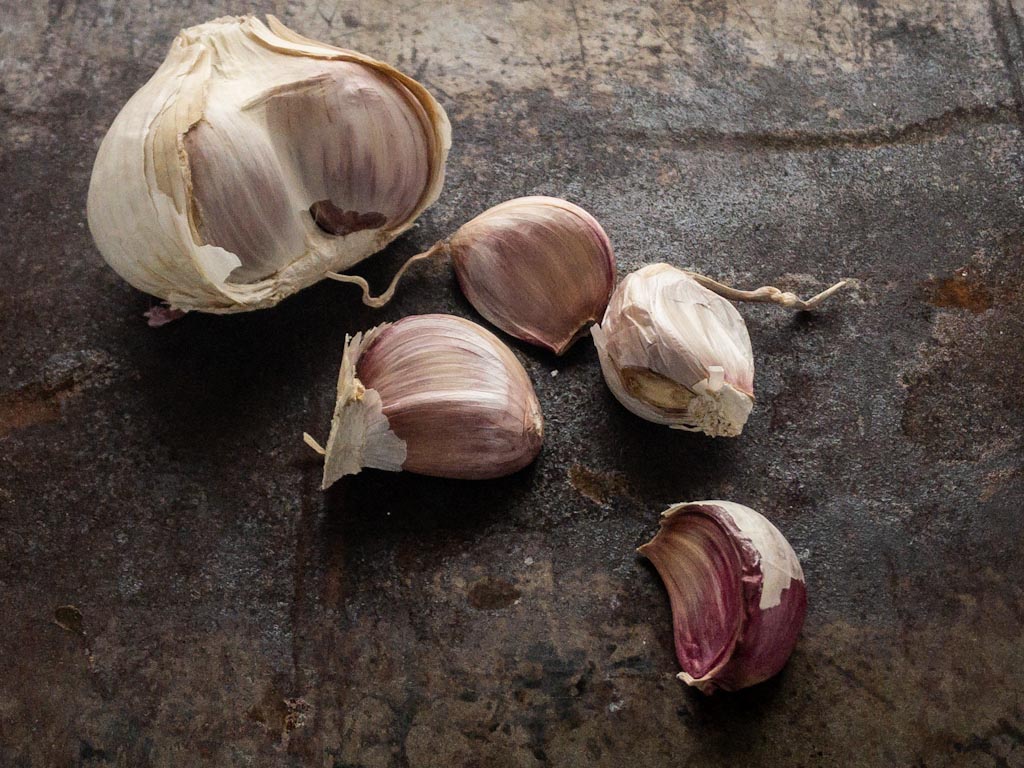
Photograph your objects on two different backgrounds. Keep as much about the photo the same – the composition, the angle of view – and change the mood just with the background. Adjust your photos in Lightroom. Put the two photos in a post with a short description of what you used and how the different backgrounds change the mood of the two photos.
Post. to open lab student post/ Lab11 background
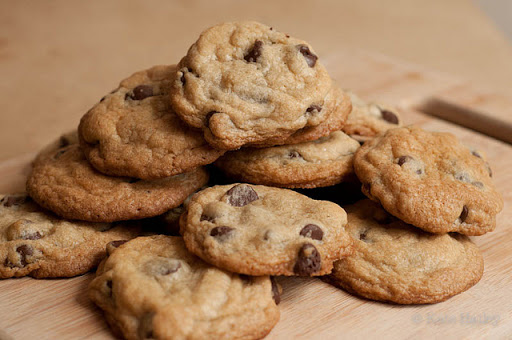
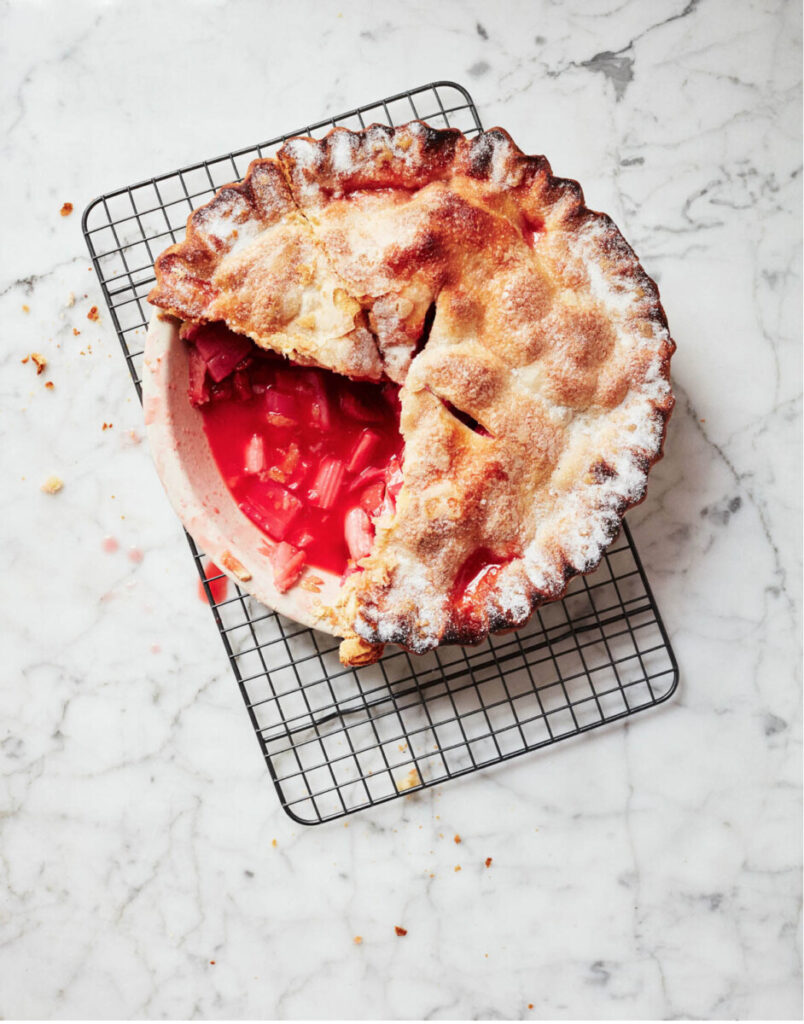
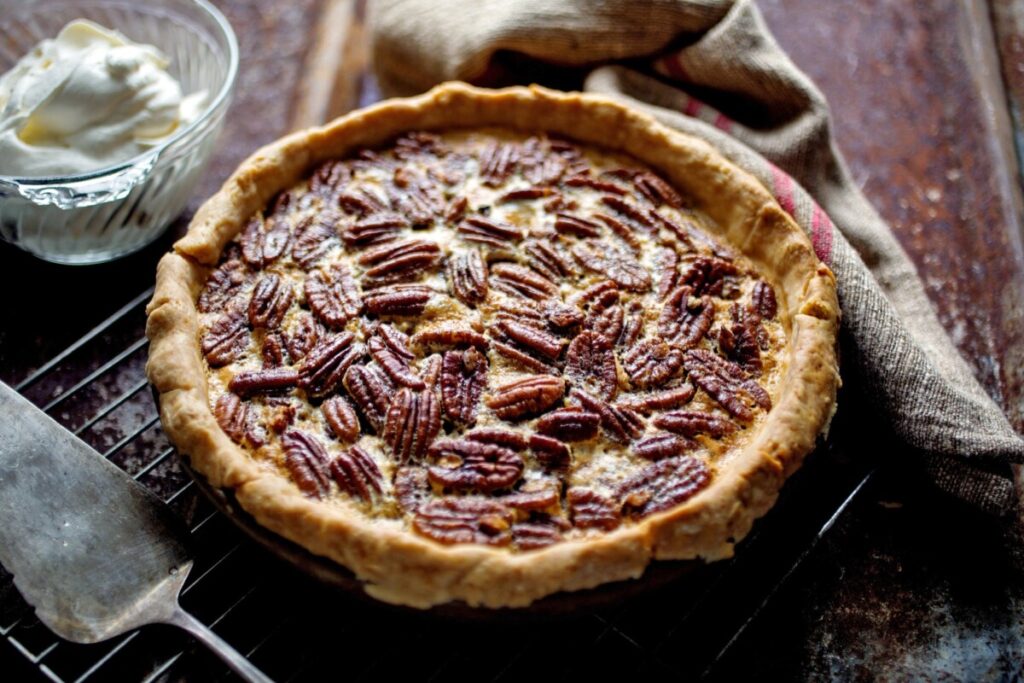
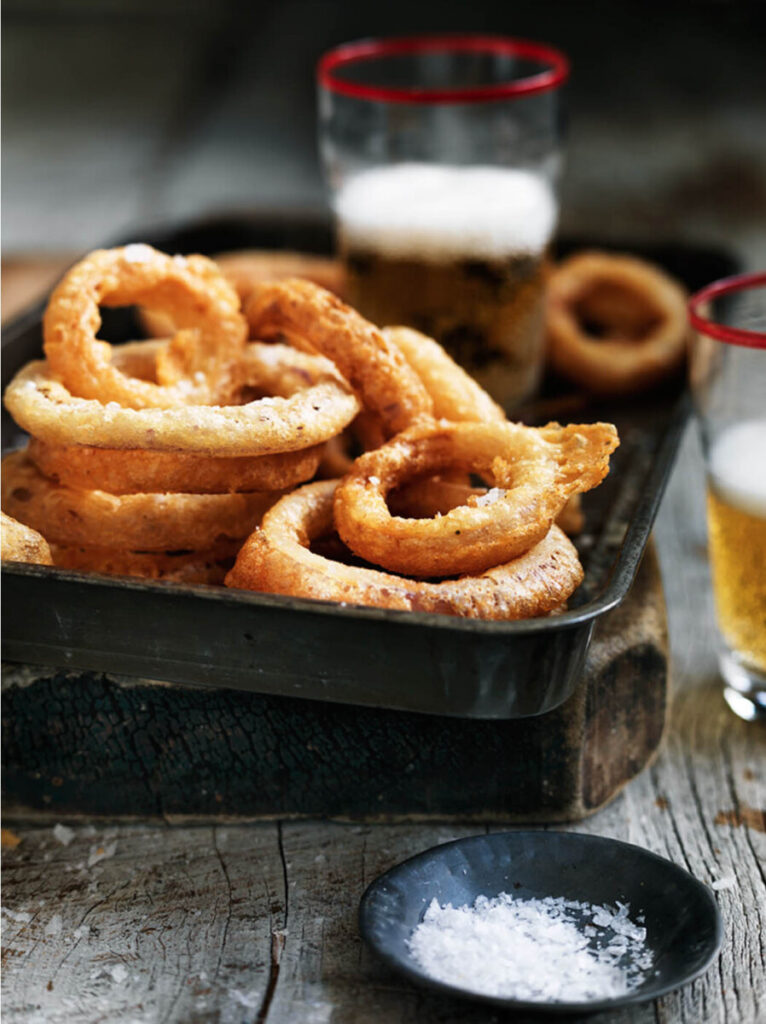
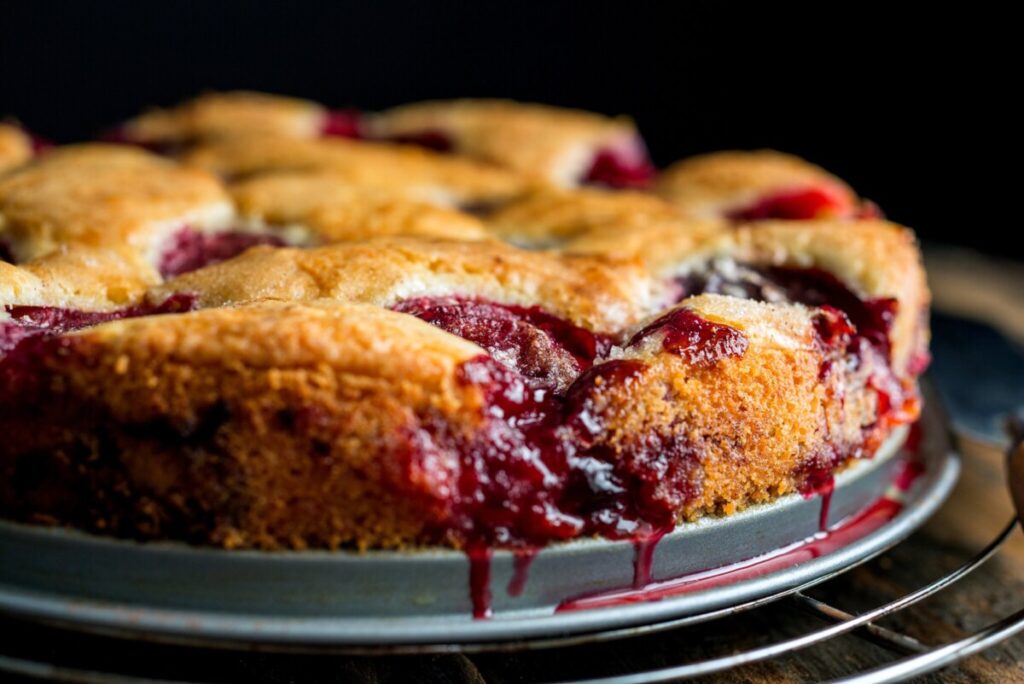
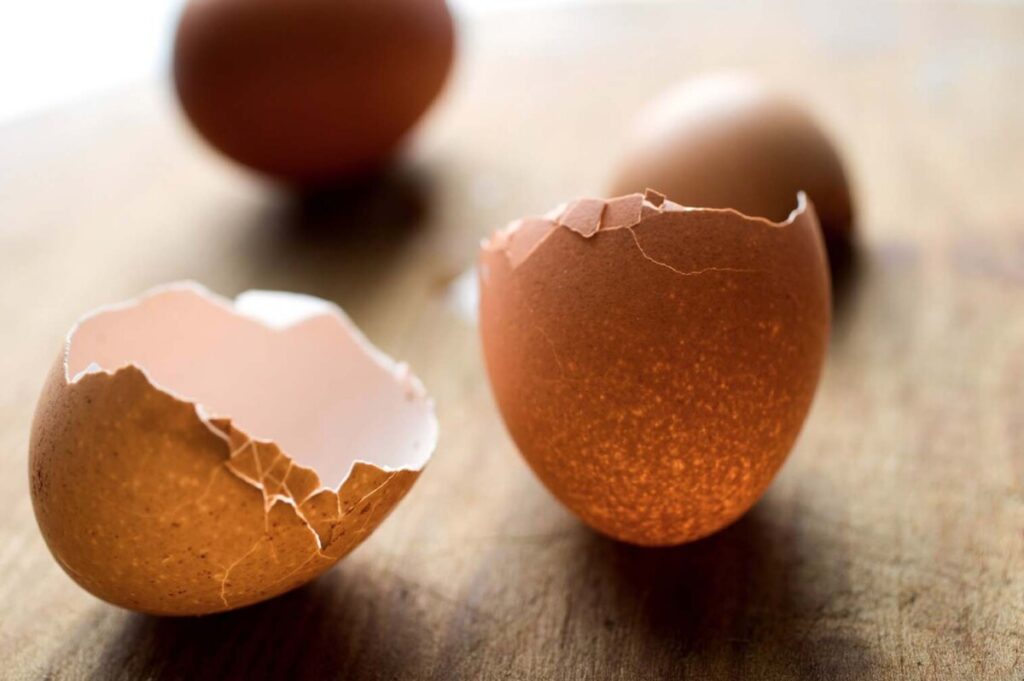
Food photography – the art of making food look good for the camera – often


Compare and contrast
Lab Exercises
30 – 40 photos for final project
In food photography, soft light is often used as the main light. The main light can be either backlight or side light. To make the food look appetizing, we generally fill or brighten the shadows.
The side of the food away from the main light will be dark. To brighten and soften the shadows, we reflect light from the main light into the darker side. Adding fill evens out the light. It reduces contrast. You can’t simply correct for this with software. When you do, you will lose detail in the brighter areas to get a good exposure on the areas in shadow.
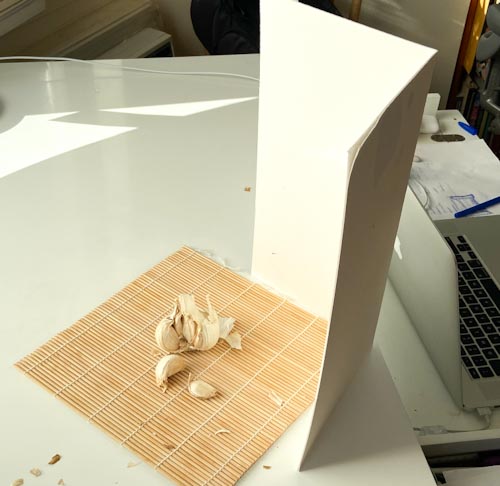
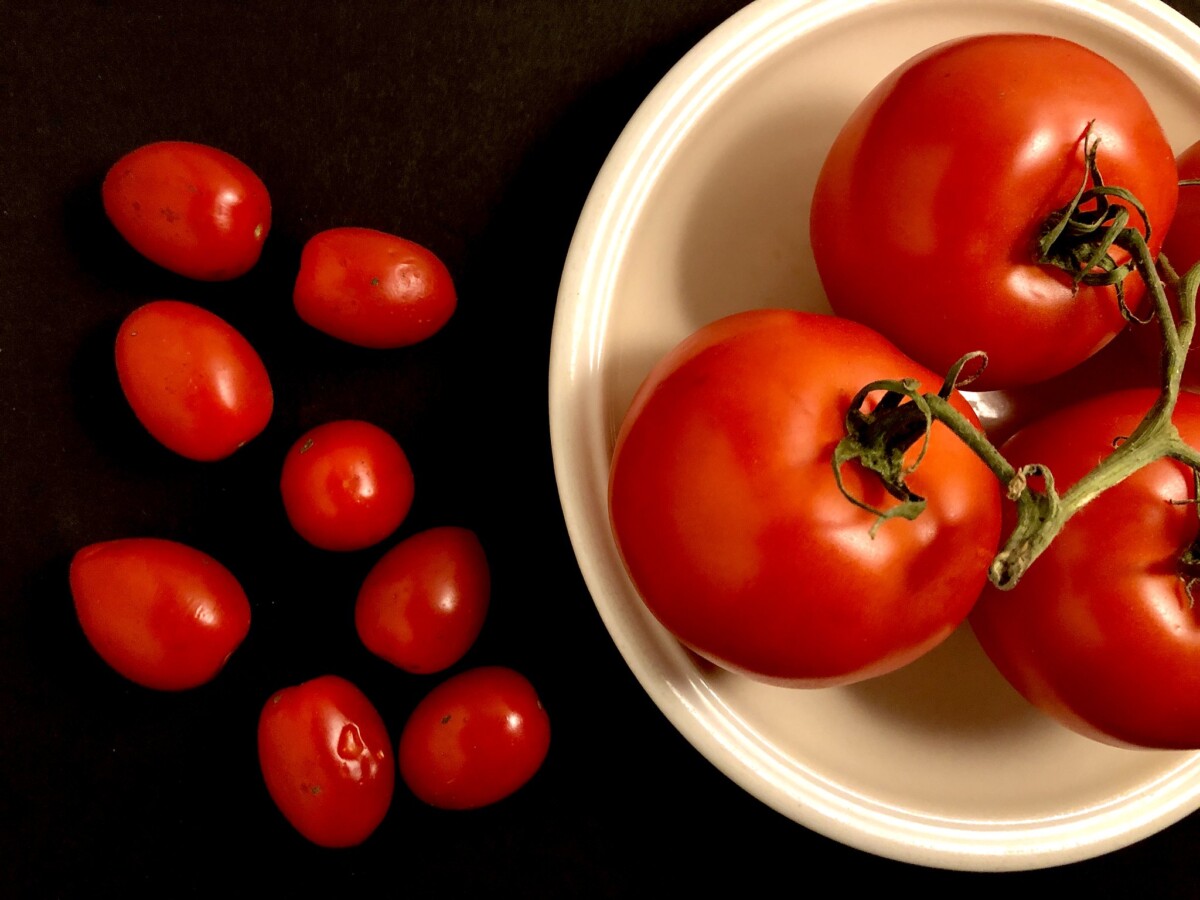
The fill in a photo studio may be another light or a white board to reflect light back on subject . You can try a piece of computer paper if you don’t have white cardboard. Use it to reflect the main light back onto the subject. It will brighten the shadows and even out the light.
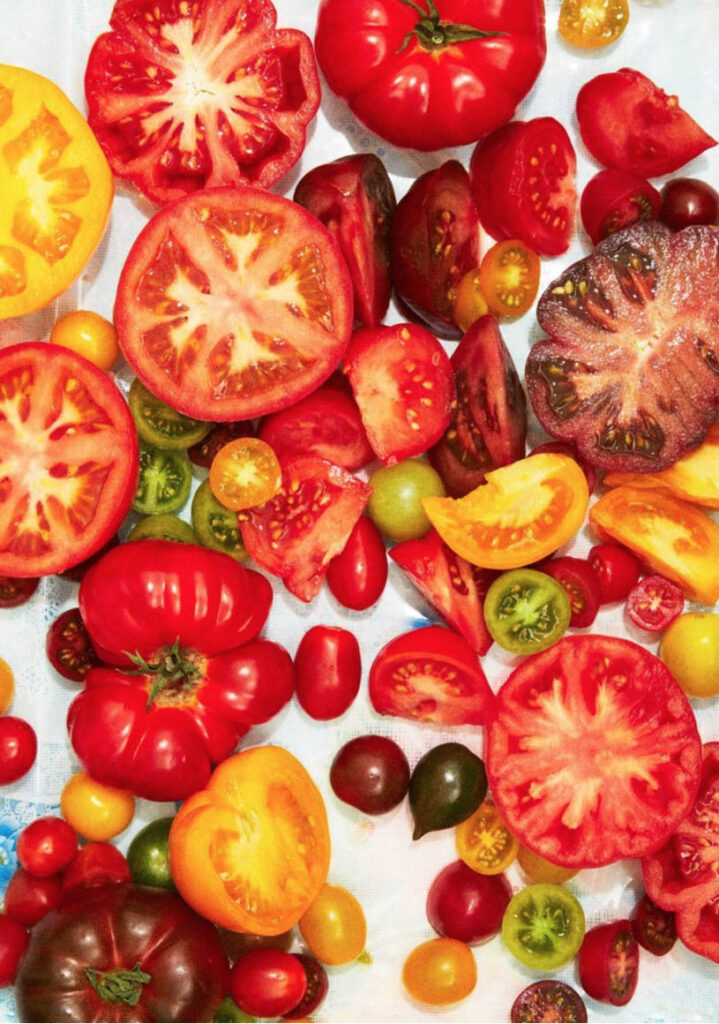
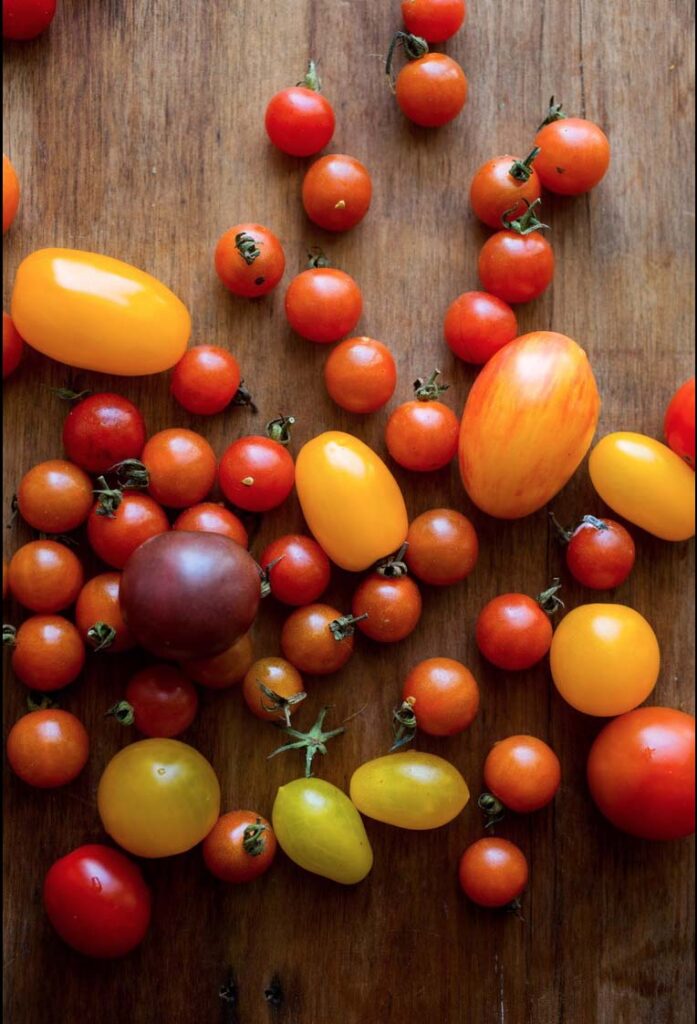
Working with your main light, photograph a group of a few food items, using back and side light, both with and without fill.
First pick a background. Arrange the items on the background , creating a pleasing composition .
Set position of main light and rearrange items if necessary. To soften light from a clip lamp place tracing paper in front of light. If you can’t soften the light, adjust the light so shadows are not distracting.
Shoot the scene with backlight
Shoot the scene with backlight and add fill
Shoot scene with side light
Shoot scene with side light and add fill
Upload all 12 images to open lab in a gallery. Lab11 Food/ Fill
Label all images
Describe your process including how you set up the shot. What did you use to reflect light into the shadows. Did you get better results from back or side light? Which image is the best? Why?

© 2024 COMD 1340 OL 90 Photography 1 Spring 2022
Theme by Anders Noren — Up ↑
The OpenLab is an open-source, digital platform designed to support teaching and learning at City Tech (New York City College of Technology), and to promote student and faculty engagement in the intellectual and social life of the college community.


Recent Comments