Negative space is the background of your photo. It is everything that surrounds the main subject of your photograph.
Review the examples from today’s class topics page to see some of the ways to use negative space.
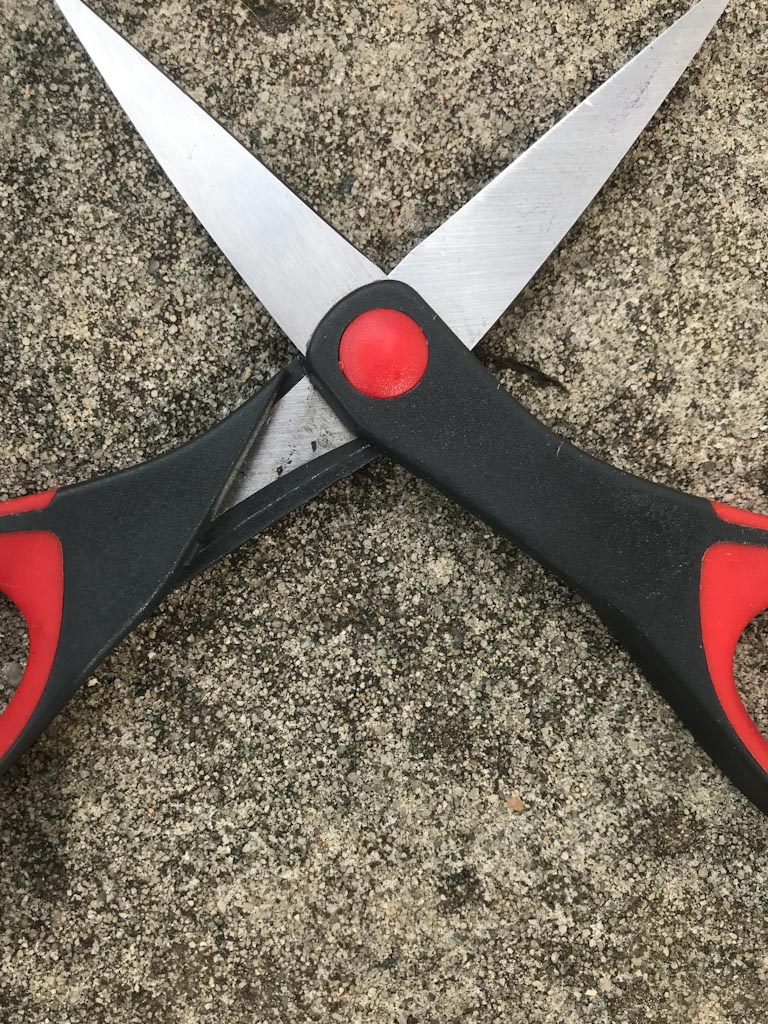
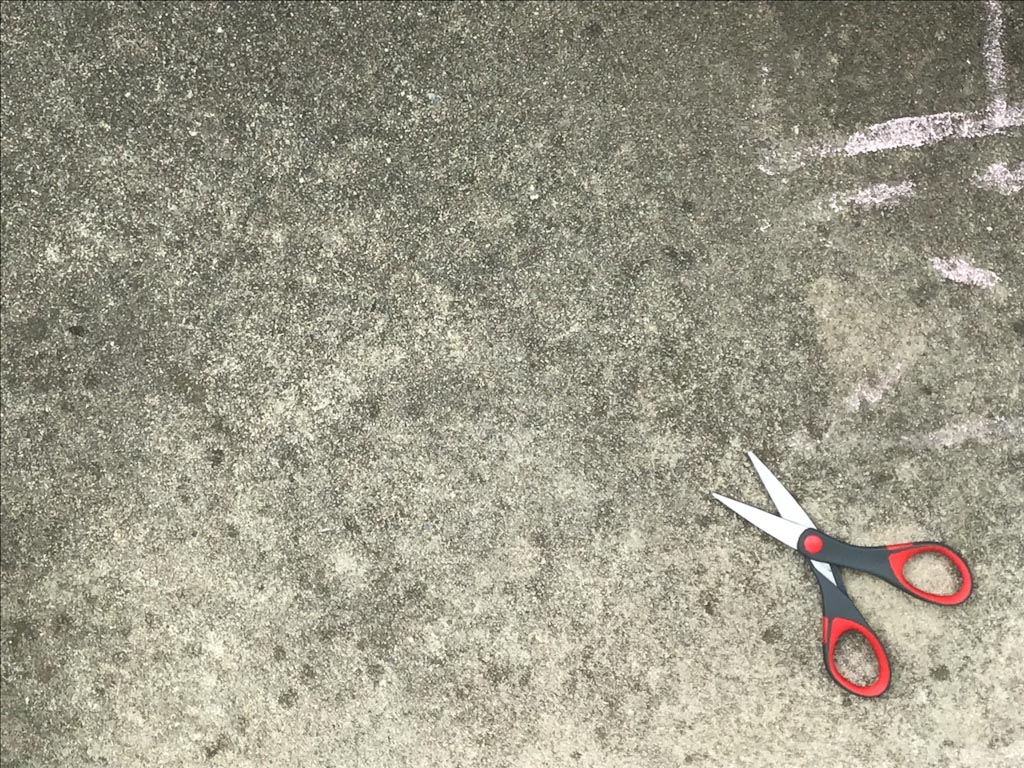
Find an object to work with. Clean off a space so that the only things seen in the photos are the object and the background. Take a minimum of 10 photos where the negative space is more important than the subject itself. Of these, take a minimum of 5 close up photos of the object so that it fills the frame and divides the background into shapes. Then take a minimum of 5 photos where there is much more background than subject. Experiment with the placement of the subject in the frame. Try all fours sides and corners. By moving your subject around in the frame and varying how much or how little background there is, you can change the mood of your photo as well as the composition.
No Electronics
Select your best from each group and post to OpenLab. Include a few thoughts on how negative space works in the two photos. What helped you create a more dynamic composition?
Post to student posts / lab3Figure/ground
Post all images shot to flickr Album lab3 figure/ground


Recent Comments