Part A, Normal Photo
Part A, Full Darkness

Part C, Slight Lighting
Part D, Full Lighting
Prof K Pelka : Monday 6:00 - 9:20
Part A, Normal Photo
Part A, Full Darkness
Part C, Slight Lighting
Part D, Full Lighting


I used the top of a dresser for white and a black desk for black. To get my “exposure” I had to press somewhere on my screen to brighten up an image. I don’t know why they’re so similar. Probably because I’m taking a picture of the same thing only increased brightness at the end of the day.
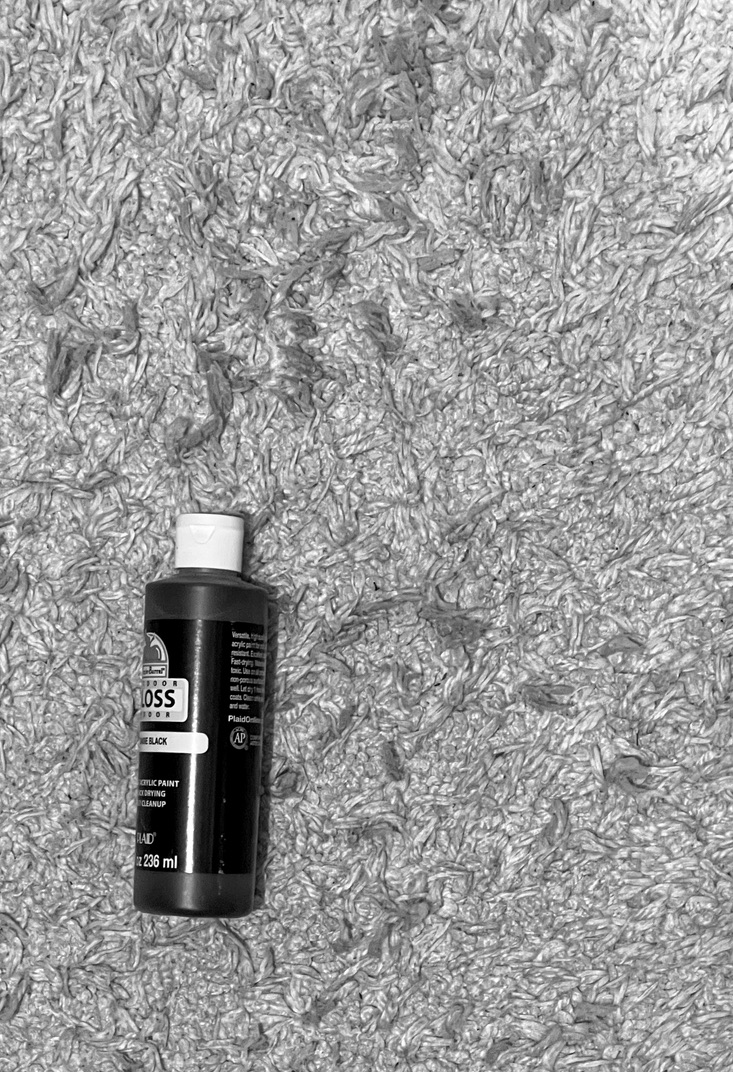
Find a piece of black card and a piece of white card. (Something flat that is black or white will do.) Take a picture of each one filling the frame with either black or white using automatic settings.


Next, photograph each one so that the black one looks black and the white one looks white. This accomplished using exposure compensation.
The black card will be over exposed for black and you need to decrease exposure to make it black
The white card will be under exposed for white and you need increase exposure
Put all four images (auto exposures and corrections) in a post using an image gallery. Label images
Include a short description of your process. What did you use for the white and black surfaces? Describe in your own words why the black and white versions look so similar when shot with automatic settings? What did you do to get the black card to look black and the white card to look white.
Post to student post/lab/lab4 meter
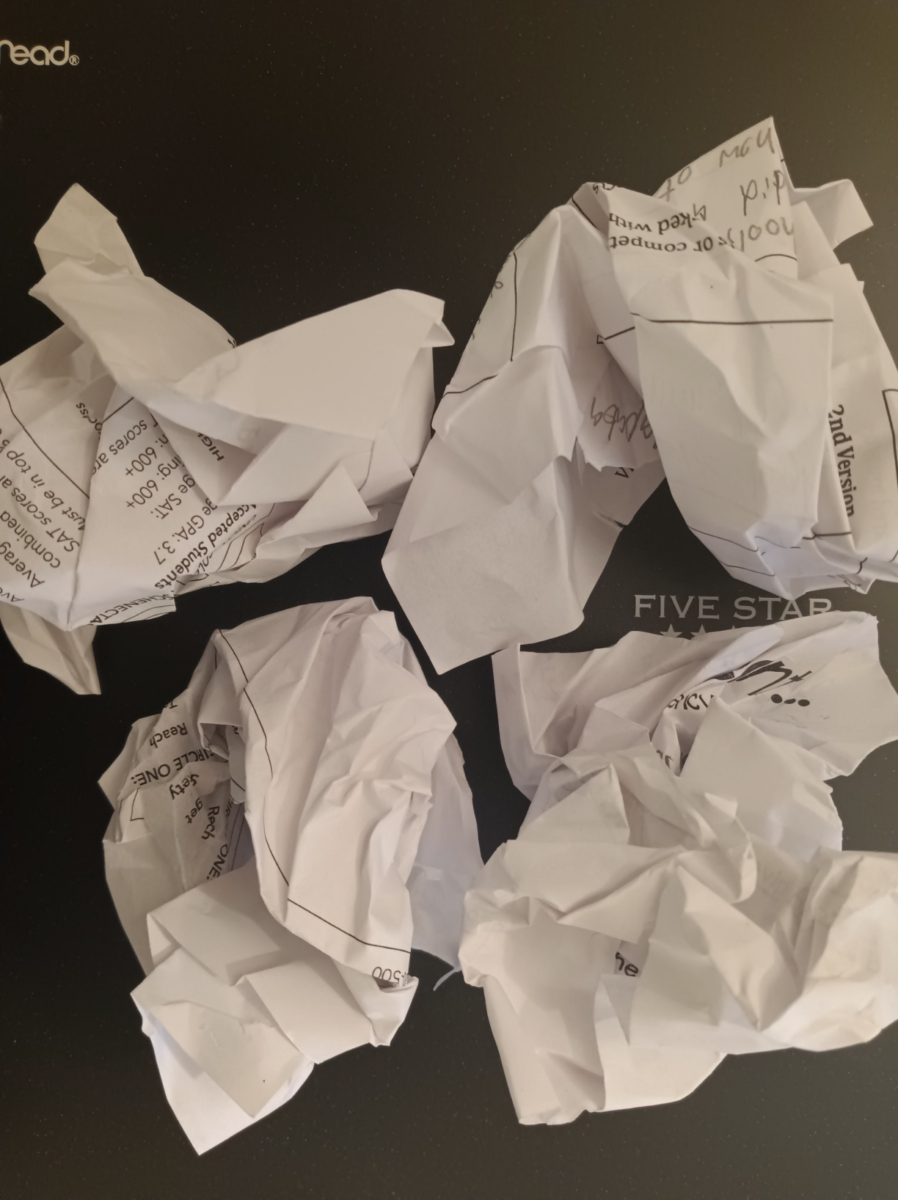
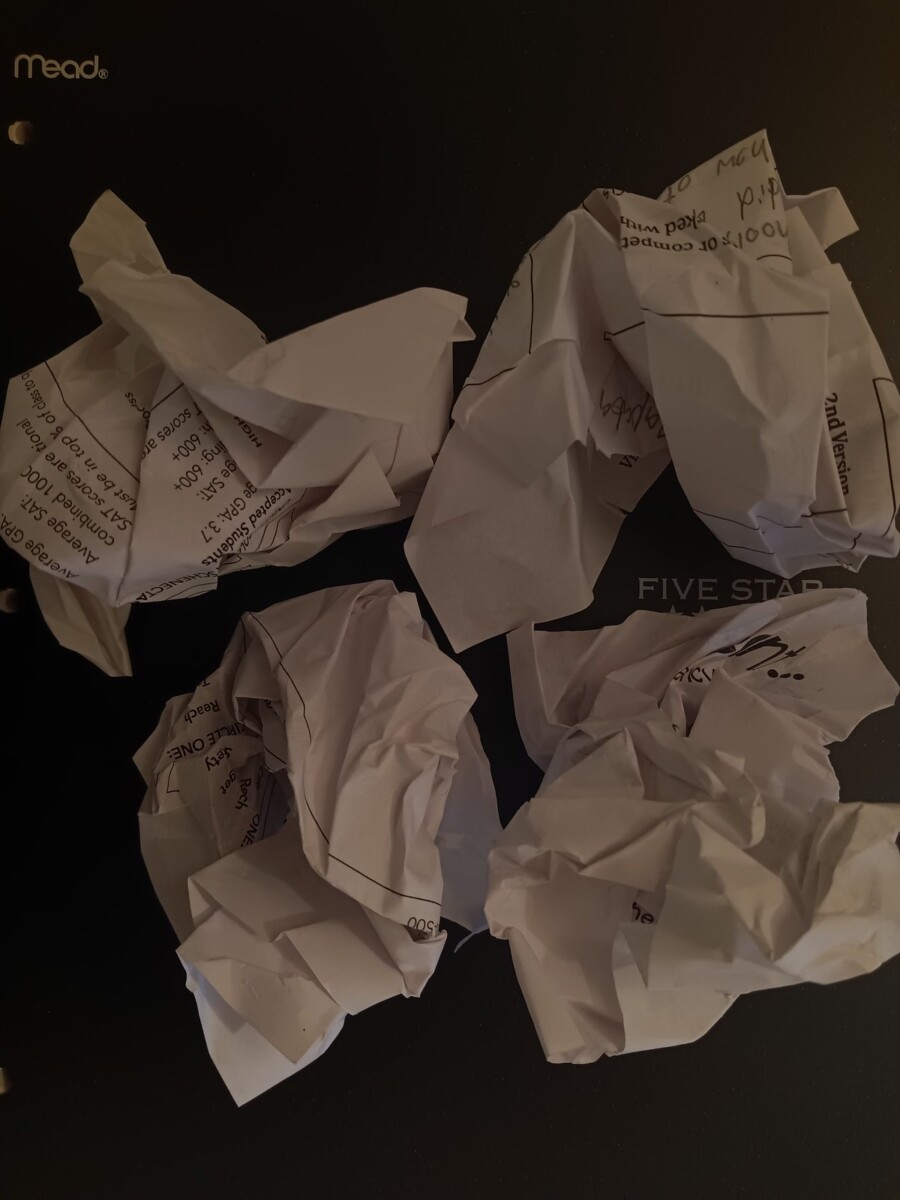
Make a standing pile of crumpled pieces paper. Using direct light ( bright light from the clip lamp), adjust the the light so there are different levels of lights and darks in the papers. Light from the side works well.
A) Photograph the paper with dark background, with the paper pile itself having different lights and darks.
B) Repeat A but move in closer to make a different composition
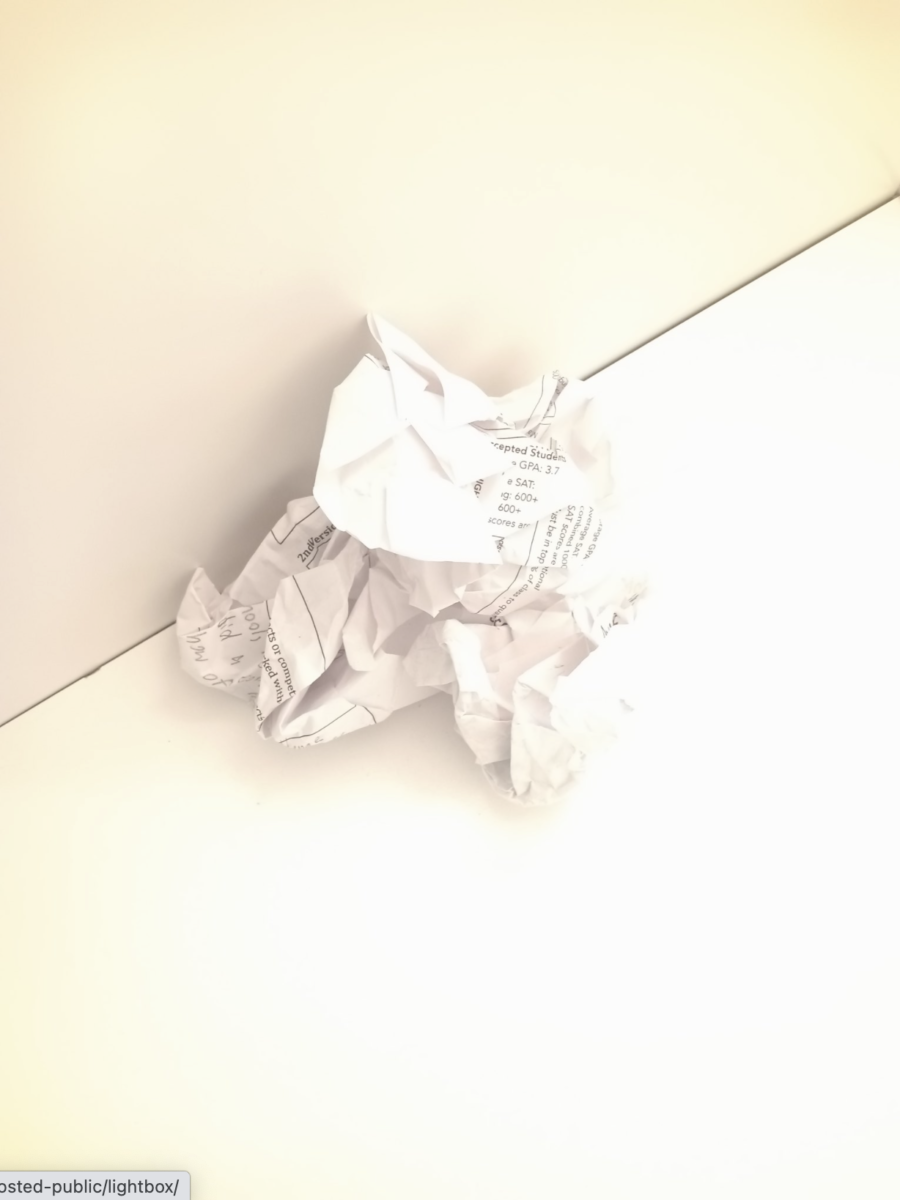
C) Photograph paper pile with a light background
D) Repeat C but move in closer to make a different composition
Upload all images to flickr Lab4 album
In a post Pick the best image from A and B. Explain what you did. Why do you feel this is the best. Use image gallery. Photos should be next to each other. With explanation underneath
In same post,Pick the best image from C and best from D.Explain what you did. Why do you feel these are the best. Use image gallery. Photos should be next to each other. With explanation underneath
Post to student post lab 4 effect


© 2024 COMD 1340 OL 90 Photography 1 Spring 2022
Theme by Anders Noren — Up ↑
The OpenLab is an open-source, digital platform designed to support teaching and learning at City Tech (New York City College of Technology), and to promote student and faculty engagement in the intellectual and social life of the college community.


Recent Comments