Prof K Pelka : Monday 6:00 - 9:20

Category: Lab Exercises (Page 2 of 7)

Week 11: Lab Exercise10: Window Light Silhouette

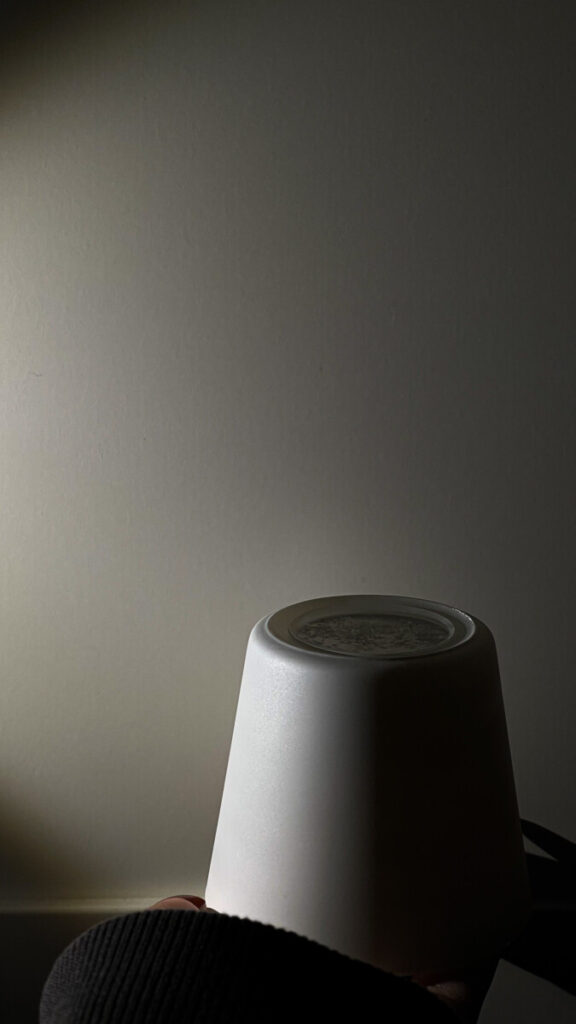
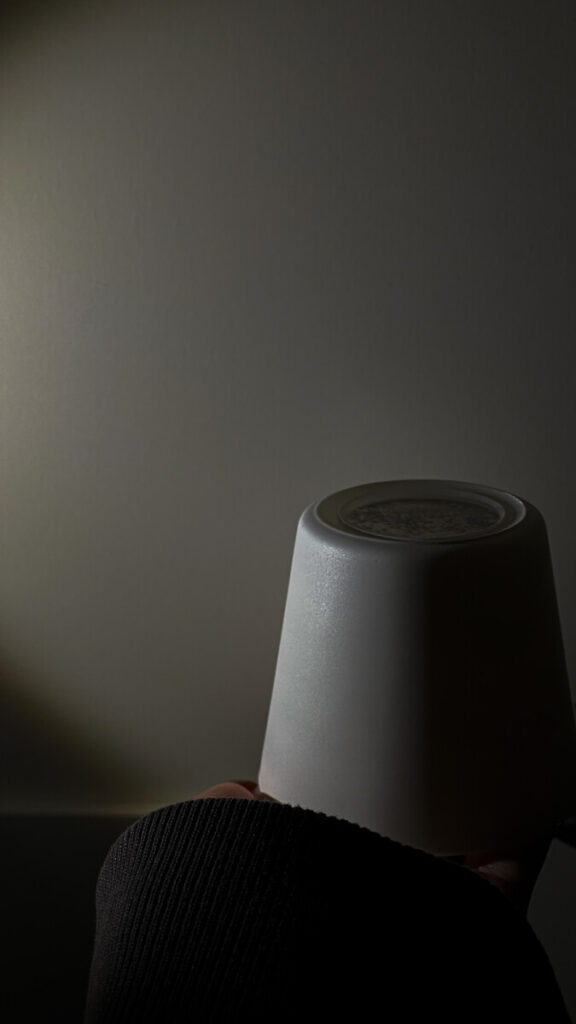
While not a traditional portrait lighting style, windows are great for creating silhouettes.

Shoot 8 photos to create a profile silhouette of yourself in front of a window.

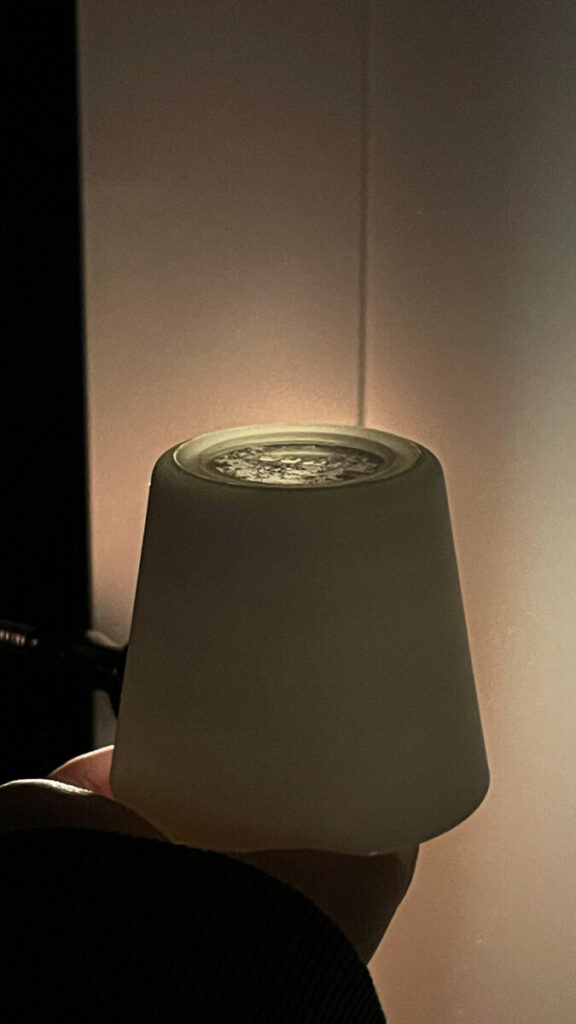
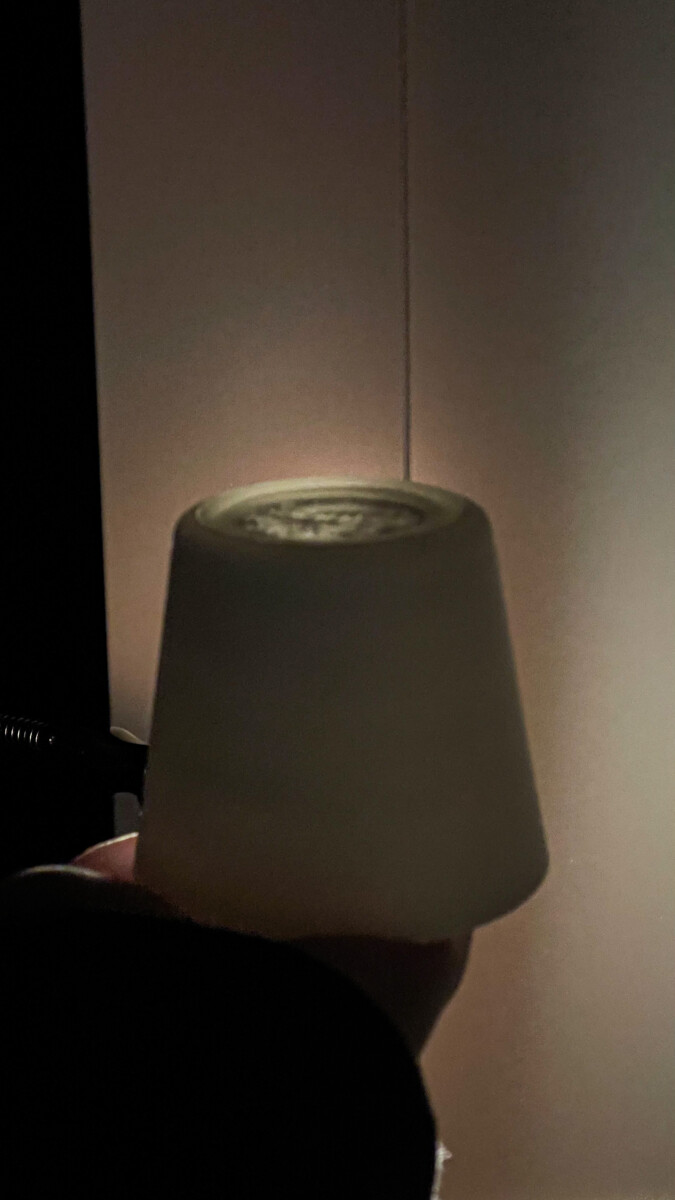
If you are working with a cameraphone, this will take a bit of coordination. Set the exposure for out the window with the light behind subject (you). Bring your result into Lightroom .

Lightroom App

At a minimum:

Straighten it. Under Light, make the blacks darker

Lightroom

Straighten. In the basic panel, make the blacks darker.

Post 2 best to Openlab with a description of your process. What did you have to do to get a clean silhouette? Post to lab 10 silhouette

Upload all to flickr

Week 10. Lab 9: Main light /fill light

Main light is set up first giving a sense of direction and placement of shadows and highlights. Three positions are front, side and backlighting.

Fill light is light added to lighten shadows. It is not as intense as the main light. It can be another light or a reflective surface can be used to bounce light to lighten the shadows.

Choose a piece of fruit, ball or any somewhat round object

Place on background and don’t make it small in the frame

Set the main light to side light and photograph object. The add fill by putting white surface opposite the main light to lighten shadow

Repeat using backlighting

Post to open lab in a gallery containing 4 photos: 1 sidelight, 1 sidelight with fill,1 backlight, 1 backlight with fill.

Post to student posts. Lab9 main/fill

Week10 Lab 9 : Still life

Still life is a composition of inanimate objects on a theme

To make a successful still life, light, composition, and framing must be carefully considered

Procedure for still life exercise:

  • Begin with an idea or theme and objects for the theme
  • Arrange objects keeping the background simple and not distracting. The background includes what the objects are placed on as well as what is behind the arrangement.
  • After arranging the objects, set up the main light (first light set up and determines placement of shadows and highlights
  • When setting up the main light, start with side lighting. At this point you would decide whether to use hard or soft light.
  • Move the light around observing how the light is lighting the subject and where the shadows fall.
  • If some shadow area is too dark use fill . For fill light we are using a white card opposite the main light and reflecting light into the shadows.
  • Experiment with changing camera angles and changing the arrangement of the objects  to get a composition you like.
  • When moving the objects, how the light falls on them may change so you may want to adjust the main light
  • You may have to use exposure compensation to correct exposure  
  • images are not usable if shutter speed is too slow and are soft focus
  • Images are not usable if ISO is high and there is a lot of noise
  • May have to use tripod (cup for phone) with self timer

Shoot 25 photos utilizing different compositions by changing camera angles, moving closer and rearranging objects as well moving the light to different positions. Work the subject and experiment

Pick your best one , post to open lab with description of why you chose it

Post to student posts/ lab9 still life

Upload to flickr in album labeled CW9 still life

Upload 2 best to group in flickr

Avar Lab#8 (Shallow Depth of Field)

Shallow depth of field is achieved by shooting photographs with low focal numbers on certain camera devices. To let in more light, these settings can range from 1.4 to about 5.6. All this puts your plane into better focus by showing the distance of inches or feet with the content you want to display within your pictures.

« Older posts Newer posts »