Prof K Pelka : Monday 6:00 - 9:20

Author: Ken Pelka (Page 7 of 15)

Week 8: Lab Exercise: Shallow Depth of Field

When photographing with a camera for shallow depth of field:

  • Use Aperture Priority or Av and set the camera to the widest aperture (lowest number.)
  • Use the telephoto end of your lens (zoom in.) 
  • Get close to the subject
  • Allow some distance between the subject and the background. There must be space between the foreground and background of your composition. 

When photographing with a camera phone:

Because of its very small sensor size, it can be very difficult to get shallow depth of field with a cameraphone. However the same general approach will work:

  • Zoom in
  • Get close to the subject
  • Allow some distance between the subject and the background. There must be space between the foreground and background of your composition.

1.Take several small objects and photograph them using shallow depth of field, once with the focus on the object closest to the camera and once with it on the object further from the camera. Put the two photos into a post using gallery format with a written definition of shallow depth of field.

2. Post 1 photo that illustrates scale, 1 photo that illustrates linear perspective, and 1 photo that uses angle of view to create a feeling of depth. These should be posted in a second gallery and labeled.

Post to students/lab/lab8 depth of field

Upload all photos to flickr to album labeled shallow depth of field

Lab: Week 7. Exploring Shutter Speeds

Work by lamp or window light

Use the Lightroom Photoshop App to shoot with.

When in the camera portion of the app, select Professional.

Set the timer to 2 seconds. (Find the timer under the three dots on the right.)

Under Sec, you can set the shutter speed.

Take a series of photographs of yourself throwing up a small ball or object at a range of shutter speeds.

Start with a 2,000 of a sec. You will need to experiment to get the coordination. Once you get something where you can clearly see the ball and your hand frozen in motion. Then try at 1/640/sec, 1/100/sec, 1/30/sec, 1/15/sec

Under Edit>Info, you can find the shutter speed and ISO at which you shot the photos.

Post your 5 photos in order of increasing shutter speed from shortest to longest with the settings for each photo in the caption.

Include a short response describing how changing the shutter speed and the corresponding change of ISO effects the photo.

Post to open lab studentposts/lab/lab7shutter speeds

Week 7- Shutter Speed

Needed for this class

Shutter Speed

Shutter Speed is the length of time that the sensor is exposed to light to create the photograph. It is measured in seconds or fractions of a second.

The full stops for shutter speed are: 30”, 15”, 8”, 4”, 2”, 1”, . sec, 1/2,1/4., 1/8, 1/15, 1/30, 1/60, 1/125, 1/250, 1/500, 1/1000, 1/2000, 1/4000, 1/8000

When shooting with a cameraphone and the Lightroom Photoshop app, you can set the shutter speed of your cameraphone between 1/10,000 and 1/4 sec.

Doubling the time, doubles the amount of light that reaches the sensor.

A good rule of thumb when shooting with a camera is: Any shutter speeds slower then 1/60 require the use of a tripod. When shooting with a cameraphone, you will need a tripod to shoot at 1/15 or slower.

Capturing of Motion

Your choice of shutter speed will change the way motion is captured in the photograph.

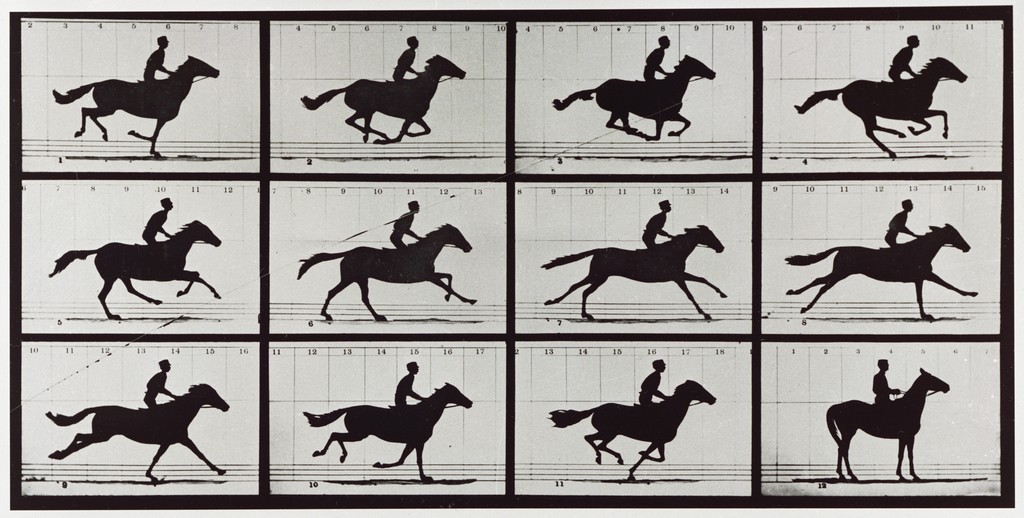
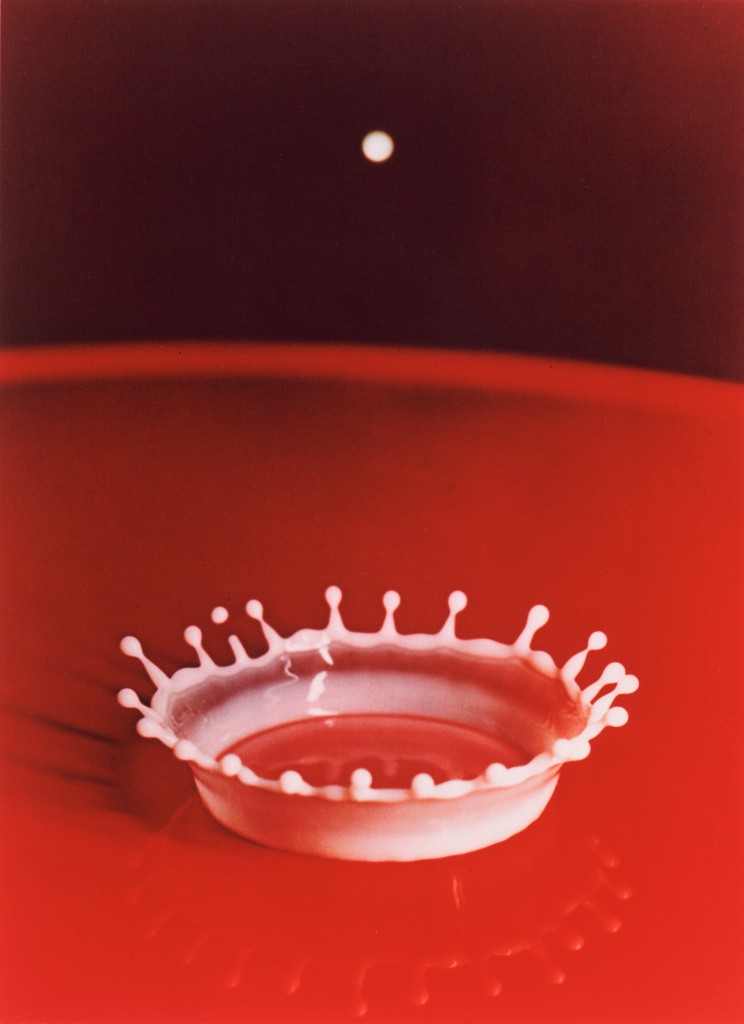
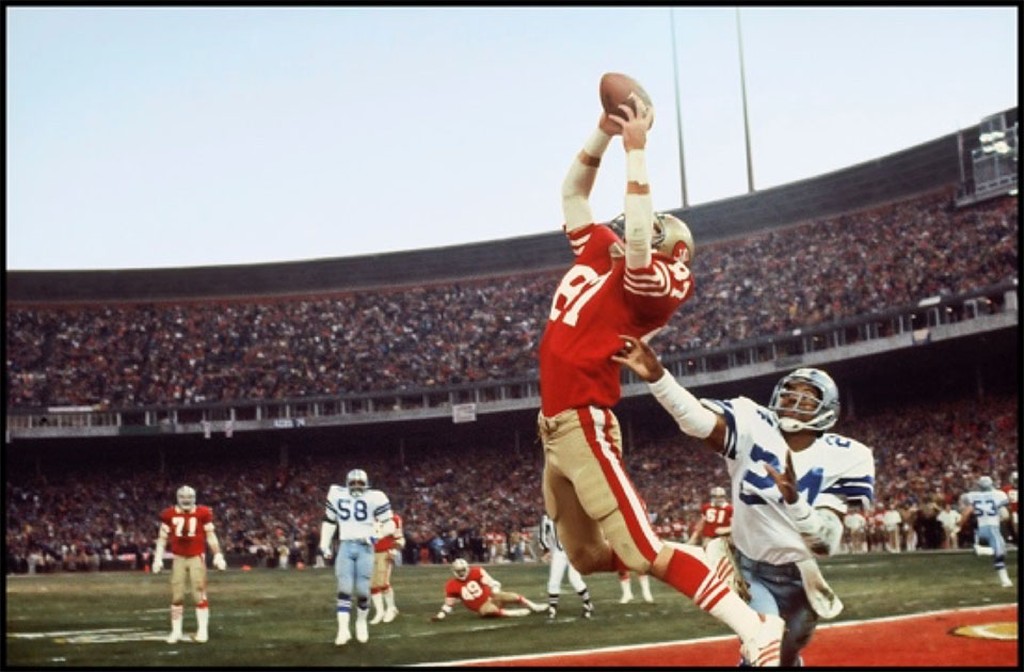
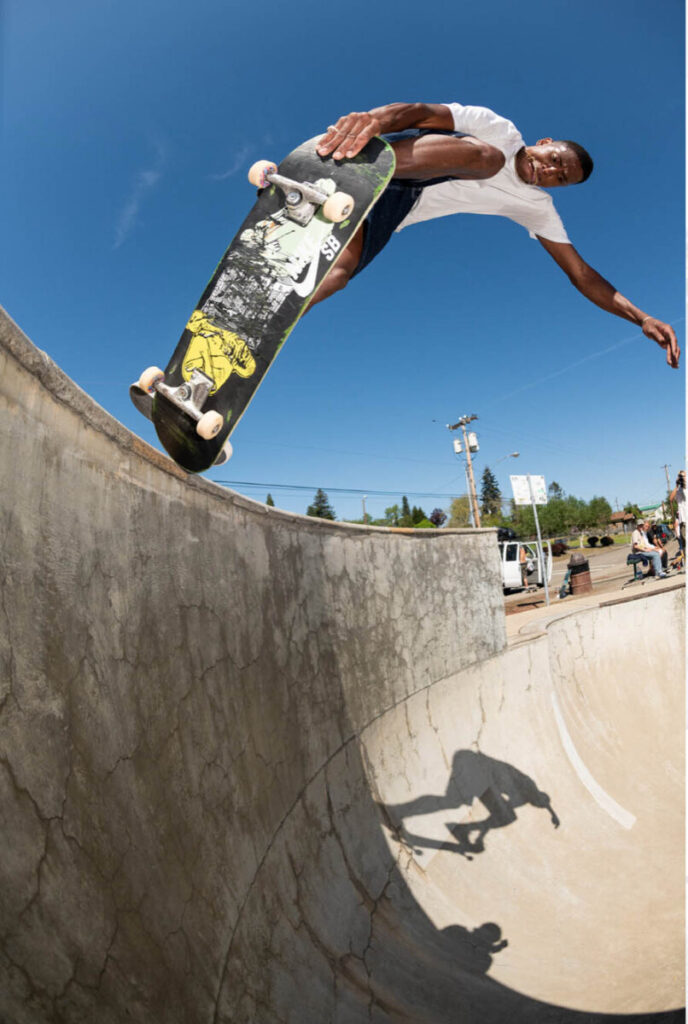
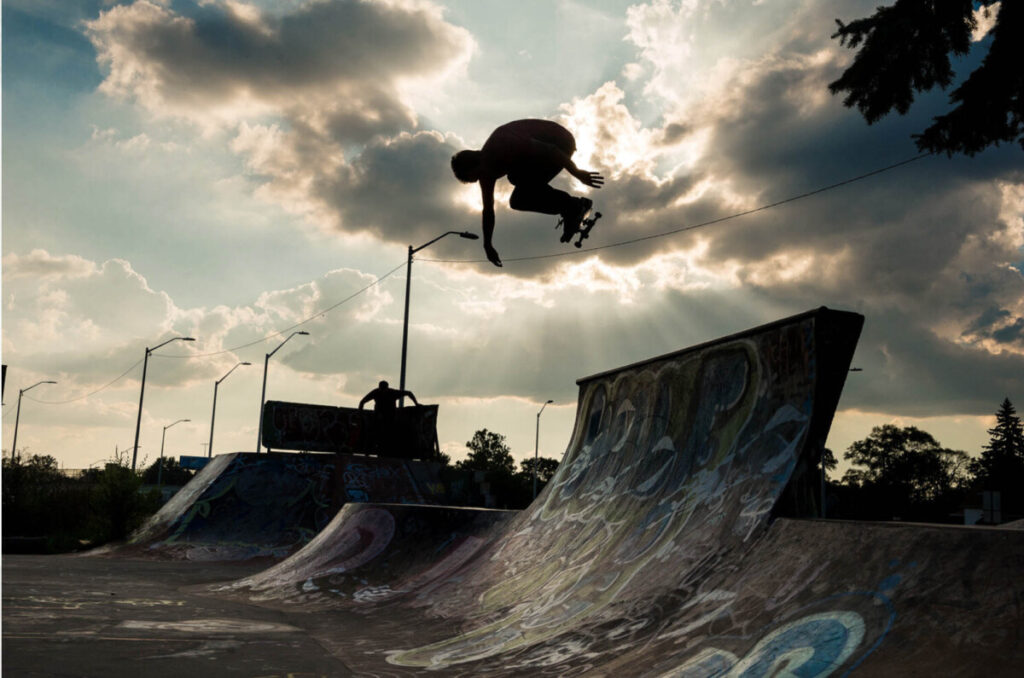
Frozen Motion-Motion is stopped and captured in the frame with a fast shutter speed.

How to freeze motion:

  • Use a shutter speed of 1/ 500, 1/1000 or faster

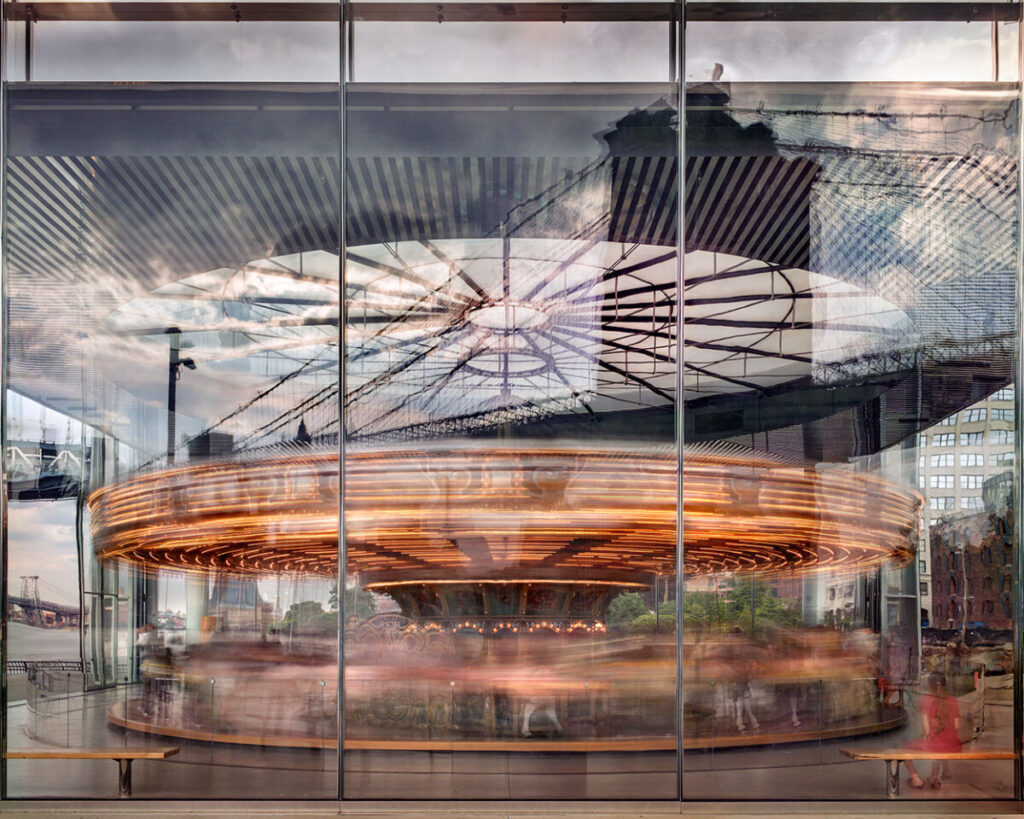
Blurred motion-moving elements blur with a longer shutter speed.

How to blur motion:

  • Use a slower shutter speed – 1/4 sec to 30″ or even longer
  • Direction-if the subject moves parallel to the picture plane there is more visible movement than if the subject moves toward or away from the camera.
  • Focal length-a subject will appear blurrier when photographed with a telephoto lens than when photographed with a wide-angle lens.

Timing

The exact moment that you take the picture is as important as how long the shutter speed is. This is often called:

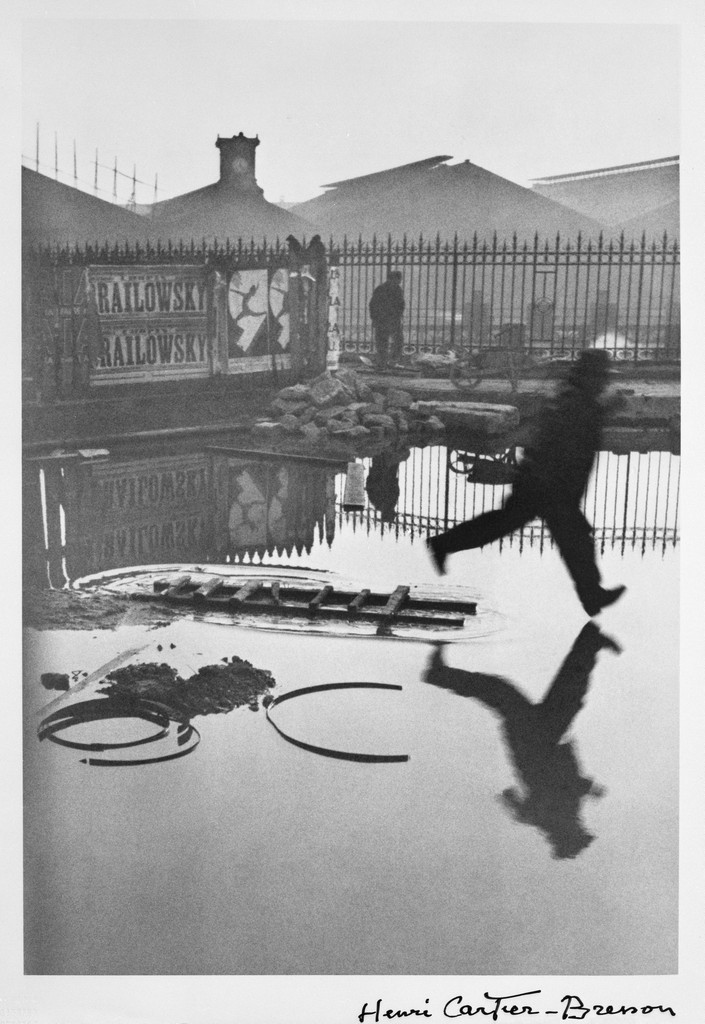
The Decisive Moment: A term coined by Cartier Bresson- “the simultaneous recognition, in a fraction of a second, of the significance of an event as well as the precise organization of forms which gives that event its proper expression.”

Behind the Gare Saint-Lazare, Paris. 1932
Photographer: Henri Cartier-Bresson

Resource

Lab 7 Exercise Exploring shutter speed

Lab7 Motion Blur

Homework 7

Continue shooting midterm project

« Older posts Newer posts »