Prof K Pelka : Monday 6:00 - 9:20

Author: Ken Pelka (Page 5 of 15)

Photo Essay

Photographers


Phillip Lorca diCorcia                                      Elliot Erwitt

Sebastiao Salgado                                           Roy Decarava

Diane Arbus                                                    Richard Avedon

Sally Mann                                                      Annie Lebovitz                                   

Dorothea Lange                                              Shirin Neshat 

Barbara Kruger                                               Laurie Simmons                                     

Vivian Maier                                                    Josef Koudelka

Alex Webb                                                            Edward Burtynsky

Jamel Shabazz

Lee Freidlander

Mitch Epstein

Andreas Gursky

Aaron Siskind

Steve Mccurry

Helen Levitt

Winston O Link  

Google the above photographers and find someone whose work you like. Not liking anyone is not an option.   Submit a 500 word essay on the photographer of your choice

Essay should contain the following:

  1. Biographical background and general description of the type of photographer’s work   When you google the photographer you will find more complete information in articles from the NY Times or info for galleries.  Also you can go to galleries that represent the photographers to see more of their work

2. Why did you choose the photographer?

3. Choose a photo and use the following questions as a guide for your discussion of the       chosen photo.   This should be the major part of the essay

  • What is the content and subject matter of the photo? Describe the photo.
  • What strikes you about the photo?
  • What do you relate to in the photo?
  • What do you think the photographer is trying to show?
  • What compositional elements are used to convey and emphasize the meaning of the photo?  ie :  framing, point of view, balance (symmetrical  vs  asymmetrical ), foreground/background relationships, scale and perspective, repetition of form, frame within the frame, lighting, tonal and color contrasts, use of line to move eye through image.  (You don’t have to use all these but you should use some that apply.)

HINT: Do not cut and paste Wikipedia info.  Any info should be in your own words.

           The discussion of the photo should be at least 1/2  the essay

            If possible attach image

Essay due last class at the latest
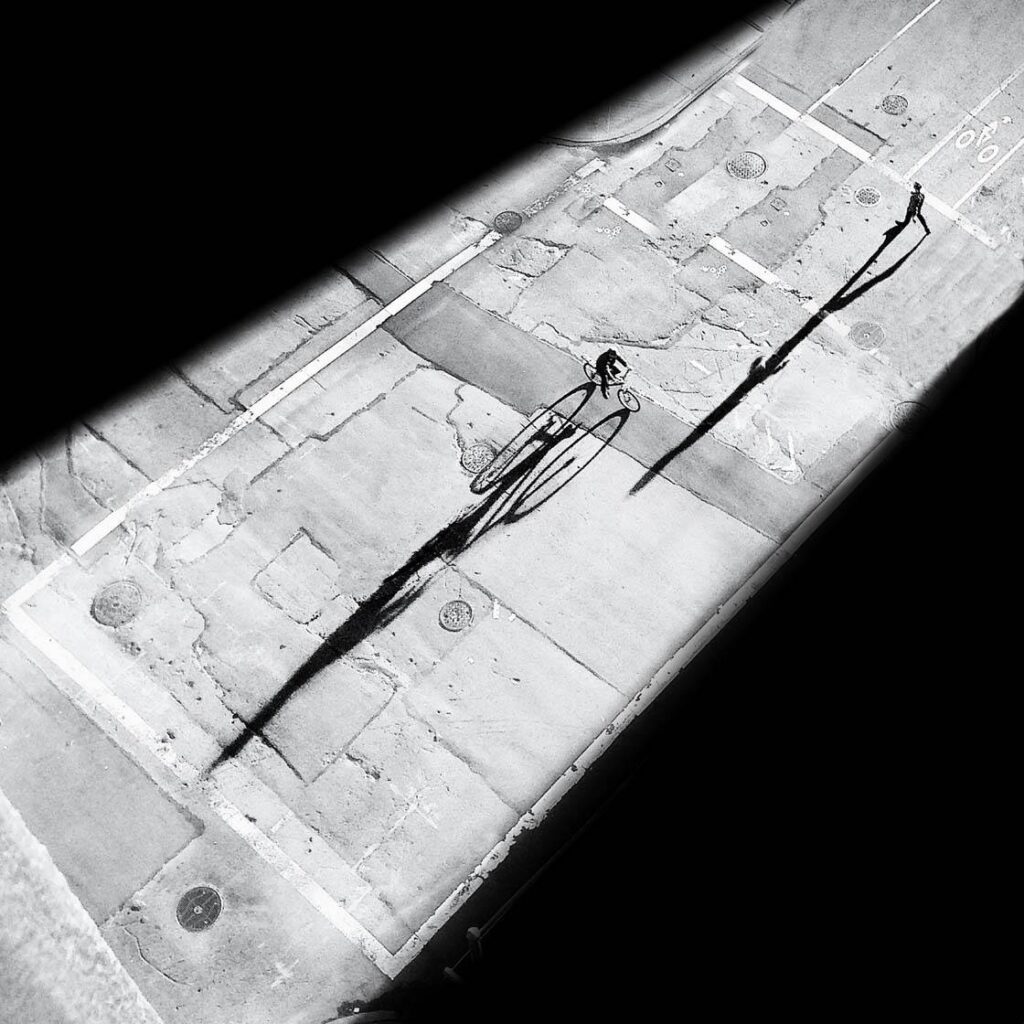
Week 11: Lab Exercise10: Window Light Silhouette

While not a traditional portrait lighting style, windows are great for creating silhouettes.

Shoot 8 photos to create a profile silhouette of yourself in front of a window.

If you are working with a cameraphone, this will take a bit of coordination. Set the exposure for out the window with the light behind subject (you). Bring your result into Lightroom .

Lightroom App

At a minimum:

Straighten it. Under Light, make the blacks darker

Lightroom

Straighten. In the basic panel, make the blacks darker.

Post 2 best to Openlab with a description of your process. What did you have to do to get a clean silhouette? Post to lab 10 silhouette

Upload all to flickr

Week 10 – Light Direction/Light Quality

Needed for this class

Props for still life on theme of Spring

Black card, white card and or plain background

clip lamp

camera

Light Quality

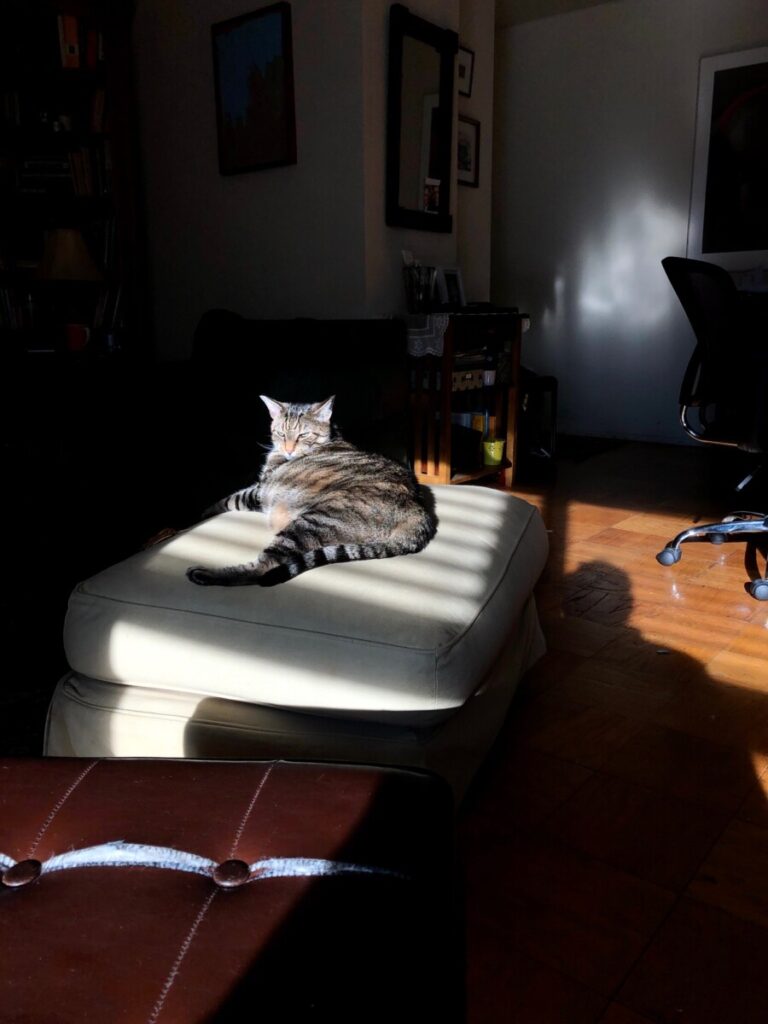
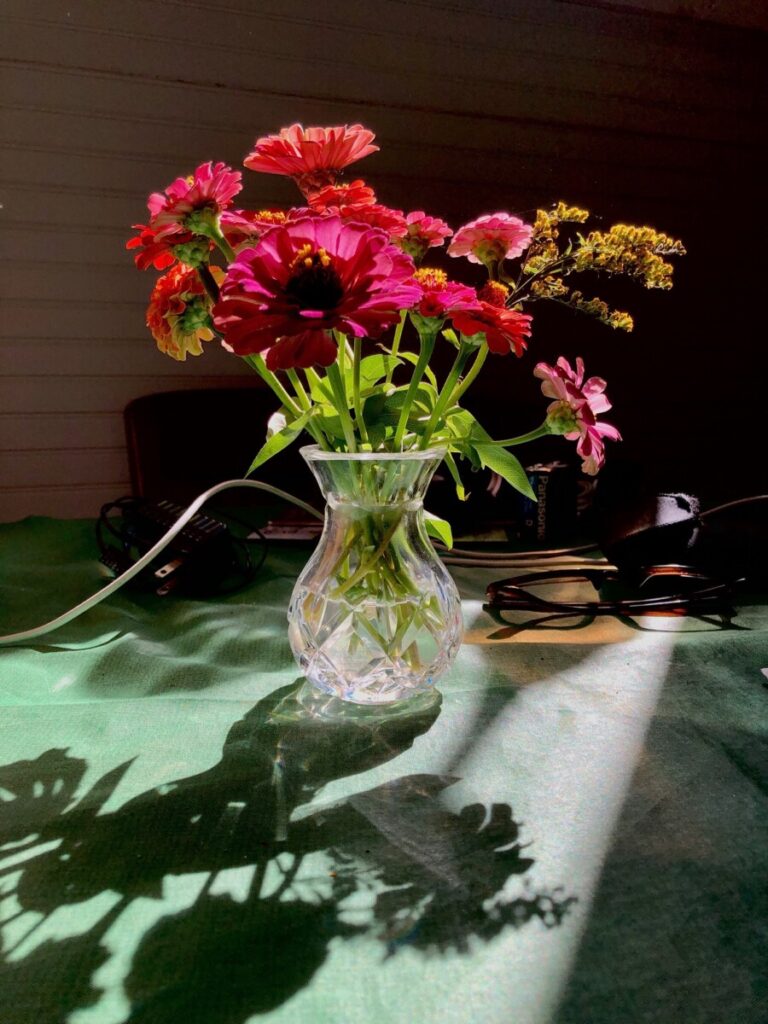
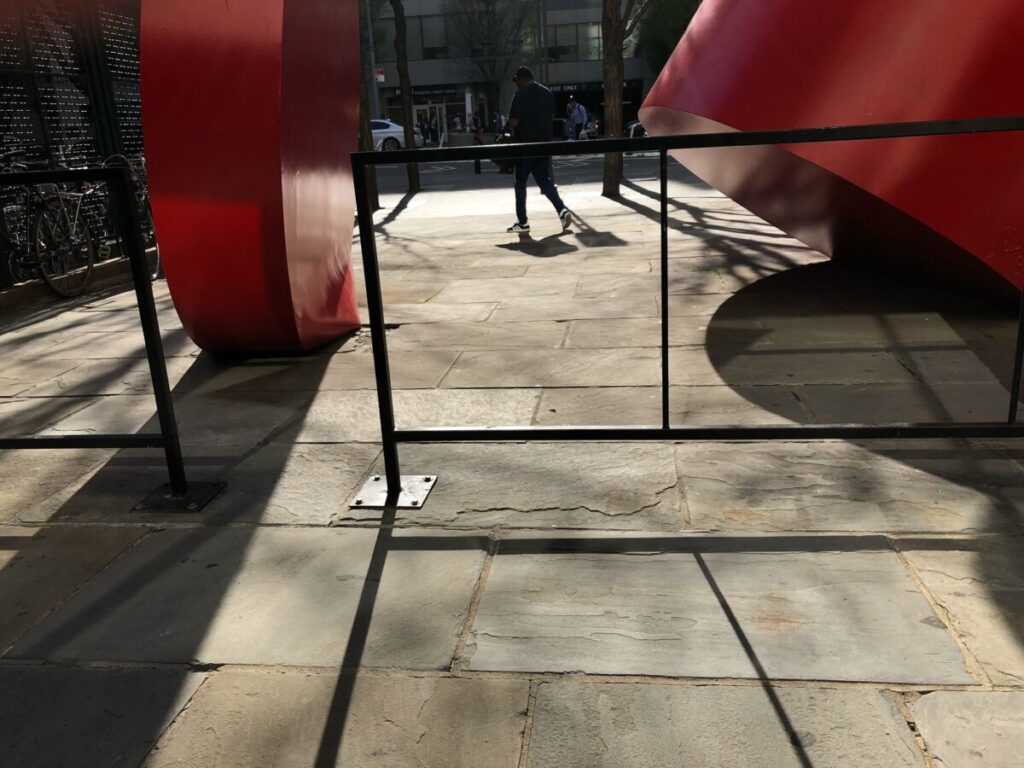
Direct light or hard light – the rays of light are nearly parallel and strike the subject from one direction creating strong hard edged dark shadows with little detail. This type of light is characterized by quick transitions between the light areas and dark areas of the photo
Examples: a spotlight, sun on a clear day, or a bare flash

Diffused light or soft light– the rays of light are scattered and coming from many directions. It appears even and produces indistinct shadows. Examples: overcast daylight, a light covered with tracing paper or other translucent material.

Directional/Diffused Light.   Soft light

This light is a combination of directional and diffused light. The light is partially diffused yet it appears to come from a definite direction and creates shadows. The shadows are less harsh and contain more detail than in direct light. More subtle transition between light and dark areas.

Examples: indirect window light, sunlight on a hazy day, sunlight on a partly cloudy day or light bouncing off a reflective surface,

Light Direction

Front lighting: Subject is placed so the light is in front of subject and the shadows fall behind the subject not concealing any details

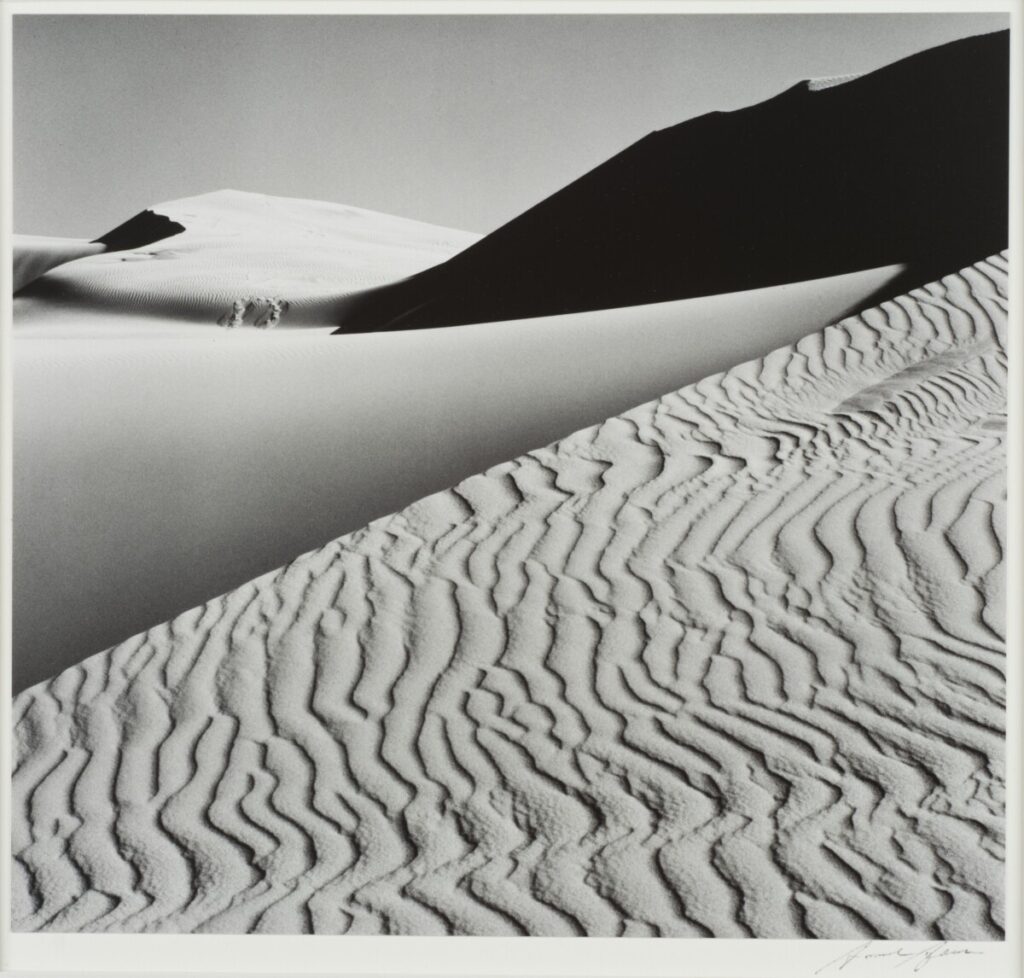
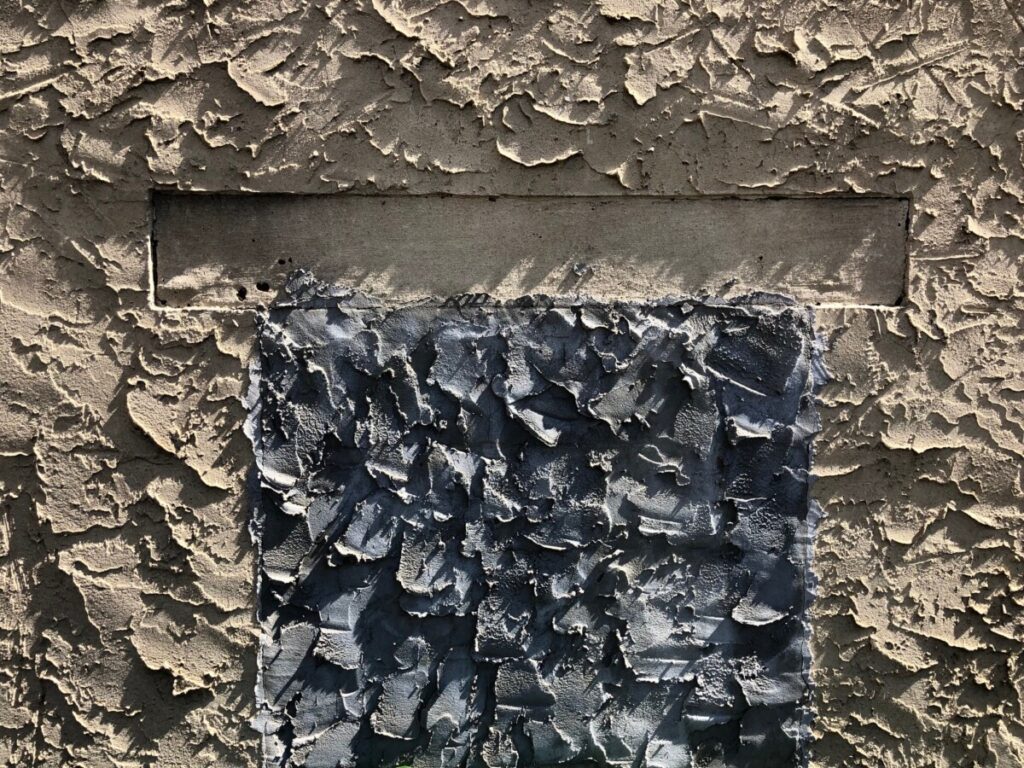
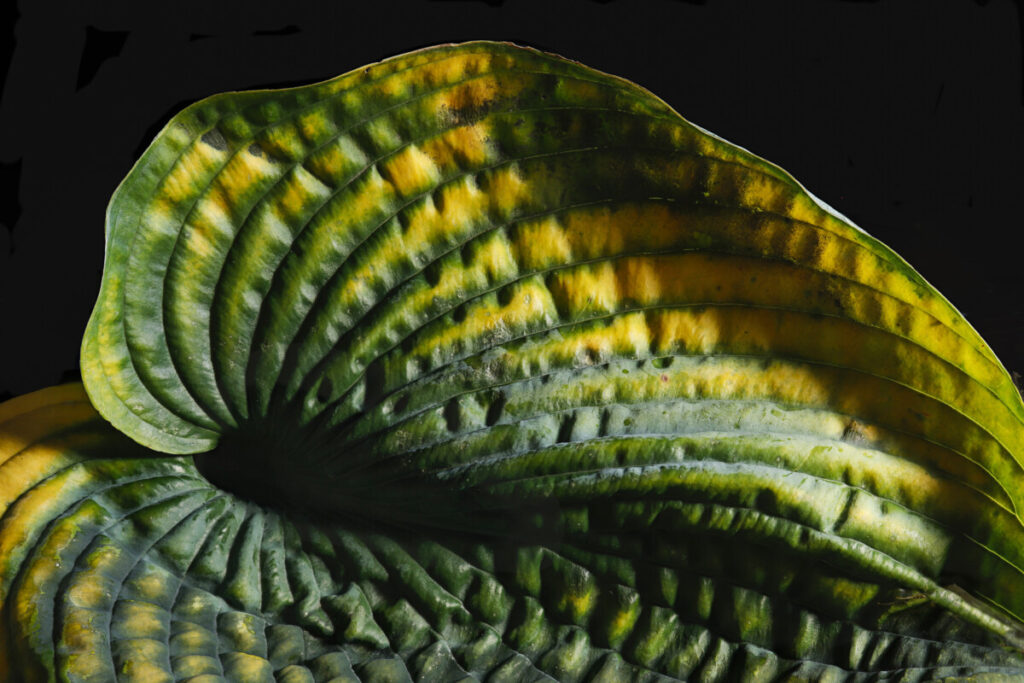
Side lighting: Subject or light is placed so the light hits from the side creating shadows and depth in the image. Direct side lighting will emphasize texture. When shooting with side lighting, watch where the shadows fall. Making small adjustments in position can create more interesting shadows.

Back lighting: The light comes from behind the subject. Although this creates dramatic images, if not exposed properly a silhouette will result.

Lab9: Main/Fill

Lab 9. Still life

Homework 9

Week 10. Lab 9: Main light /fill light

Main light is set up first giving a sense of direction and placement of shadows and highlights. Three positions are front, side and backlighting.

Fill light is light added to lighten shadows. It is not as intense as the main light. It can be another light or a reflective surface can be used to bounce light to lighten the shadows.

Choose a piece of fruit, ball or any somewhat round object

Place on background and don’t make it small in the frame

Set the main light to side light and photograph object. The add fill by putting white surface opposite the main light to lighten shadow

Repeat using backlighting

Post to open lab in a gallery containing 4 photos: 1 sidelight, 1 sidelight with fill,1 backlight, 1 backlight with fill.

Post to student posts. Lab9 main/fill

« Older posts Newer posts »