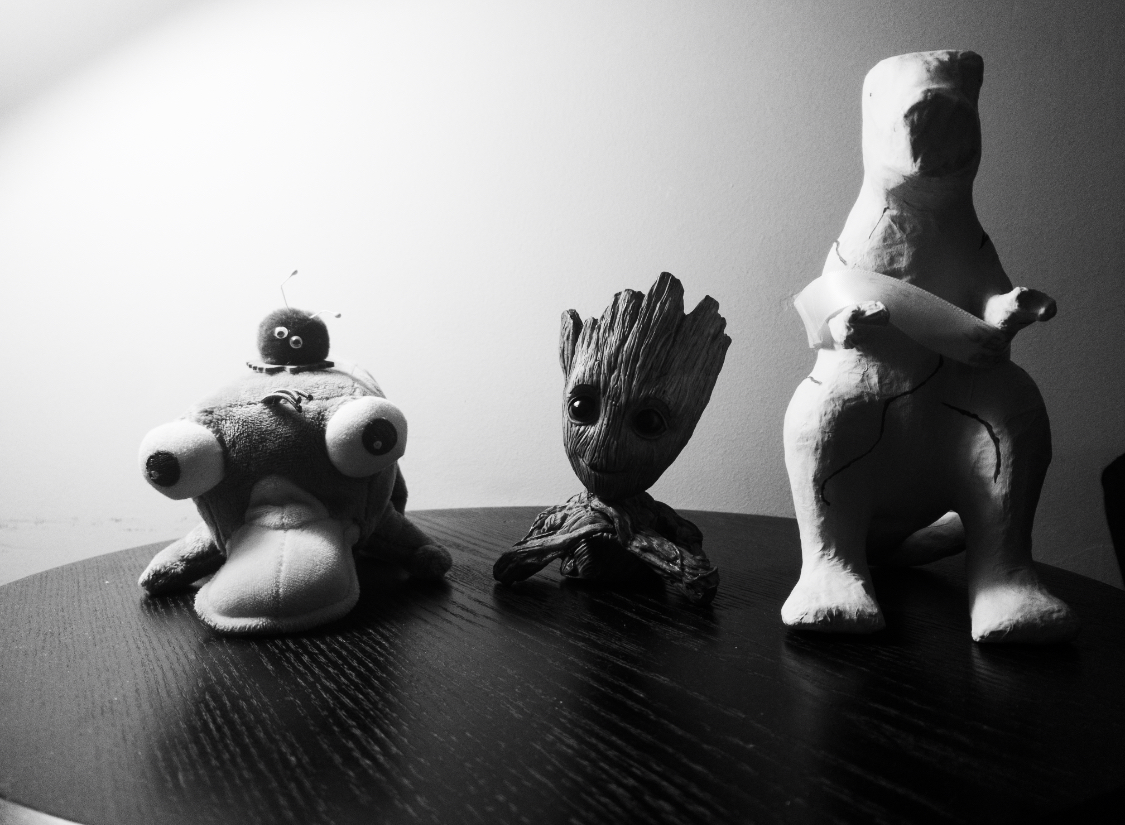
Profiles: I used monochrome for the profiles and I think it created a grey wash over the image, I think this is better for when you don’t want your image to be too dark.
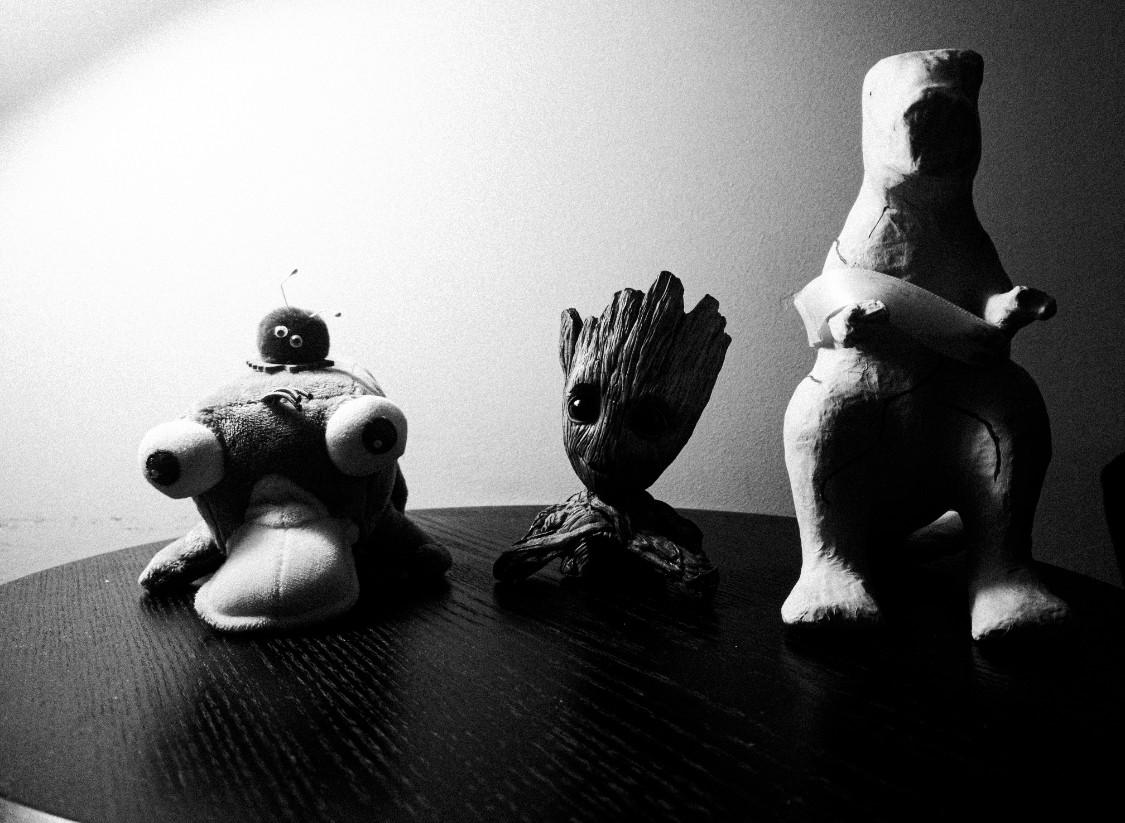
Presets: I put a B&W high contrast filter over the image and I like how dark it made the image while almost increasing the sharpness of the image with the heaviness of the shadows.
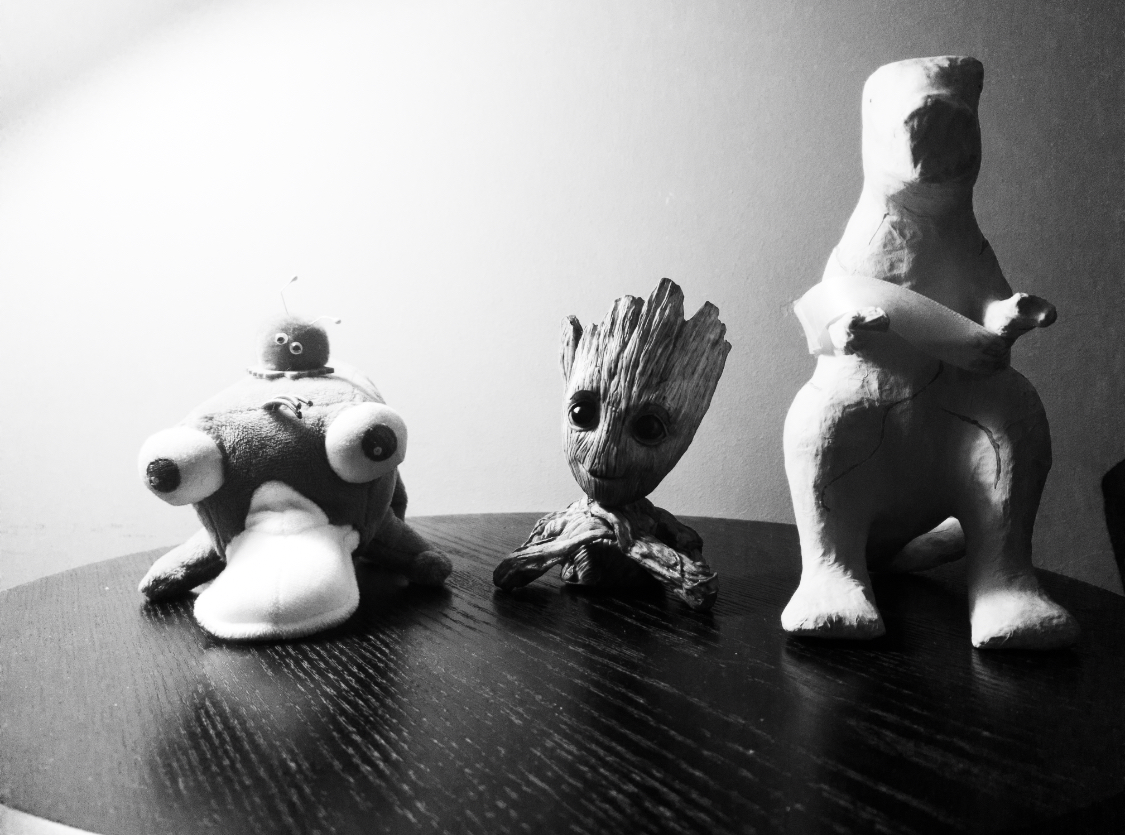
B&W Mix In: I played around with multiple colors and it definitely brought out lightness in the darkest areas.
I prefer the preset because I like the darkness and heavier detail it brings to the image.


You started with a very contrasty lighting. The preset emphasized this. The appearance of sharpness increases with increase in contrast