Needed for this class
- Camera or cameraphone
- Lightroom Classic or Lightroom Photoshop App
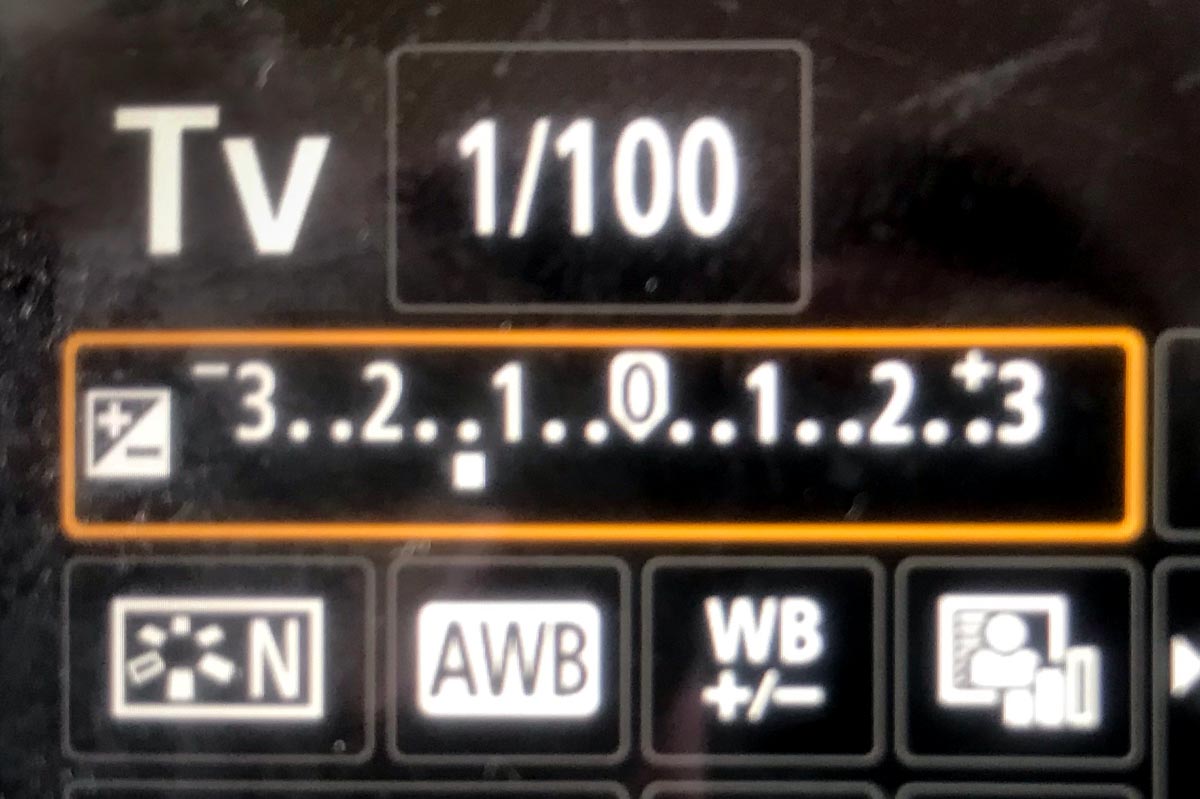
- Review: Light quality-direct and diffused, exposure compensation
Light and Dark
The word photography is rooted in Greek meaning “ writing with light “ One of the main concerns of photographers is how light illuminates a scene or subject. While we focus attention on light, it’s easy to not pay attention to shadows. Shadows, although dark, can be as dynamic as light. The shadows shape light, define texture, and act as compositional elements.
Contrast: The measure of difference between bright areas (highlights) and dark areas (shadows) in a photo
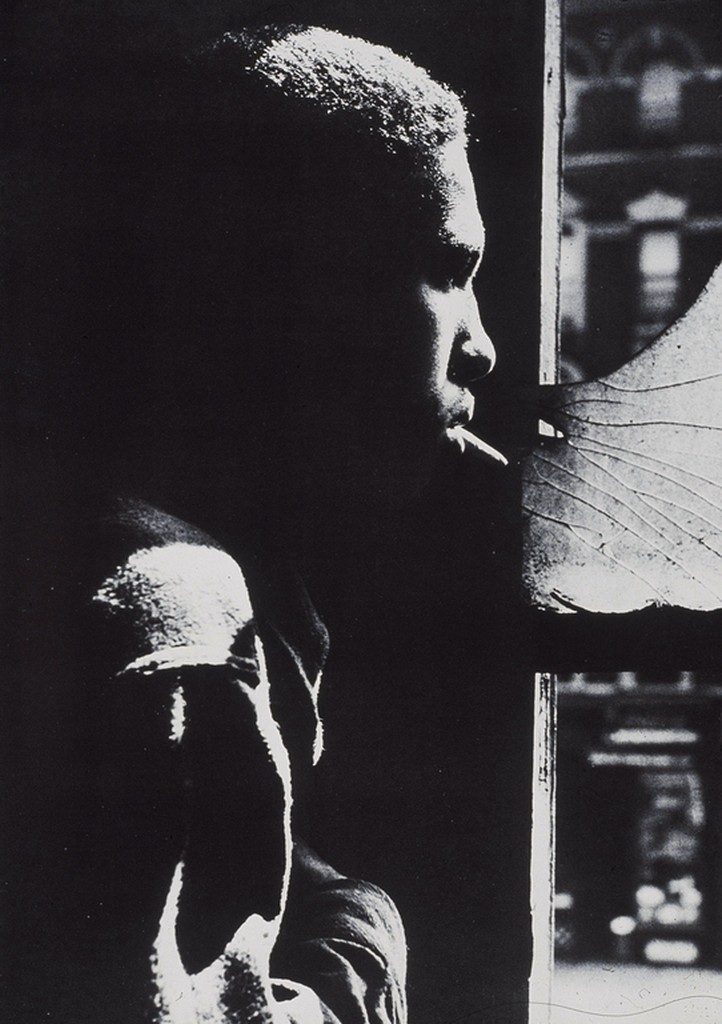
High contrast : Large difference between highlights and shadows. Mostly lights and darks without many mid tones
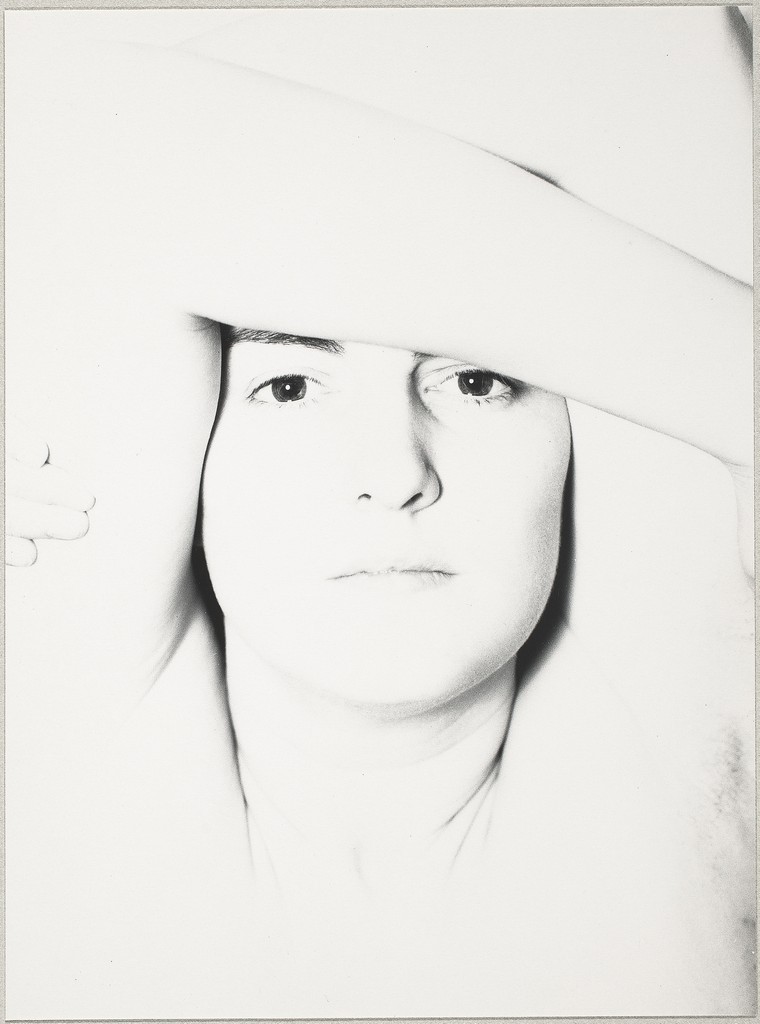
Low contrast : Little difference between lights and darks. Mostly mid tones.
Shadows – dark areas in photo that can range from black with no detail to dark tone with detail
Uses of light and shadow: Light and shadow are complementary elements in photography. The quality and direction of light affect how a subject looks while producing shadows in various forms
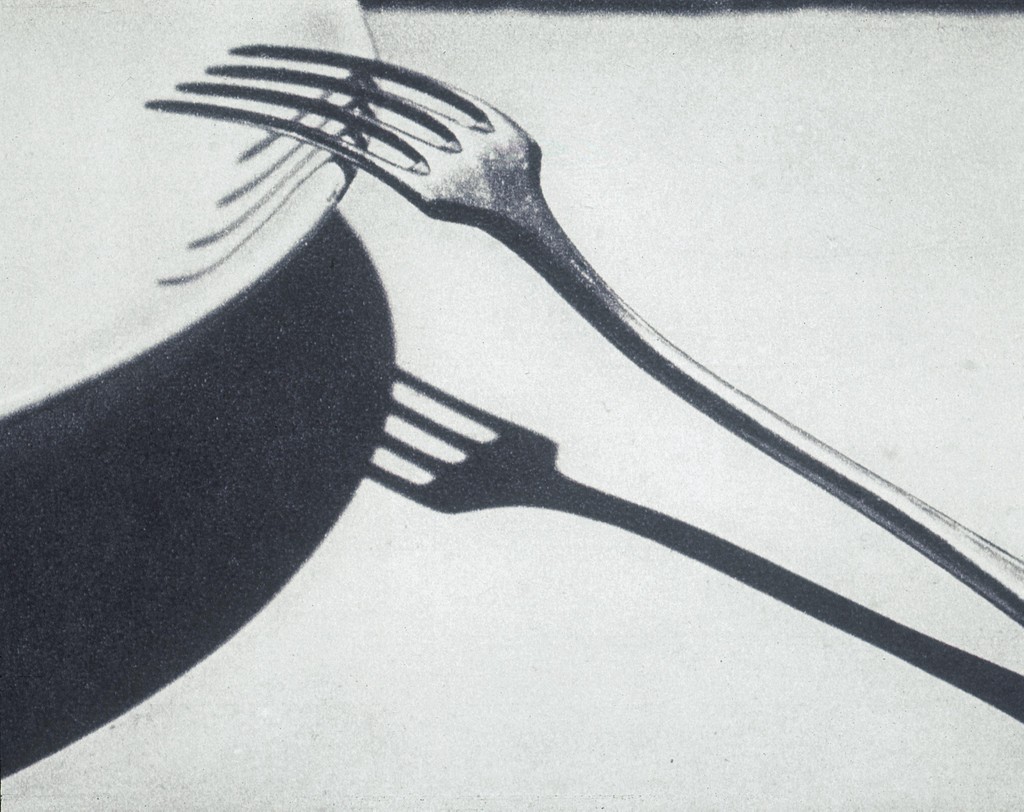
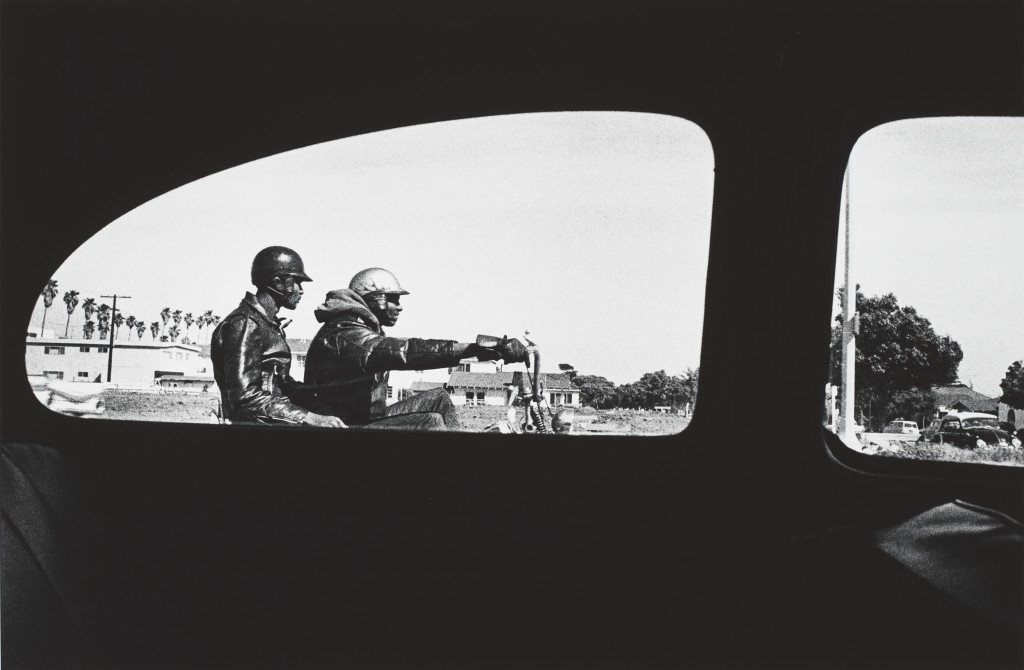
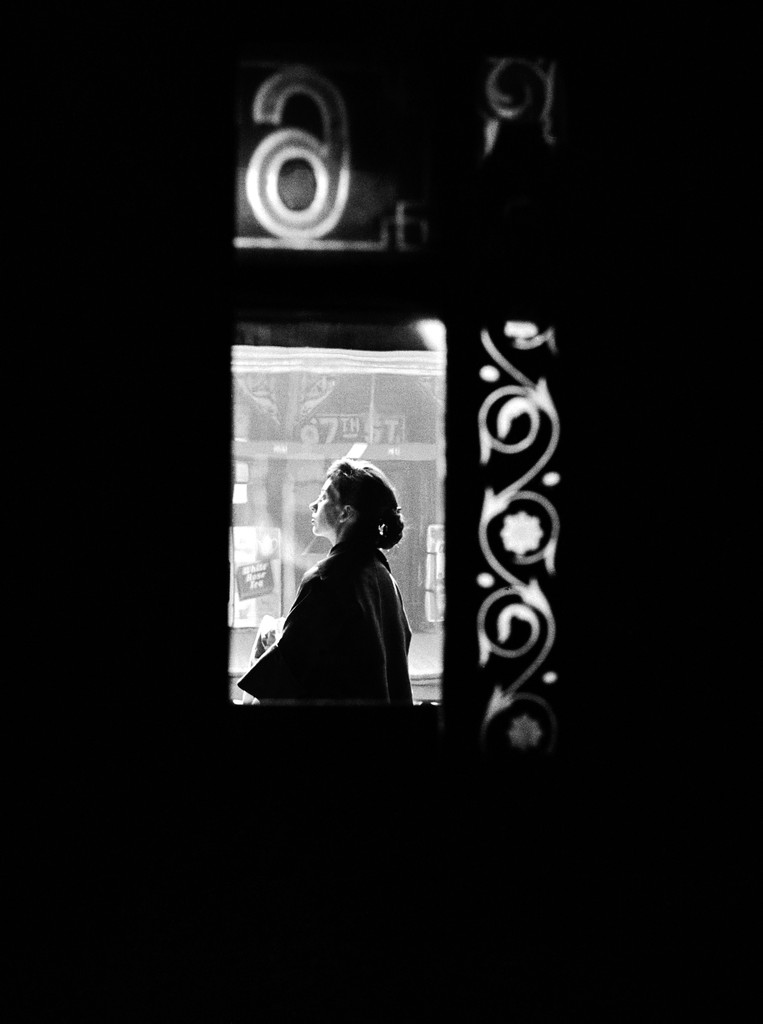
- Contrast and Drama : Shadows can be used to create contrast to produce a dramatic effect. Attention of the viewer is drawn to tonal contrast which can not happen without shadows. In this interplay of light and shadow, the lighting effect is enhanced by the shadows.
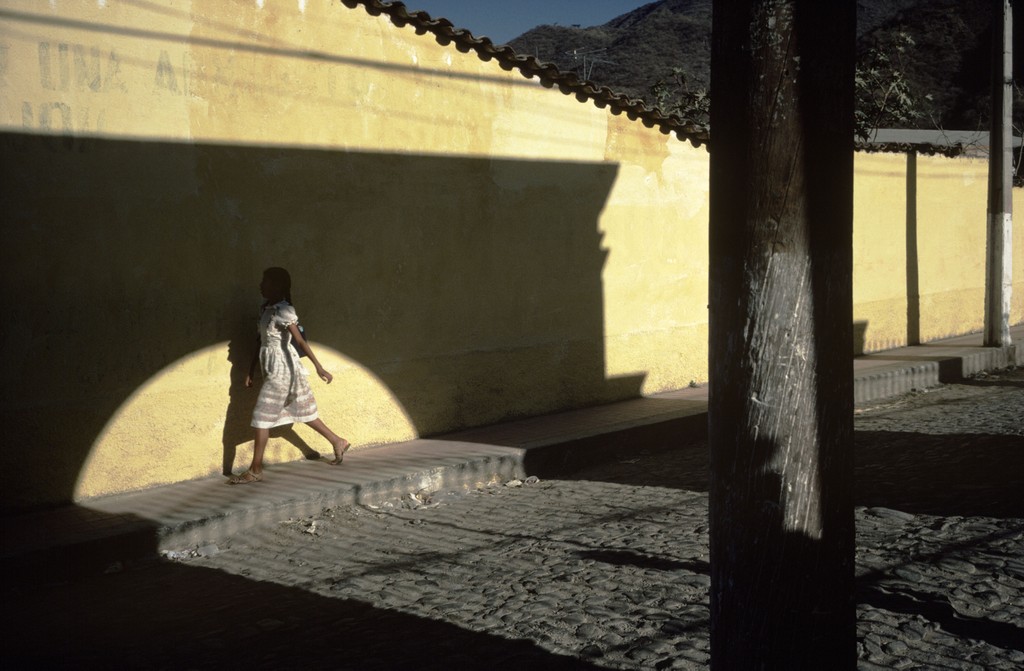
- Shadows can be used to direct the viewer’s attention. Shadows can be be shapes that may be used as compositional elements to direct attention to the center of interest in a photo. Also shadows can surround a light area to make it a center of interest.
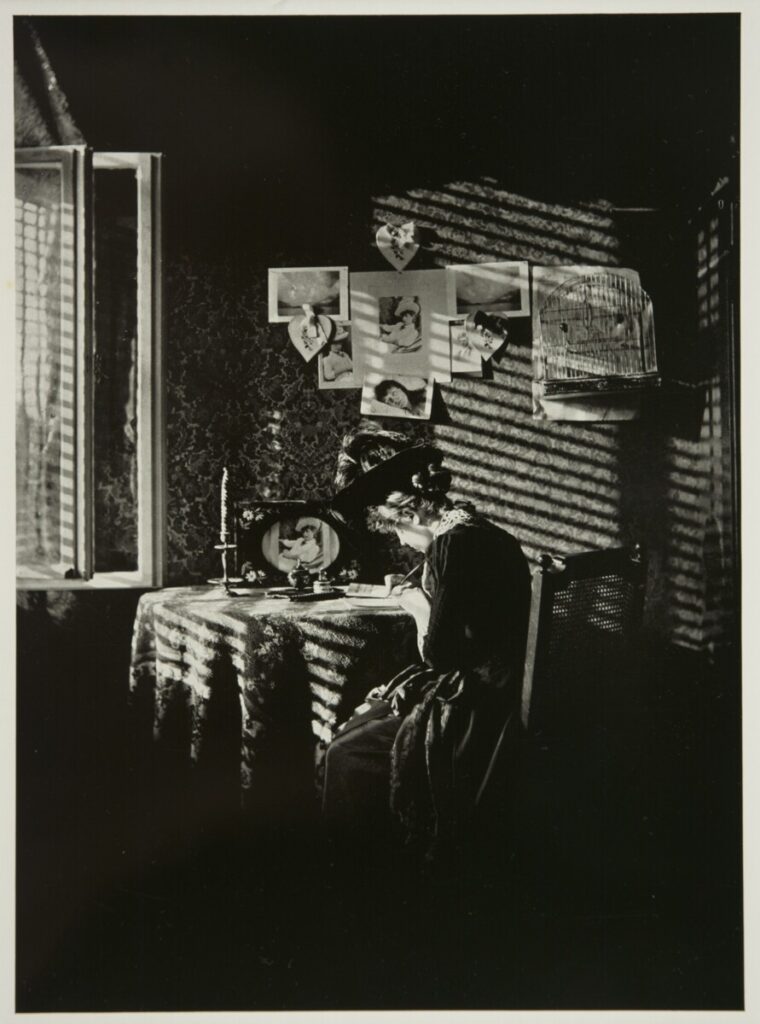
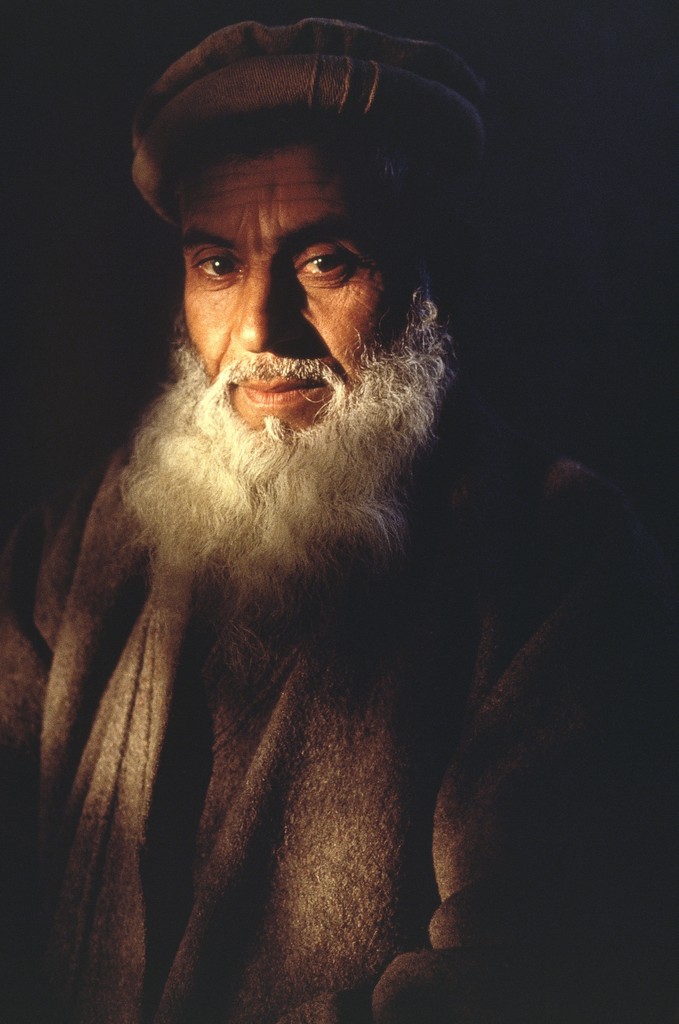
- Reveal form: Using shadows will give form to subjects and make them look more three dimensional. The shadows don’t necessarily need to be black for this to happen. As long as one part of subject is light and one part is darker the photo will look more three dimensional. For dramatic effect, direct light will produce dark shadows. But for some subjects, dark hard shadows can be distracting or cause loss of detail. For subjects where detail is important, using partially diffused light will make soft shadows that will show form and maintain detail.
- Reveal texture: Side light with shadow will show texture
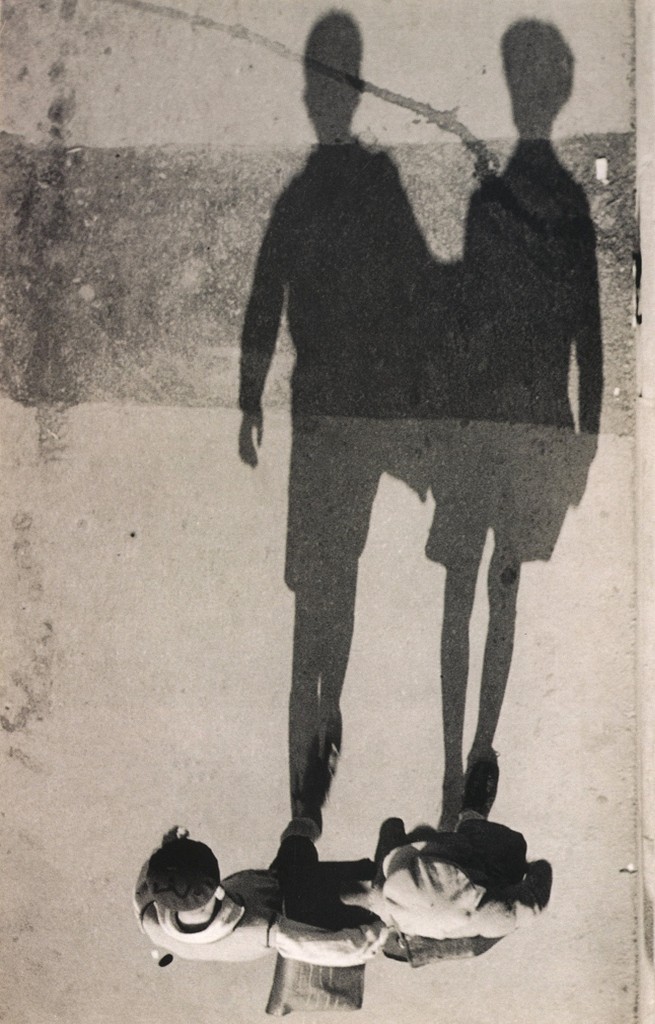
- Shadows can be shapes and patterns that can be used to complete a composition.
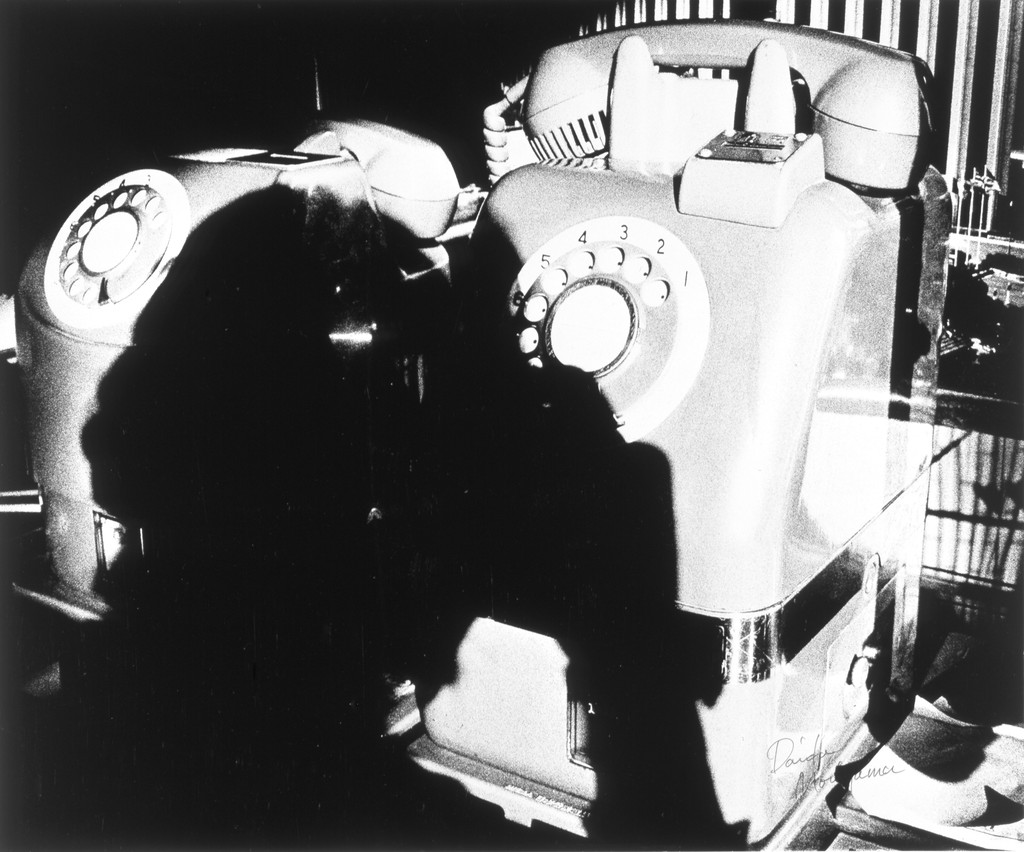
Calls & Messages 10:5, 1974
Photographer: Arthur Tress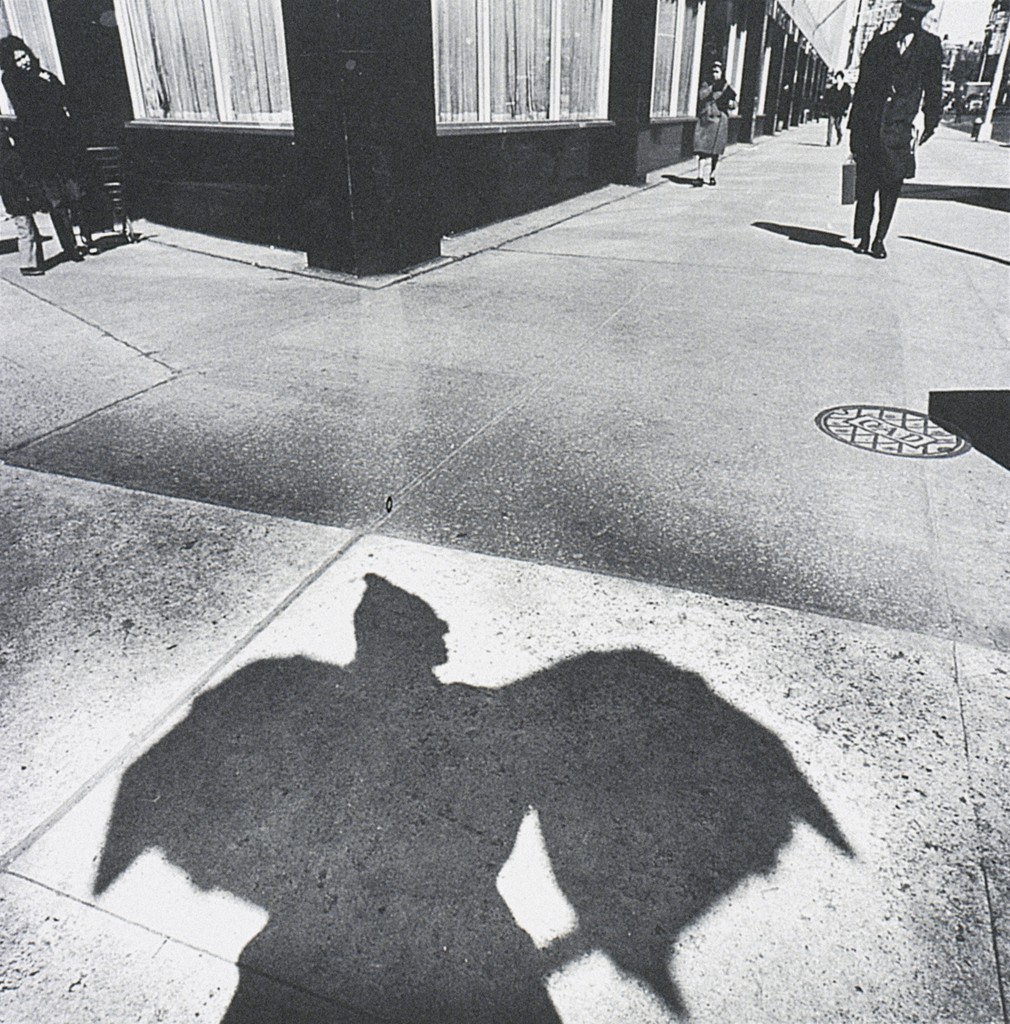
Shadow as Bird of Prey. 1973.
Photographer: Arthur Tress.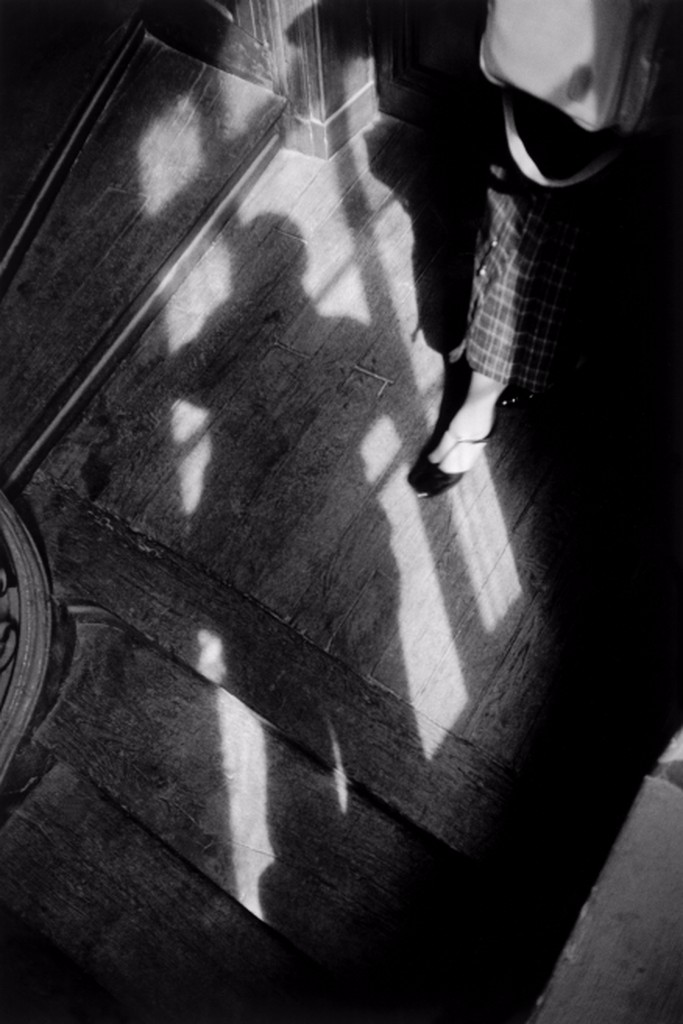
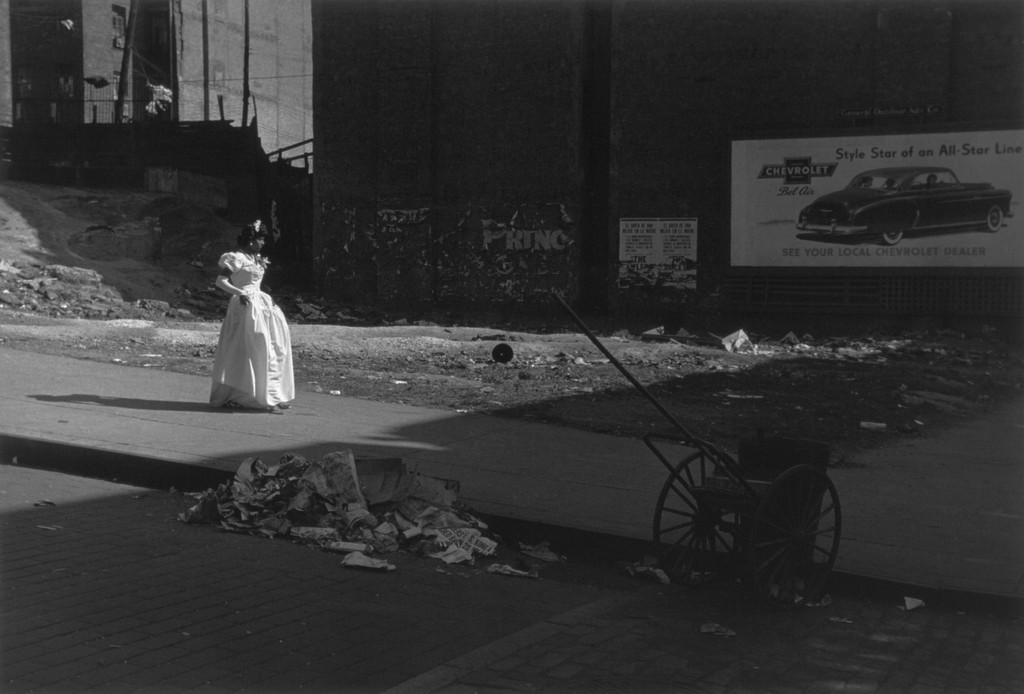
FRANCE. Paris. 1981. Photographer: Erich Hartmann 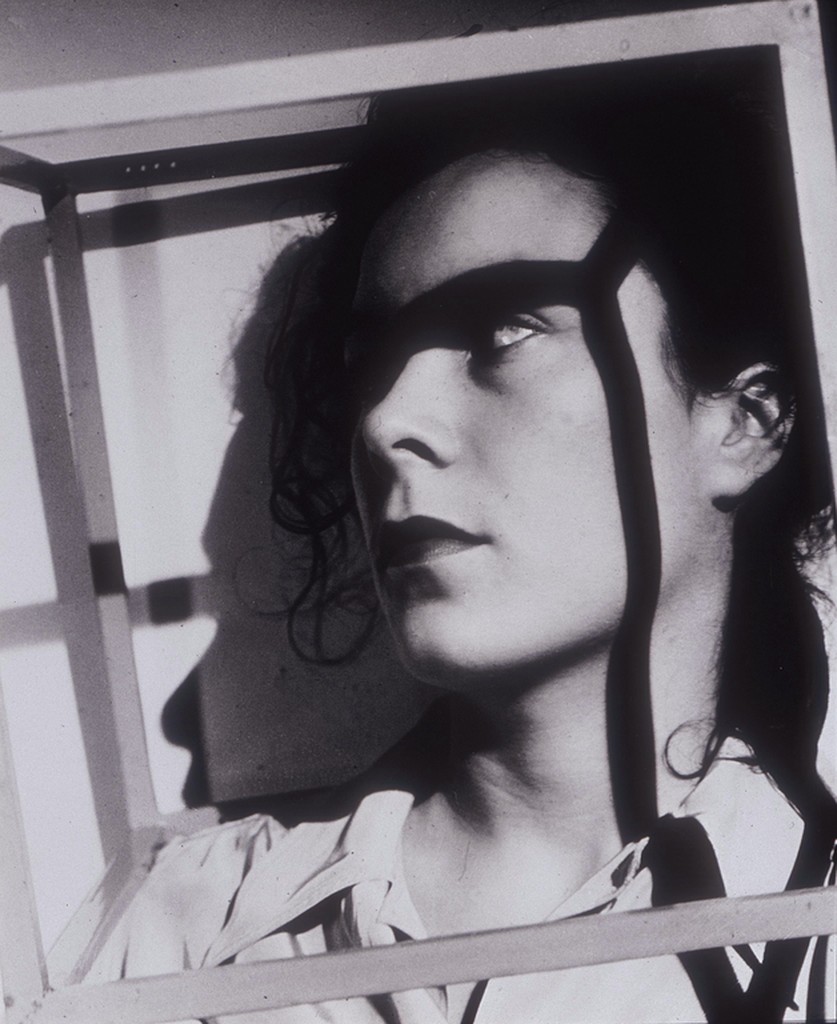
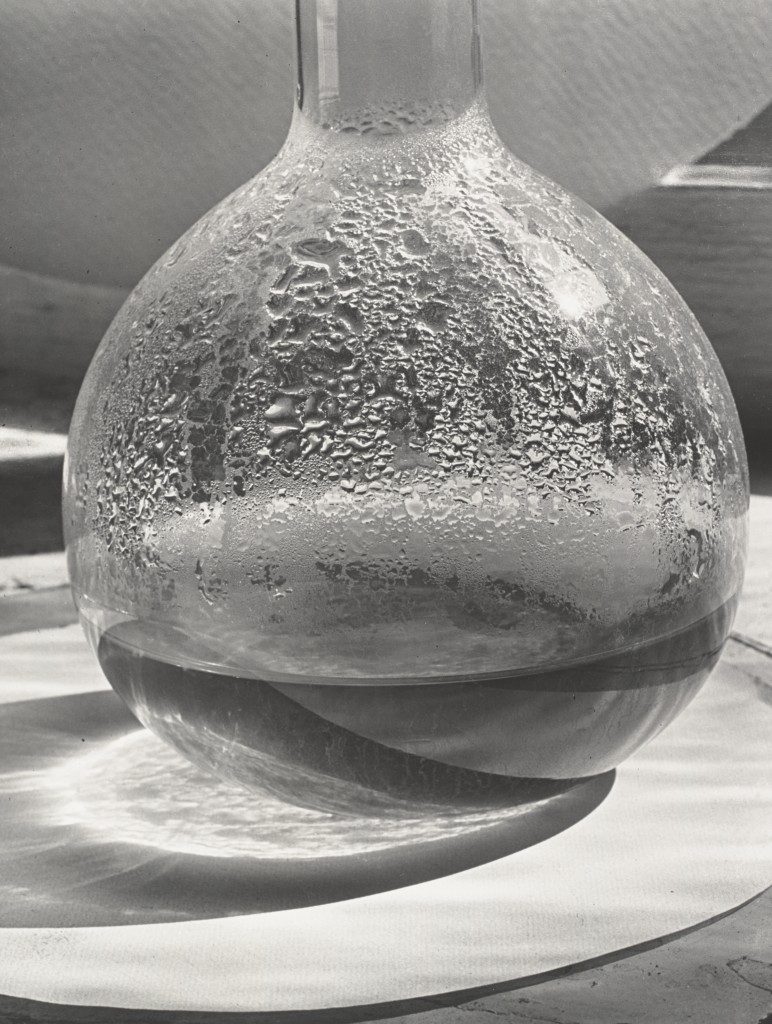
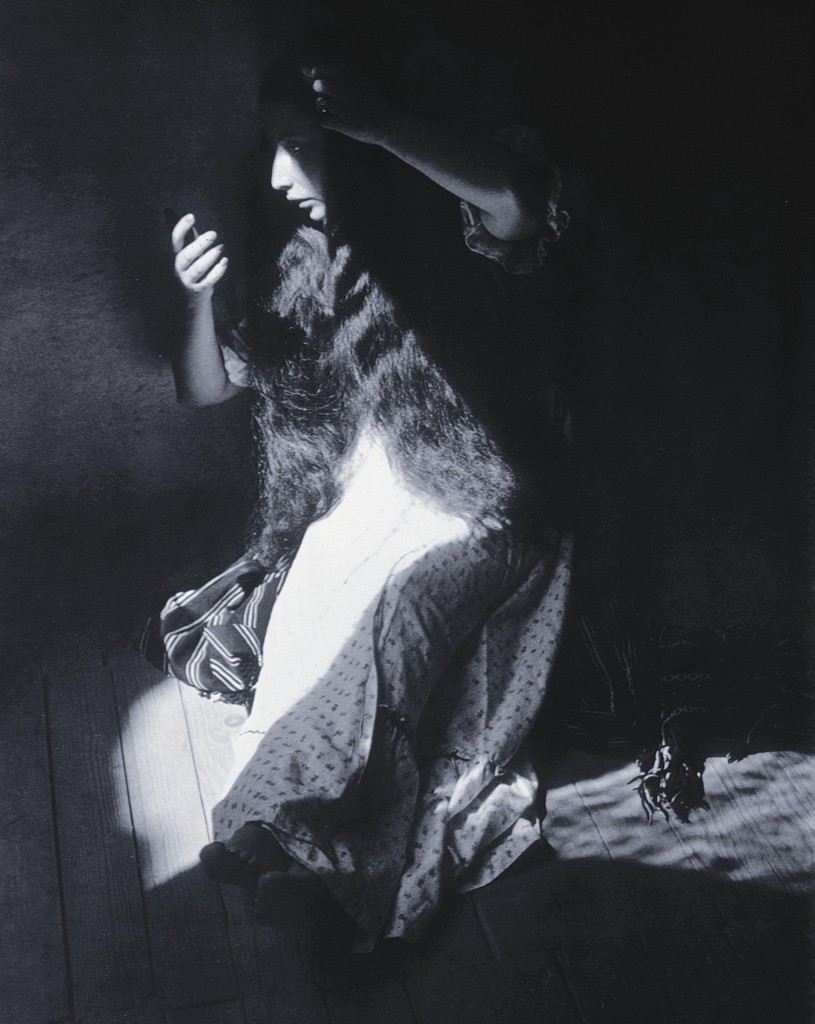
Juliet Shadow Caged Chicago. 1938.
Photographer: Gyorgy Kepes.
South Africe. 2008. Photographer: Chris de Bode. 
Young Buddhist novice and his shadow. Laos. 2008. Photographer: Abbas. 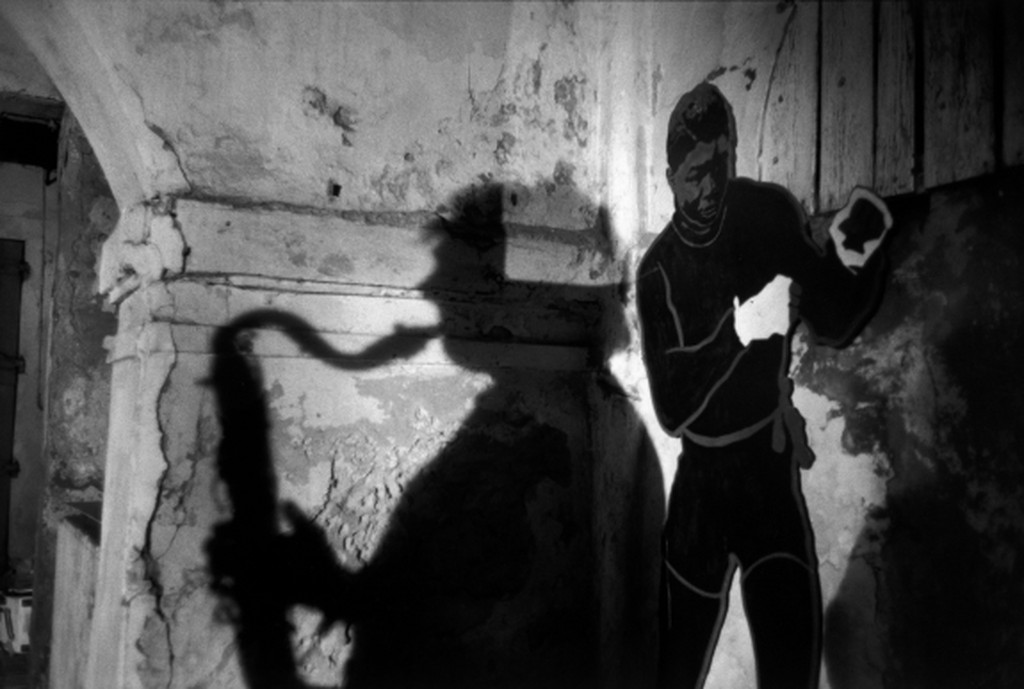
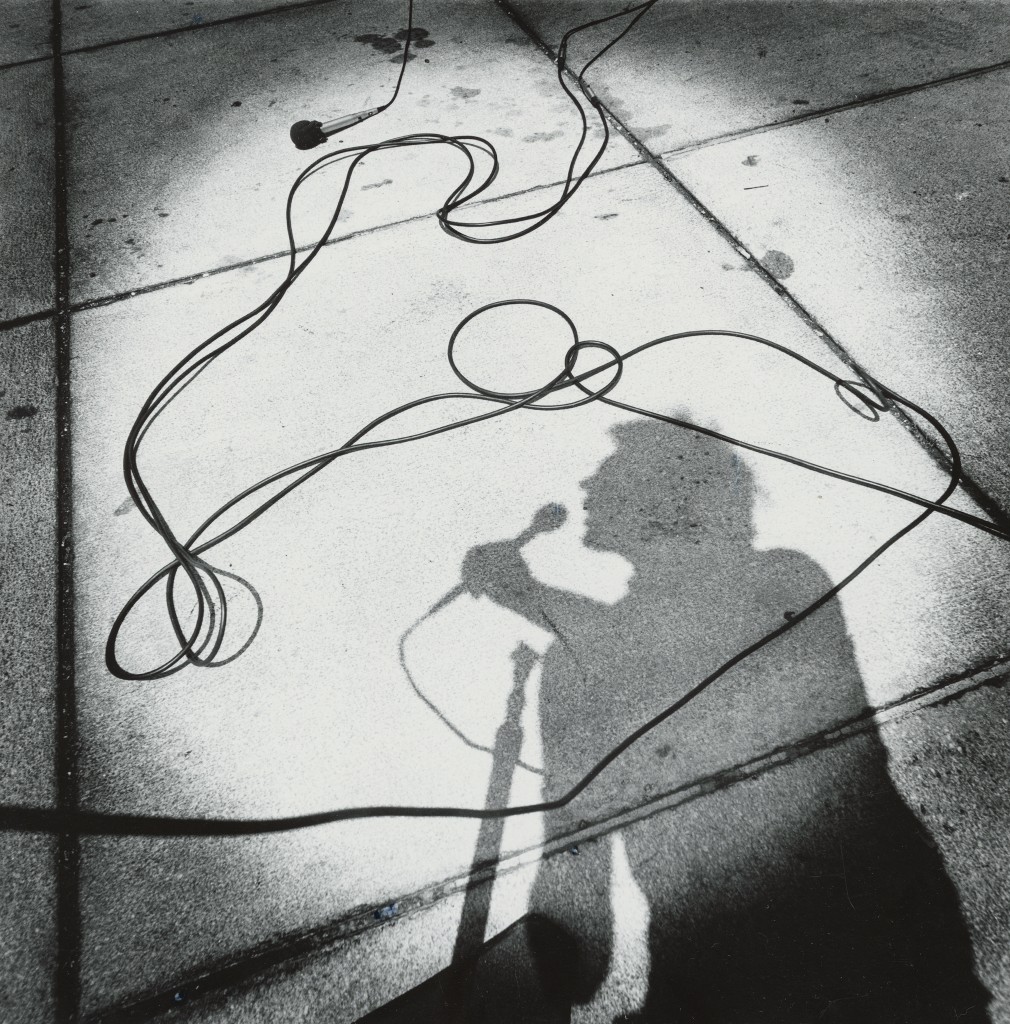
WESTERN AFRICA. 1993. Tour of the jazz musicians Trio.
Photographer: Guy Le Querrec
GERMANY. 1933. Herbert List. 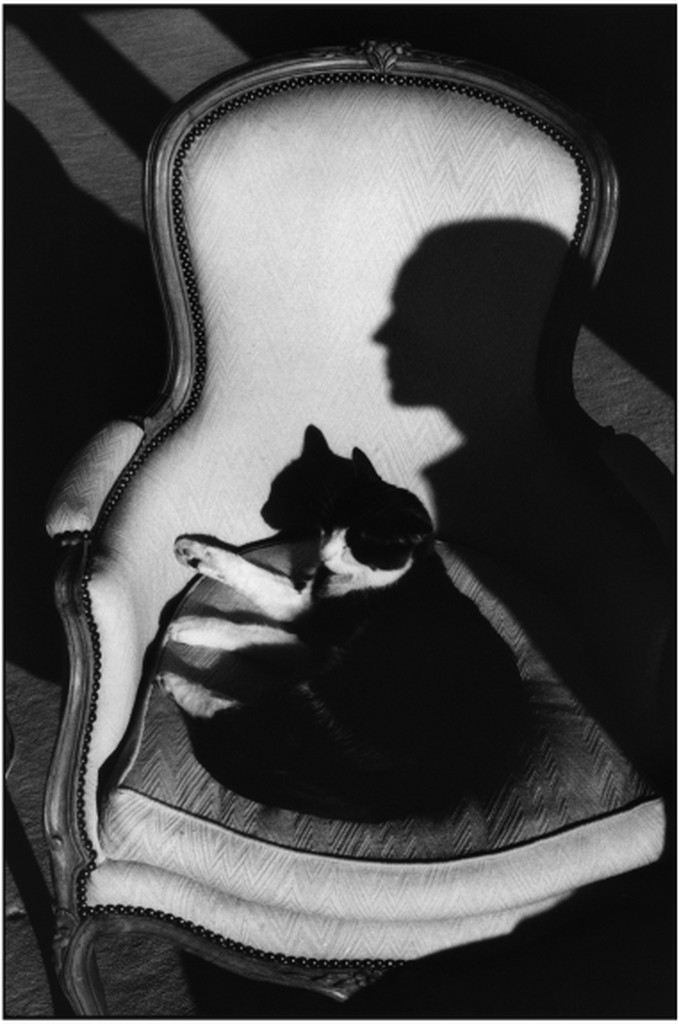
EUROPE. 1989. “Our cat Ulysses and Martine’s shadow”. 1989. Photographer: Henri-Cartier Bresson 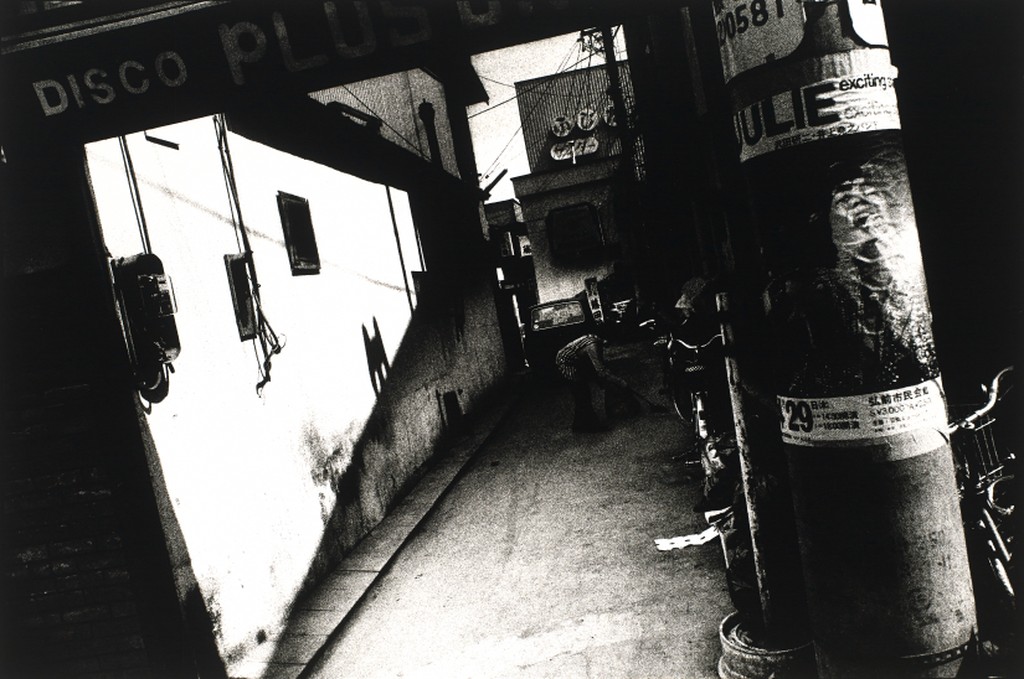
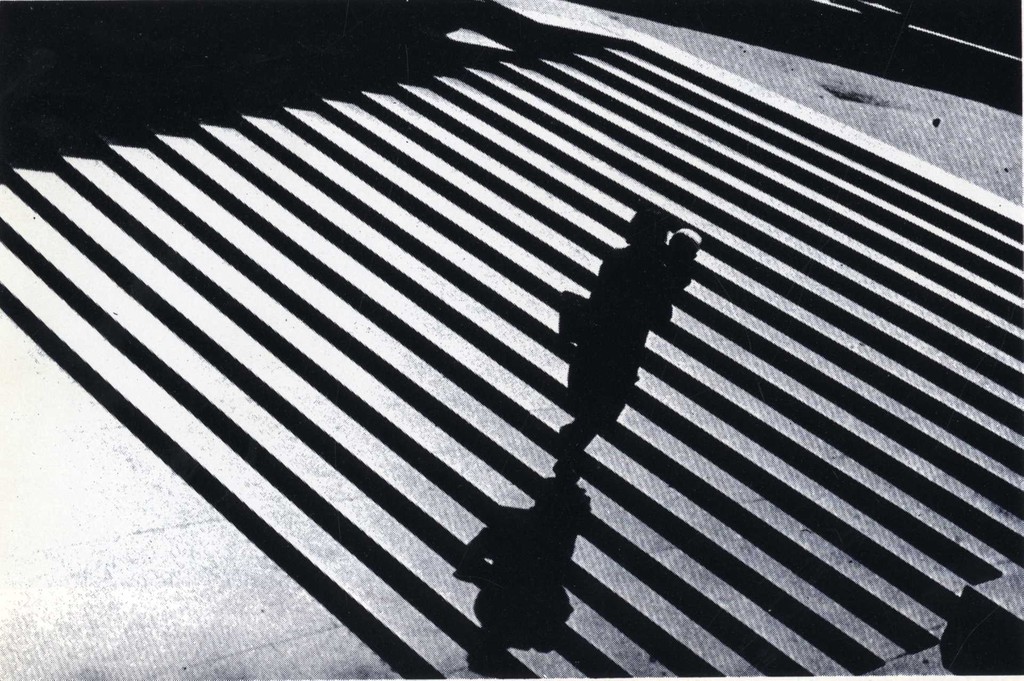
Photographer: Daido Moriyama 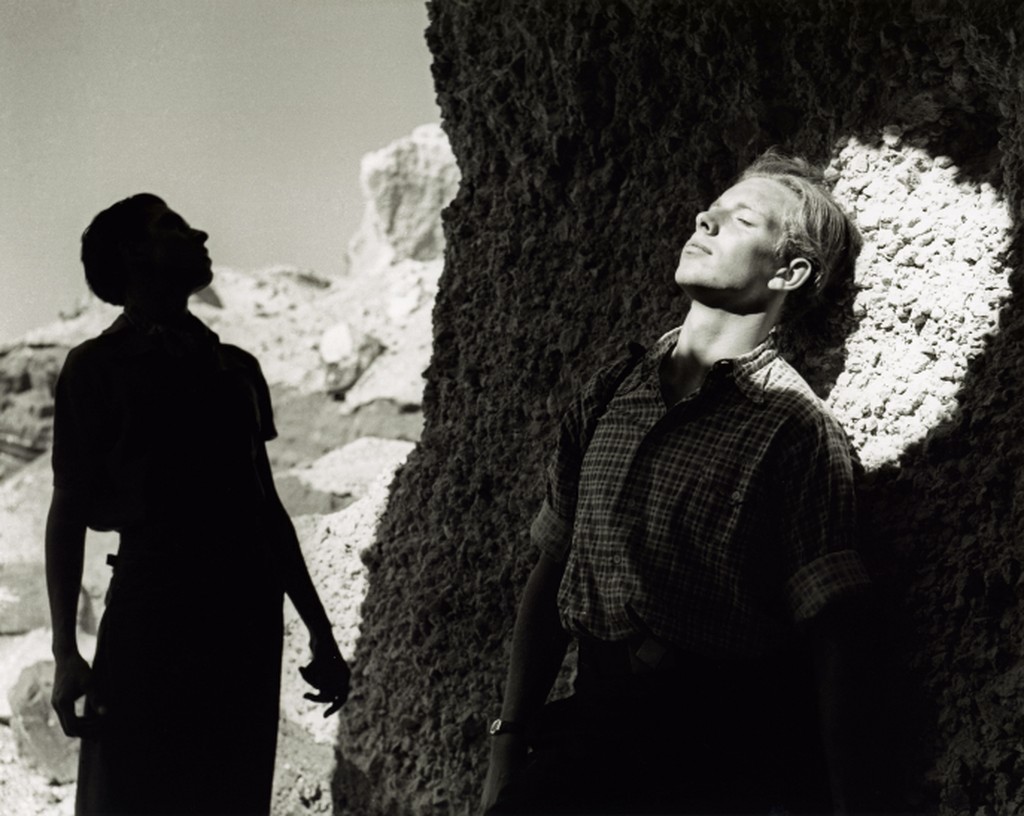
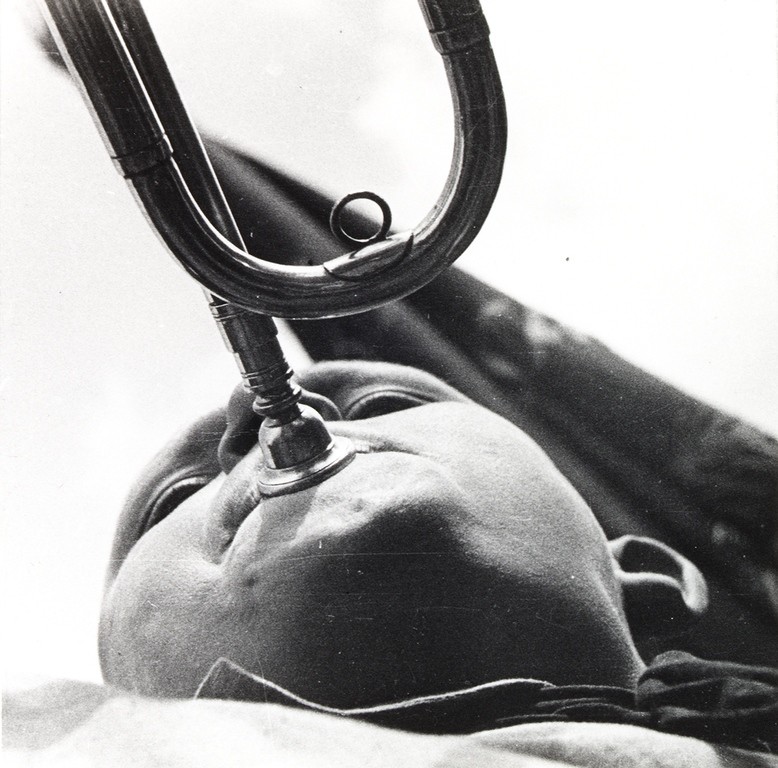
ITALY. 1936. Photographer: Herbert List
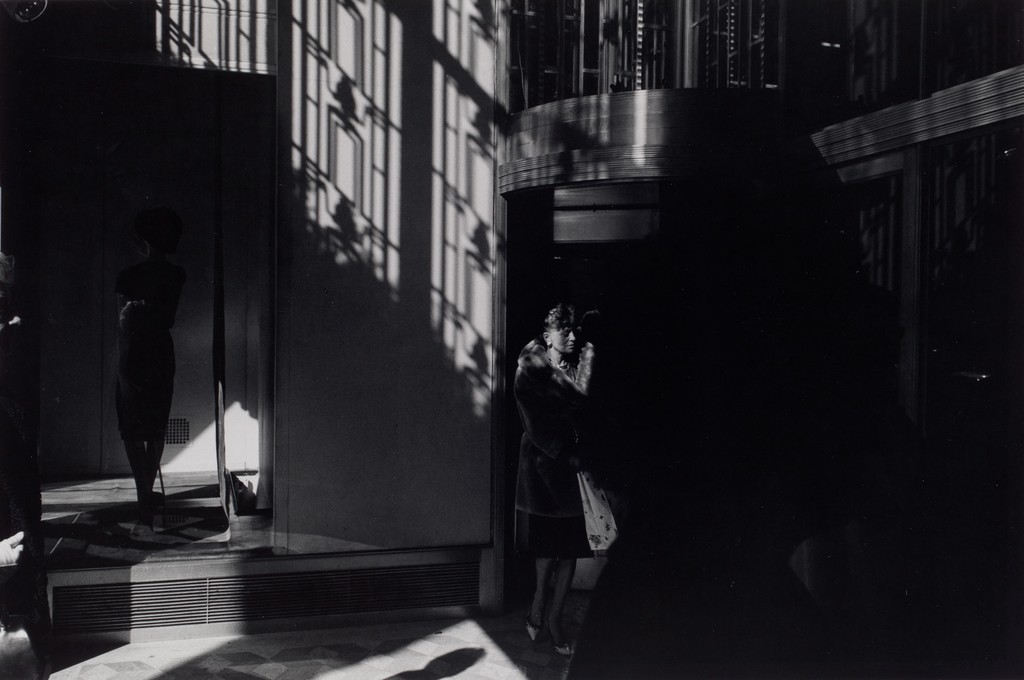
How light falls on your subject is key to using shadows in photography. The best direction for a combination of light and shadow will be light coming from the side. For dramatic effect photograph when the light( direct light ) is at a lower angle which will produce longer dramatic shadows. For less dramatic effect, use diffused light.
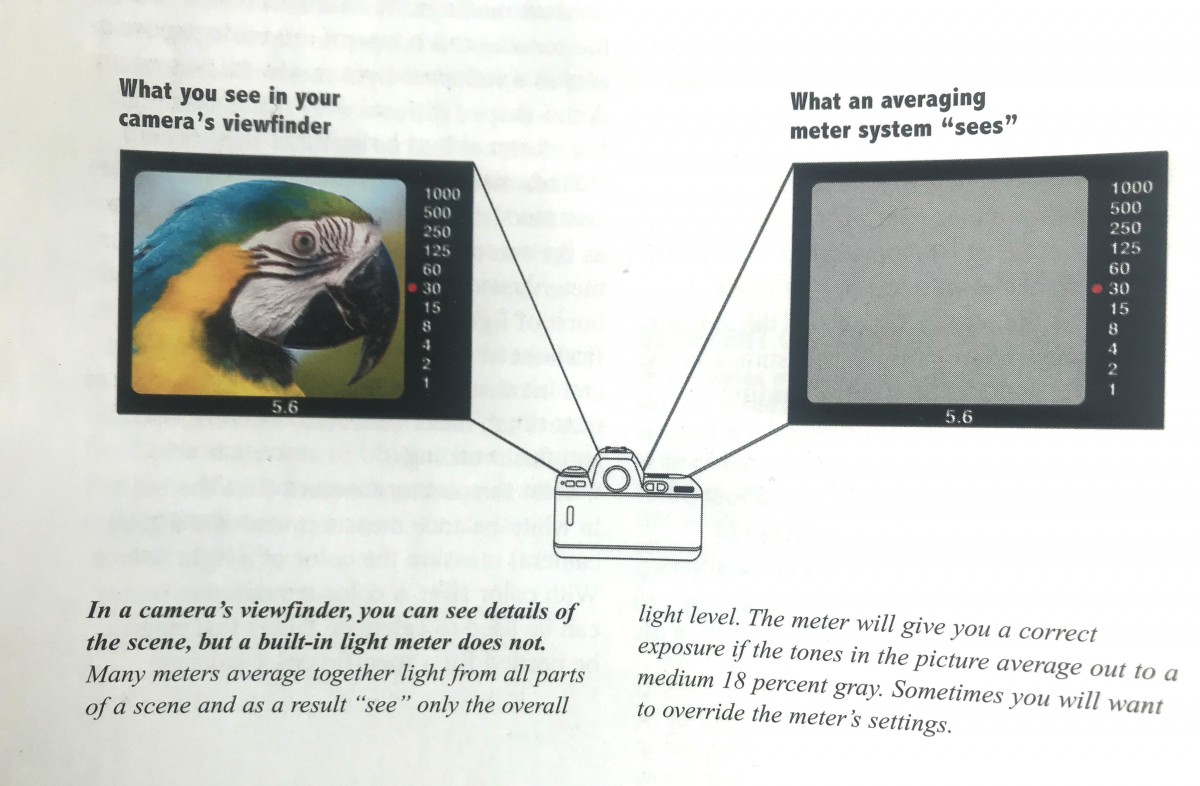
Exposing for photos that contain light and dark areas you will need to use exposure compensation. If there is large dark areas in the photo, the meter will over expose the light areas. In this case you need to use exposure compensation to lower the level of the lighter areas.


Recent Comments