A final project proposal of 300 words min plus a gallery of images for inspiration otherwise known as a mood board.
The goal of the Final Project is to create a series of 10 related images on a theme.
You may choose to do either:
A series of portraits (not 10 pictures of 1 person but 10 pictures of 10 people) OR
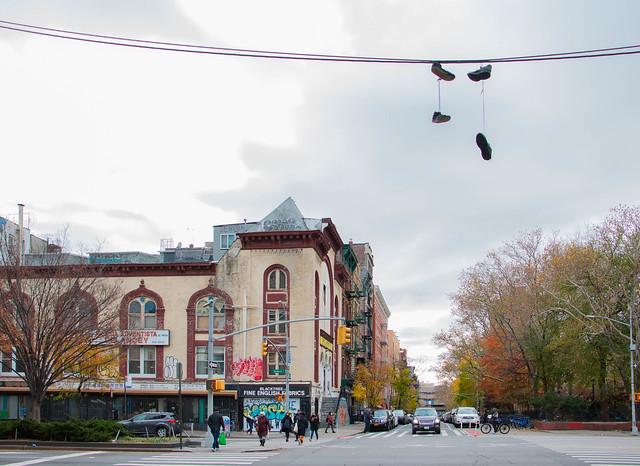
A portrait of a neighborhood
OR another theme that you are passionate about: dogs, skateboarders, basketball players, street fashion to name a few possibilities.
Decide which assignment(s) you most enjoyed. What are you most interested in? Then consider: do you have people to work with? What is your schedule like and what is practical?
Final Project statement: Describe your project. What is your theme? What is the story you want to tell? What is the subject matter? Where will you shoot and when will you shoot? What kinds of techniques will you use?
Find a minimum of 6 images by 6 different photographers that show what you want your project to look like. Put them in a gallery in the post with your final project statement.
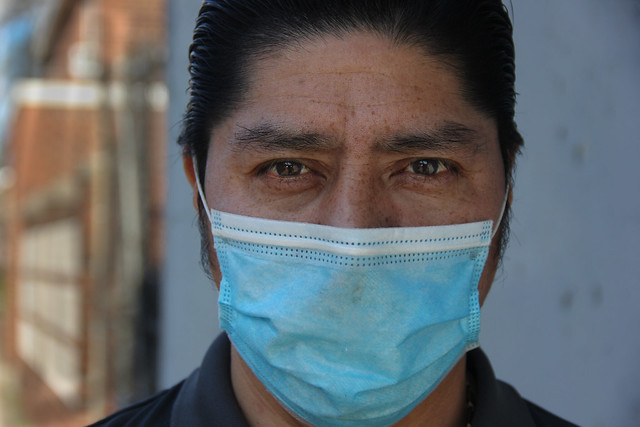
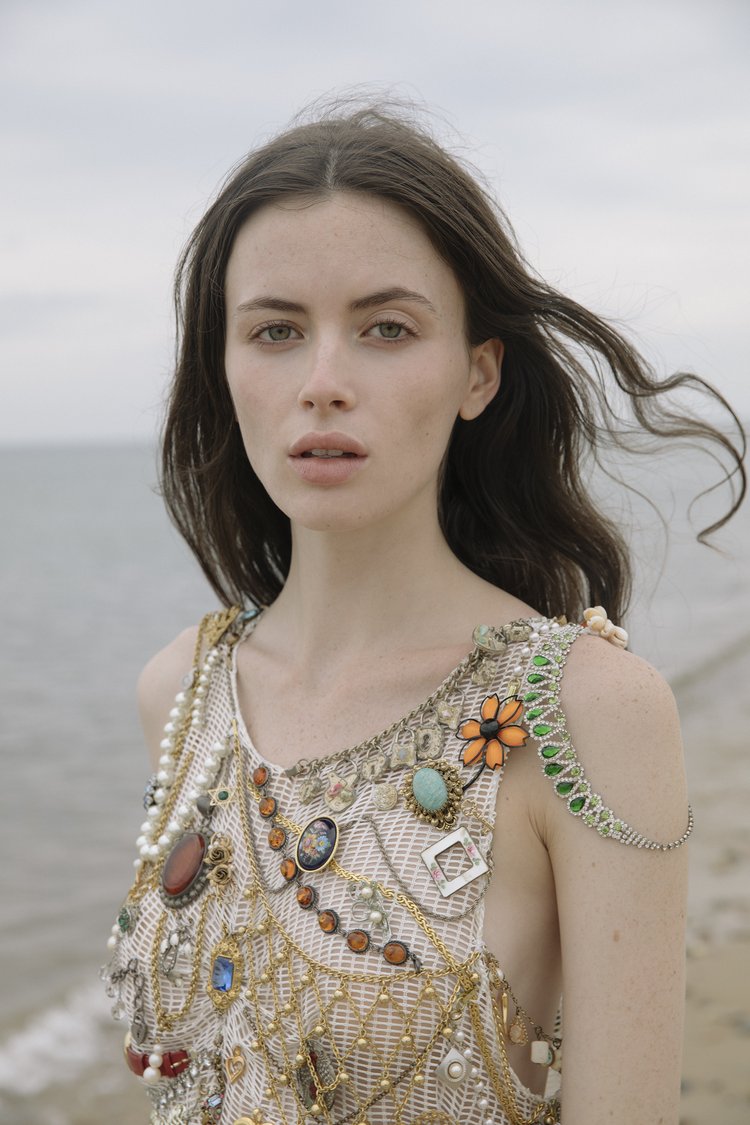
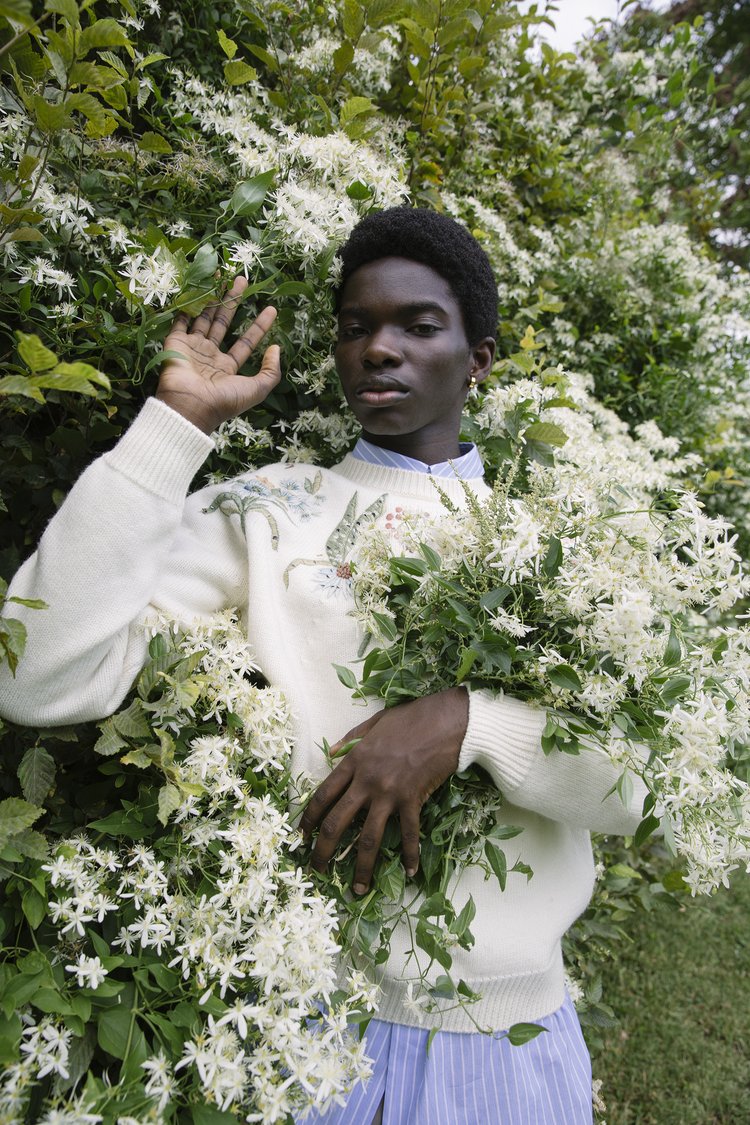
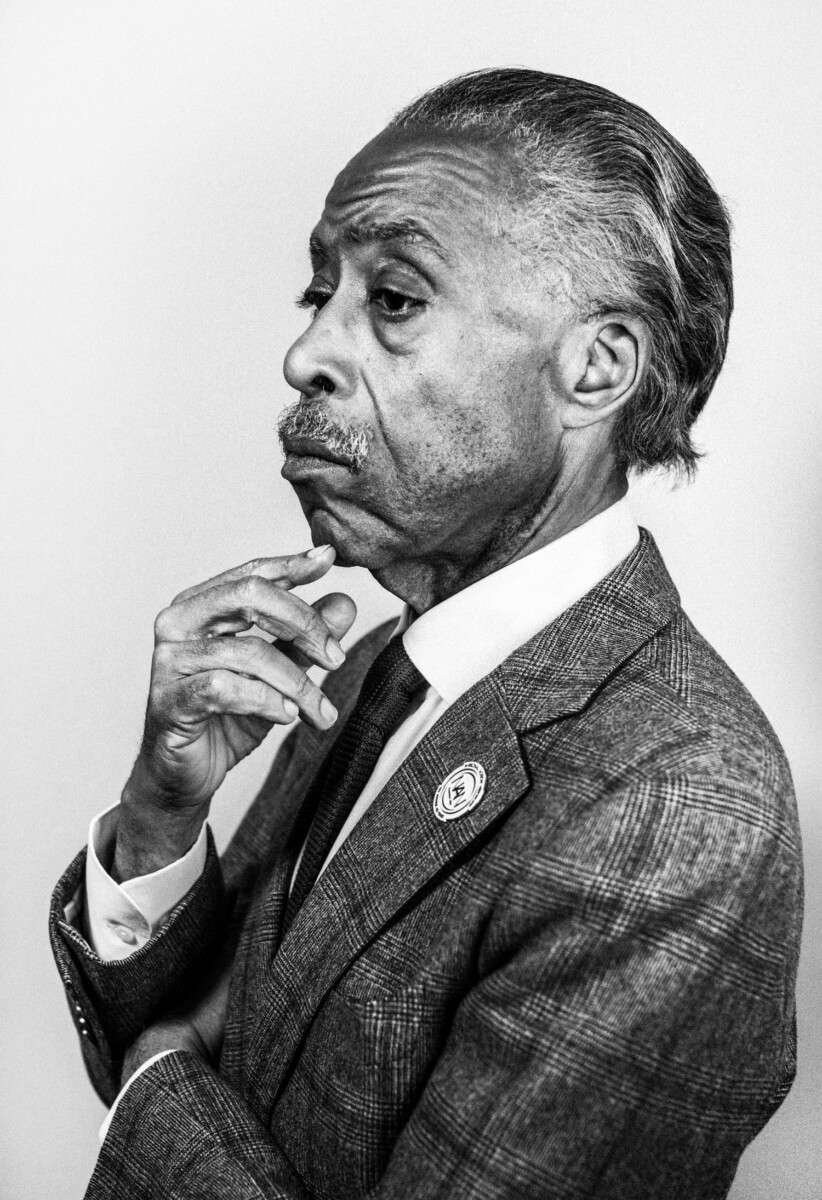
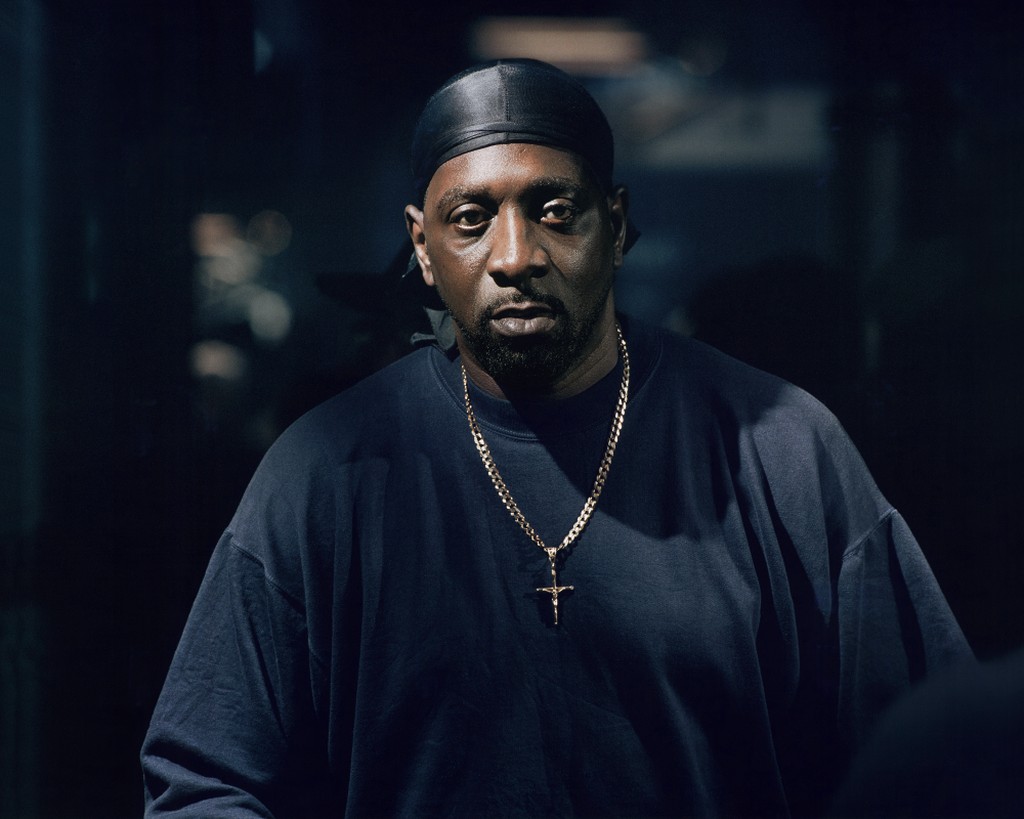
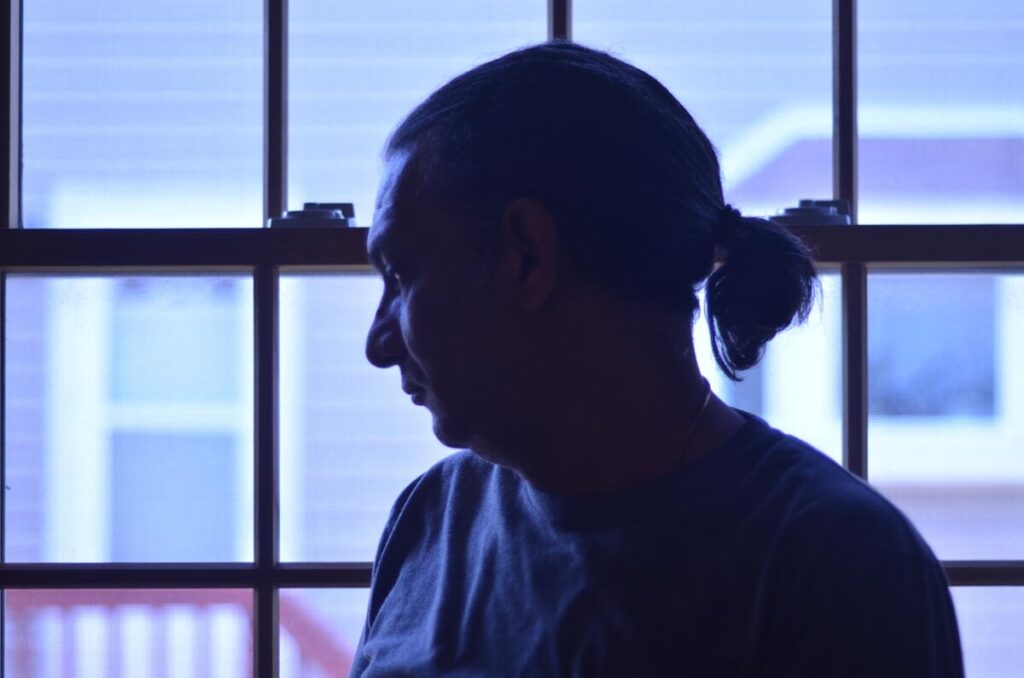
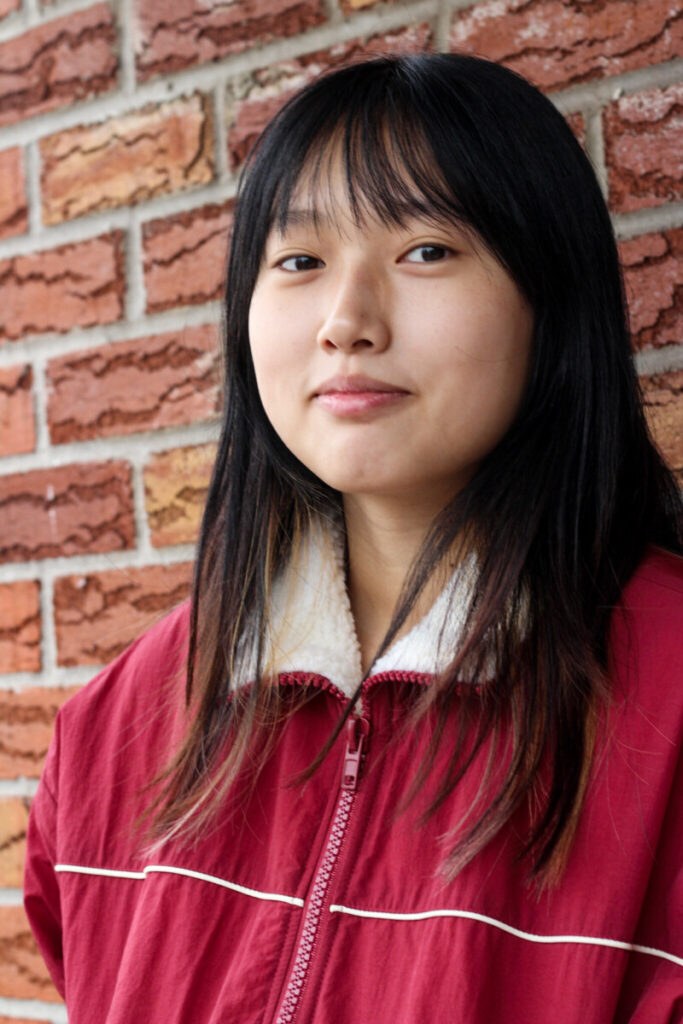
There are three basic positions for someone’s head and face in a portrait.
Front view
3/4 view
Profile
Photos by Celeste Sloman.
Expression
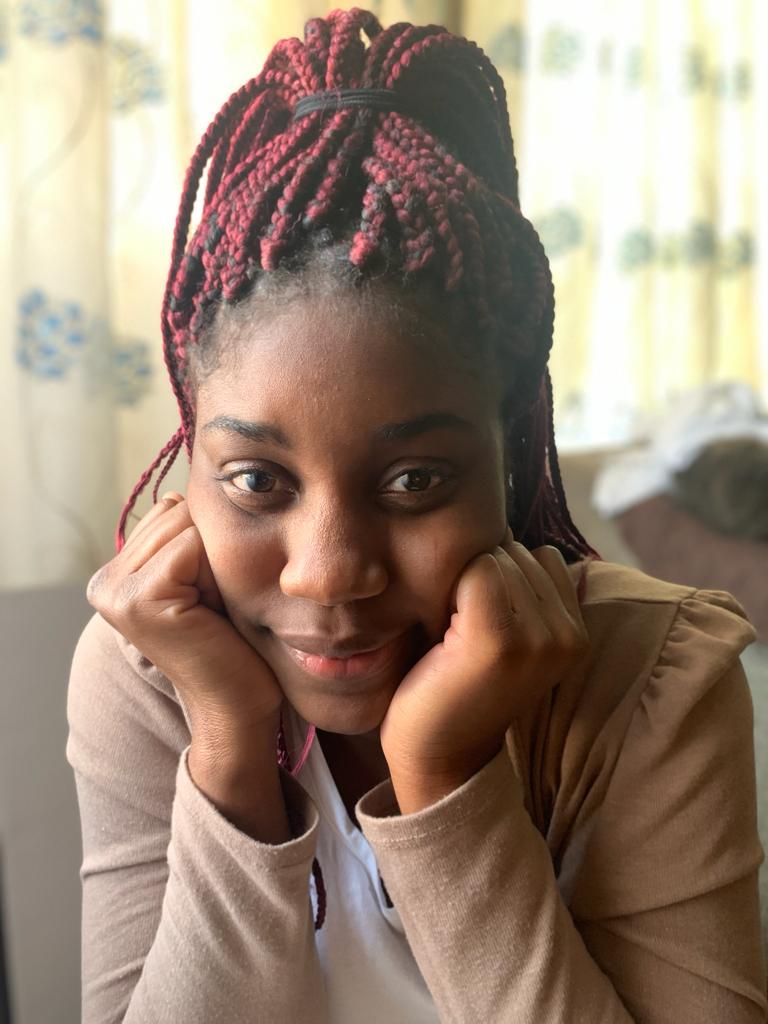
For family photos a smile is a must but not so for a portrait. It is however important that your subject look comfortable. It is your job as the photographer to talk with your subject and make them feel comfortable.
Photographer: Philip-Lorca diCorciaPhotographer: Helene van Meene
When shooting a portrait, the subject’s eyes must be in focus. Full stop. Period.
Light
The main light casts the shadows.
The fill light brightens the shadows.
When shooting outside during the day, the sun is the main light.
We will brighten the shadows or fill the shadows using either a reflector or fill flash.
Considerations for any portrait:
Use a vertical orientation.
Focus on the model’s eyes.
Watch the background for distracting things behind the model’s head.
Considerations for outdoor portraits
Work with the model in shade or place the model with the sun BEHIND their head.
Use a reflector to add light to their face.
Do not use direct sunlight on the model’s face.
Resource
Fill Flash
Ambient Light-the existing light that you cannot control
Fill Flash-brightens shadows
Built-in flash-part of the camera and throws light about 6 to 10 feet
External flash-added to the camera on the hot shoe and can throw light 15 to 20 feet
E–TTL (Evaluative-Through The Lens) is a Canon EOS flash exposure system that uses a brief pre-flash before the main flash in order to obtain a more correct exposure.
Use M or manual.
1/1 is full power. for fill flash, try 1/64 and adjust from there.
Use Zoom to spread or focus the light. Wide angle numbers (smaller numbers) spread the light. Higher numbers focus the light.
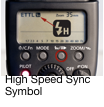
High speed sync-allows the camera to be set at shutter speeds higher than the camera sync speed
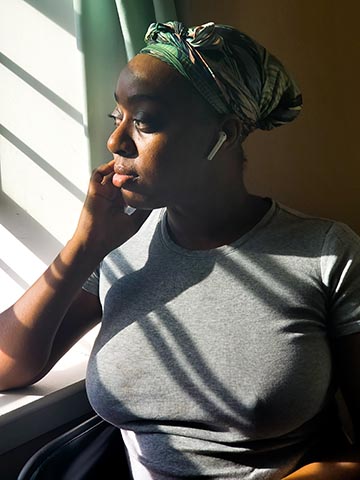
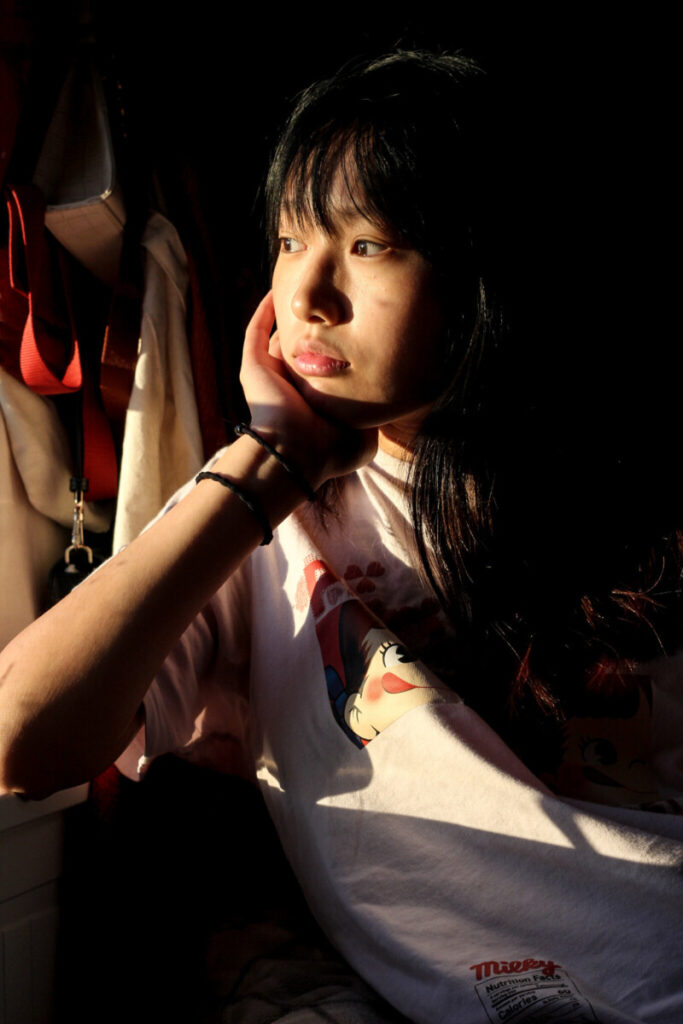
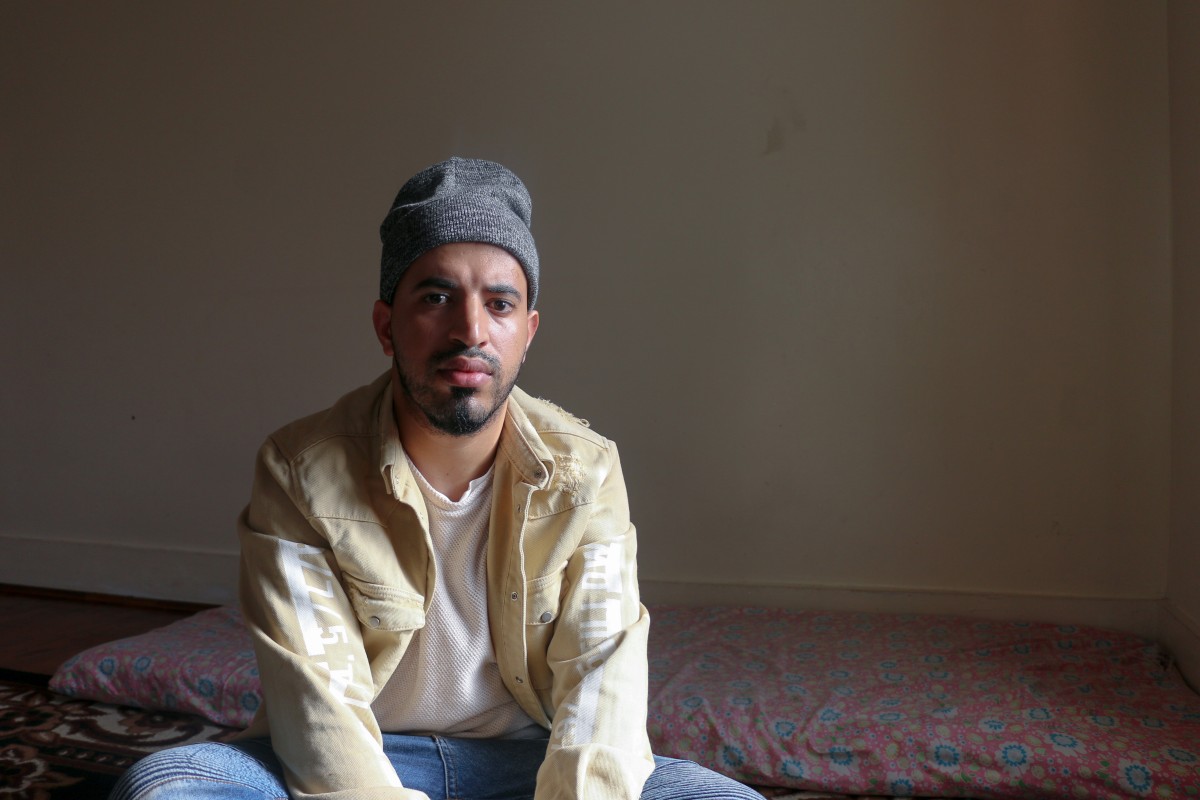
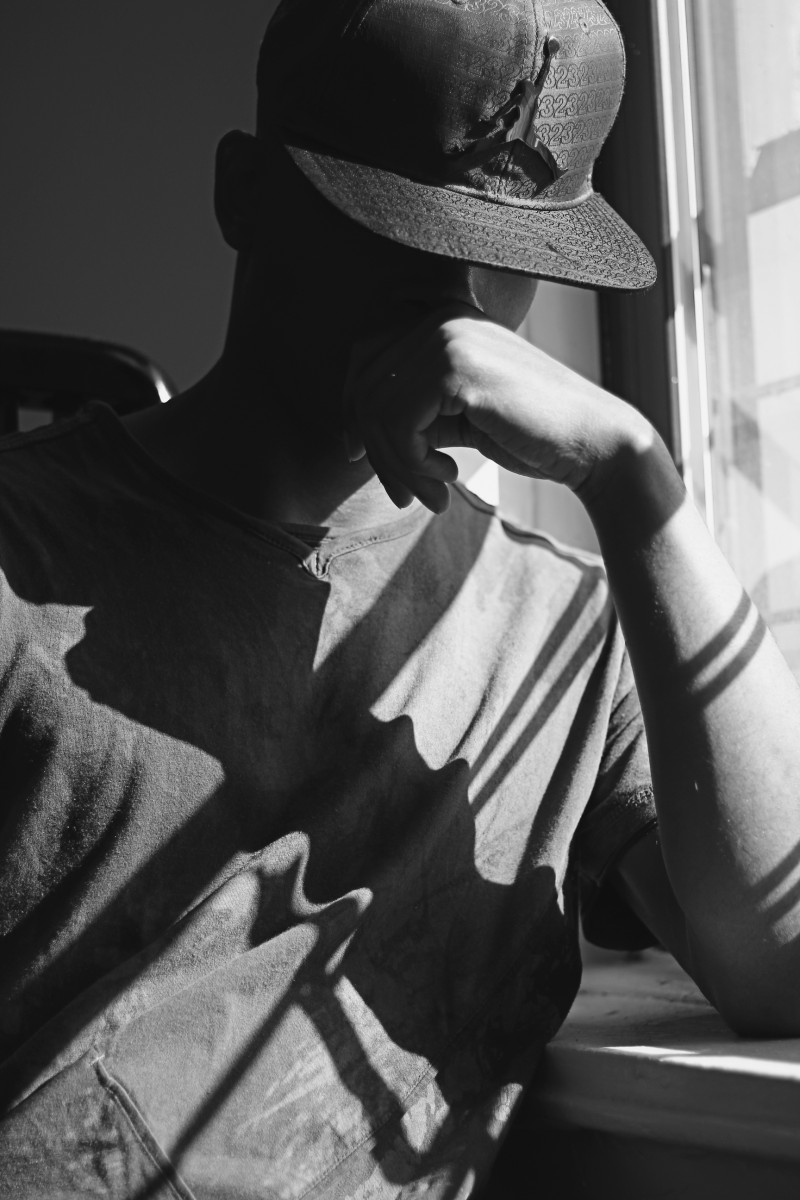
Create a series of 30 portraits of at least 3 different subjects using window light or outdoor diffused light.
For each subject, shoot some in front view, some in three quarter view and some in profile.
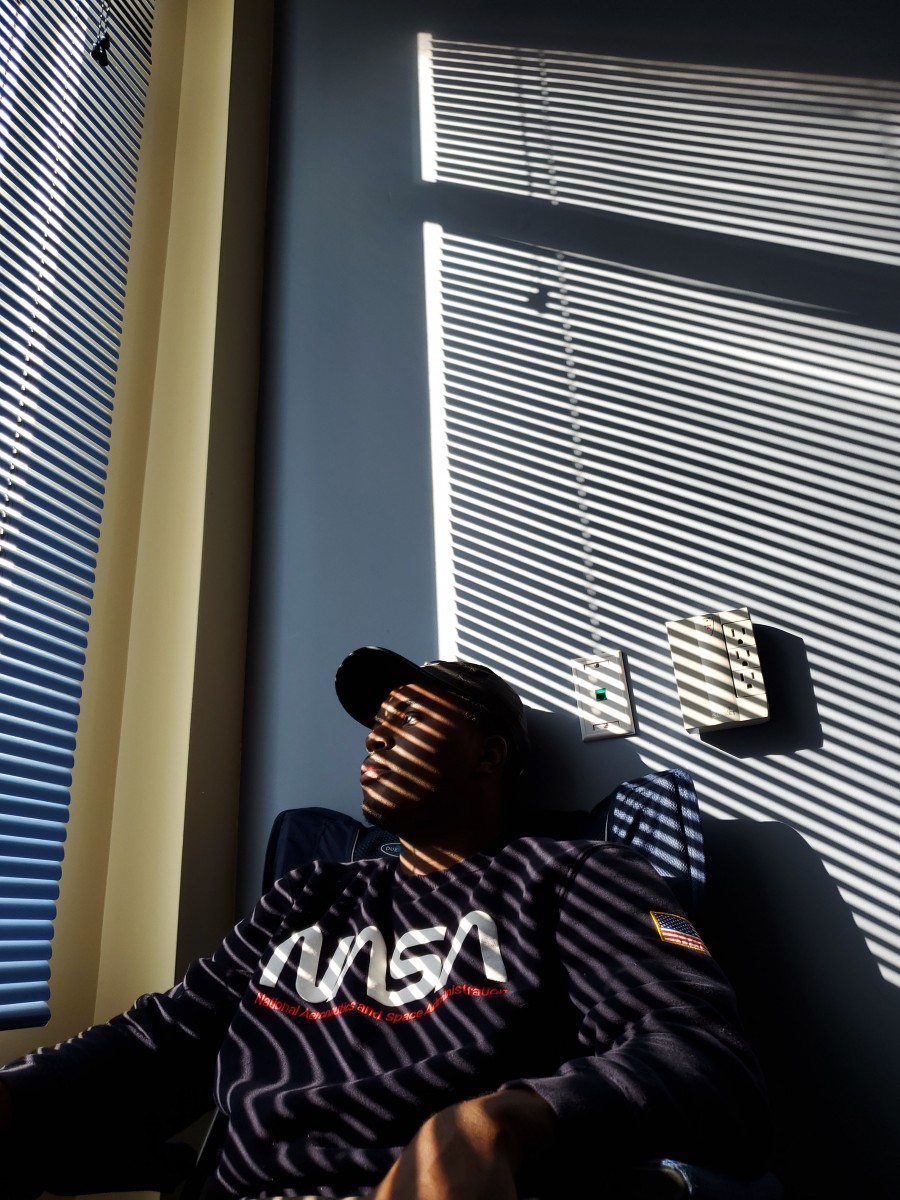
Use the window as front light, side light and back light. When you are working with a window, you can’t move the light source so you and the subject must move.
You should be near or next to a window during the day.
The window can be in the photo or you can just use the light from the window.
Pay attention what is in the frame and make sure the background adds to the photo and is not distracting.
Your photos should use light and expression to be expressive. No props. If you have curtains or venetian blinds, you may use them as elements in the photos.
Experiment with different expressions and gestures and different framing (how much of your subject is in the frame.)
Upload the 30 photos to OpenLab and put them in an album. Send your best 3 – the best of each subject- to the class group.
Working outdoors, the sun is the main light. We will use reflectors and flash to fill the shadows.
Start with a reflector. Have your model stand with the sun to their back. Use the reflector to reflect light back into their face. Hold the reflector higher for a more pleasing result.
Then try fill flash. Use the flash on camera at a relatively low setting such as 1/64. You don’t want to cast any shadows on the face just brighten it.
Use your widest aperture. You may need to use a fast shutter speed to compensate. When using flash, make sure to set it to High Speed Sync (HSS) in order to be able to use a shutter speed faster than the sync speed.
Put your 20 best outdoor portraits in an album on Flickr and send the best two to the class group.


Recent Comments