For the next class
On November 28th, if you have a flash light bring it in. You can also use your phone but you might want to have a charger so you aren’t left with a dead phone for the rest of the day.
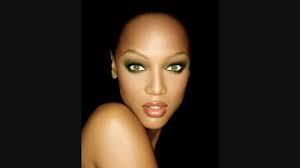
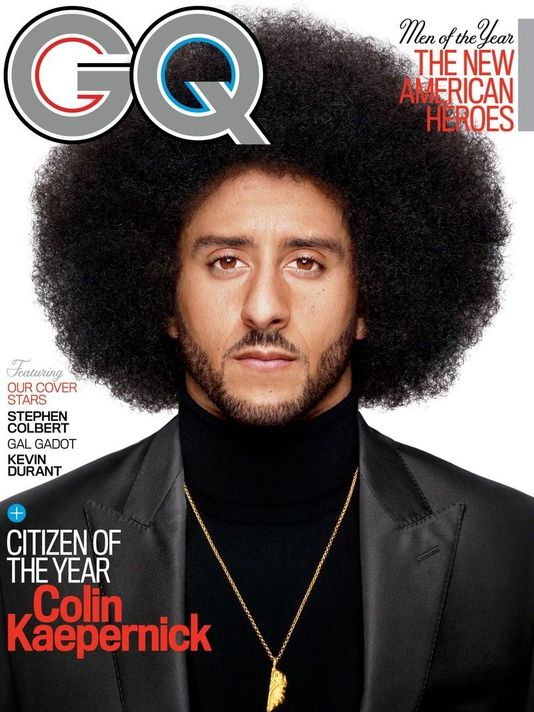
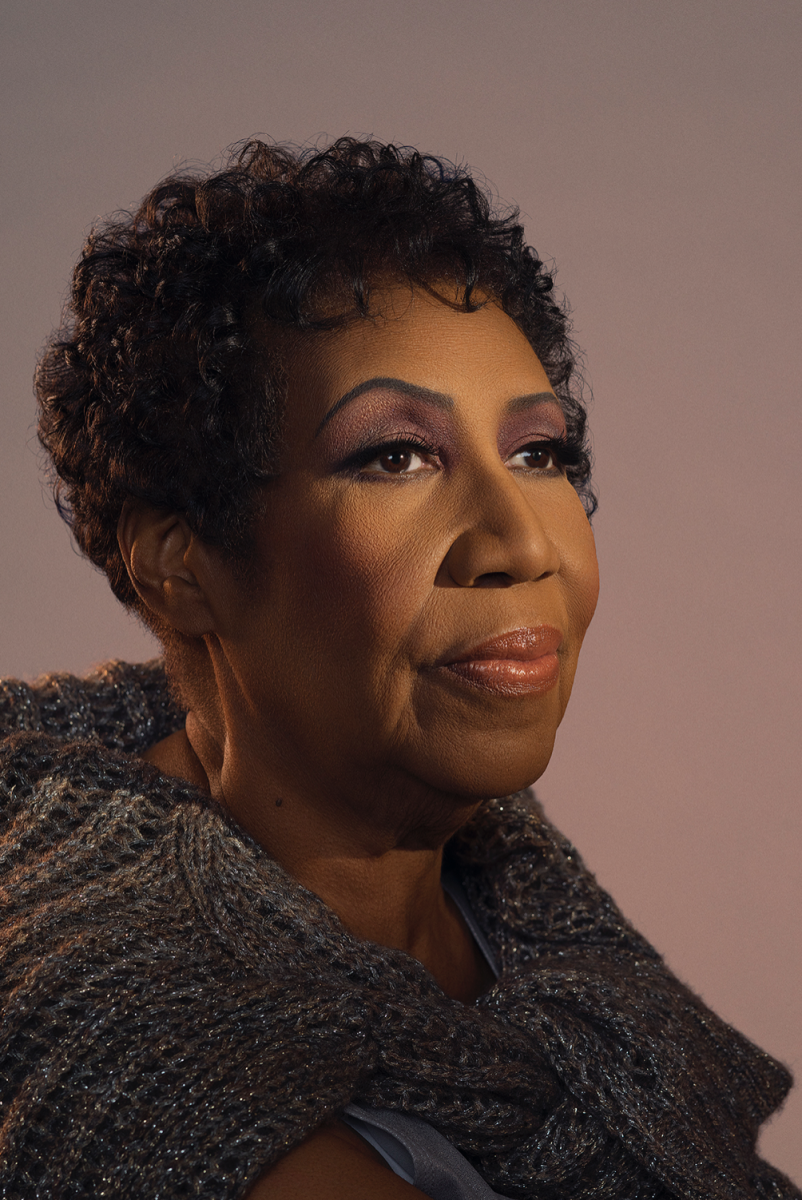
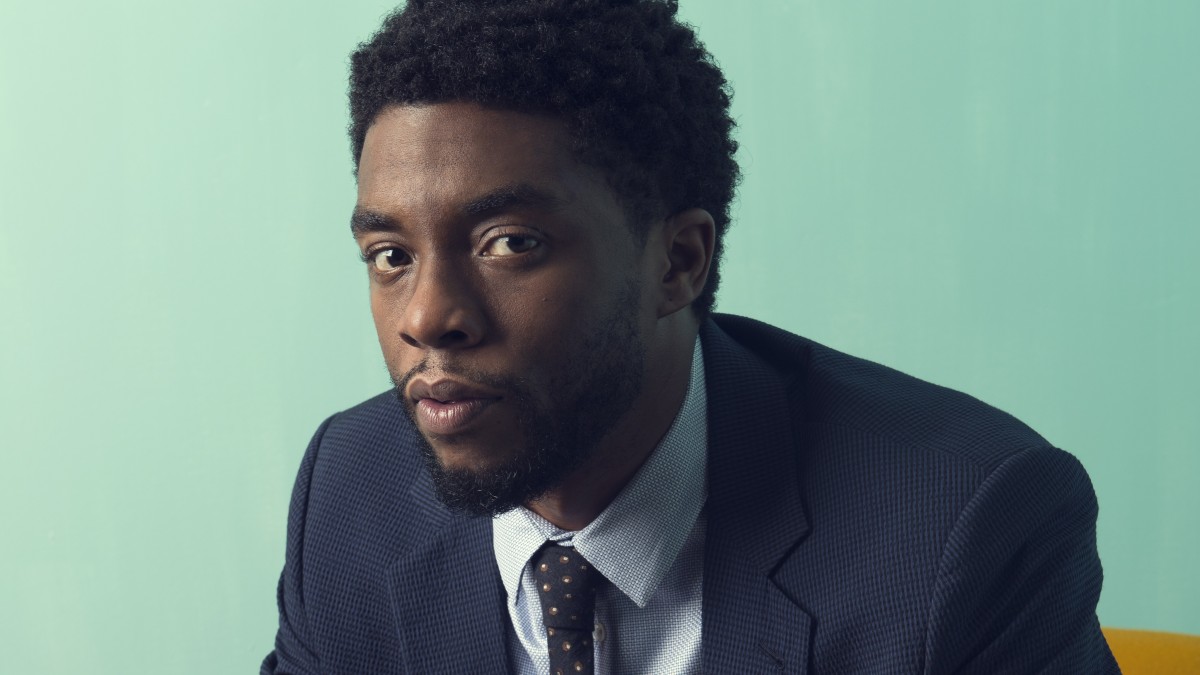
Review Portrait Lighting Styles
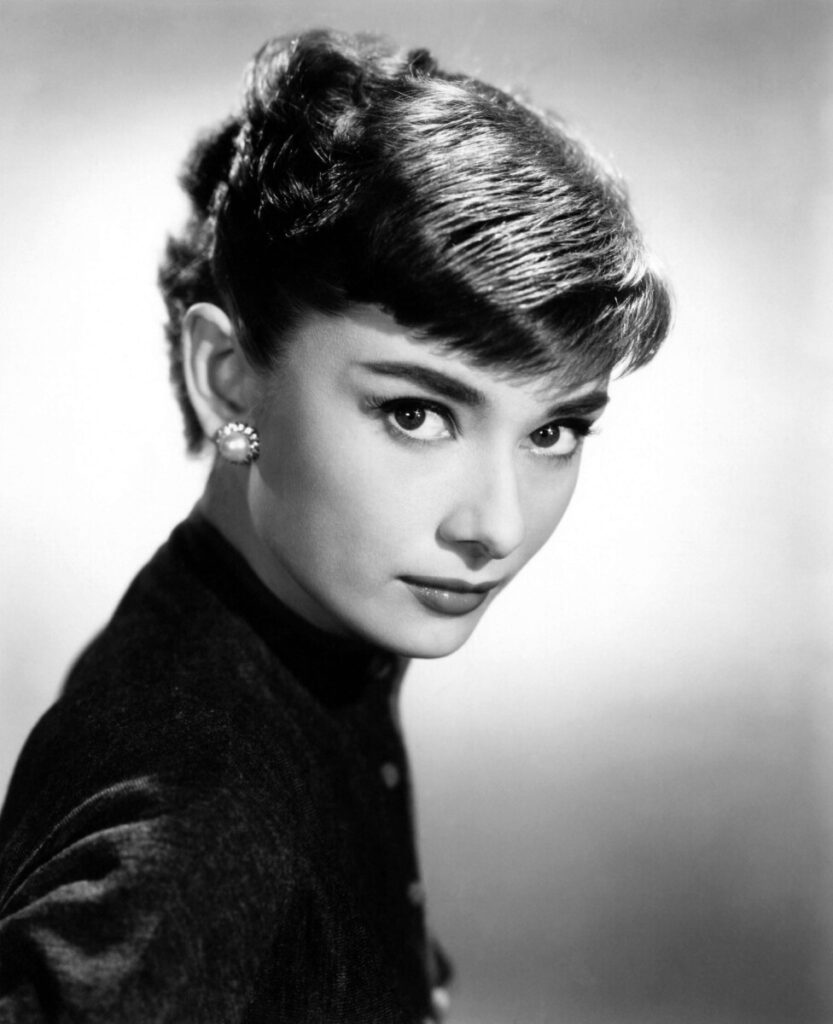
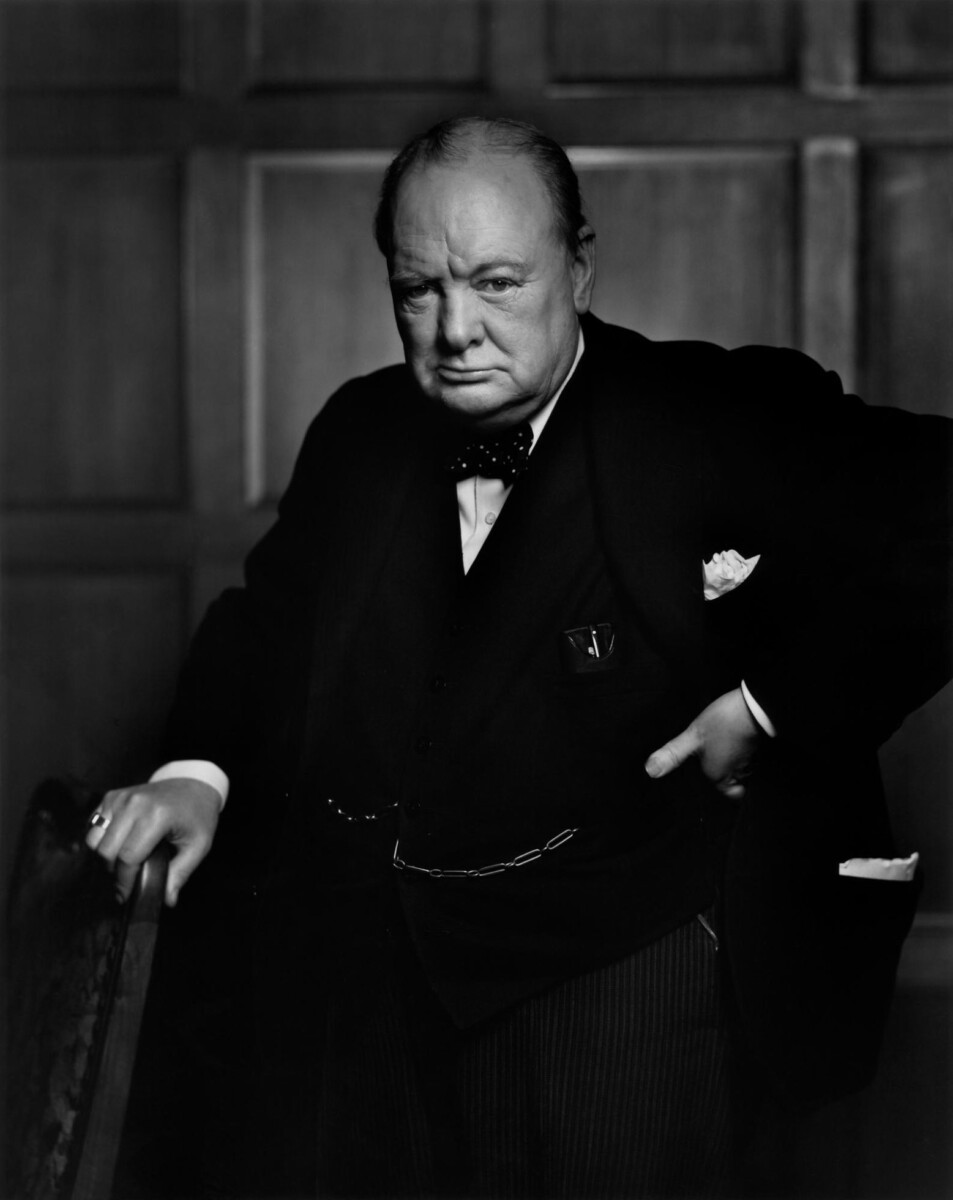
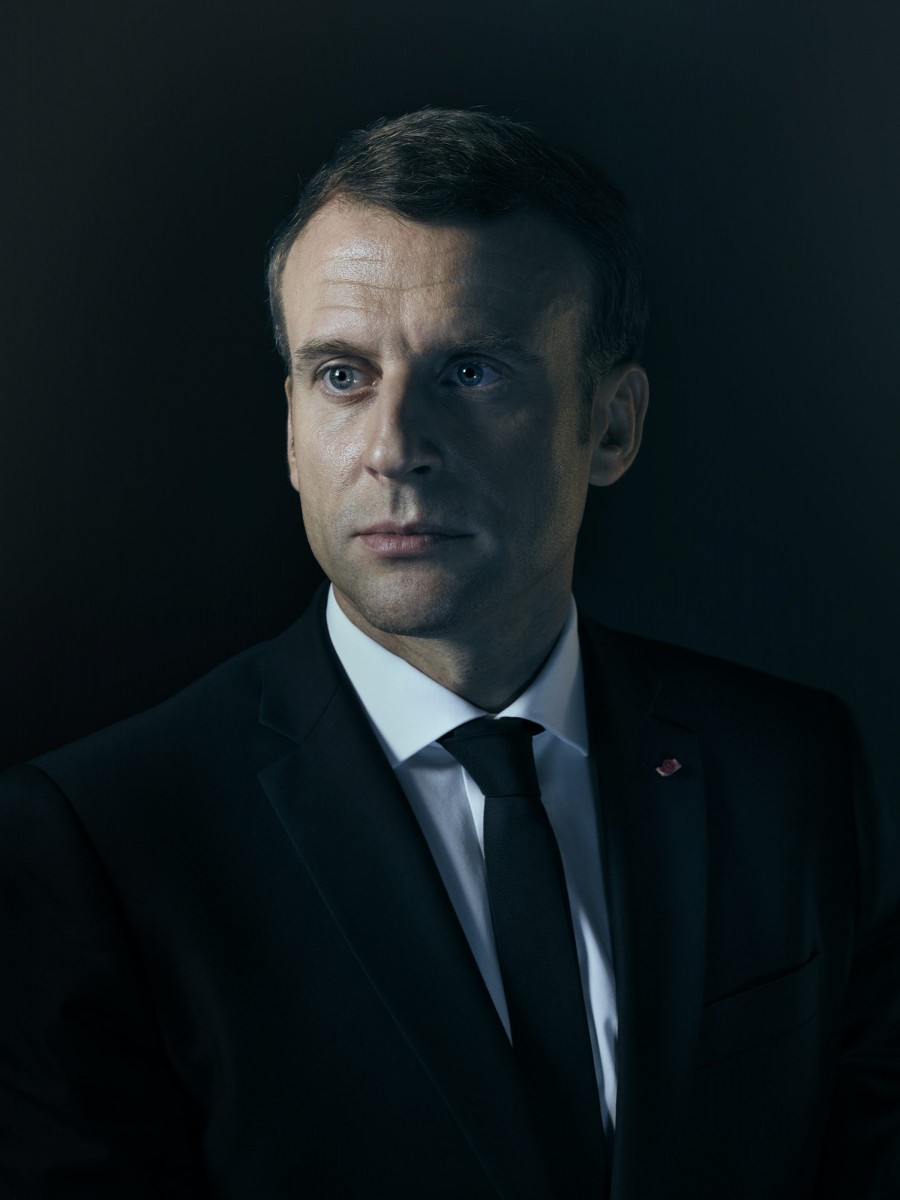
Photographer: Yousef Karsh
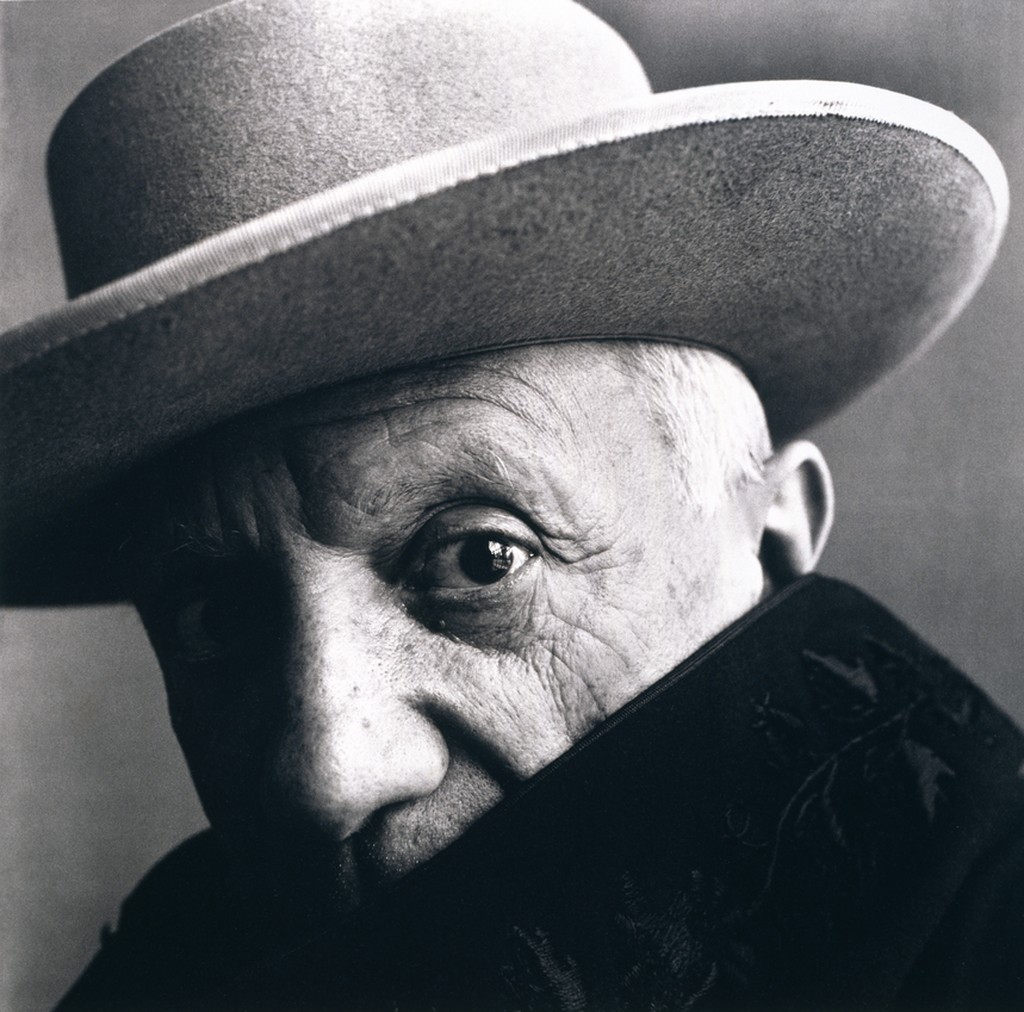
Photographer: Irving Penn

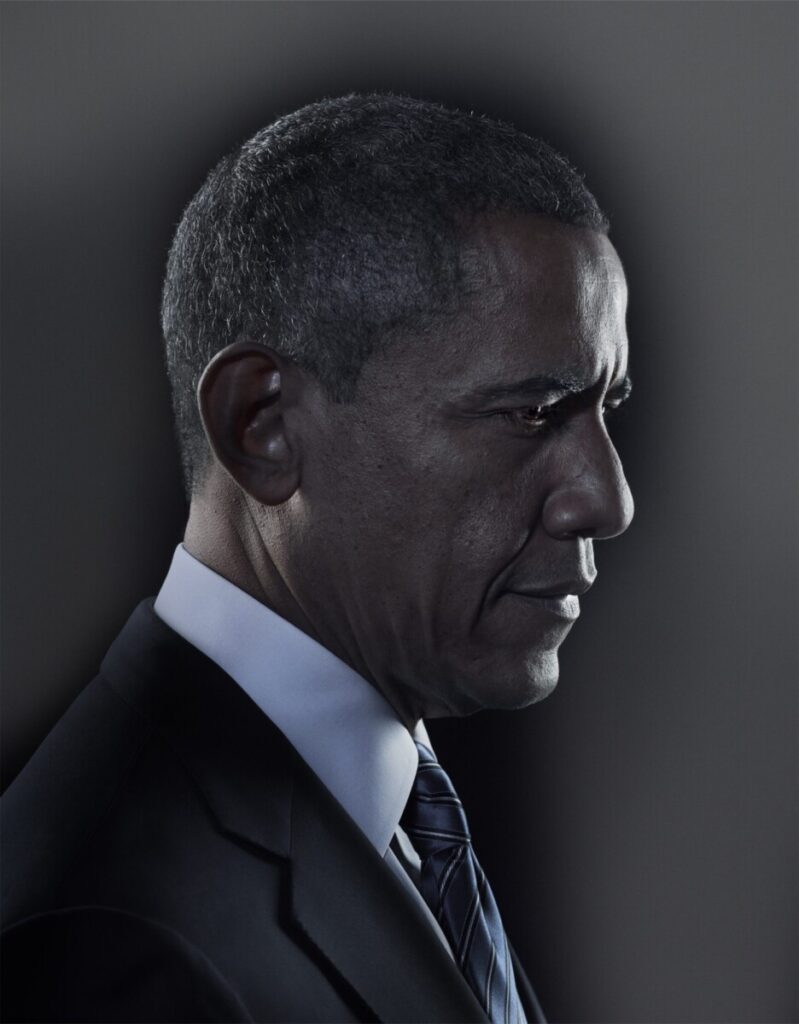
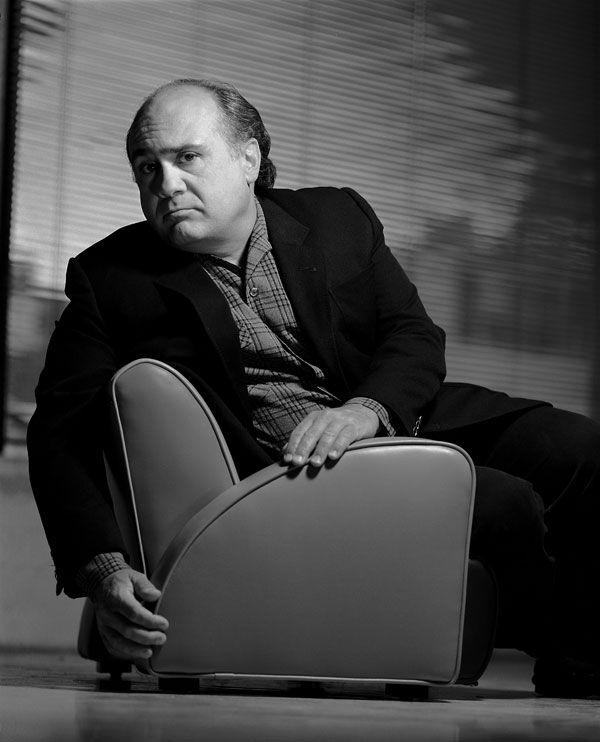
Photographer: Timothy Greenfield-Saunders

Photographer: Jill Greenberg
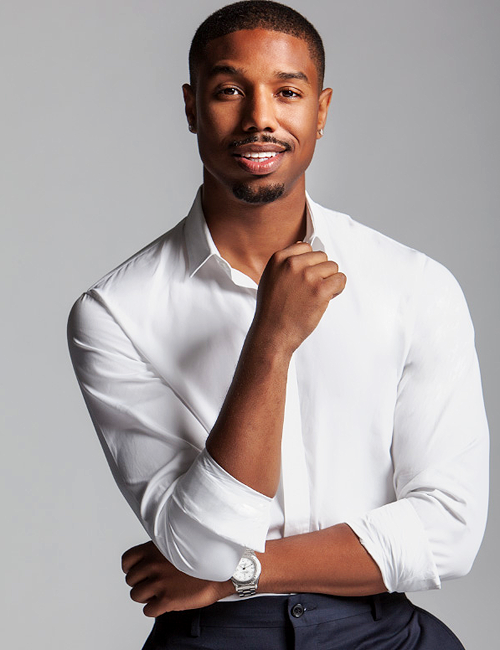
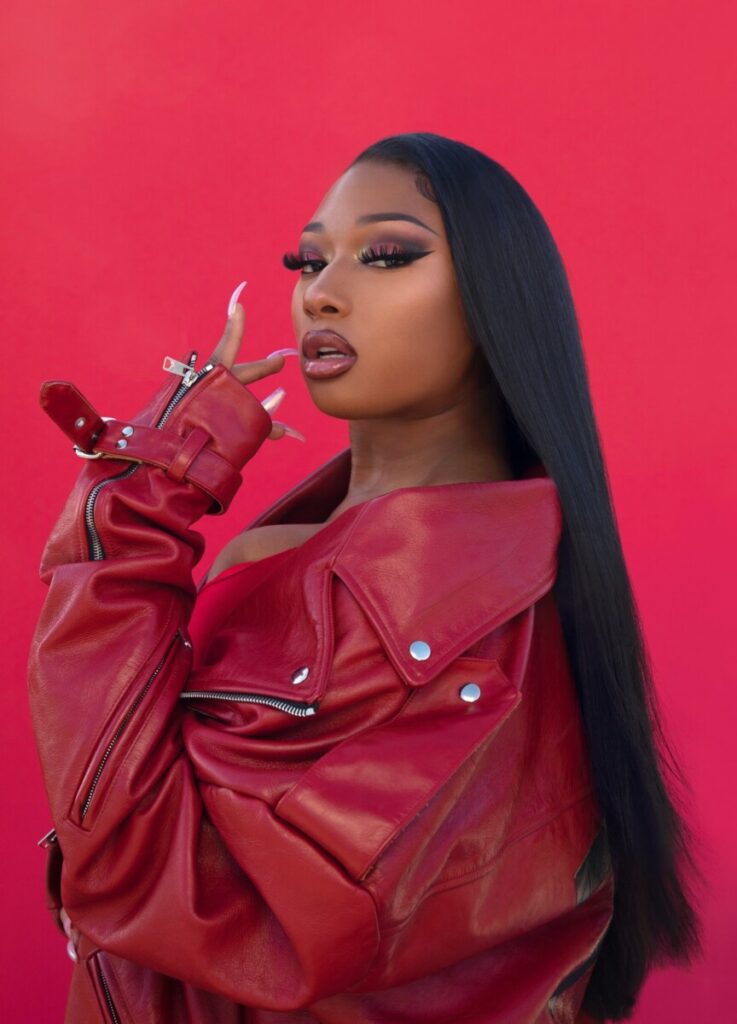
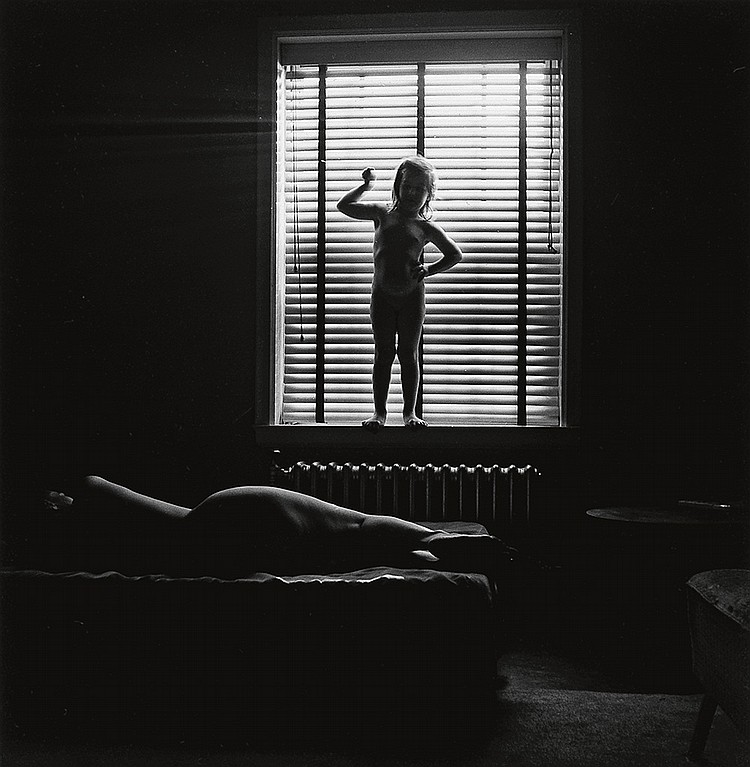
Inspiration
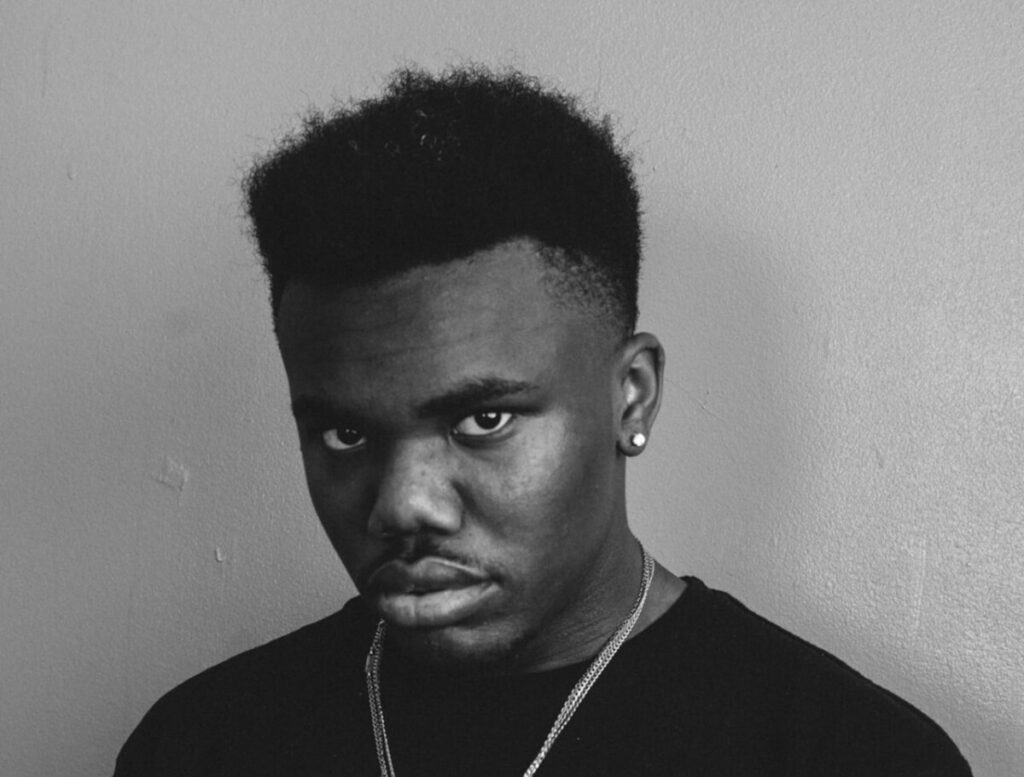
Mamadi Doumbouya
https://www.nytimes.com/2019/09/21/reader-center/mamadi-doumbouya-photo-portrait-talk.html
Focal Length
The focal length of a lens is defined as the distance in mm from the optical center of the lens to the the sensor when the lens is focused on infinity. This varies on the camera and the lens.
Focal length controls: Magnification and angle of view
Focal length is described as short, normal ie close to human vision, or long.
Wide Angle Distortion-created when using a wide-angle lens AND the camera is very close to the subject. The object close to the lens appears abnormally large relative to more distant objects, and distant objects appear abnormally small and hence more distant – distances are extended.

Focal length and proximity to the camera affect how a person’s face looks in a photograph. A wide focal length and proximity between the subject and the camera create wide angle distortion and will distort a person’s features.
Think about selfie sticks. What are they for but to get the camera away from your face? This makes the photograph look more complimentary to the subject. This is really important with a cameraphone because it has a wide angle lens. The center of the lens and the sensor cannot be very far apart given the thin design of cellphones.
When working with a crop-frame sensor, approximately 65 mm will be the most flattering to your subject.
Lights
There are three basic types of lights (these are the physical lights not portrait lighting styles):
- The Main or Key Light-This light provides the brightest illumination and casts the shadows
2. The Fill Light-this light brightens the shadows. It can be a reflector or an actual light.
This video shows how to use a reflector as the fill light.
3. The Separation Light or Background Light-creates separation between the subject and the background. This light can be aimed at the background or it can be aimed at the subject. If the later, it would be called a hair light. If accenting the edge of the face or shoulders, this light would be called a rim light or a kicker.
3-point Lighting
– standard lighting for portraits, video and film, uses all three: a main light, a fill light and a background light.


Recent Comments