Week 7 – TECH WEEK

 Monday, March 13th 

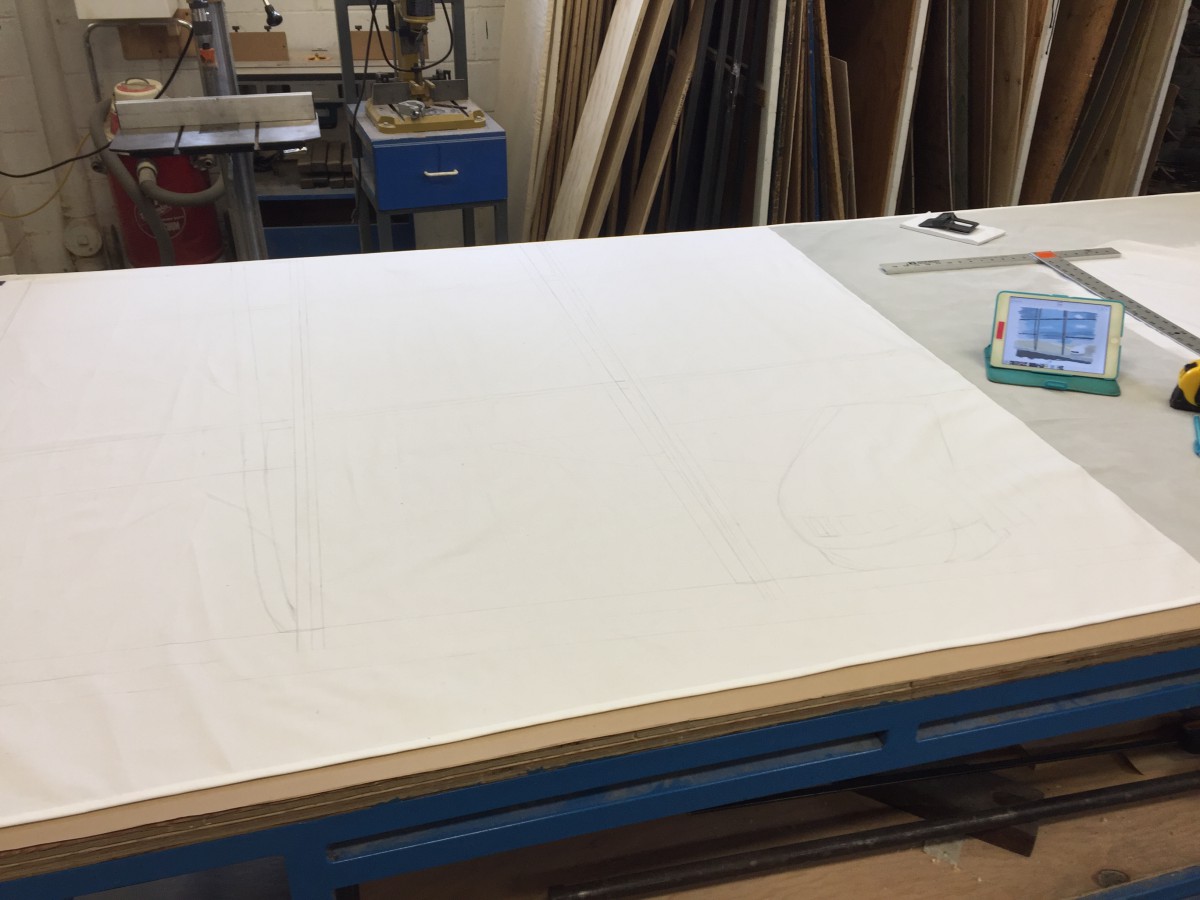
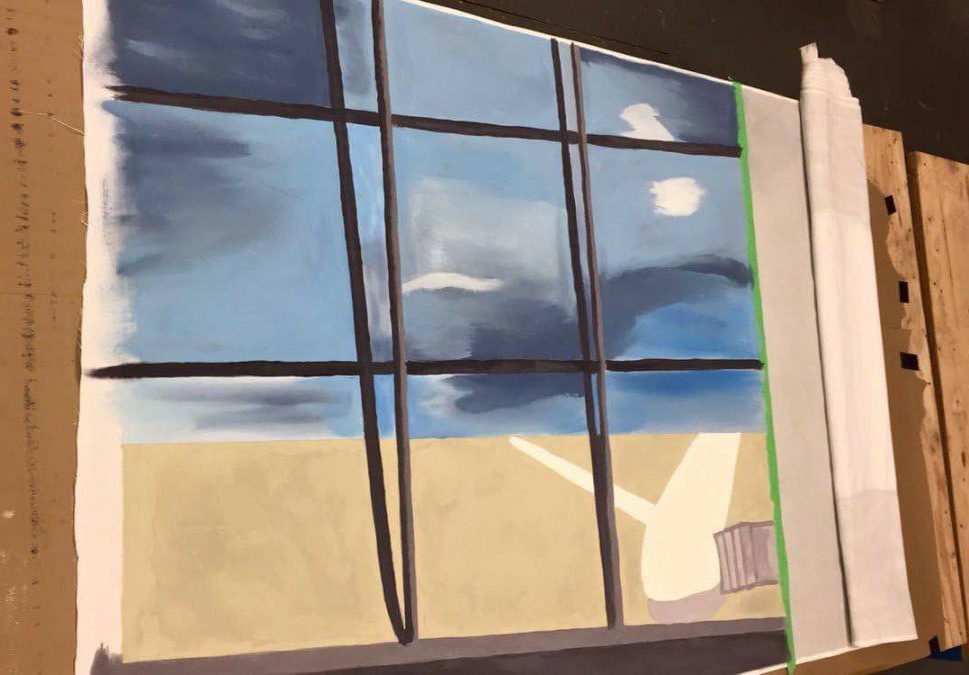
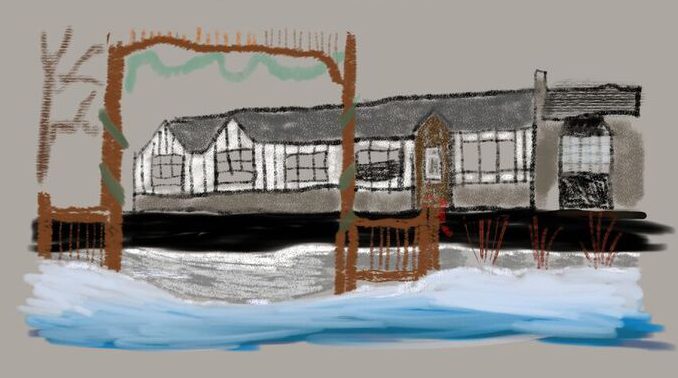
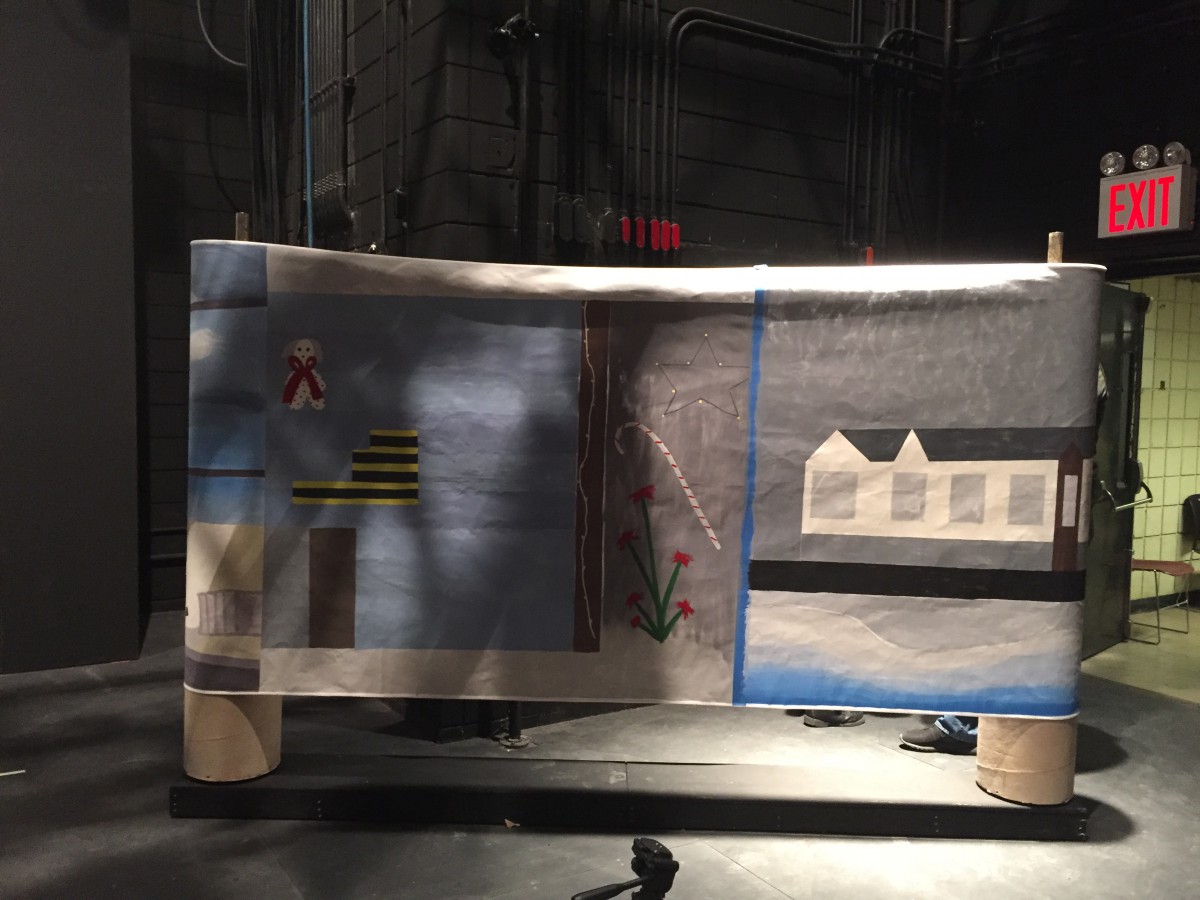
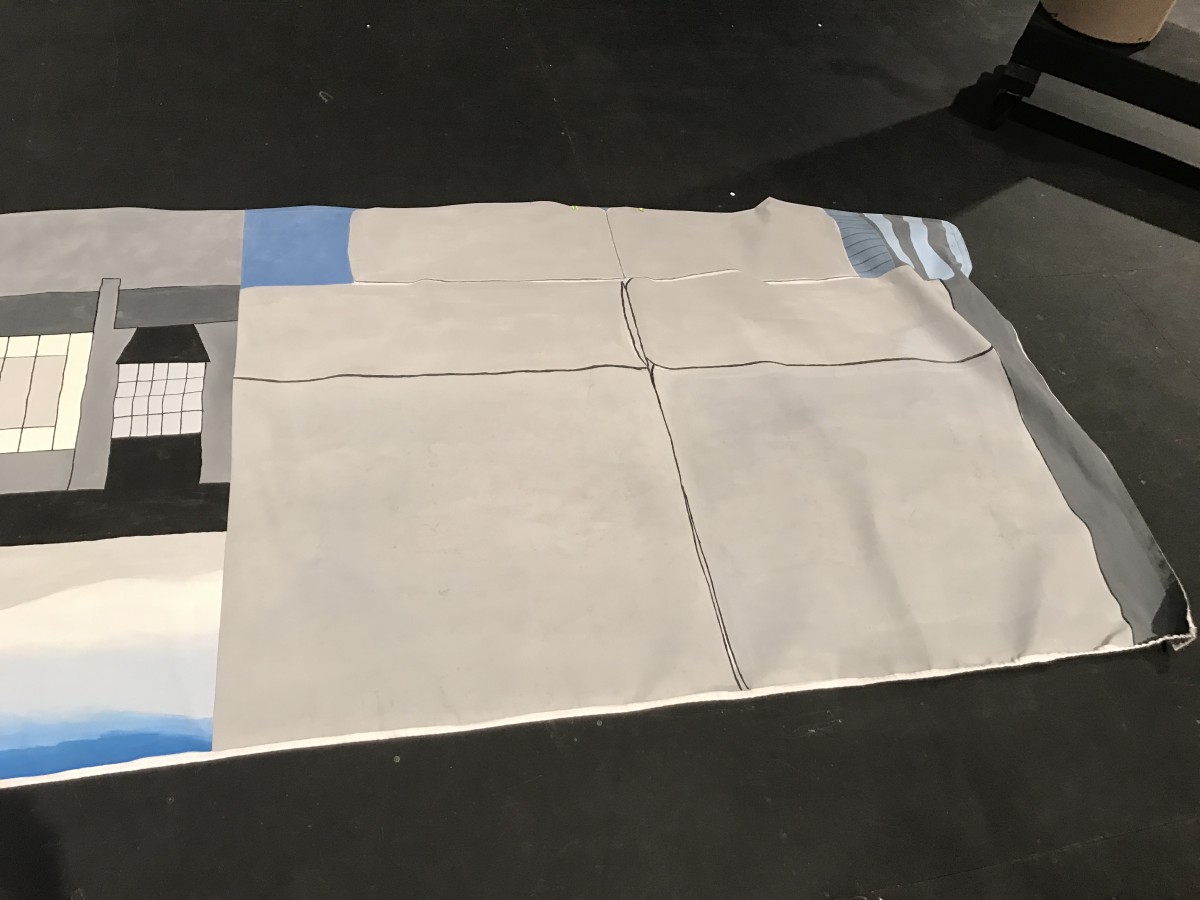
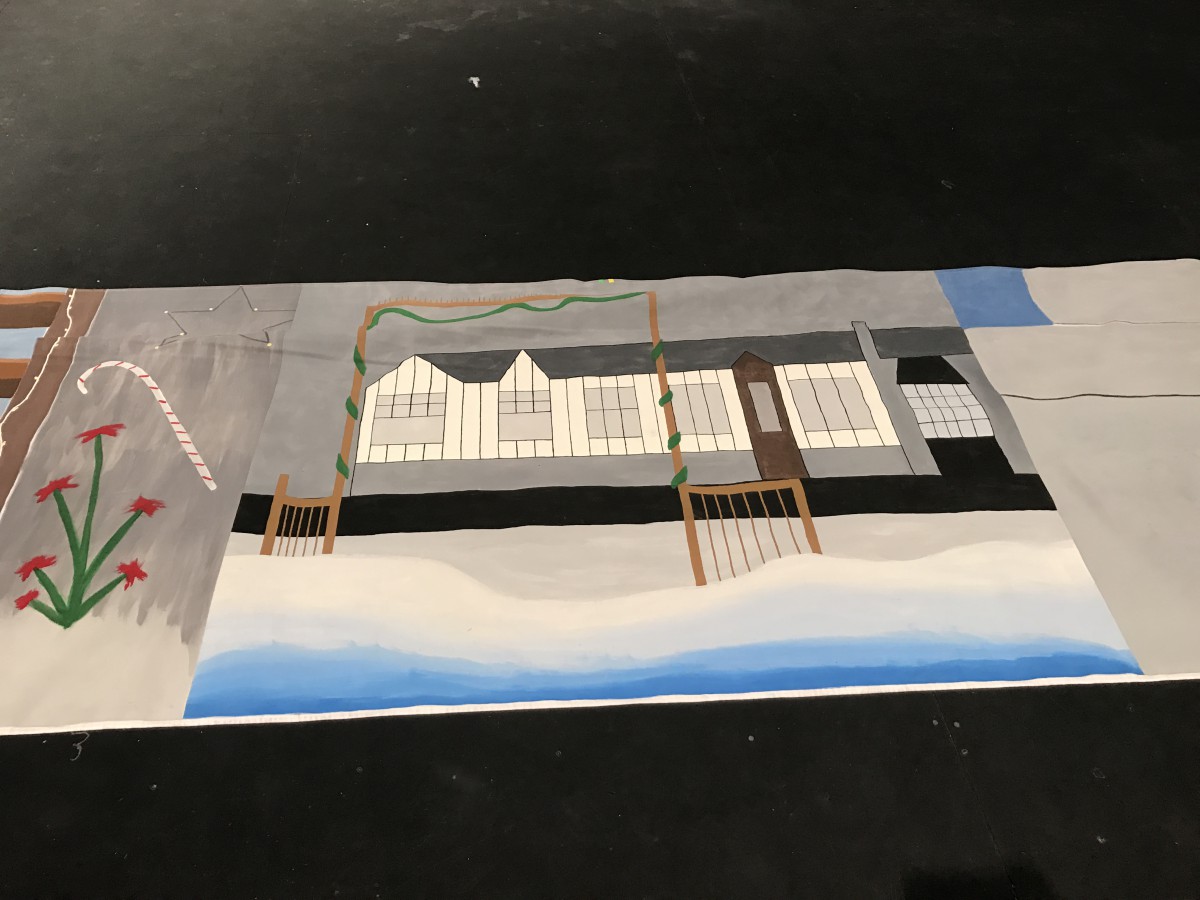
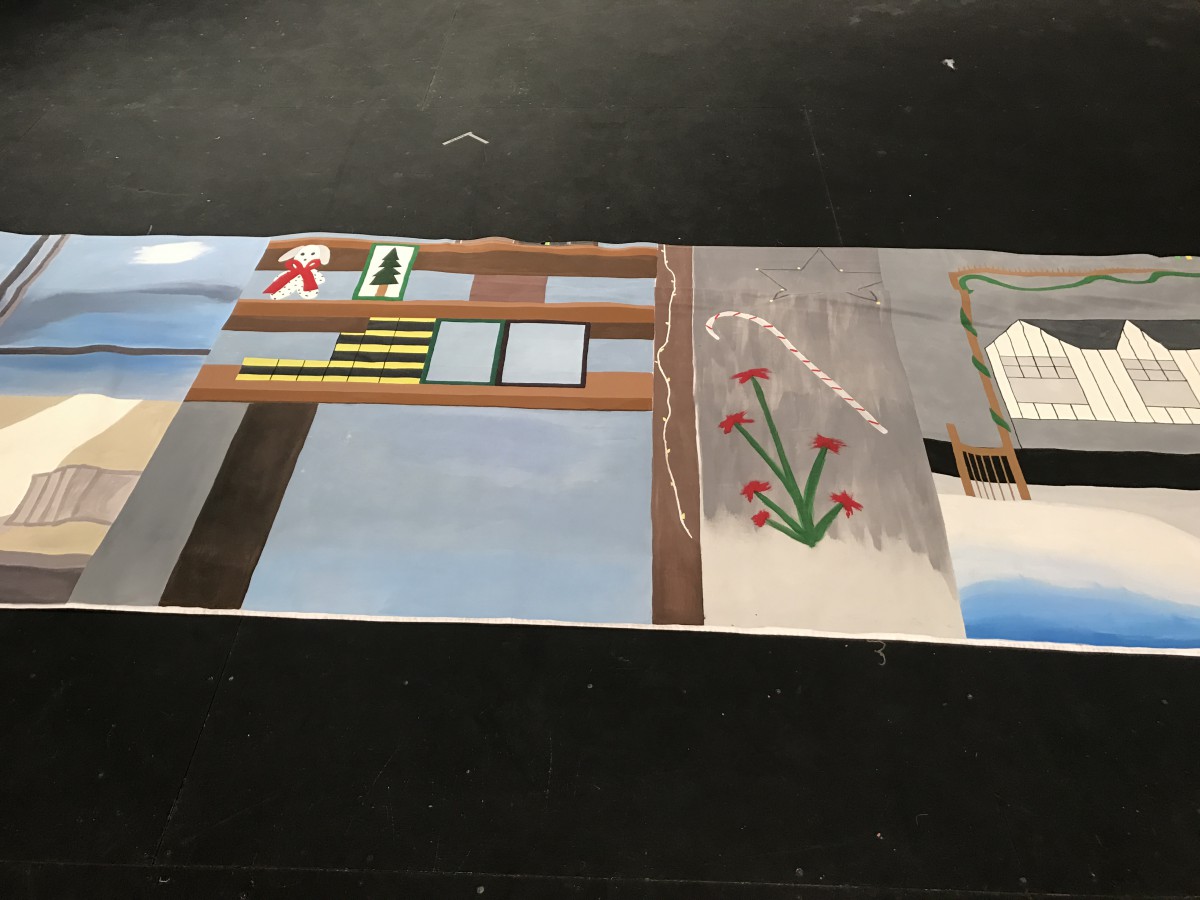
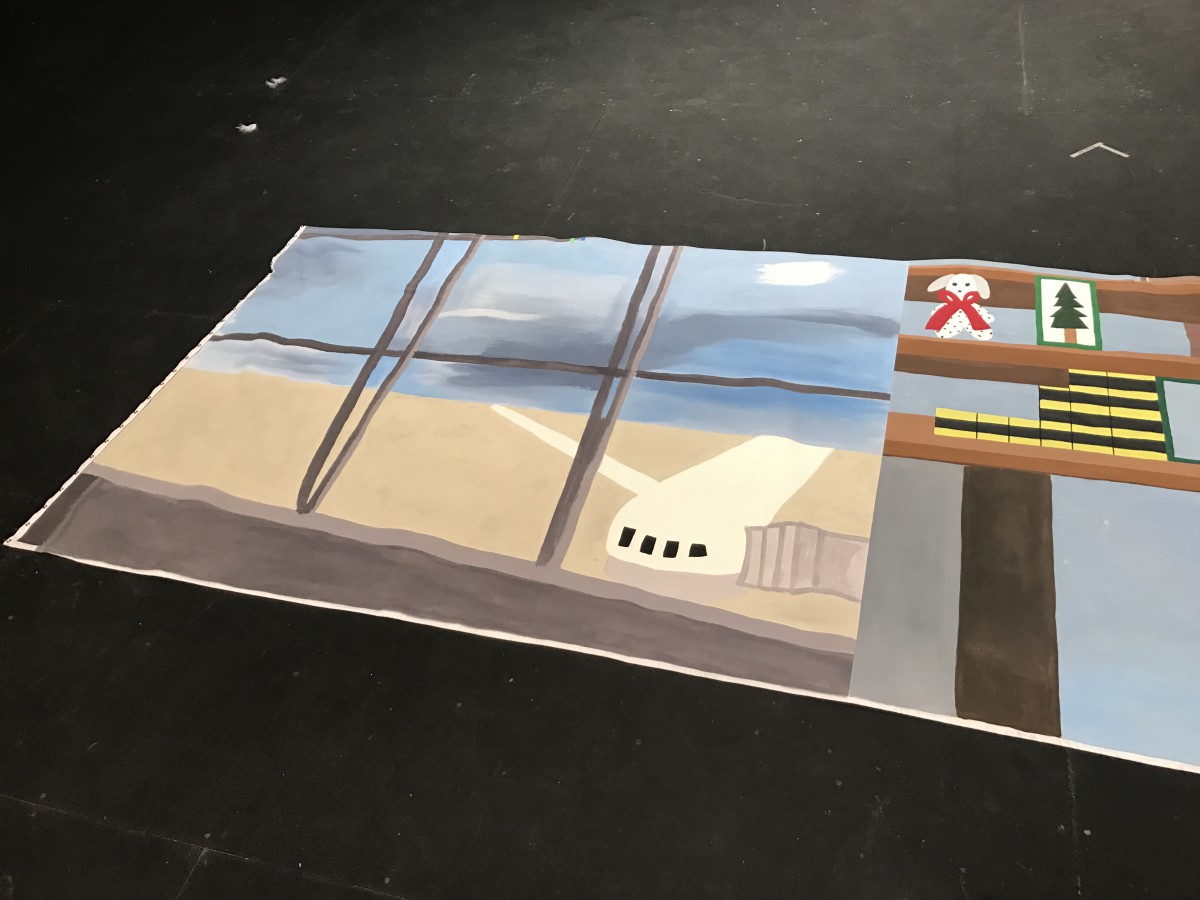
It’s the first day of tech week. Before rehearsal started, I spent the whole morning continuing with the painting, and doing touch ups. Even though I didn’t get to completely finish the drop, I was able to have 85 percent of it completed. It was just enough so the actors can get a visual for each scene during rehearsal. 

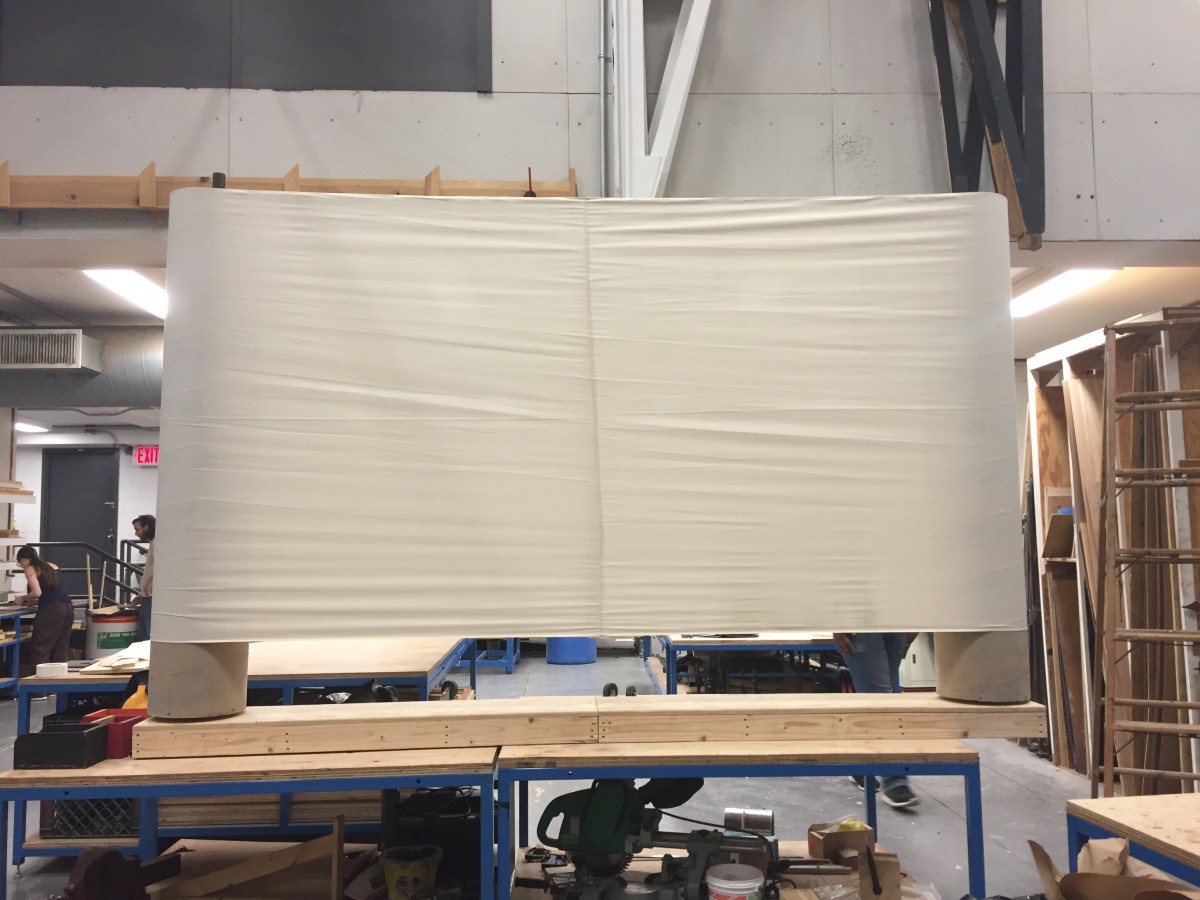
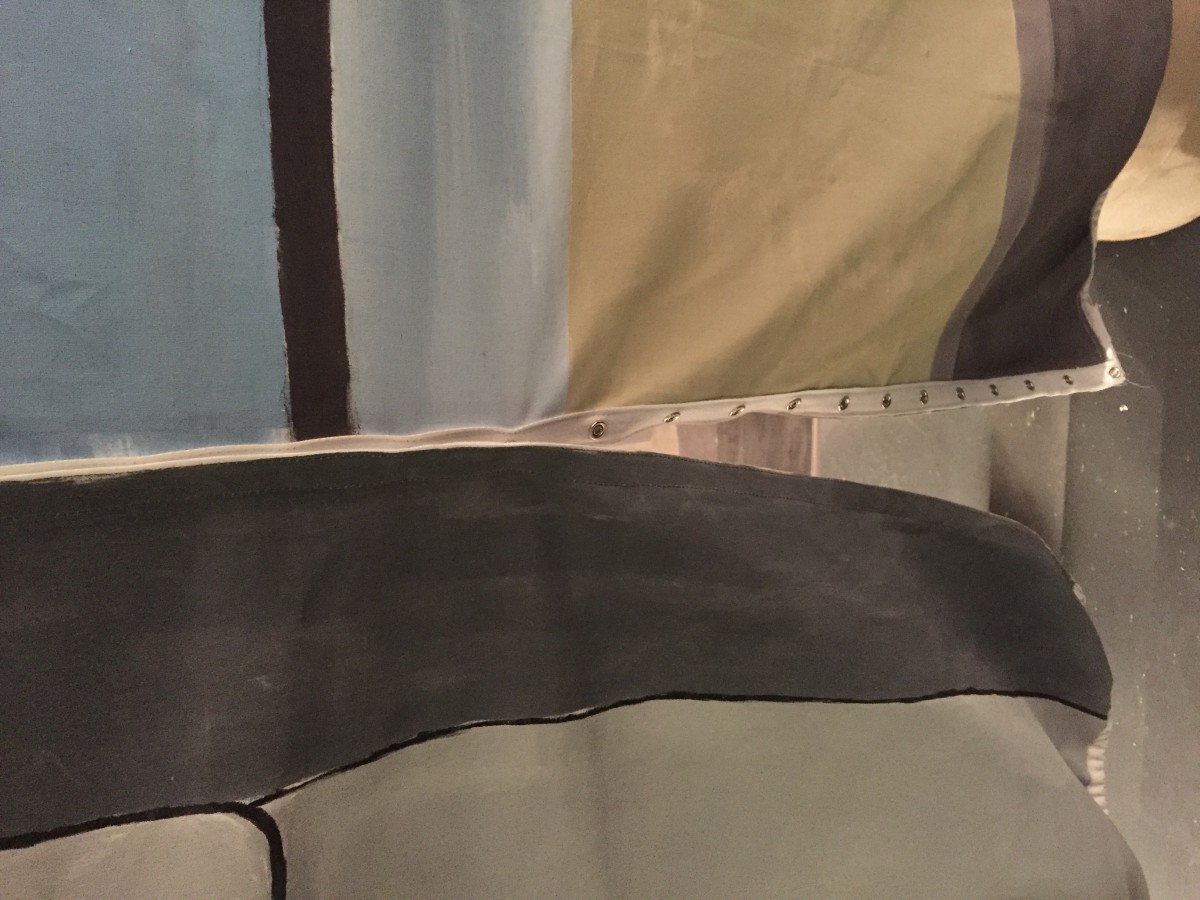
The lightweight muslin that I had originally brought, was sewn together at both ends. Which made it harder to pull over the sonotubes. Because the fabric was sewn to the exact circumference of going around the entire unit, the fabric started to push the sonotubes inward towards each other. This time with the canvas, instead of sewing the seams together like with the muslin, snap tape was used to connect the seams. That way it can be to the full length of 21′ without being too difficult to install onto the sonotubes. Since the snap tape was installed at my house, I couldn’t get it to completely close as I was putting it up. The snap tape was sewn on a little too tight. Only the top half was able to close, but the bottom half was opened. It stood like this during the duration of rehearsal. 

Rehearsal Notes: 

The rolling unit made a lot of noise during the rotations. The canvas is still falling while rotating, and the sag in the middle is still apparent. Before the next rehearsal I would need to adjust the snap tape so that it can close correctly, and finish painting the drop. 

Overall TD notes:

The technical directors’ job during tech is to be aware and accessible at all times and/or when there is a scenic relate question. It is also my job to make the company feel comfortable and that they’re being heard when asking questions. Just being a helpful hand and letting them know how to accurately use the scenery. 

 Thursday, March 16th 

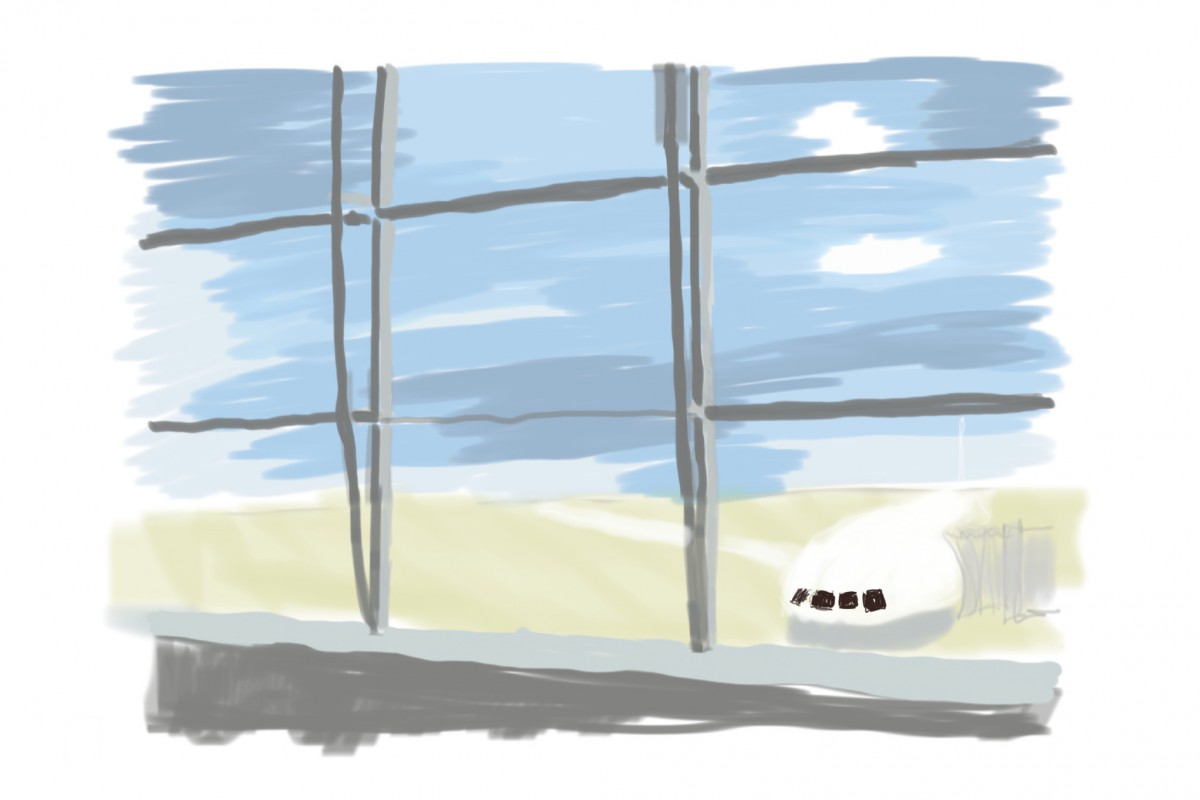
Before rehearsal I continued painting the details of each scene on the backdrop.

Rehearsal Notes:

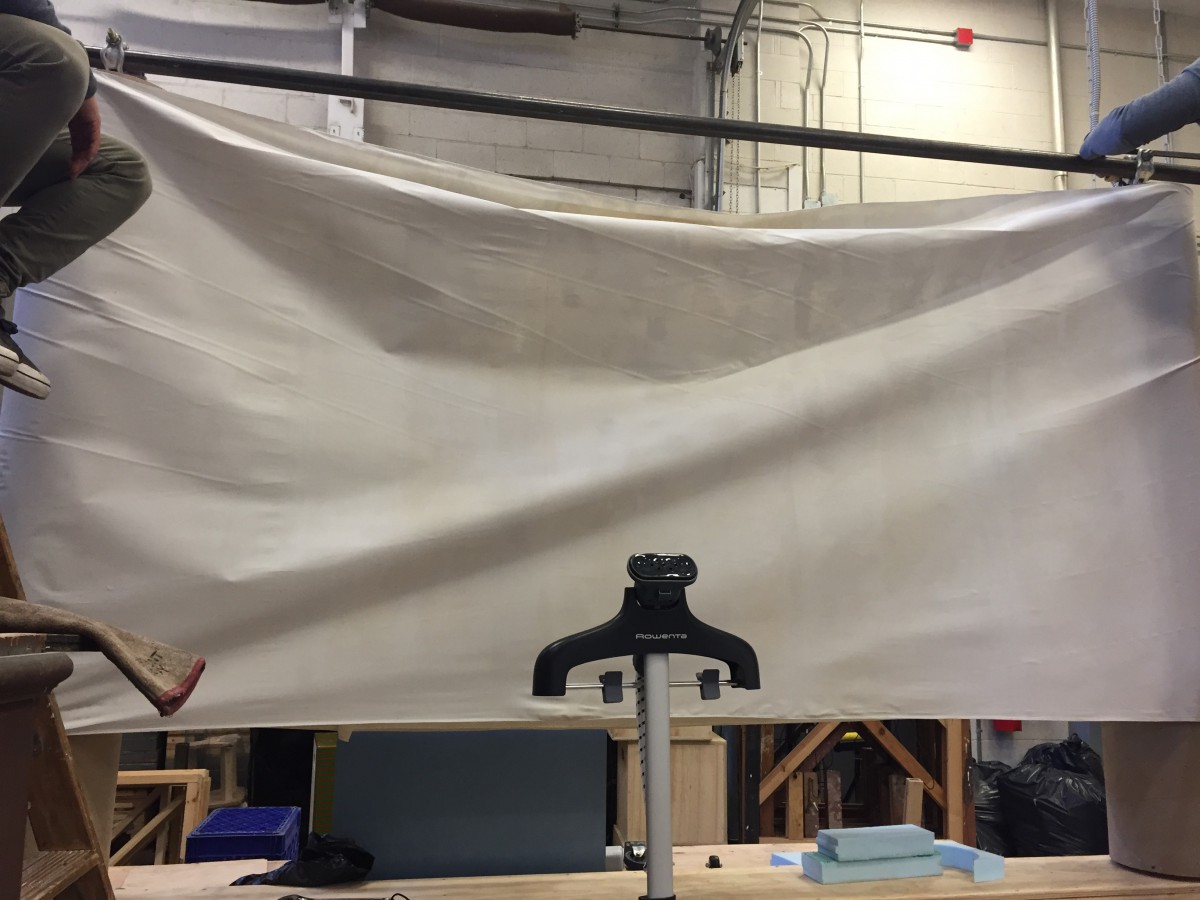
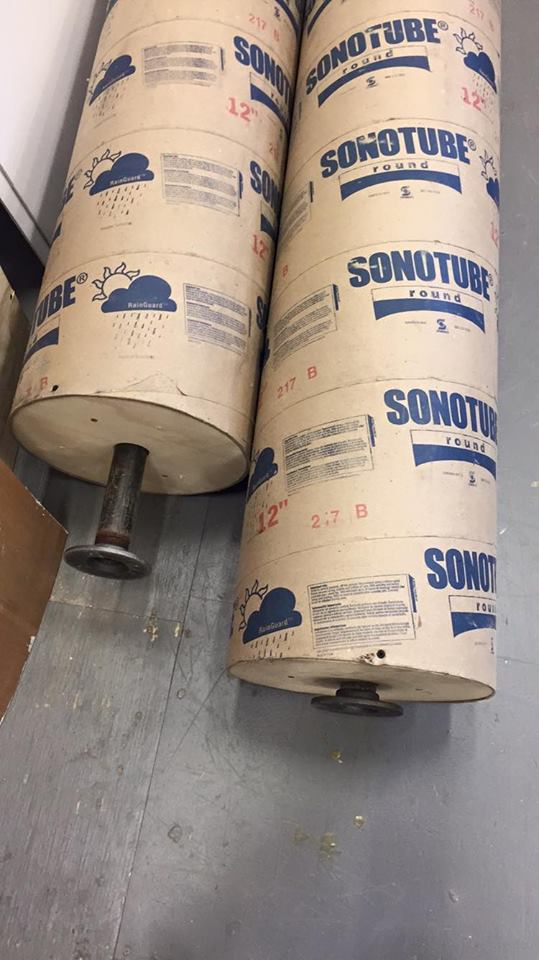
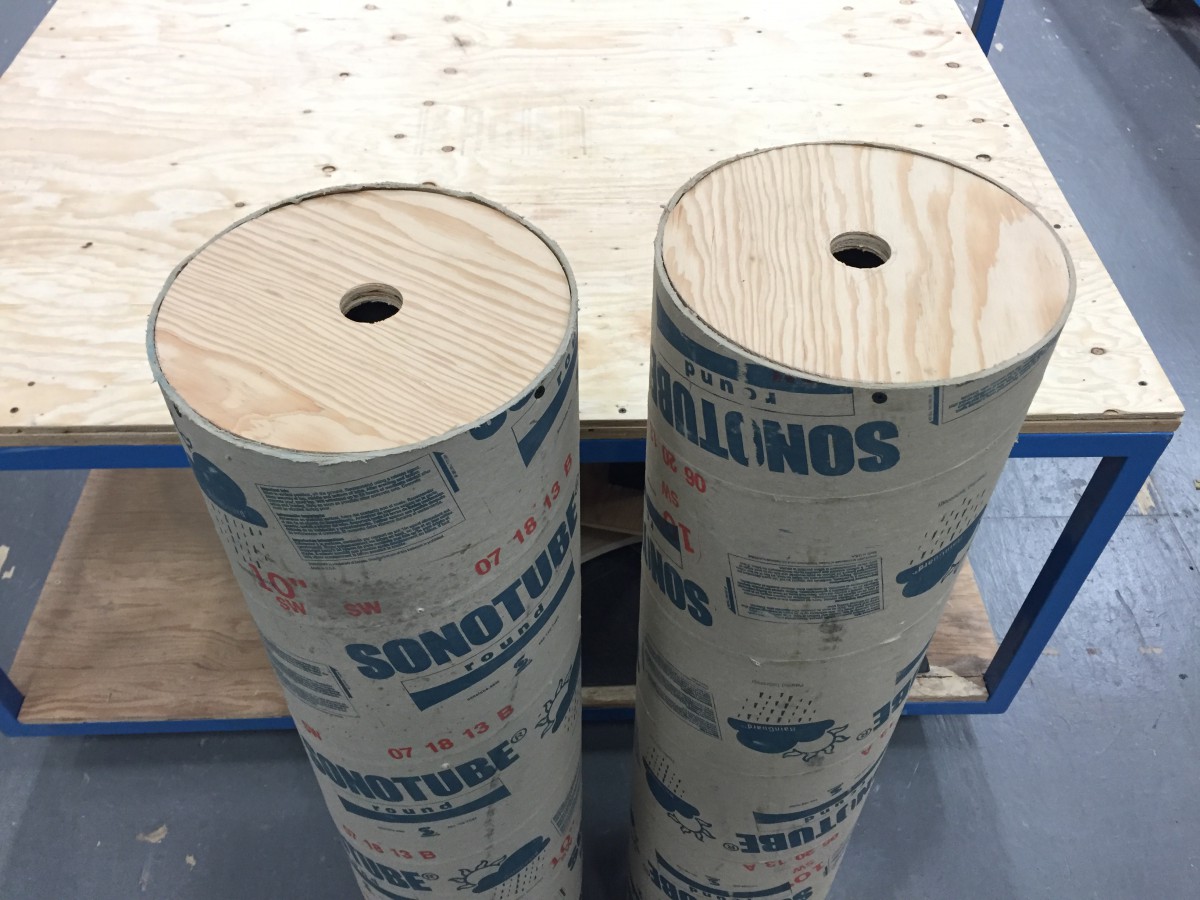
Finding possible solutions to solve the sag in the fabric. Such as taking out one side of the snap tape, and re-sewing it with the tension marked that why it’ll be fitted on the structure. There’s still a noise as the sonotubes rotates around the pipes, which is caused by the rubbing of the plywood circle on the flange. Adding a uhmw puck underneath the bottom plywood circle will help eliminate the noise.

Friday, March 17th

Continued painting the backdrop. One of the scenes was painted the wrong color scheme, so I had to repaint it before rehearsal.

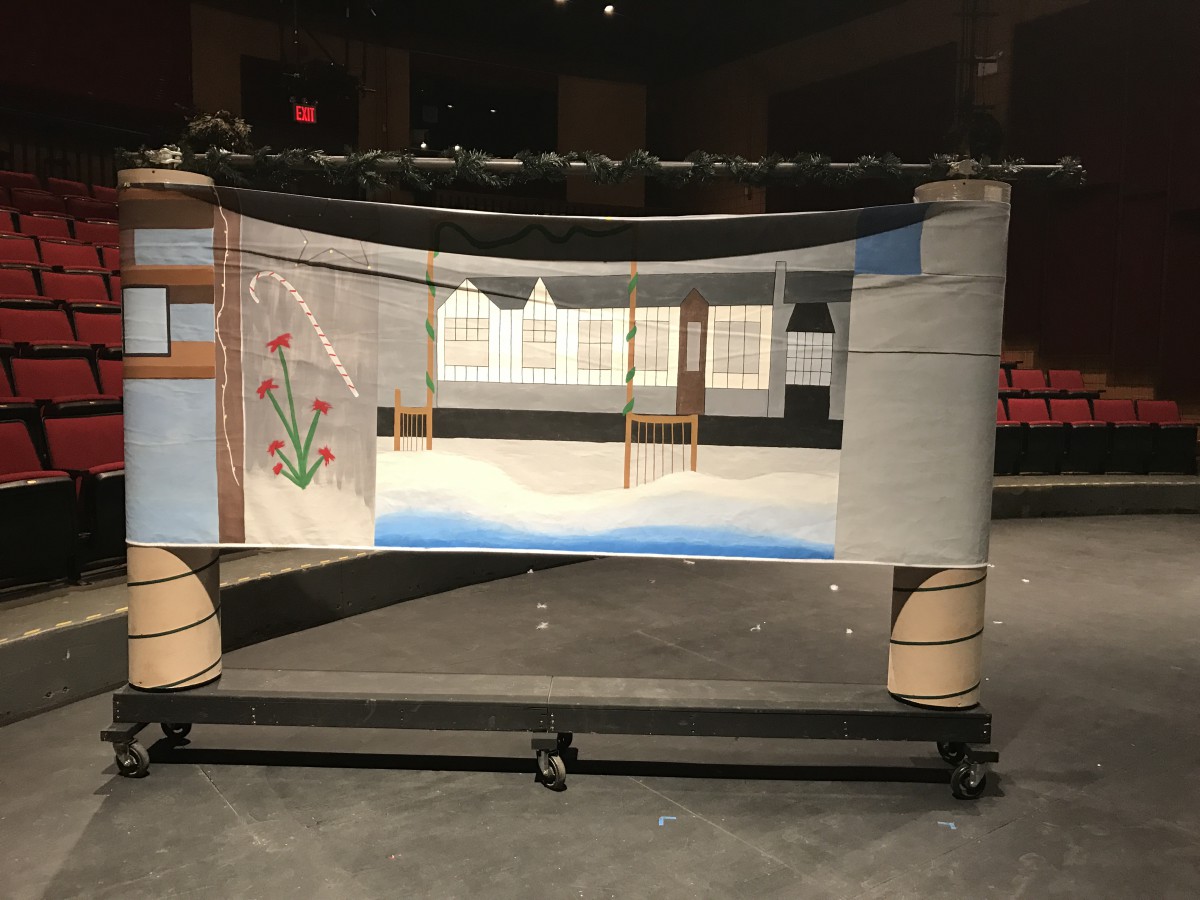
During tech, it was brought up that the overall height of the scrolling unit may be too short. All of the scenes involving the scrolling unit are done with live projections. Because of the placement of the camera, it causes many of the actors to crouch while performing. To eliminate this issue, I stepped out of tech and began working on larger castor plates in the shop. This time using 6″ swivel castors bolted on to a piece of 2×4. When the scene came to put scroller away, the actors had a hard time moving it because of the small castors it currently have on. Luckily, I had the new castor plates I made, and asked the director if I have time to quickly install them. Once they were on, this increased the overall height of the scroller, raising the canvas and making it easier to move around. 

Saturday, March 18th

Completed all painting and touch-ups on the backdrop. The length of the canvas was still too long, and the bottom region of the scenes weren’t being shown on camera. After last nights rehearsal, the decision was made to eliminate a little over a 1′ off from the top of the canvas. Instead of cutting it off, I took the drop off the unit, laid it flat on the floor and folded over 1′-2″ from the top. To keep the fold, I added a pin every foot, then carefully resewed a new hem. Making the length of the canvas from 4′-9″ to 3′-7″.
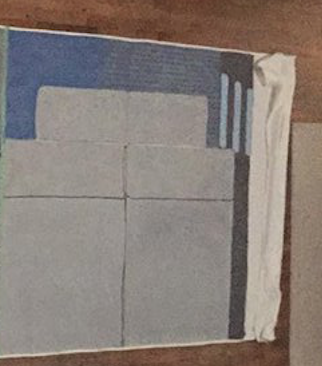
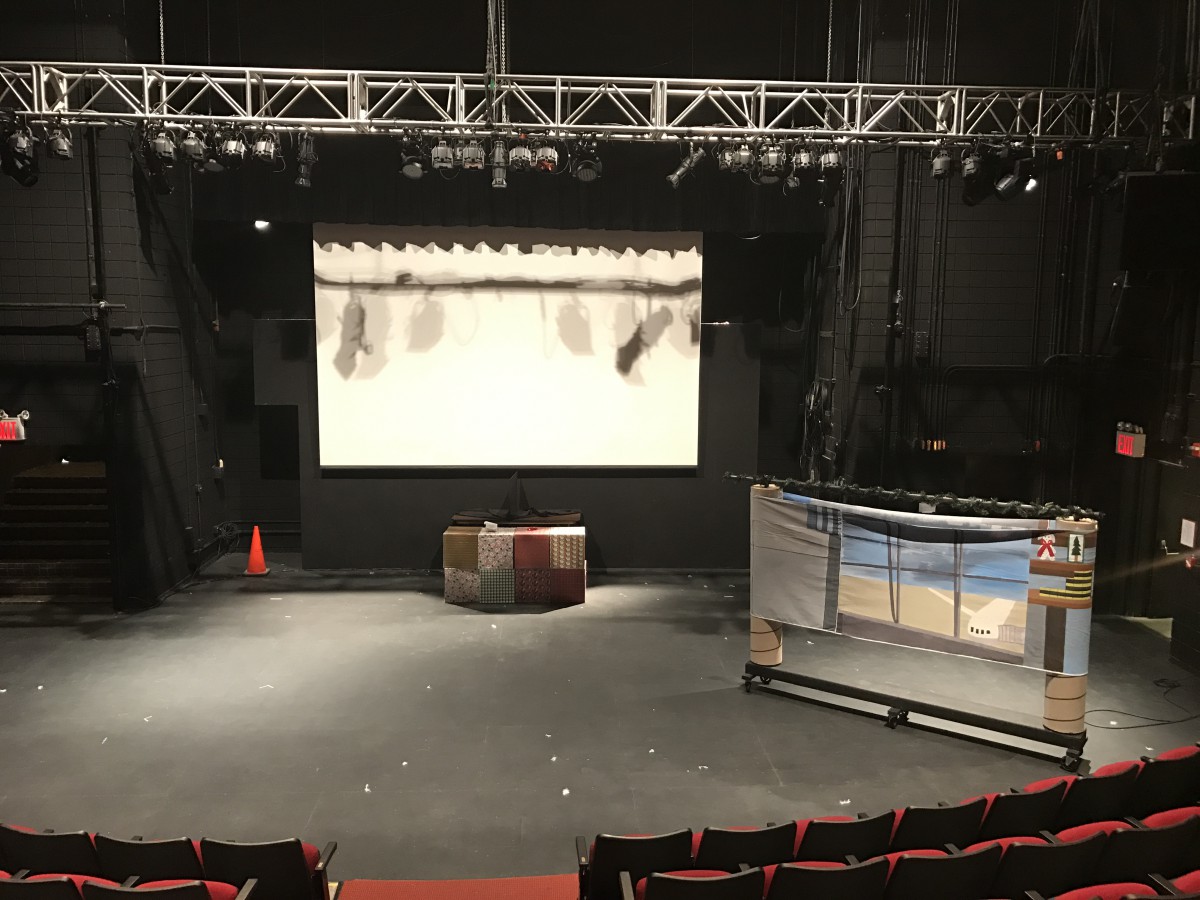
Final Result:

Learning Process:

Working on this show taught me a lot about what it means to be a technical director. Talking to the designer and really making sure that I am putting their designs to life. During tech rehearsals, being on standby and being aware of what’s happening. Getting ready to jump in when they have a question regarding the scenery or the set as a whole. But one of the main lessons I learned was delegating. A good TD would delegate the build to the crew, and oversee the construction of it, without having to do all the physical work. Instead of going to school everyday, staying up late at night, and putting a lot of stress onto myself, I could’ve delegated tasks to the crew rather than working on it entirely myself. If you have a crew to assist you, make good use of them.

Posted in Journals | Leave a comment

Week 6

 Monday, March 6th 

Load in day. The call started with the crew bringing down the flats to the theater, and assembling them. The crew was then split up into two groups. The first crew went up to the shop to cover the rehearsal blocks in Christmas themed contact paper, while the other group continued loading in. Meanwhile, I began base painting the fabric (lightweight muslin) white to give it a harder texture, so that the fabric doesn’t absorb all the paint. Also, muslin has a yellowish color, so painting it white makes it look more like a canvas. This took a lot of time because the fabric was installed on the mechanism that it rotates on, so it was difficult to paint. 

Wednesday, March 8th 

Depending on how much paint is applied, and the amount of coats, the fabric could potentially shrink. In this case, the fabric did the opposite. Before painting it on Monday, the fabric was snug on the sonotubes and didn’t sag as much in the middle. However, two days after base painting the fabric is less snug, is rippling on the sides, and there’s a noticeable sag in the center. The fabric looks really loose compared to before. Today was supposed to be the first day of backdrop painting, but instead it’s fabric repairing. I didn’t want to risk wasting paint on the fabric if it wasn’t reusable anymore.

In order to fix the looseness of the fabric I tried a couple of methods. I tried steaming it to get rid of the wrinkles caused by the rippling, and hoping that it’ll also tighten it in the process. It started to work in the beginning, but then it made the fabric worse. The next option was to create more tension. With the help of the CLTs, we attached a cheeseborough on the pipes, then added another pipe going across the unit (Figure 1). With one side tighten, we pulled one sonotube outward while pushing the pipe inward. Once we got the tension that we wanted, the cheese borough was tightened. The fabric looked better, but with the added tension, it was too hard to rotate. After much deliberation, a decision was made to cut the fabric and purchase a new one. Thus, setting back painting time which is crucial at this moment.

Figure 1

Thursday, March 9th 

The new fabric, a light weight canvas, was purchased and hemmed. As I was awaiting approval for certain aspects of the renderings from the designer, I marked out where each of the four painted sections should go. I wasn’t able to begin painting today, but I lightly sketched out some of the scenes. 

Friday, March 10th 

First day of backdrop painting. The first scene I’m painting is the airport. It took me about an hour to completely sketch it out. I wanted to make sure that the scene was scaled correctly within the 5′-2″ section. Mixing the paint took about an hour and a half. The scene has different shades of blues, and grays. Even though it’s hard to tell if I’m getting the true color in the rendering, it’s better to be close to accurate than not at all. Once all the paint was mixed I began painting. It took about four and a half hours to paint the scene. 

The scene took a total of 7 hours to complete. 


Saturday, March 11th 

Second day of backdrop painting. The next scene is the house with the ice skate rink. It was difficult for me to distinguish the correct proportion of the house to the 5′-2″ section. After an hour and a half of trying to figure it out, I decided to move on to a different scene. I moved on to the airplane seats. It took an hour to sketch, one hour to mix colors, and four hours to paint. 

The scene took a total of 6 hours to complete.


Sunday, March 12th 

Over the past two days I was working on the backdrop while at school, but since the school is closed on Sundays, I took the drop home with me to continue painting. I originally scheduled to have the backdrop at least 90 percent painted by Monday, March 13th since it’s the first day of Tech. But due to a communication and time constraint error, plus the unexpected mishap with the fabric, the backdrop got pushed back an entire week. Forcing me to finish everything the weekend before Tech. It took me approximately four hours to sketch out the entire house and ice skate rink, and an additional four and a half hours to paint. 

Posted in Journals | Leave a comment

Week 5

Monday, February 27th 

Over the weekend, I went out and bought the fabric for the rolling unit, which will be painted later in the week. The day was spent doing touch ups on the rolling unit, and continuing on the van. The crew was split up into teams of 2-3 people. Each group either painted all the flats black, sanded off the labeling on the sonotubes, routing out handles on the rehearsal blocks, and/or spiking the theater floor for the placements of the flats. As everyone broke off to do their tasks, I began working on the van.

The Dodge van is technically a prop item, but I asked if I could work on it. Before building it, I had to do research on the van to find out dimensions of certain aspects. The van will be used as a prop to the hand puppet versions of the burglars, Harry and Marv. To ensure that the van and its inner components are scaled correctly, I had to research the actual van that was used for the film, and figure out the proportion of the actual size to the scaled down version. Once that was figured out, I was able to complete the drafting, and begin the build process.

The first step was to draw out the front and sides of the van (Figure 1). Since the van has to be lightweight but sturdy, I used 1/4″ lauan for the frame. In order to cut the centers out to make the “windows,” I had to drill holes in each corner then use a jigsaw to cut them out (Figure 2). Once everything was cut, I reassembled all the pieces by using clamps, to make sure that everything fits together (Figure 3).

Figure 1

Figure 2


Figure 3

Posted in Journals | Leave a comment

Week 4

Monday, February 20th 

College closed for holiday.

Wednesday, February 22nd 

Because of us not having school two Mondays in a row, we’re behind by two tech days. Each tech day is 2 hours and 45 minutes. That’s a total of 5 hours and 30 minutes that we lost on building time. 

A few people began building two 4’x4′ flats to put on top of the flats furthest from centerline at each end. The platform for the rolling unit needed a 9″x9″ 3/4″ Plywood square at each corner, so we could be able to bolt down the flanges that are holding up the pipes for the sonotubes. Each flange had to be measured 6″ in from the end of the platform, and drawn out to make sure that it’s places at the correct location. Once completed, both pipes were threaded onto the flanges, and we carefully placed the sonotubes over them. 

Despite the set back, we still managed to complete all the door jacks, rehearsal blocks, the extra flats, and the whole structure of the rolling unit. Putting us back on schedule from the predicted calendar I made before the start of the semester. 

Posted in Journals | Leave a comment

Week 3

Monday, February 13th 

College closed for holiday. 

Wednesday, February 15th 

The crew continued building the door jacks, and began working on the rehearsal blocks. A crew member and I continued working on the pieces for the rolling unit from last week, while two people continued on the platforms. I also had one person making a prototype for the Dodge van out of lauan.

Friday, February 17th 

The plywood circles that were made for the sonotubes were slightly too big, so they couldn’t fit inside. When first making the circles, I used a jig on the bandsaw, however I couldn’t use the same jig because now the plywood circles has an 1-3/4″ hole in the center to fit the pipe through. In order to cutout the excess, I retraced the circle to the dimension it needed to be onto the plywood. Then carefully cut it off on the bandsaw. After all the pieces were trimmed, I placed them inside the sonotubes, then fed the pipes through. The rolling aspect of the unit is complete. 

Posted in Journals | Leave a comment

Week 2

Monday, February 6th

While the crew was continuing on the construction of the masking flats, I continued working on the prototype for the scrolling unit. All the flats were completed at the end of call. 

Wednesday, February 8th

I attached flanges to pipes, screwed the pipes to the shop floor, and then fed the pipe through the sonotube with the plywood inside the top and bottom. While the structure was up, I sewed a quick seam onto the fabric (lightweight muslin) I brought, and wrapped it around the sonotube.

TEST 1: The fabric kept falling once it made a full rotation, so I pulled the fabric more taught to the sonotube and sewed it again.

TEST 2: The prototype was successful in that the fabric was able to rotate. It does begin to fall after several rotations, but a possible solution for this issue would be to sew to the fabric together at a slightly smaller length that is desired then add elastic to the top and bottom hem. This would allow it to fit over the sonotube during installation, and give the fabric a more snug fit without falling. Another solution is to add a thin rope at the top hem that would rest on top of the sonotube, so during rotation the fabric wouldn’t slip.

Because of the prototype we were able to answer several questions and possible problems that could’ve arose during the build and load-in.

Above: Fabric wrapped around sonotube. 

Now that the prototype for the scrolling unit is completed, we can begin the construction of the actual unit. The unit will have a total length of 10ft. I separated the platform into two units that are 5ft long. I had one crew member work on the platform, while I had another assisting me with the infrastructure for the rolling aspect. As I cut down the sonotubes to their designated heights, I had my crew member cut out the plywood circles. Which I had to briefly demonstrate because she didn’t know how to achieve this. While the three of us worked on this, the rest of the crew worked on the construction of the door jacks, while two people worked on the prototype for the dodge van. 

Posted in Journals | Leave a comment

Week 1

Wednesday, February 1st

The show that I will be working on for my culmination is Kevin!!!!! which is a puppet version of the classic movie Home Alone. Besides culmination, I will also have the chance to work on the show during tech production. Since I’m registered for the course and a part of the scenery crew. Since the show is prop heavy, there isn’t a lot of scenic elements. However, we would need to construct several masking flats, rehearsal blocks, and a scrolling unit that would rotate to reveal four different scenic locations.

As Tech began, I started to work on the prototype for the scrolling unit while the crew started on the 4×8 masking flats. I used stocked material in the shop such as 10” sonotube, ¾” plywood, and 1 ½” Sch. 40 pipe. I used trammel points to mark out the 5” radius of the circle, which I will be cutting out from the plywood. Once all the four circles were drawn, I went over to the bandsaw to cut them out using a premade jig. After the circles were cut, I then used a 2” holesaw attached to a drill to cutout holes in the circles that the pipe will fit into. I placed them inside the sonotube to test if it would stay up.

Above left to right: Trammel points to draw circles; Plywood circles inside of sonotube.

Posted in Journals | Leave a comment