Robin Michals | COMD 3330 OL98 Fall 2020

Category: Class Topics (Page 3 of 3)

Week 4: Shutter Speed and Motion

Needed for this class

  • Tripod
  • Camera or cameraphone
  • a continuous light
  • if using a cameraphone, an app such as slow shutter cam

Shutter Speed

Shutter Speed is the length of time that the sensor is exposed to light to create the photograph. It is measured in seconds or fractions of a second.

The full stops for shutter speed are: 30”, 15”, 8”, 4”, 2”, 1”, . sec, ., 1/8, 1/15, 1/30, 1/60, 1/125, 1/250, 1/500, 1/1000, 1/2000, 1/4000, 1/8000

Doubling the time, doubles the amount of light that reaches the sensor.

When shooting with a cameraphone and the Lightroom Photoshop app, you can set the shutter speed of your cameraphone between 1/10,000 and 1/4 sec.

The general rule for getting a sharp image is that the shutter speed should be 1/focal length. So a sports photographer using a 500 mm lens should use a shutter speed of 1/500.

Image Stabilization can reduce blurriness when photographing a still subject in low light.

Turn off IS when mounting the camera on a tripod or photographing a moving subject..

A good rule of thumb when shooting with a camera is: Any shutter speeds slower then 1/60 require the use of a tripod. When shooting with a cameraphone, you will need a tripod to shoot at 1/15 or slower.

Capturing of Motion

Your choice of shutter speed will change the way motion is captured in the photograph.

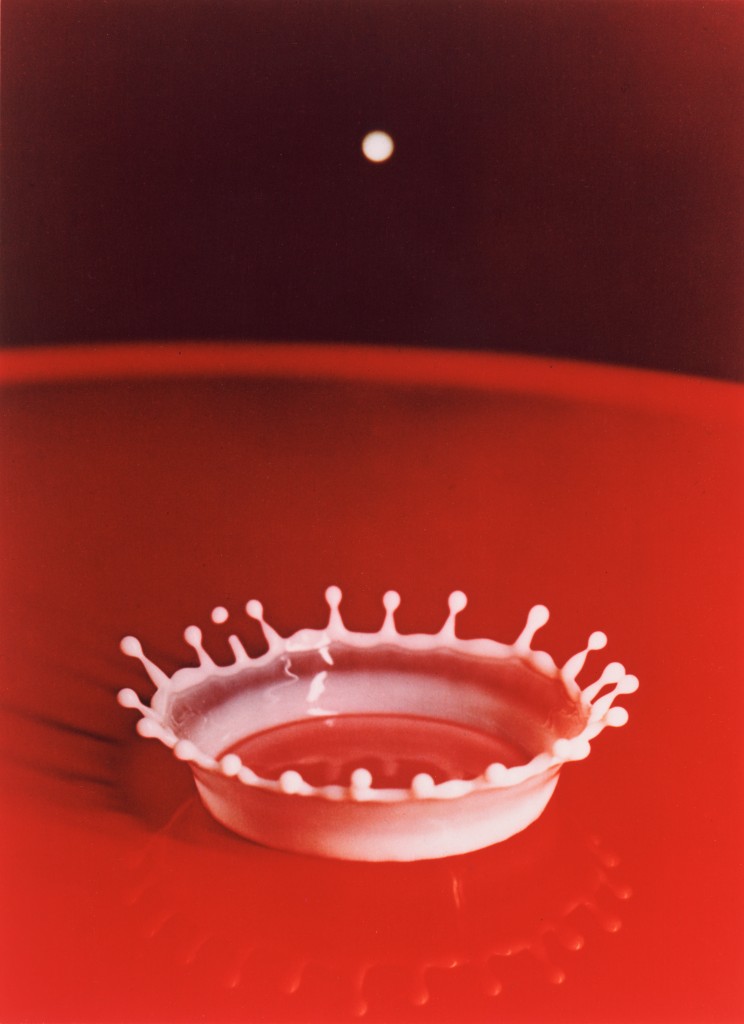
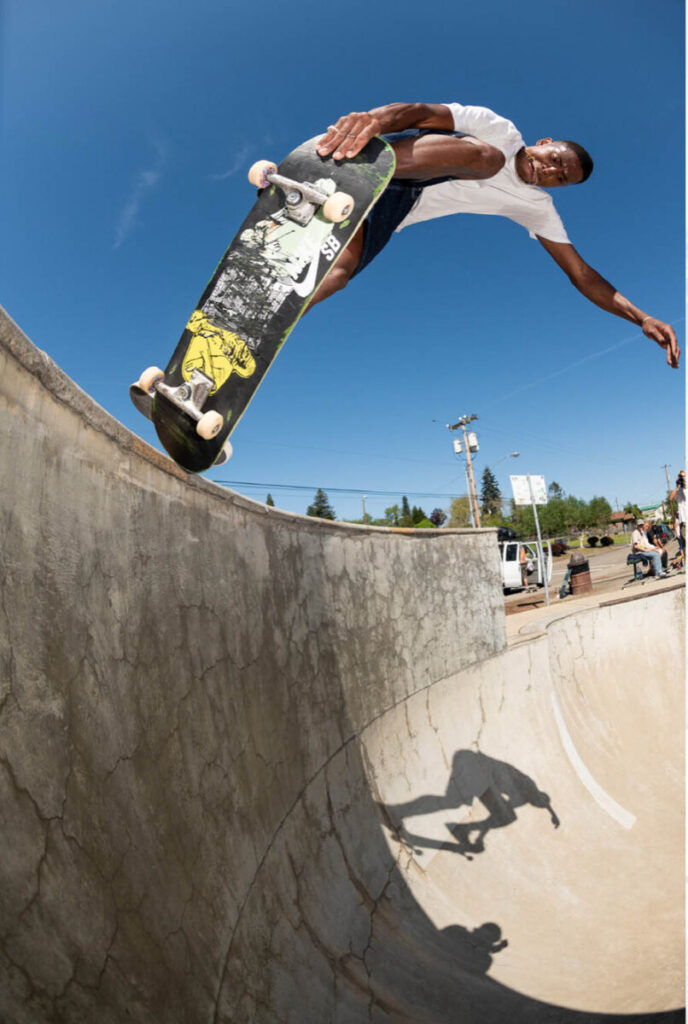
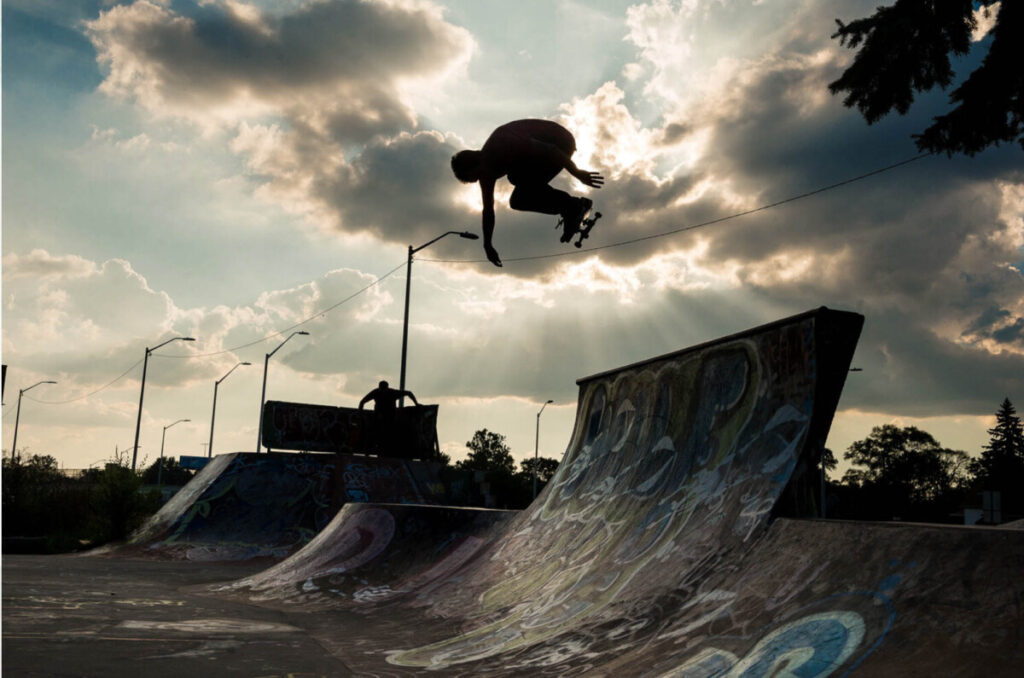
Frozen Motion-Motion is stopped and captured in the frame with a fast shutter speed.

How to freeze motion:

  • Use a shutter speed of 1/ 500, 1/1000 or faster.
  • When shooting with a camera, use AI Servo/AF-C to focus on a moving subject. AI Servo-is Canon’s predictive autofocus system. The name is derived from the use of Artificial Intelligence used to predict the speed and distance of the moving subject. It greatly increases your chance of getting a sharp image when your target is moving.
  • Also when using a camera, to increase your chances of hitting the focus with a moving subject, use back button focus with AI Servo. Back button focus removes the focusing from the shutter release button. Check your camera manual to see how to set it up.

Timing

The exact moment that you take the picture is as important as how long the shutter speed is. This is often called:

The Decisive Moment: A term coined by Cartier Bresson- “the simultaneous recognition, in a fraction of a second, of the significance of an event as well as the precise organization of forms which gives that event its proper expression.”
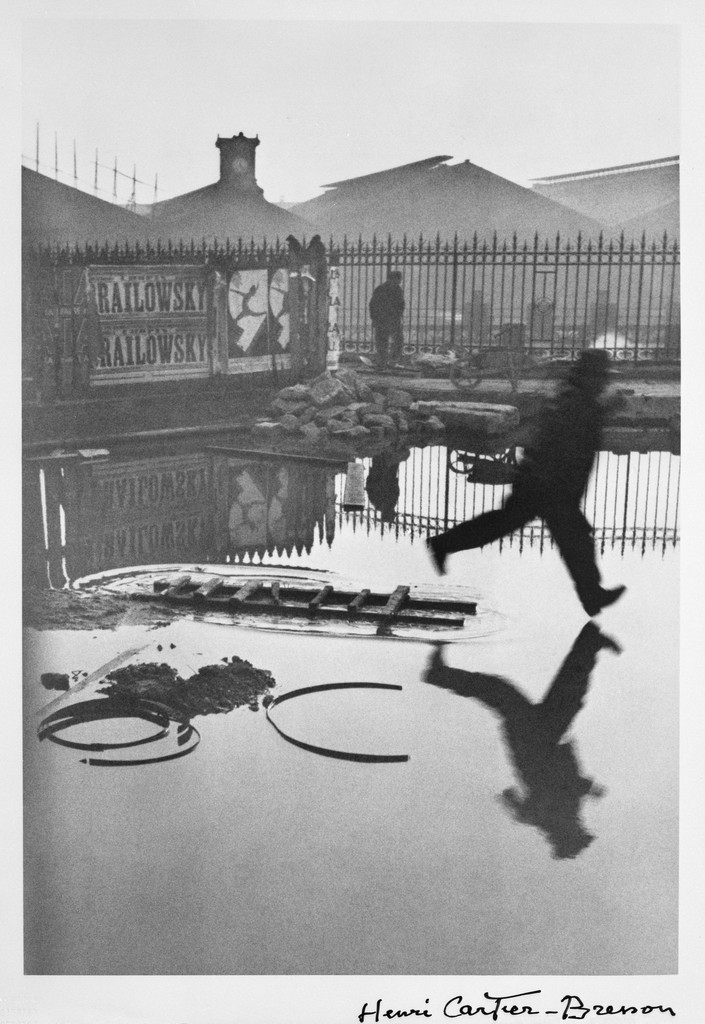
Behind the Gare Saint-Lazare, Paris. 1932
Photographer: Henri Cartier-Bresson

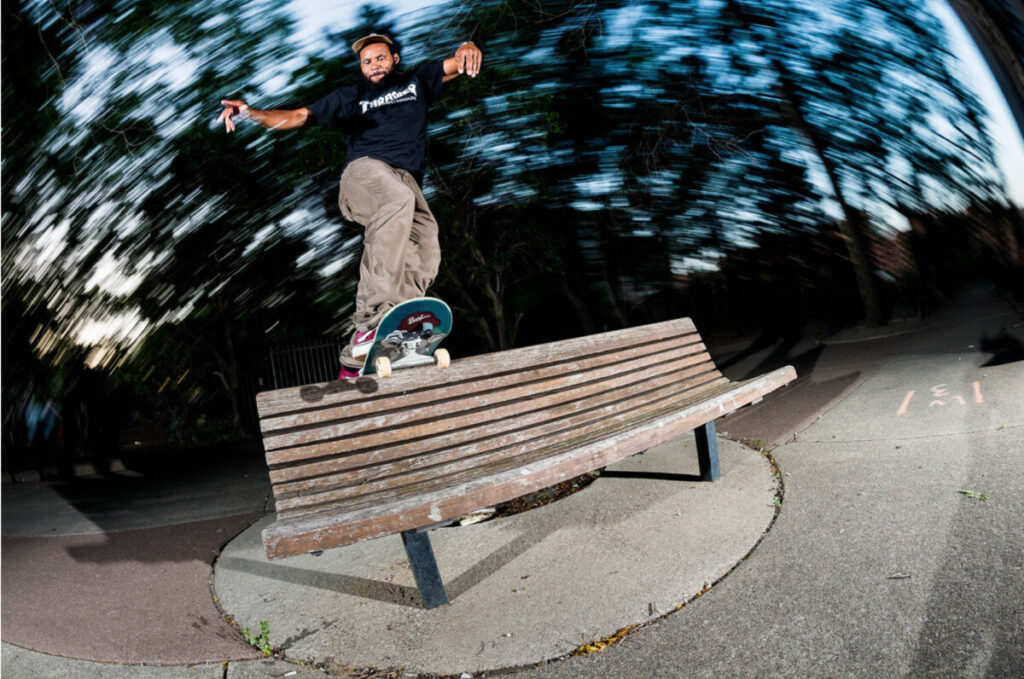
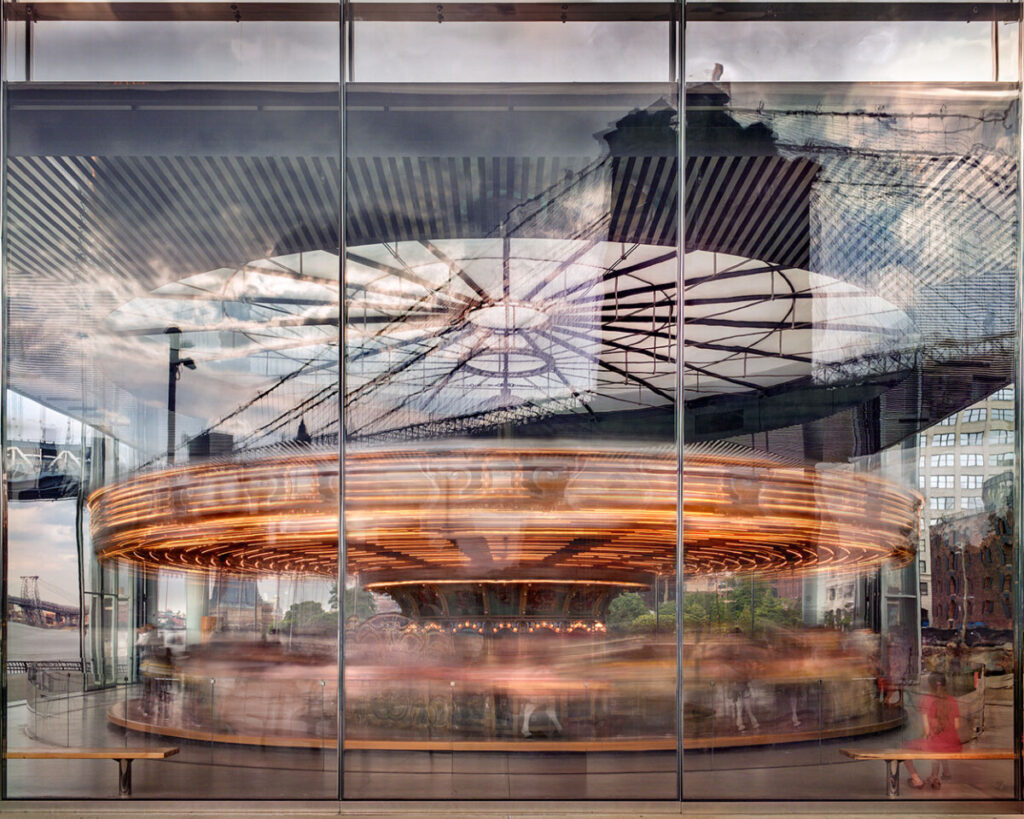
Blurred motion-moving elements blur with a longer shutter speed.

How to blur motion:

  • Use a slower shutter speed – 1/4 sec to 30″ or even longer
  • Direction-if the subject moves parallel to the picture plane there is more visible movement than if the subject moves toward or away from the camera.
  • Focal length-a subject will appear blurrier when photographed with a telephoto lens than when photographed with a wide-angle lens.

Resource

Lab Exercise

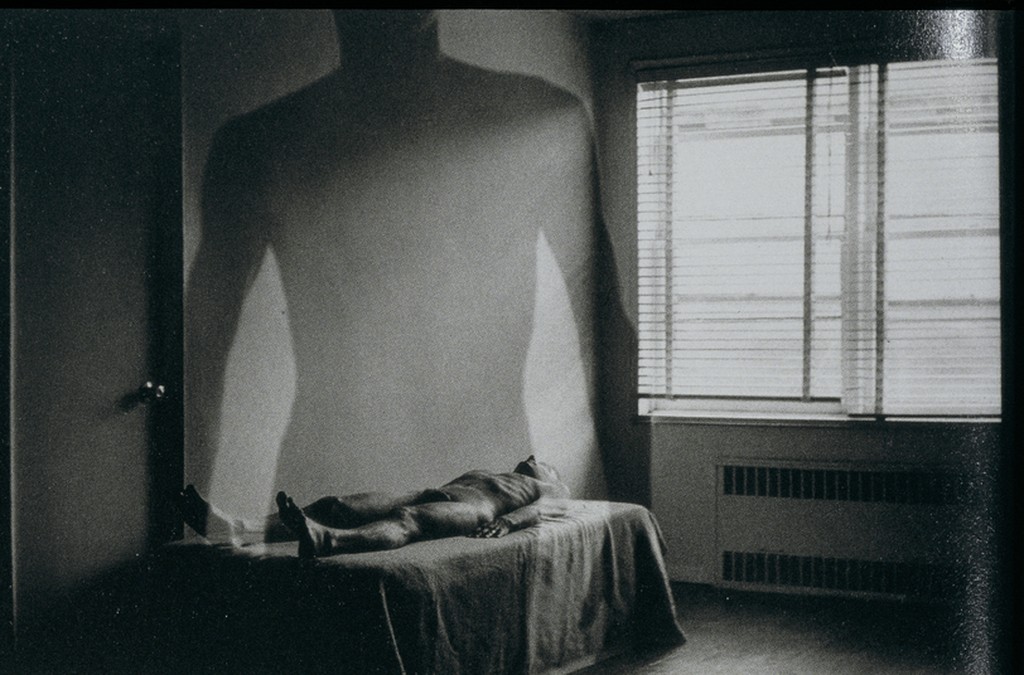
A Ghost Story

Homework Assignment

Freezing Motion

week

Week 3: Perspective and Depth of Field

Needed for this class

  • a camera or cameraphone
  • if you are using a cameraphone that does not have portrait mode, try an app like Focos to blur the photo’s background
  • one or two small objects that signify romance
  • a light maybe with tracing paper or thin cloth to soften it
  • not required but recommended-fairy lights, Christmas lights or candles

Review

Juxtaposition, angle of view

From America at Hunger’s Edge, The New York Times, September 2, 2020

Photos by Brenda Ann Kenneally

The depiction of space

Perspective-the representation of a 3-dimensional space on a 2-dimensional surface by converging lines, diminishing scale and/or atmospheric perspective.

Focus

Depth of Field-The distance between the nearest and farthest points that appear in acceptably sharp focus in a photograph. Depth of field can be shallow or extensive. While the term includes the word depth, depth of field refers to focus.

Sometimes photos combine perspective and depth of field.

How to control depth of field

These four factors control depth of field:

  • lens aperture
  • focal length
  • camera-to-subject distance
  • sensor size.

Aperture is the size of the opening that allows light to hit the camera’s sensor when the photograph is taken. 

  1. Aperture values are expressed in numbers called f-stops. A smaller f-stop number means more light is coming into the camera and will create shallow depth of field. A larger f-stop number will let less light into the camera and create extensive depth of field.
  2. The full stops for aperture are: F2, f28, f4, f5.6, f8, f11, f16, f22, f32
  3. Cameraphones have a fixed aperture.

Focal Length  is the distance from where the light converges in the lens to the sensor. If it is a short distance then the lens is a wide angle lens and shows a lot of the scene. If it is a long distance, the lens is a telephoto lens and it magnifies the scene. Wide angle lenses create extensive depth of field while telephoto lenses create shallow depth of field.

Camera-to-subject distance is how far the subject is from the camera. If everything is far from the camera, it is easier to achieve extensive depth of field. If the main subject is very close to the camera and the background elements are far from the camera, it is easier to achieve shallow depth of field.

Sensor size-the smaller the sensor the easier it is to achieve extensive depth of field. Bigger sensors allow for shallow depth of field.

 Bokeh-Bokeh comes from the Japanese word boke (ボケ), which means “blur” or “haze”, or boke-aji, the “blur quality.” Bokeh is pronounced BOH-Kə or BOH-kay. 

 — From http://www.nikonusa.com/en/learn-and-explore/article/h0ndz86v/bokeh-for-beginners.html

Camera Phones and Depth of Field

Camera phones have a fixed aperture. For example, the aperture of the iPhone 7 is f1.8. This is one of the things that makes cameraphones so good in low light. You might think this wide open aperture would make it easy to get shallow depth of field with a cameraphone. However, the other factors involved make it quite challenging to achieve shallow depth of field with a cameraphone.

When you look at a phone, you can see the challenge for focal length. Focal length is the distance between where the light converges in the lens and the sensor and there just isn’t that much space. Even for cameraphones, we use the size of 35 mm film as the standard when discussing focal length. So the iPhone 11 has three lenses that are the 35 mm equivalent of 13mm, 26mm and 52mm. Earlier phones with one camera have one focal length. If working with a camera phone with more than one lenses, use the telephoto choice to create shallow depth of field.

Camera to subject distance is the factor that gives you the most control of depth of field when working with a camera phone. To create shallow depth of field bring the camera as close as possible to the subject. Allow for some actual space behind the subject

It is the small size of the sensor that makes cameraphones so good at achieving extensive depth of field. It is also the main reason it is so hard to get your cameraphone to achieve shallow depth of field.

Portrait Mode

To solve this problem, cameraphones use software. You may have Portrait Mode on your phone or you can download any number of Apps including Focos which I used for this example. I think this is pretty typical. Overall, the software did a good job of softening the background but it could not tell the the ear on the left should be sharp.

With a camera, it is easy to make background lights turn into beautiful shapes.

Lab Exercises

Perspective

Romantic

Homework

Near and Far

Needed for next week
  • a camera and tripod
  • if you are working with a cameraphone, you will need an app like Slow Shutter Cam and a tripod or other way to hold your phone still.

Week 2 – The Frame

Needed for this class

  • Camera or cameraphone
  • Light source
  • two small objects that represent opposites

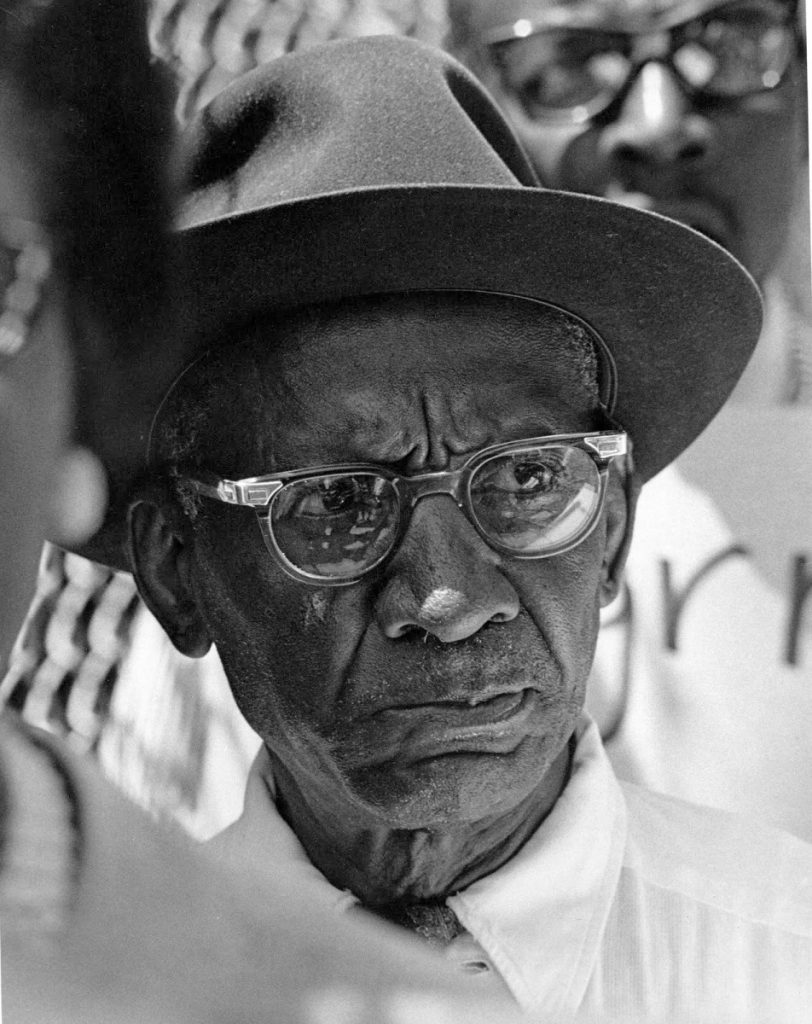
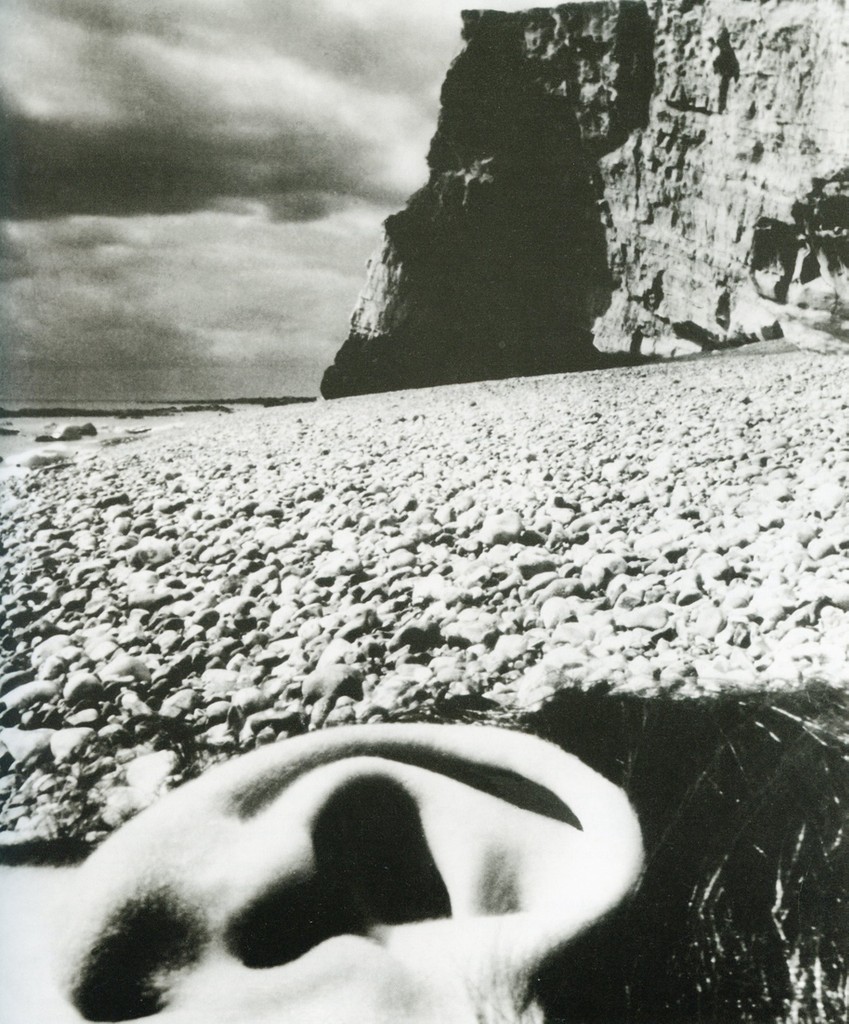
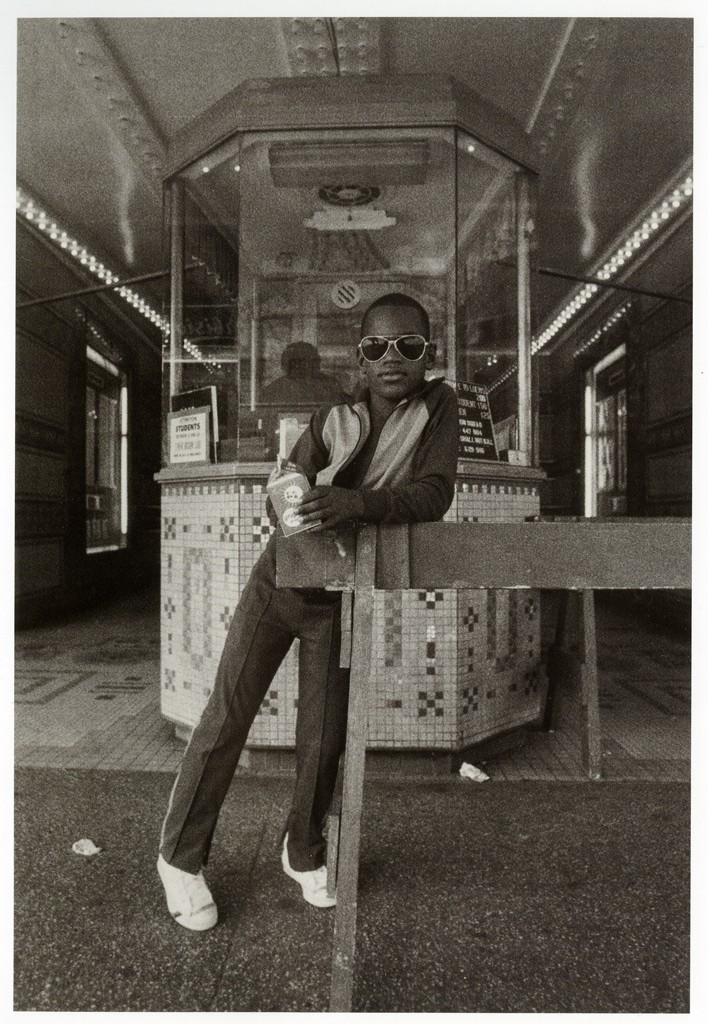
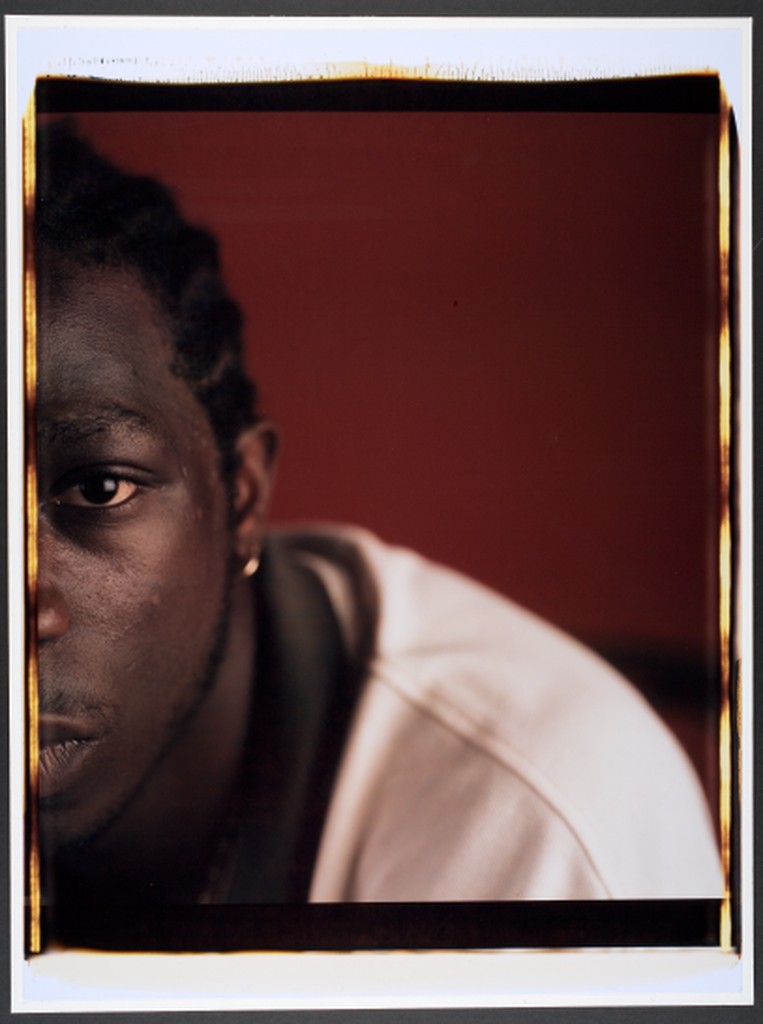
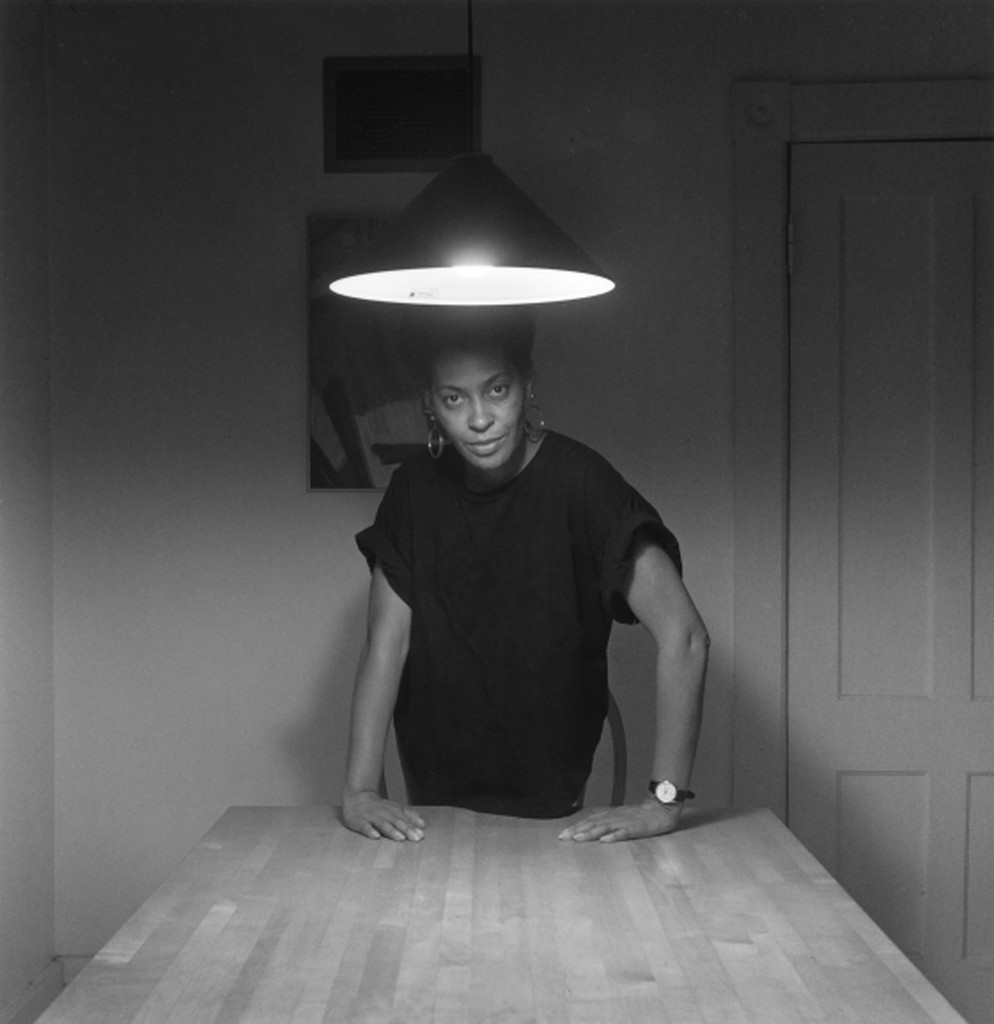
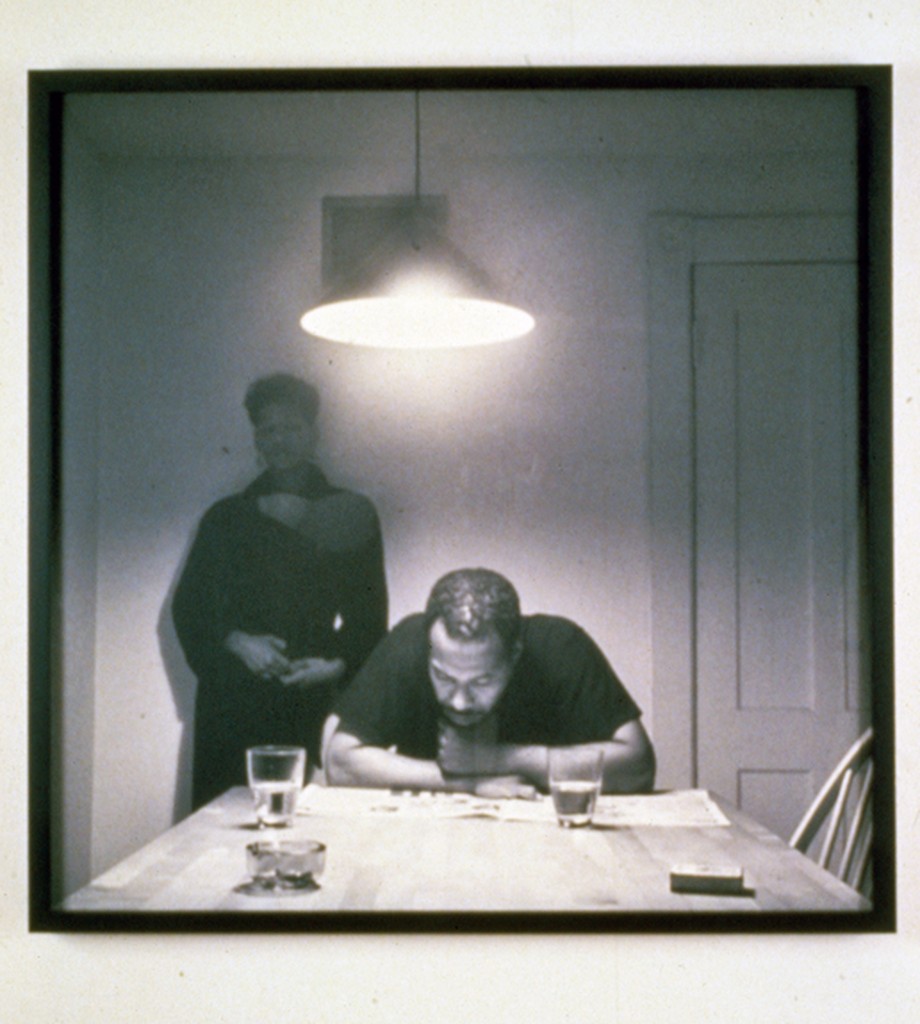
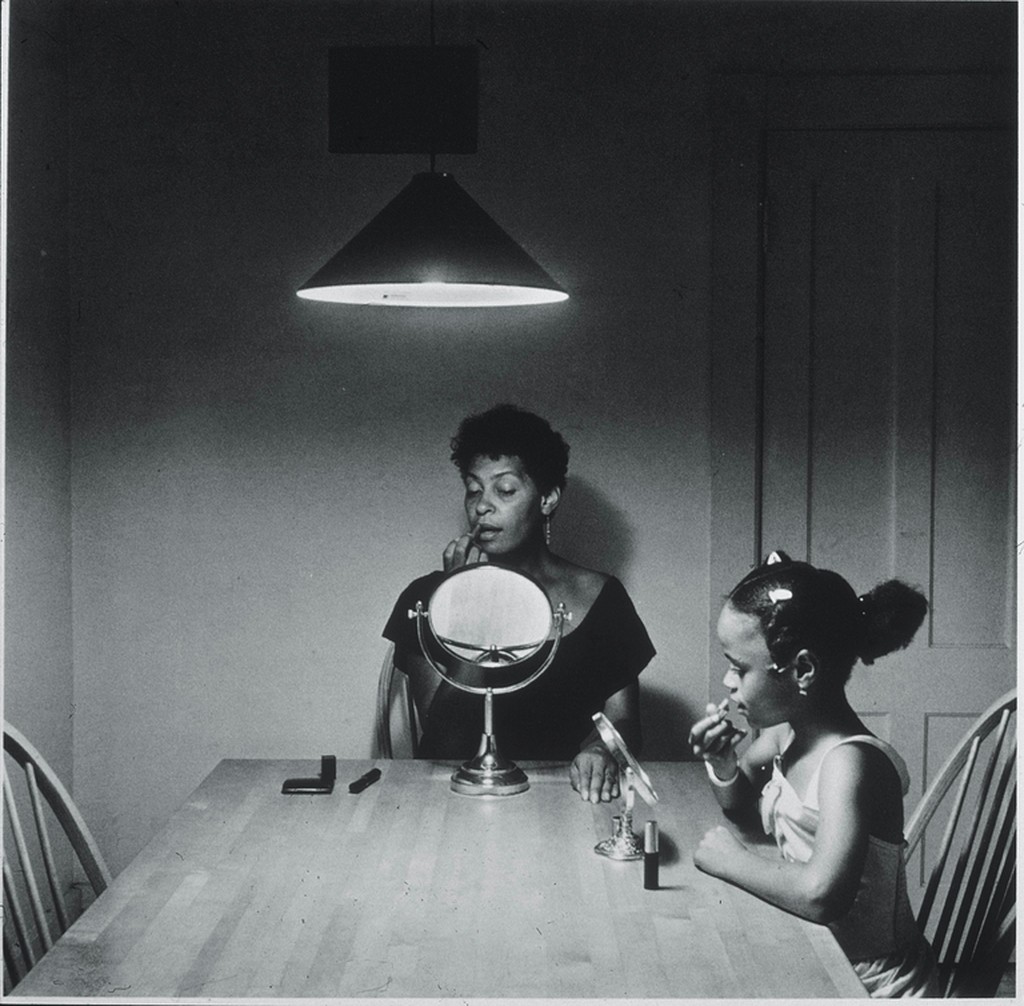
Bey and Weems

How does each photographer use the frame in these examples?

Thinking about the Frame

Framing: How the frame brings together the elements inside the rectangle juxtaposing them, creating relationships between them

At the time of the Louisville flood. Louisville, KY. 1937
Photographer: Margaret Bourke-White

Types of shots: how much information is in the frame

  • a long shot
  • a medium shot
  • a close up
  • an extreme close up.

Frame within a frame – use elements in the frame to enclose the main subject and draw attention to it. A frame within a frame can be a window or door or it can be items in the foreground such as branches.

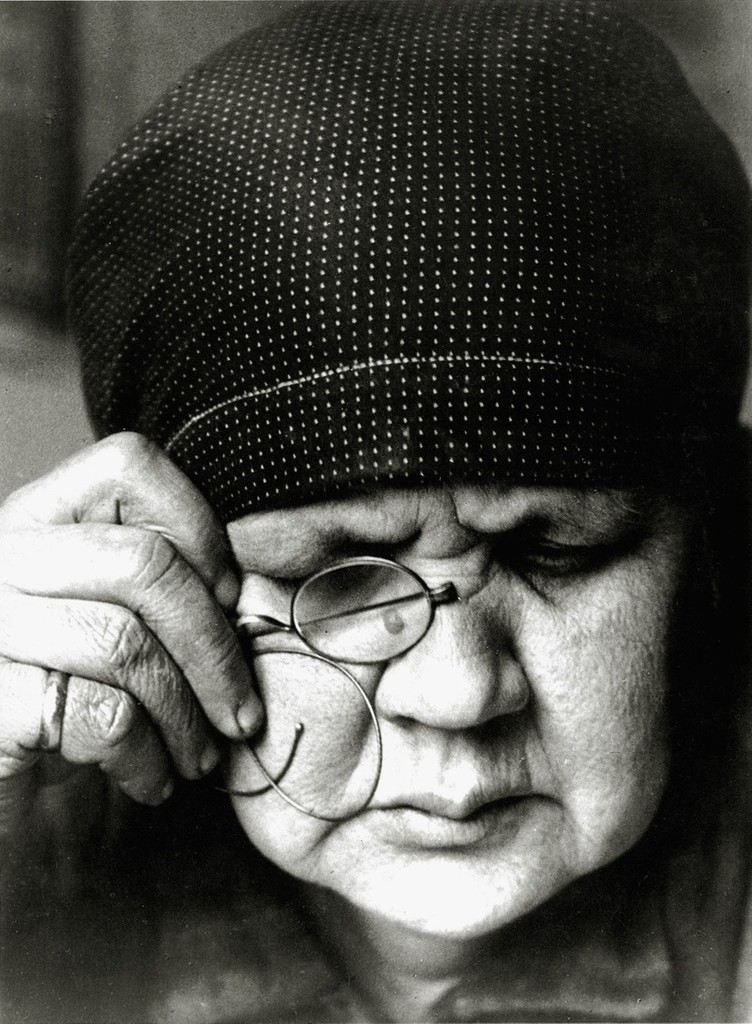
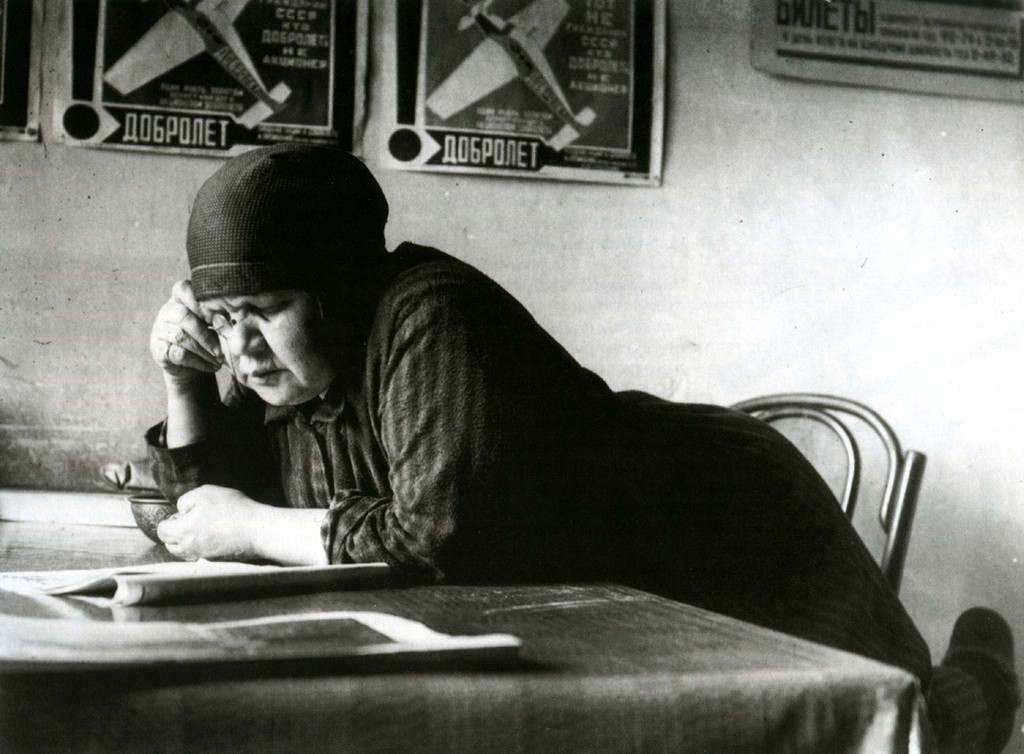
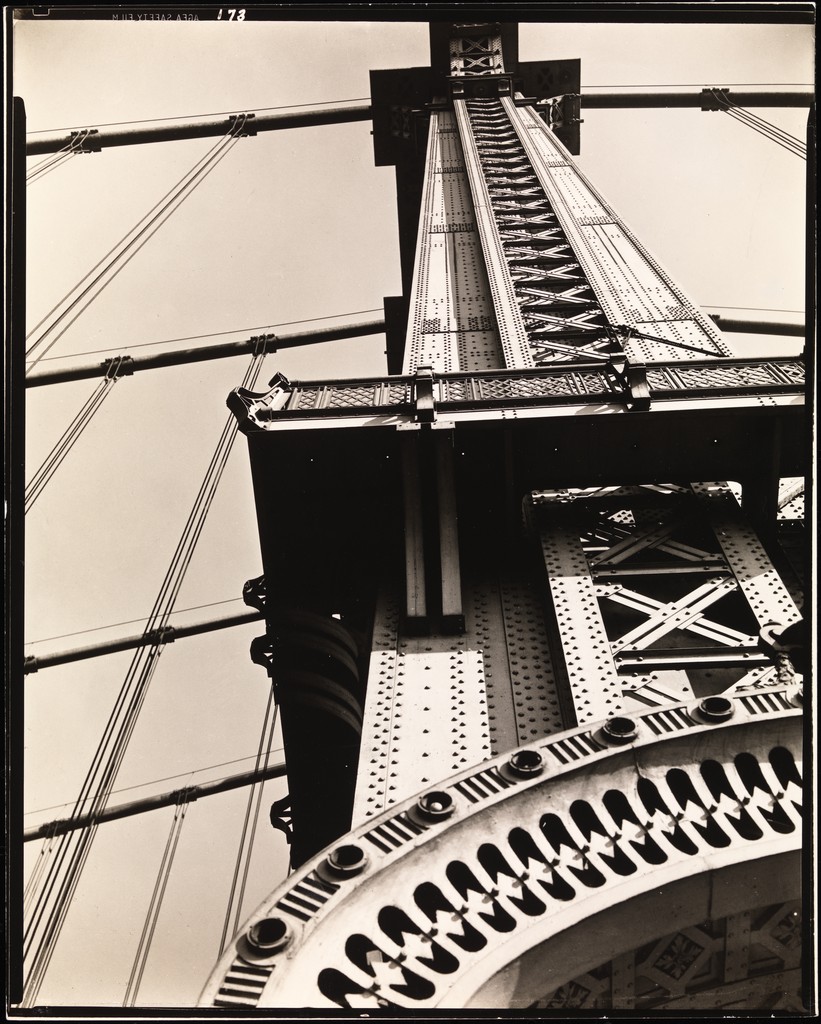
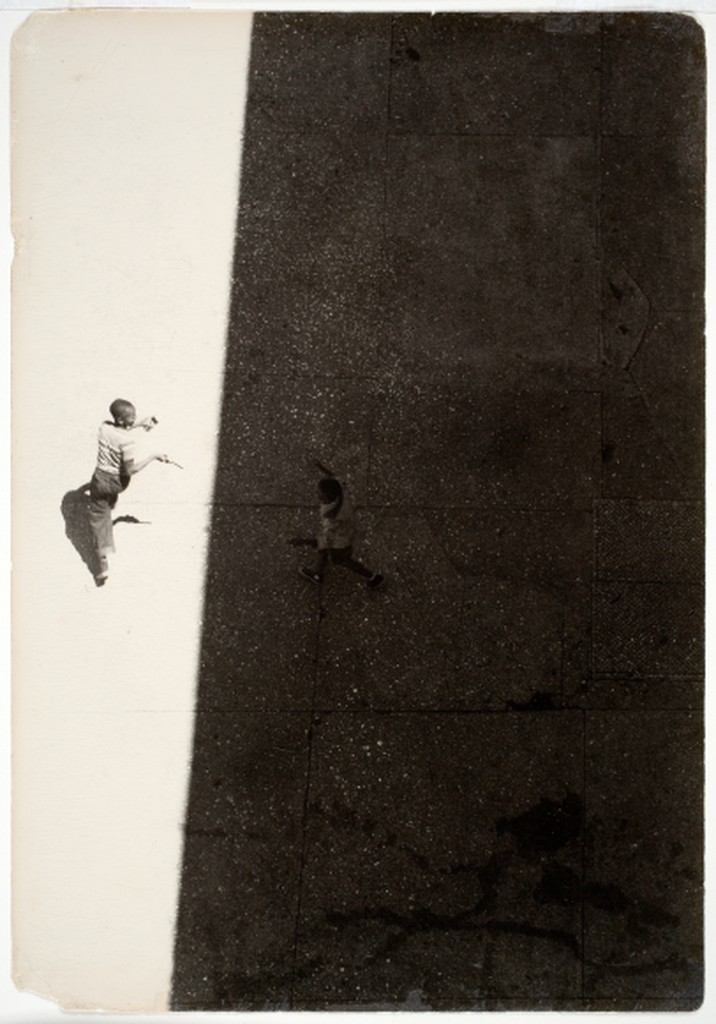
Angle of View:  describes the camera position in relationship to the subject. The angle of view may be:

  • a worm’s-eye view
  • a low-angle
  • eye-level
  • a high-angle
  • a bird’s-eye or aerial or overhead view
  • an oblique angle.

Rule of Thirds – Instead of placing the main subject in the center of the frame, divide the frame into thirds horizontally and vertically and place the main subject at one of these intersections.

Fill the Frame –  (get closer) – do not leave empty areas that do not add to the composition and plan to crop in later.

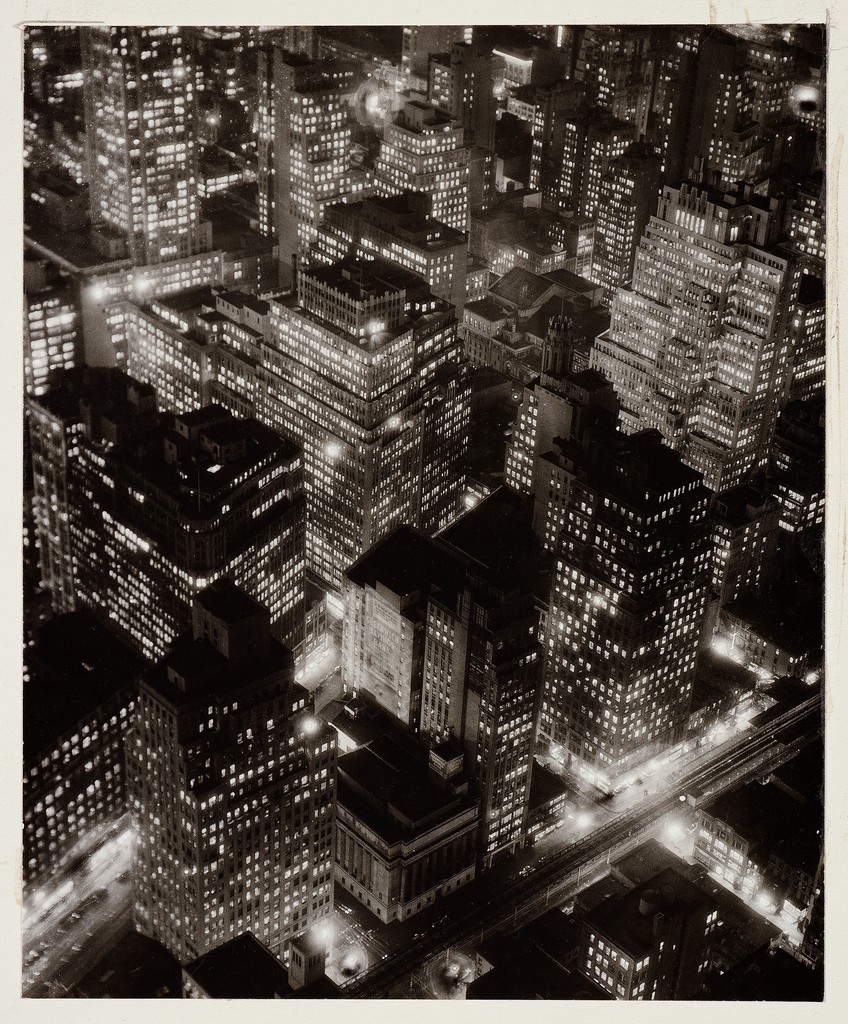
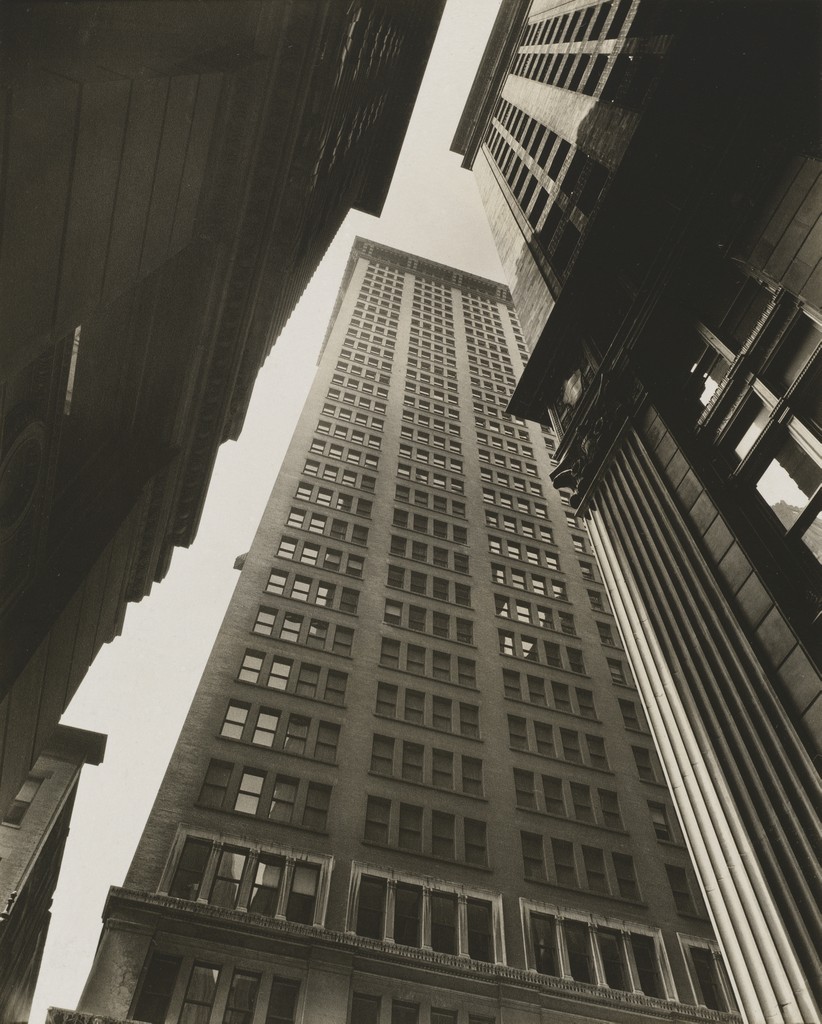
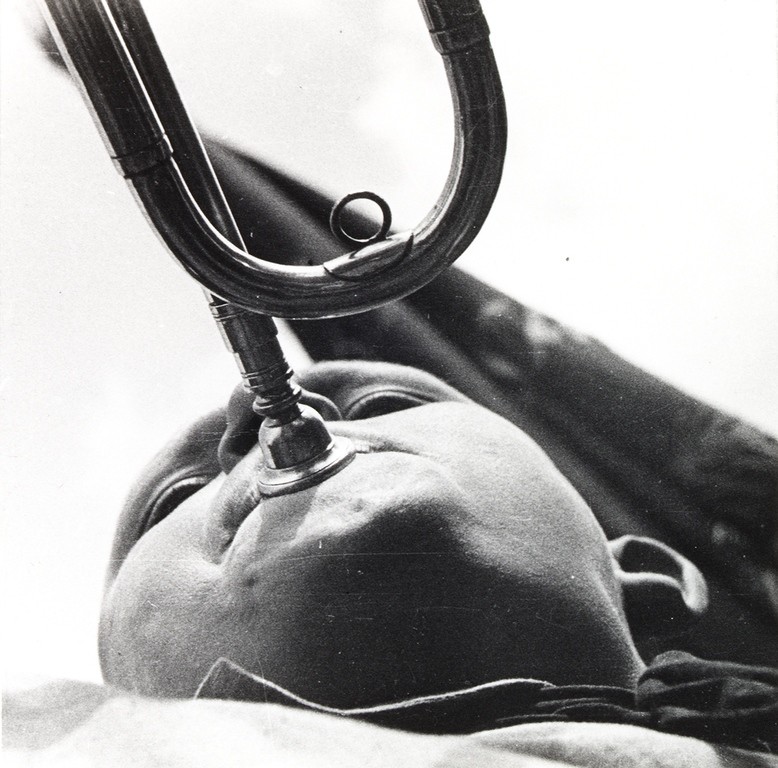
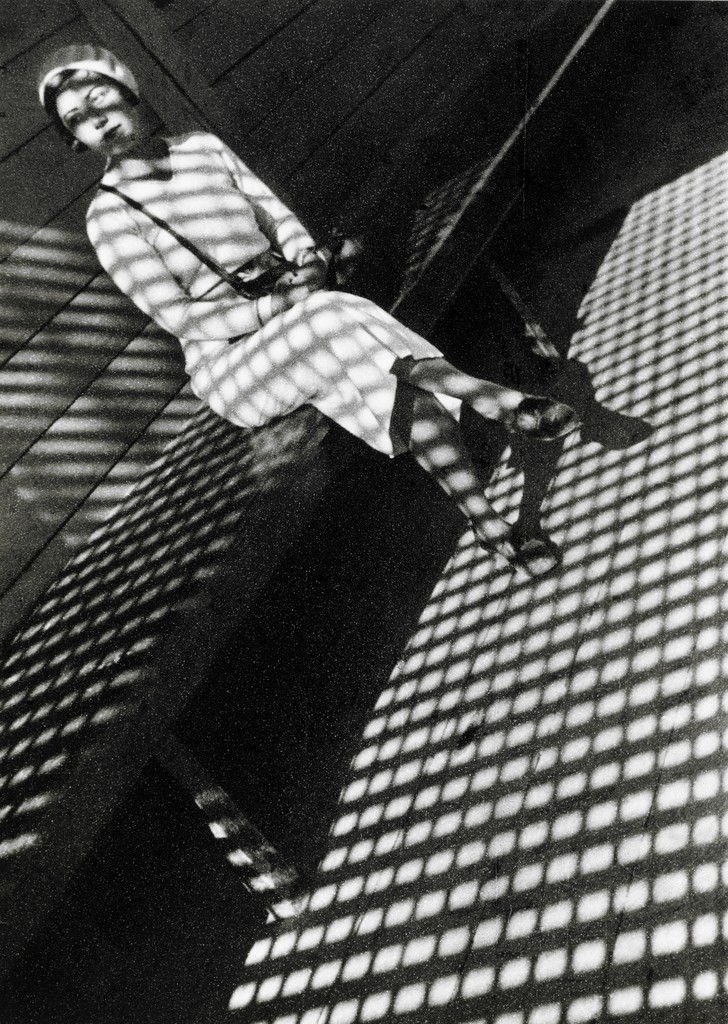
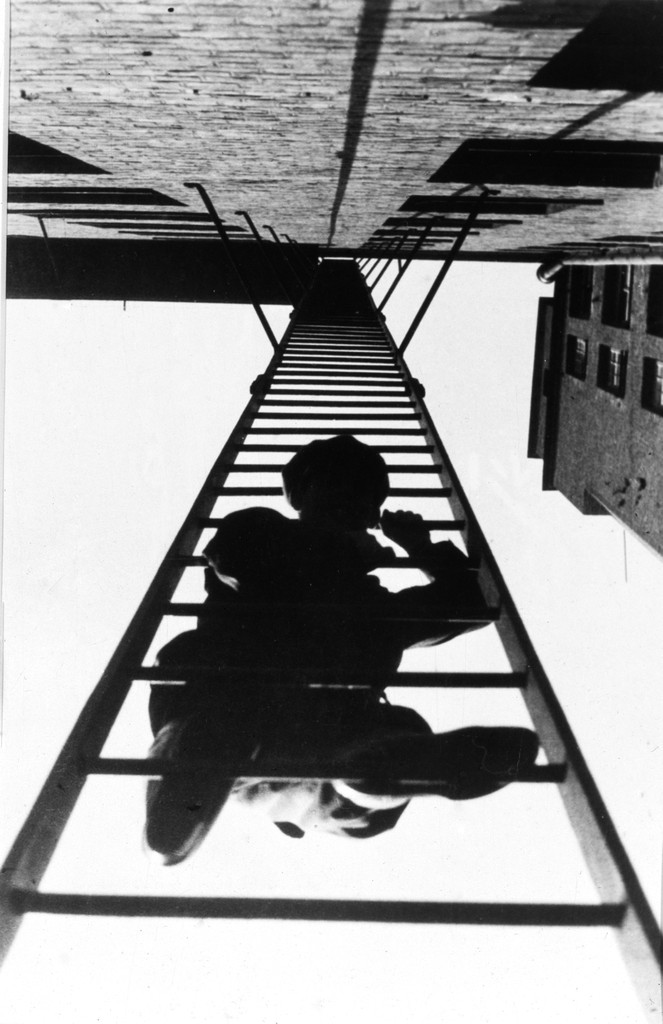
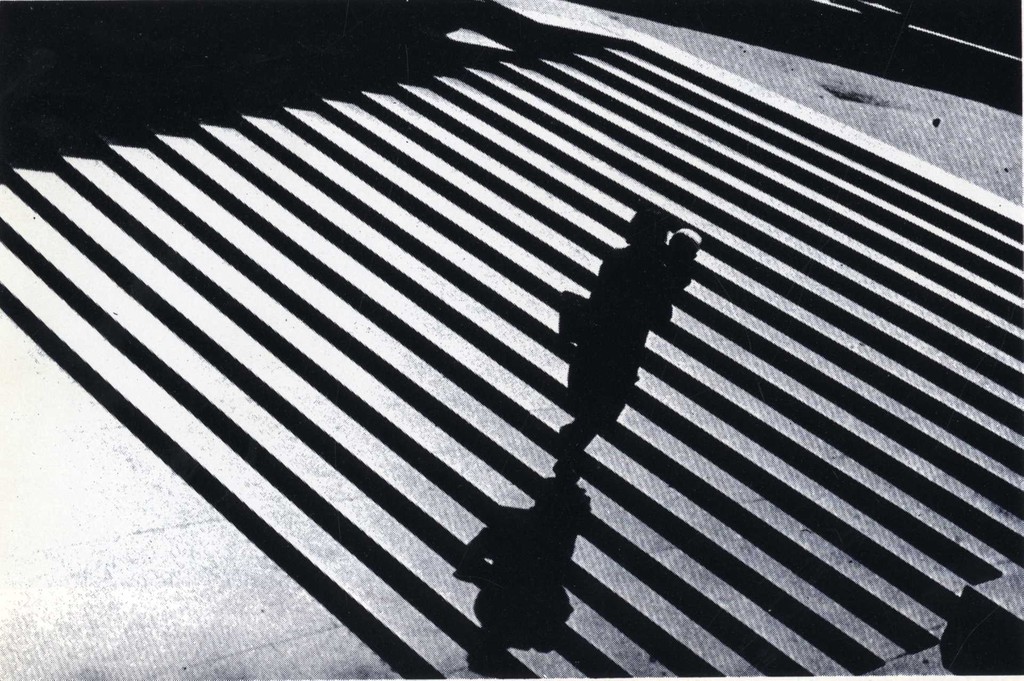
Angle of View Examples By Alexander Rodchenko

Resources

Joel Meyerowitz on the frame

Labs: Week 2

Juxtaposition

Angle of View

Homework
HW 2: The Frame

Week 1 – Course Overview

Needed for this class

  • a camera or cameraphone
  • an account on openLab and membership in our class

Introductions

Introduce yourself.

Take the Technology Survey

The survey is here. Please put the camera or cameraphone that you will be working with in the box after question 6. Also put in this box any topics you would like me to cover in the class.

Lab Exercise

Hands

Thinking about Photography

Photography is many things but one or the most important is that is is a means of personal expression. You can use it to show others your reality.

Interview with Dawoud Bey

Interview with Carrie Mae Weems – The Kitchen Table series

Homework

Finding Your Voice

Newer posts »

© 2024 Photography II

Theme by Anders NorenUp ↑