Select one of the photos that you will include in your final project that needs some local as well as global corrections.
First make the global corrections.
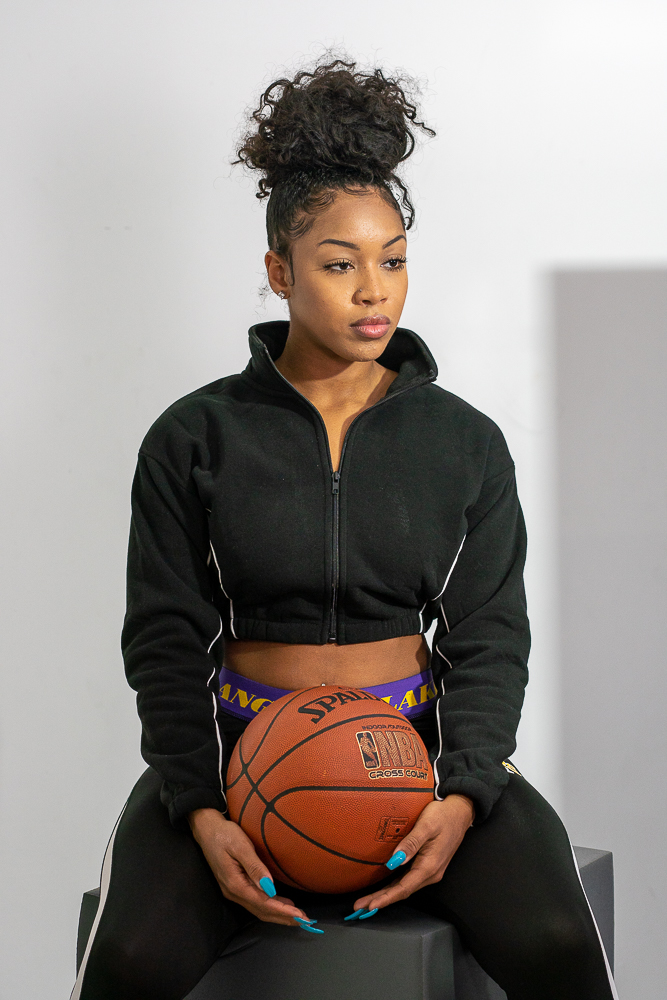
Then identify what is the most important thing in your photo. Consider how to best direct our attention there.
Then using the adjustment brush and or the graduated or radial filters, make the needed local corrections.
Put a before and after version of your file with local corrections into a gallery block in a post on OpenLab. Include a list of the global and then local corrections that you made to the file.
Pick any photo that you will be including in your final project presentation.
Make the necessary global corrections to make your photo look its best.
Put the before and after versions of your photo in a gallery block into a post on OpenLab. Include a list of the adjustments you made to the photo.
Category: Lab: Week 14 – Review Global Corrections
Lightroom Workflow:
Classic: Lens corrections and Transform panels. Correct lens aberrations and Transform, rotate and straighten. App: Optics, geometry.
Classic: Crop. Left below the histogram. Keep the lock on to maintain aspect ratio. App: Crop
Classic: WB on basic panel – Set white balance. App: Color
Classic: Exposure section on basic panel – Read the histogram to set exposure. Most images should have the widest possible dynamic range, meaning that there should be data across the entire histogram. App: Light Both: a. Exposure slider-use to adjust the overall tonality b. Set black point-shift double click. c. Set white point-shift double click. d. Use shadows slider to brighten mid tones.
Classic: Presence section of basic panel – Adjust clarity (mid tone contrast) App: effects
Classic: Presence section of basic panel – Adjust vibrance. App: color
Classic: Presence section of basic panel – Use saturation with care: +10 at most App: color
Classic: Detal panel – Sharpen-amount at least 50 App: detail
Pick one of your best portraits shot with front light to work with. Create four versions:
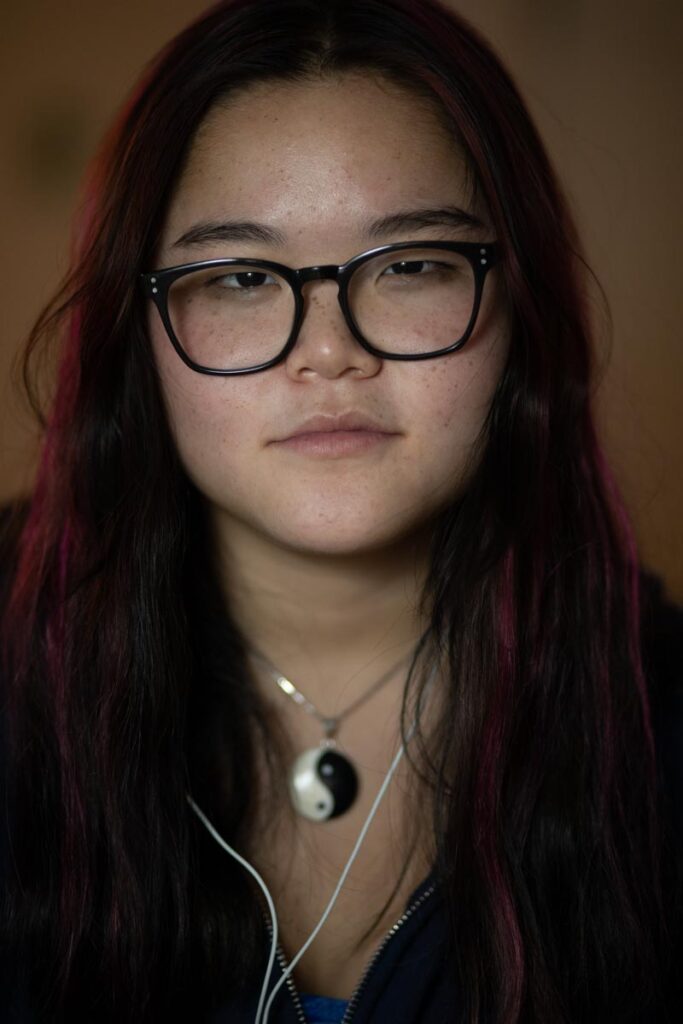
the file exactly as shot
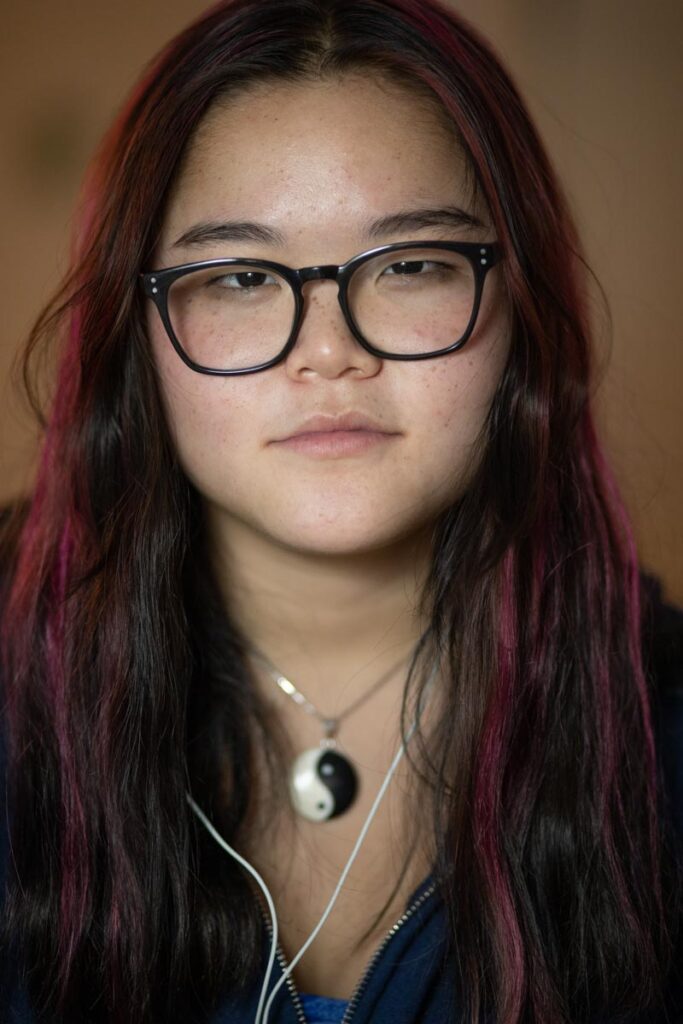
the file with the exposure adjusted
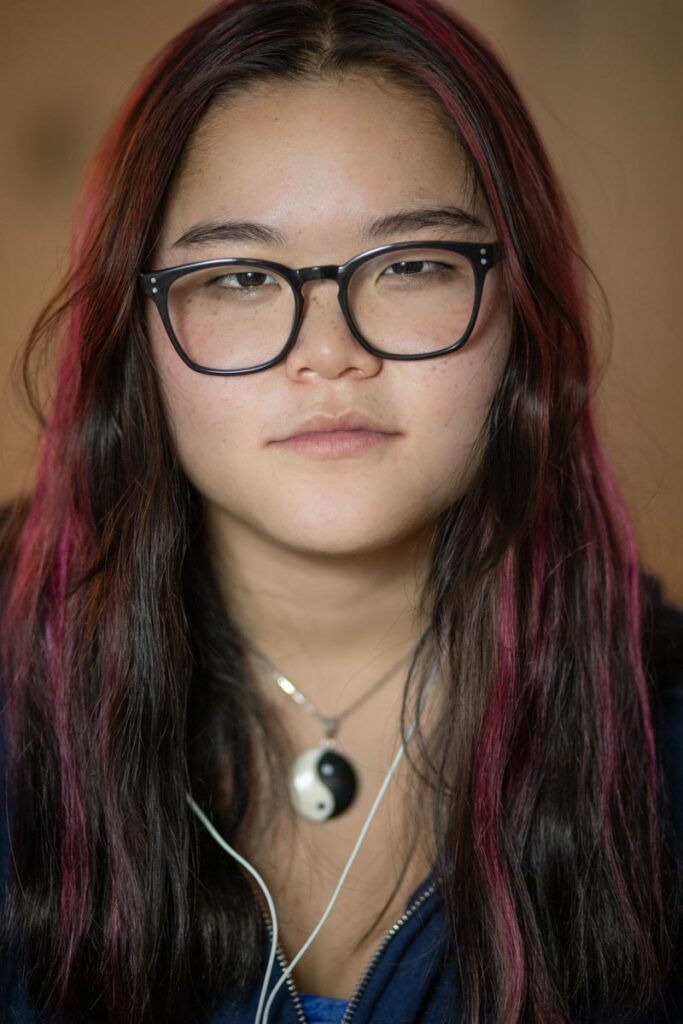
the file re-touched in Lightroom
the file re-touched with frequency separation
Put them in a gallery block in a post on Openlab with the category:
Lab: Week 13 – Re-Touching
No adjustments
Exposure +1. Highlights -35, Shadows +50
Using the histogram, first adjust the basic exposure. Most portraits will benefit from opening up the shadows to +50.
Re-Touching With Lightroom
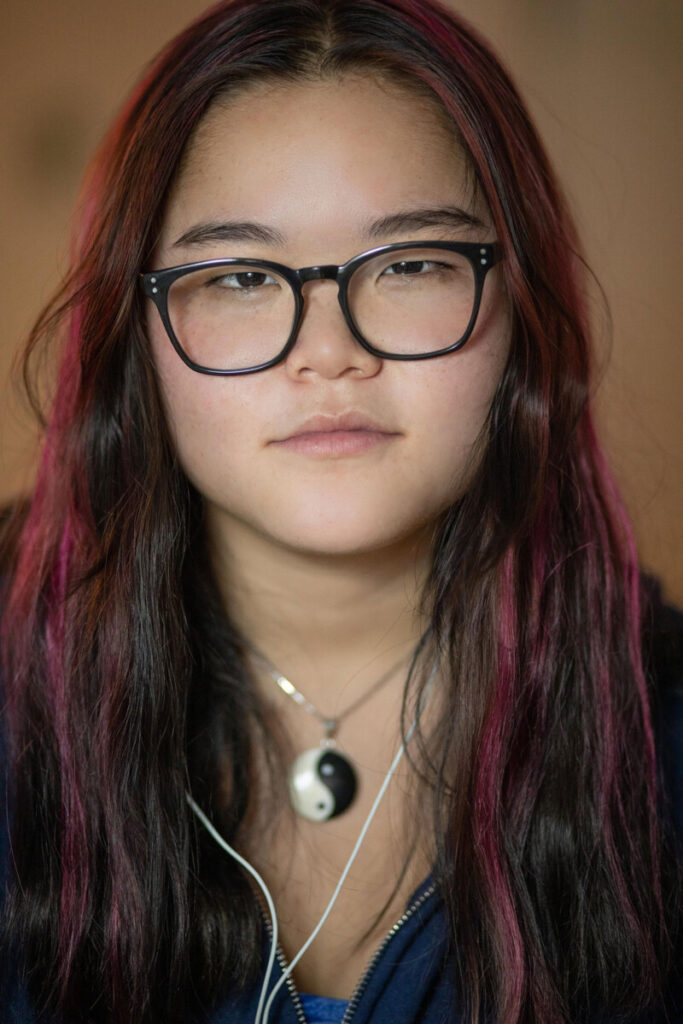
Use the adjustment brush set to soften skin. Brush loosely over the expanses of skin avoiding the features.
Use the adjustment brush set to dodge dark areas such as under the chin and in this cas I also lightened the glasses shadow. Use the adjustment brush set to burn to lighten and bring detail into the hair.
The eyes are the most important feature. To make them stand out slightly:
Use the adjustment brush set to clarity to outline the eyelids.
Use an ajsutment brush to carefully select the iris and brighten.
Use an adjustment brush to carefully select the whites of the eyes and increase the exposure very carefully. Do NOT so this too much otherwise it will look very artificial.
No re-touching
Lightroom re-touching
Frequency Separation
Frequency separation allows you to re-touch the skin without losing its texture.
Set up the file:
Make two copies of the background layer.
Name the middle on Low and the top one high
Select the Low layer and then filter>noise>dust and scratches> 15 radius
Select the High layer and then image>apply image. Layer: low, blending: subtract.
Set blending mode to linear light.
Group the High and Low layers and name it skin.
Command-shift N to create a new layer. Mode>Overlay. Check 50% gray. Name it DB.
Add a B&W adjust layer on top and bring down the red channel to enhance the flaws.
2. Remove blemishes: On the High layer, using the healing brush, hold option to sample an area near the blemish. Then paint over it to remove it. Use this to remove stray hair.
3. Smooth skin: On the Low layer, uses lasso tool to select areas to smooth out. Filter>blur>gaussian blur> 15 radius.
4. Dodge and Burn: On DB layer, use the dodge (lighten) tool set to midtones>3%>protect tones. Us this to lighten bags under the eyes and brighten the eyes.
Lightroom Re-touching
Frequency Separation
Resource: Photoshop Retouching Skin Retouching Technique Frequency Separation Made Easy by Joel Grimes
The main light casts the shadows and the fill light brightens the shadows.
Create a portrait for each of the five main lighting styles with a main light and a fill light. The fill light can be a reflector or a wall as illustrated in the video on today’s Topic page. Shoot each on first with just the main light and then add the fill for a second shot. For each of the five lighting styles, post an example with and without fill. Write a short text about how you set up your fill and how it changes the photos. 10 photos total.
Those lighting styles are: Rembrandt, broad light, short light, butterfly, and split Light.


Recent Comments