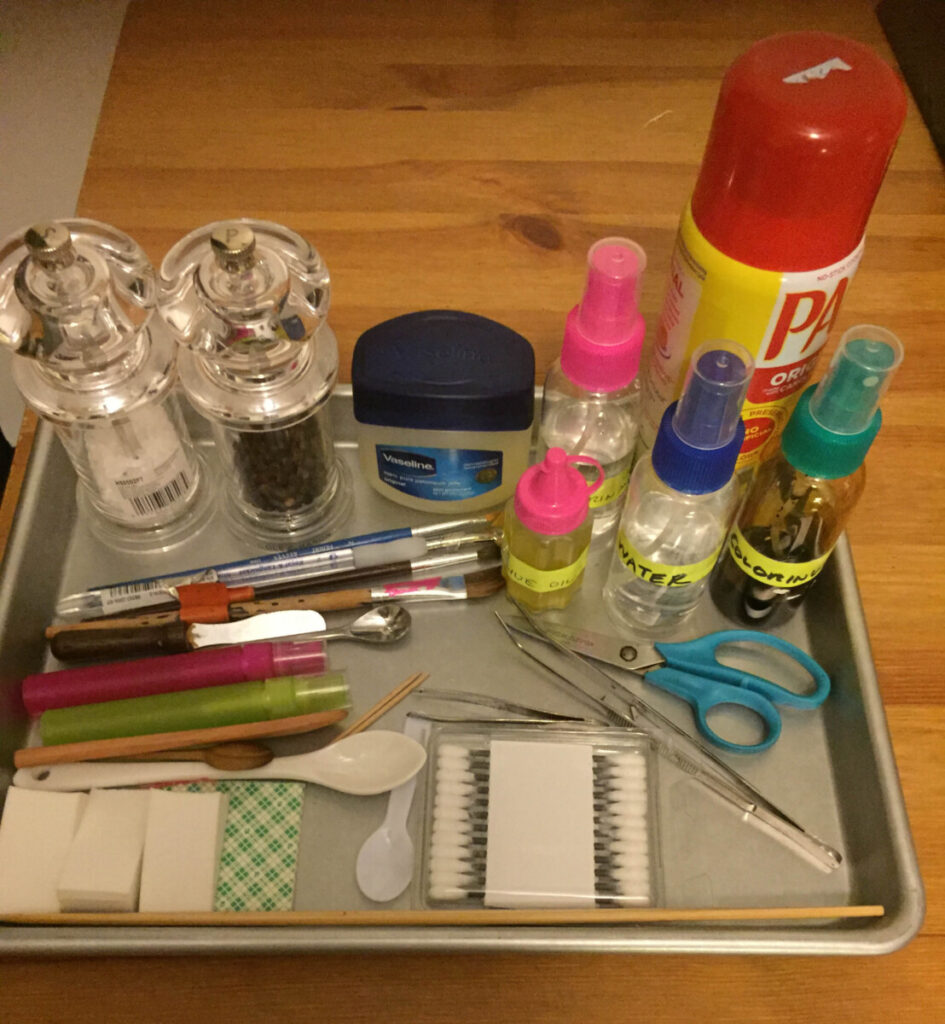
Needed
- Camera or cameraphone
- tripod or way to secure the camera
- a main light – can be a clamp light
- a diffuser
- a white card for reflection
- a background material
- some food items
- a few simple props – a plate, a fork, a sprig of herbs, a wooden spoon
Guest Speaker
Food Stylist
The food stylist shops for the food and prepares the food for the shoot. The food stylist also moves the food on the set and is responsible for making it look as good as possible.
Food Photography Lighting Review
- Use one main light. Turn of or block other light sources.
- Diffuse the main light. You can put diffusion in front of the light or bounce the light off a wall. The farther in front of the light the diffusion is placed the more the light will be diffused.
- Fill the shadows by reflecting the main light into the shadows with a white card.
Lighting an Overhead Shot
Specular Highlights – bright spots of light that are the result of direct reflection
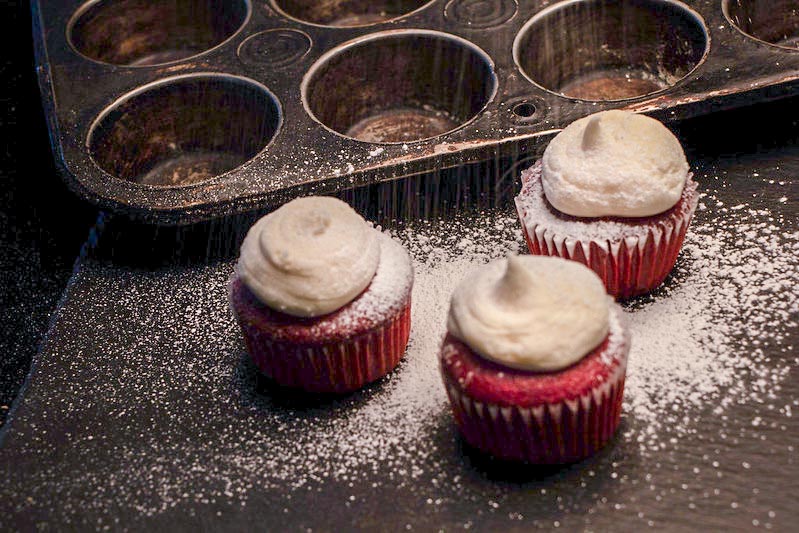
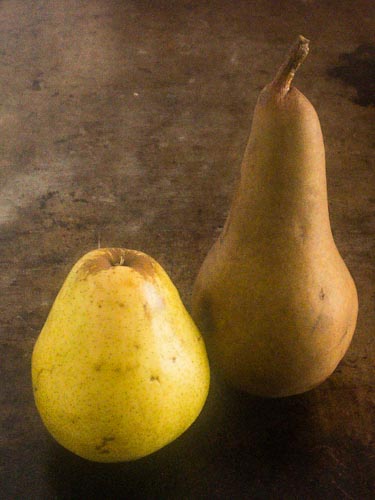
Telling a Story
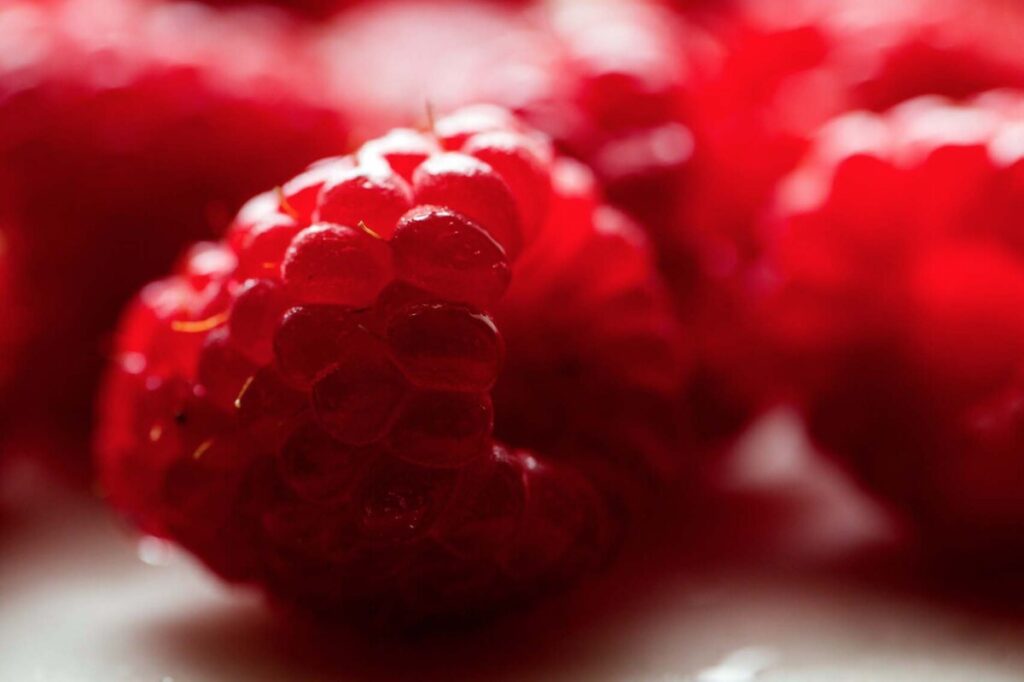
Start with what you want the photograph to say. It can be something simple like flavor, or fresh, or natural or home comfort or elegance. This will help you figure out the hero of your photo ie what is most important and how to style the photo.


shot in COMD 3530 Advanced Studio Photography
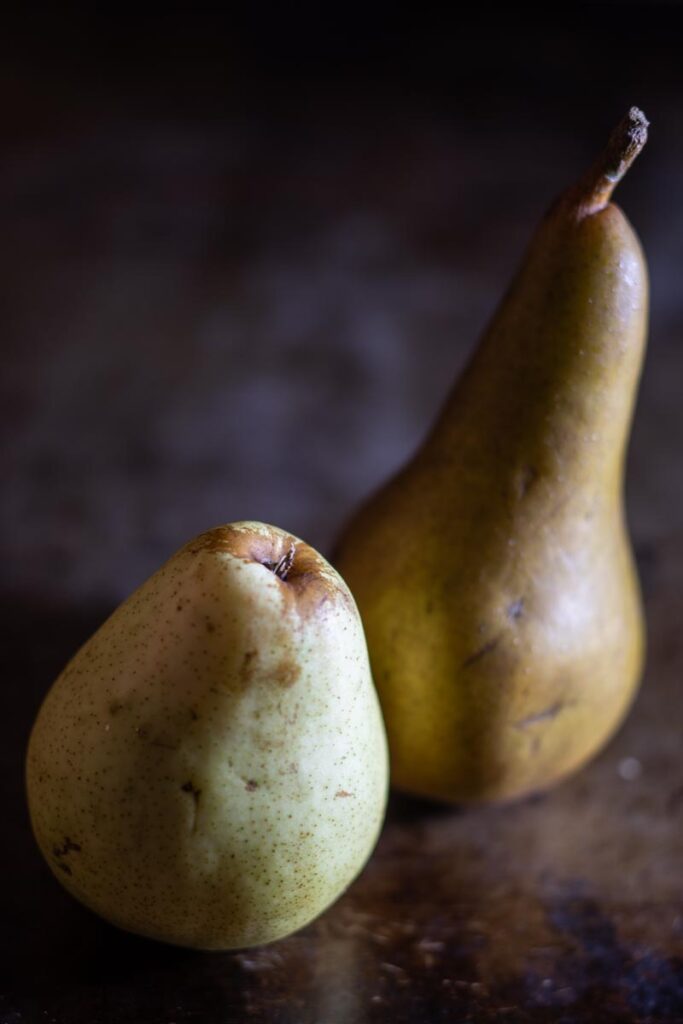
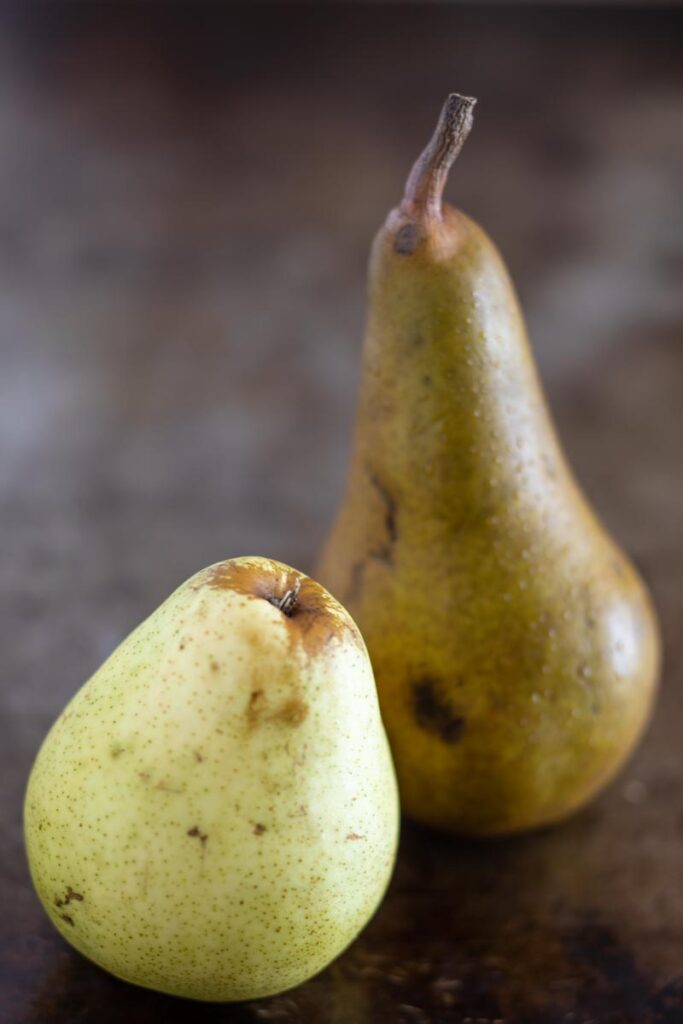
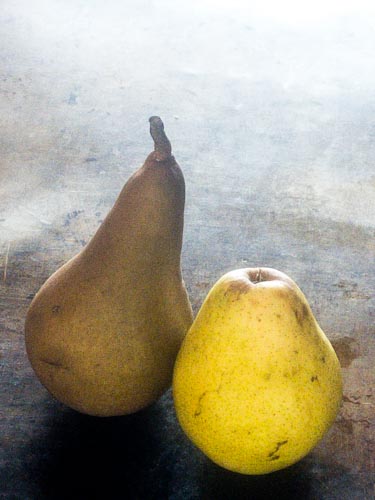
Basic Composition
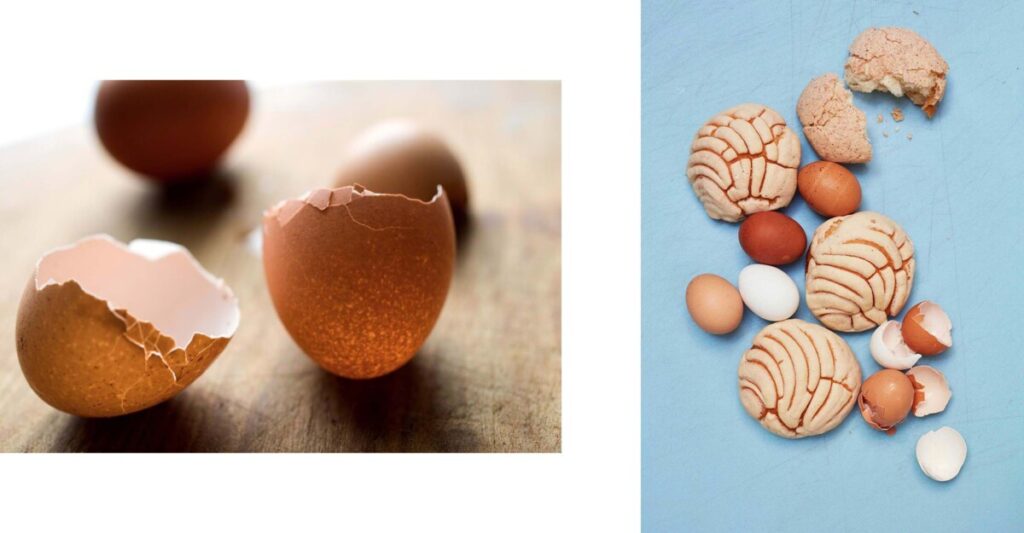
- Pick the background to compliment the food.
- Odd numbers tend to look better than even.
- Try off-center placement and/or the rule of thirds
- Use diagonals
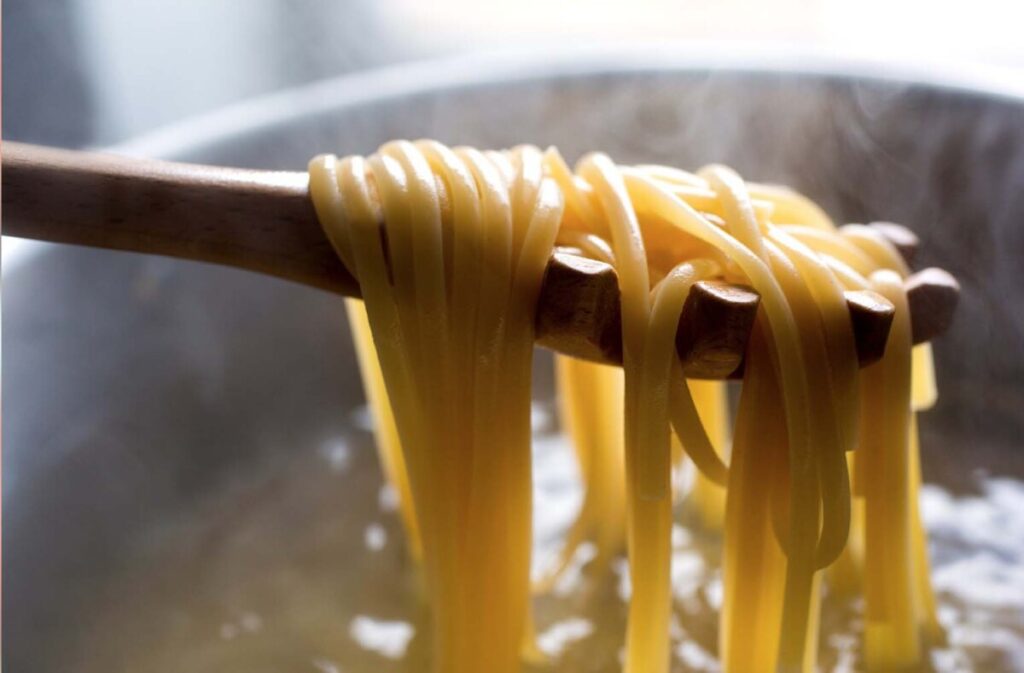
- Use shallow depth of field
- If shooting from a three-quarter view, include something that creates perspective either through converging lines or diminishing scale
- Restrict the palette but select colors to compliment each other
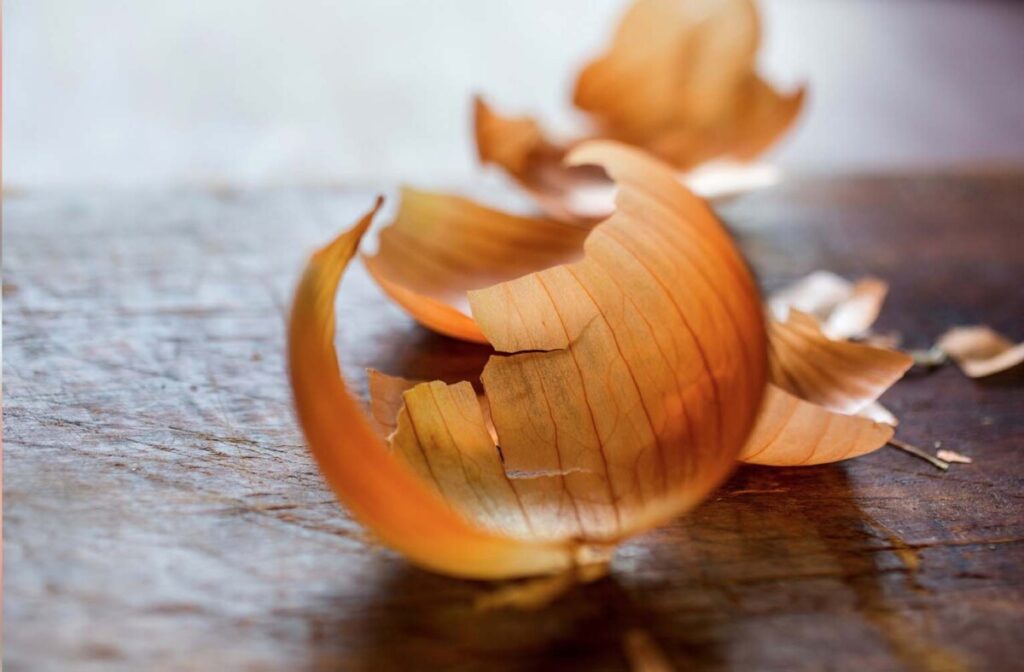
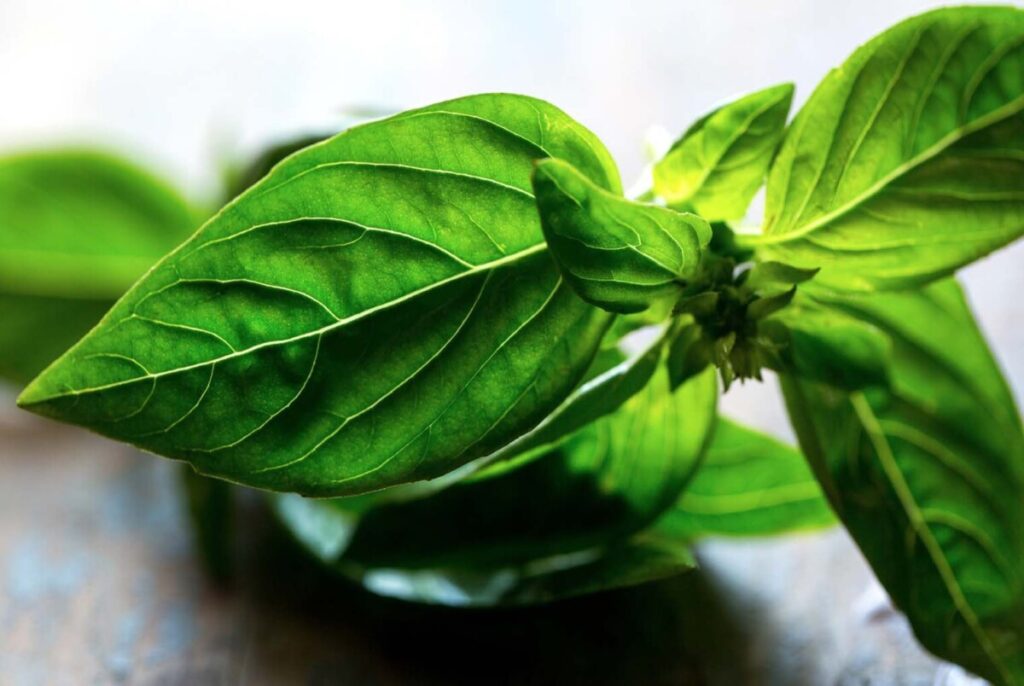
Styling Tips
- Use herbs or spices as props
- Keep props simple- a knife or a wooden spoon or other kitchen implement, a fork or spoon, a plate or a napkin, a placemat
3. Use tweezers to move small items on the set.
4. Use a brush to remove extra crumbs you don’t want.
Lab Exercises
Homework
HW 6 – Telling a Story with Food Photography
Needed for next week
We will be doing a product shot with ingredients. You will need a clean, unopened example of the product and at least one fresh ingredient for that product. You may also want some props – what ever is appropriate for your product.


Recent Comments