Contents
Needed for this class
- a camera or cameraphone
- a tripod or other way to secure the camera or cameraphone
- a few vegetables
- a light
- a diffuser. It can be made from cardboard and tracing paper
- a white poster board or card
- materials to use as backgrounds. Some suggestions: a cutting board, an old baking tray
Guest Speaker
Class Schedule
Oct 27th – Food Photography Lighting Basics
Nov 3rd – Food Photography: Telling a Story, Speaker: Jill Keller, Food Sylist
Nov 10th – Food Photography: A Product and its ingredients
Guest Speaker: Jonathan Lopez
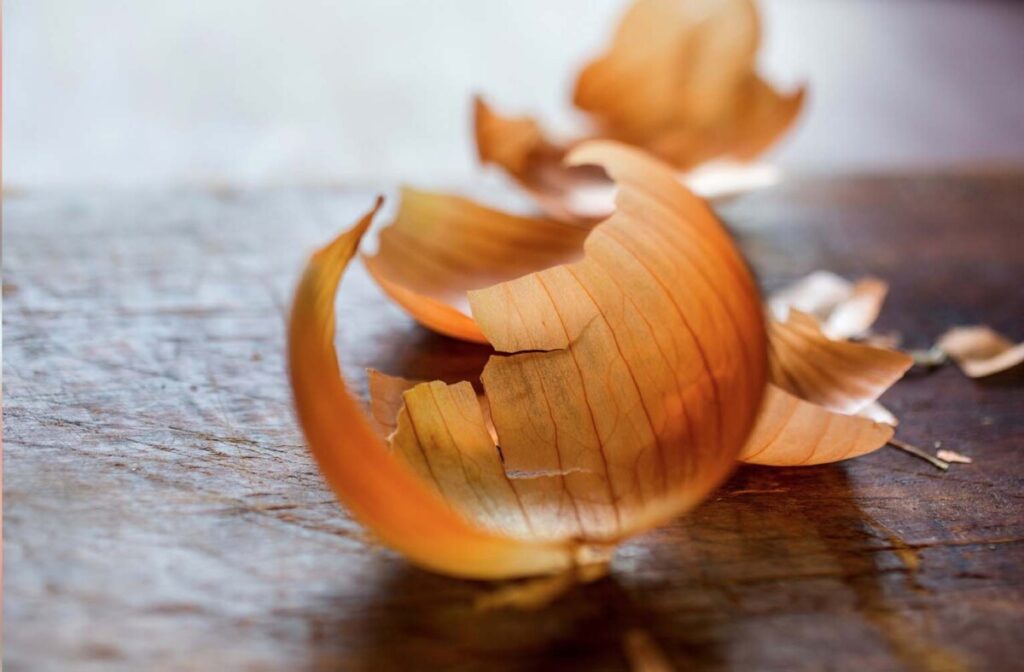
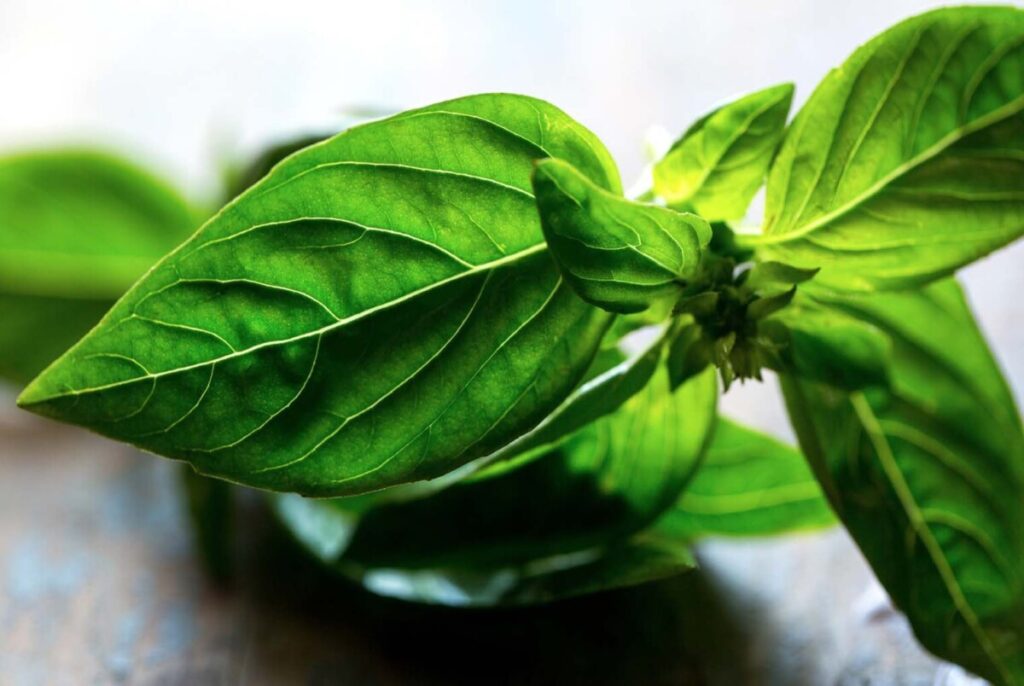
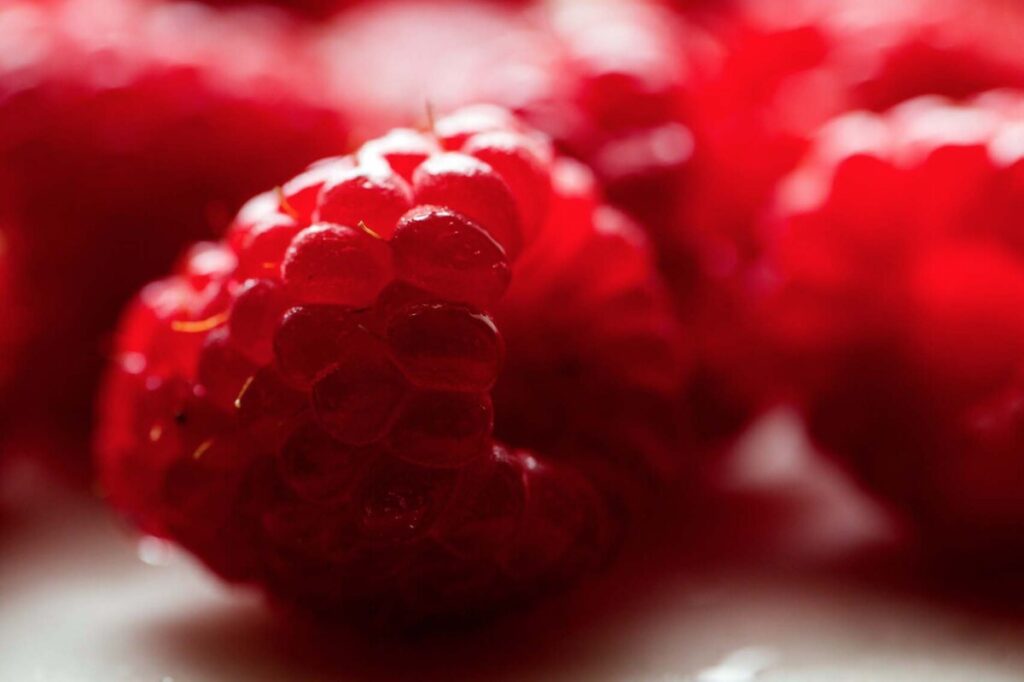
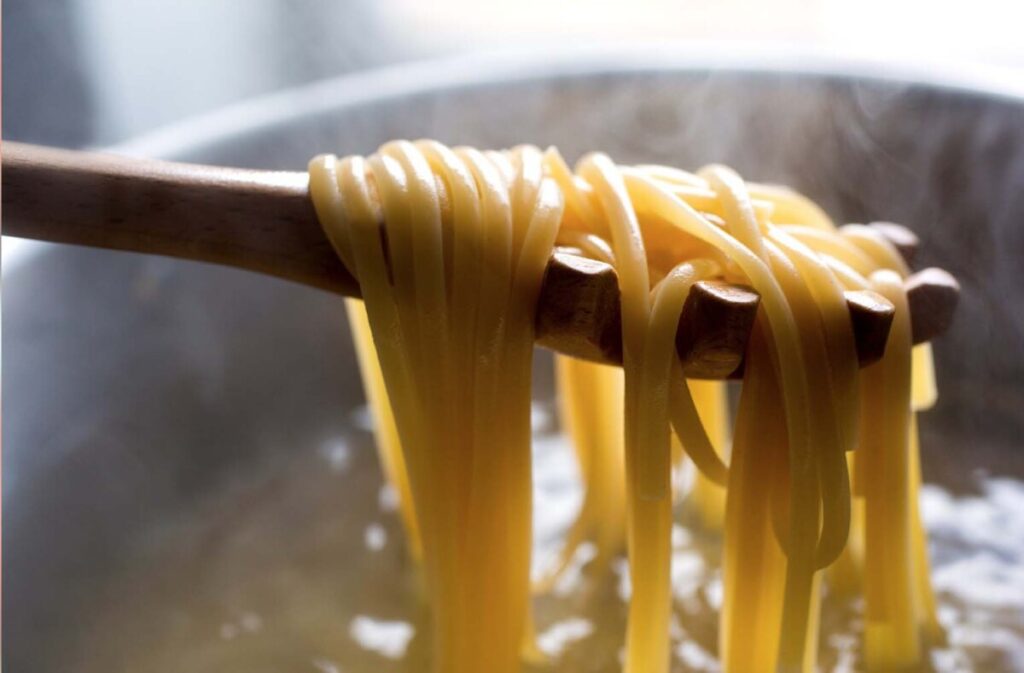
Inspiration

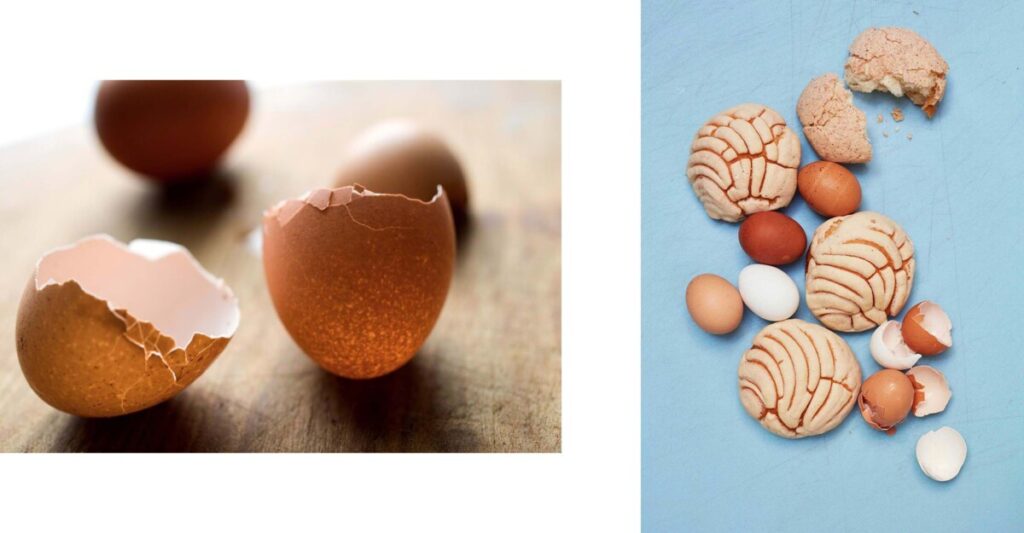

Food Photography Lighting Basics
Food photography is the art of making food look appetizing for the camera.
The single most important factor is lighting.
The light should come from one direction. Most food photography uses side light or back light.
The main light casts the shadows.
You can buy or make a diffusion panel.
To make one:
- take a piece of cardboard
- cut out the middle so the cardboard is now a frame
- tape several layers of tracing paper or other translucent paper over the middle.
An alternate to diffusion is to face the light away from the subject and bounce it off a white wall on to the food, spreading the light.
The fill light brightens shadows.
We will not use an actual light but instead a piece of white poster board that will reflect the main light into the shadows.
Distance
The distance between the light source and the subject will allow you to control how it looks. This is such an important factor because of the Inverse Square Law.
The Inverse Square Law states that the intensity of the illumination changes in inverse proportion to the square of the distance from the source.
Translation: The light’s brightness drops much faster closer to the light source than further away.
Generally, when working with a clamp light as the main light, set the main light a bit further from the subject to spread out the light. Hold or fasten the diffuser in from of the light. The farther in front of the light the diffusion is set, the softer the light will be.
Set up the white reflector as close to the food as possible and not have it in the frame.
Angle
The two main angles of view used in food photography are: Overhead and three quarters which is between eye level and overhead.


Leave a Reply