Work by a window.
Use the Lightroom Photoshop App to shoot with.
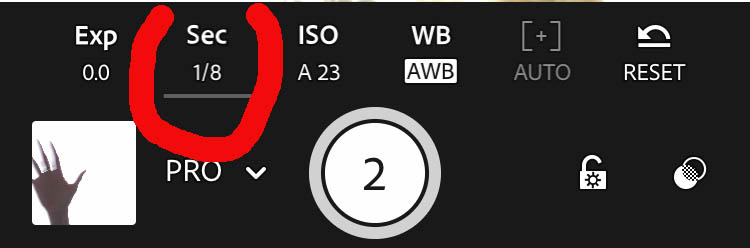
When in the camera portion of the app, select Professional.
Reverse the camera.
Set the timer to 2 seconds. (Find the timer under the three dots on the right.)
Under Sec, you can set the shutter speed.
Take a series of photographs of yourself throwing up a small ball or object at a range of shutter speeds.
Start with a 2,000 of a sec. You will need to experiment to get the coordination. Once you get something where you can clearly see the ball and your hand frozen in motion. Then try at 1/640/sec, 1/100/sec, 1/30/sec, 1/15/sec

1/2000 sec, ISO 2000 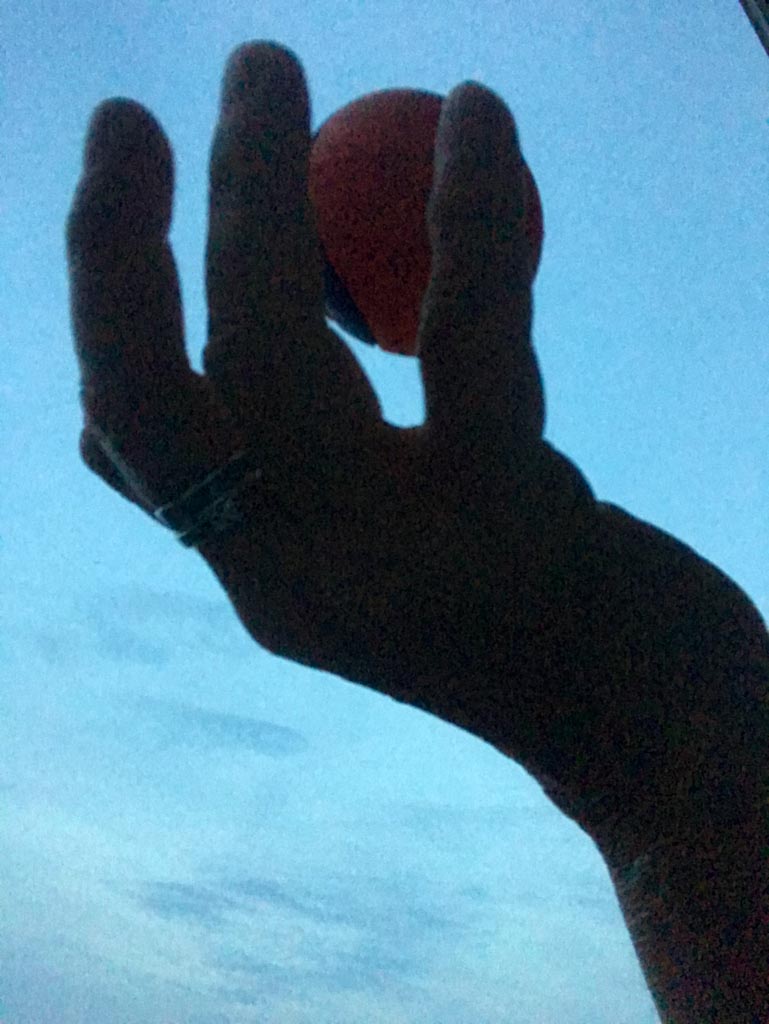
1/640 sec, ISO 500 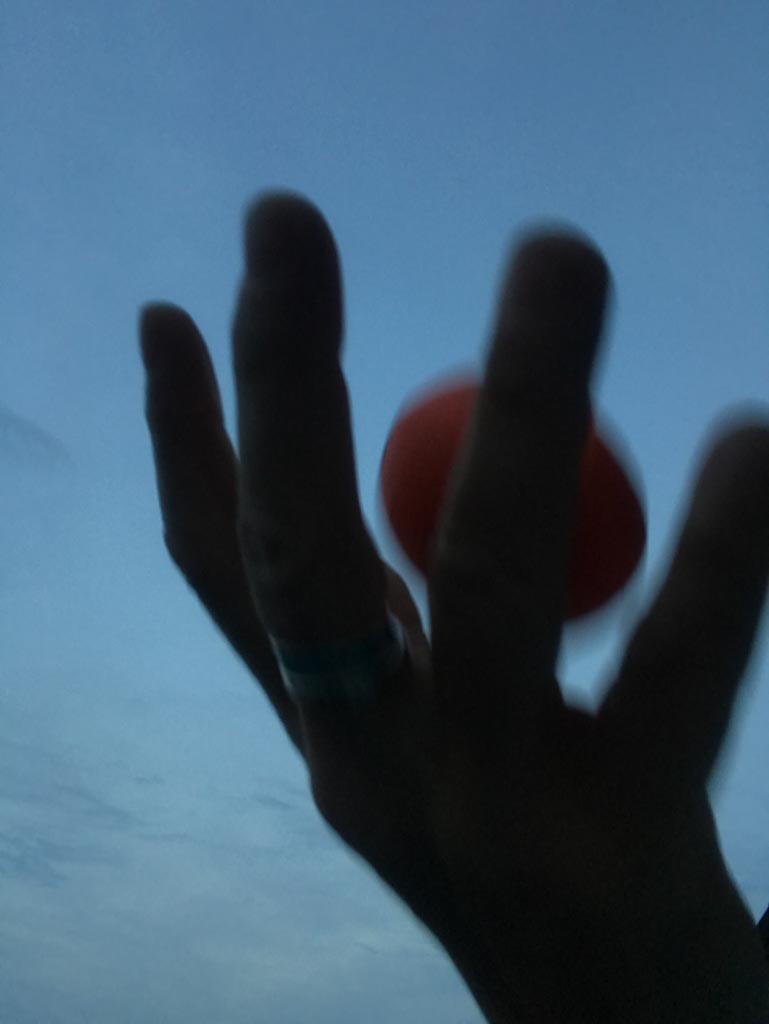
1/100 sec, ISO 50 
I/30 sec, ISO 25 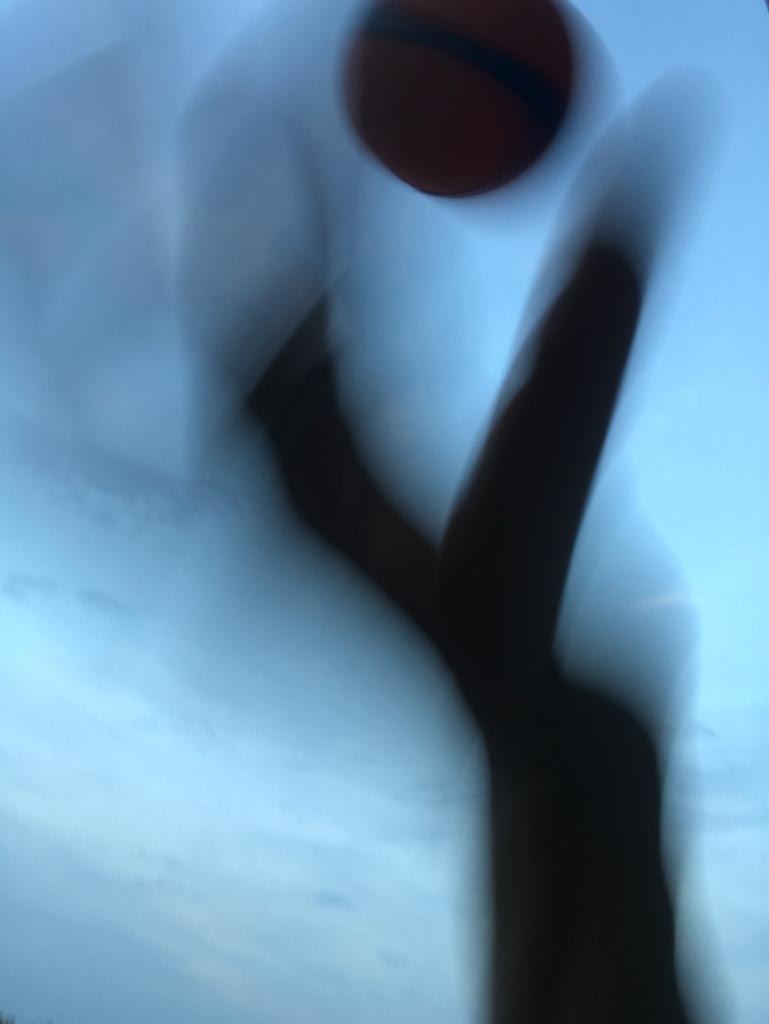
1/15 sec, ISO 25
Under Edit>Info, you can find the shutter speed and ISO at which you shot the photos.
Post your 5 photos in order of increasing shutter speed from shortest to longest with the settings for each photo in the caption.
Include a short response describing how changing the shutter speed and the corresponding change of ISO effects the photo.
Posts without text will not receive credit.
Category: Lab: Week 6 – Exploring Shutter Speed


Recent Comments