Floodlight– light is diffused and wraps around the subject hitting it from many angles. shadows are soft.
Spotlight – light is direct and hits the subject from one angle. Shadows are hard.
In-class Flower Shoot Camera Settings:
Resolution=RAW
ISO=400
WB=Auto
Shooting Mode=Tv
Shutter speed = 1/125
The camera sets the aperture
Every shot has a flower in it as the main subject. The ugly vase should not be seen in any photos. Fill the frame with the flower.
Flood Light
A. Front light: reduces detail, low contrast
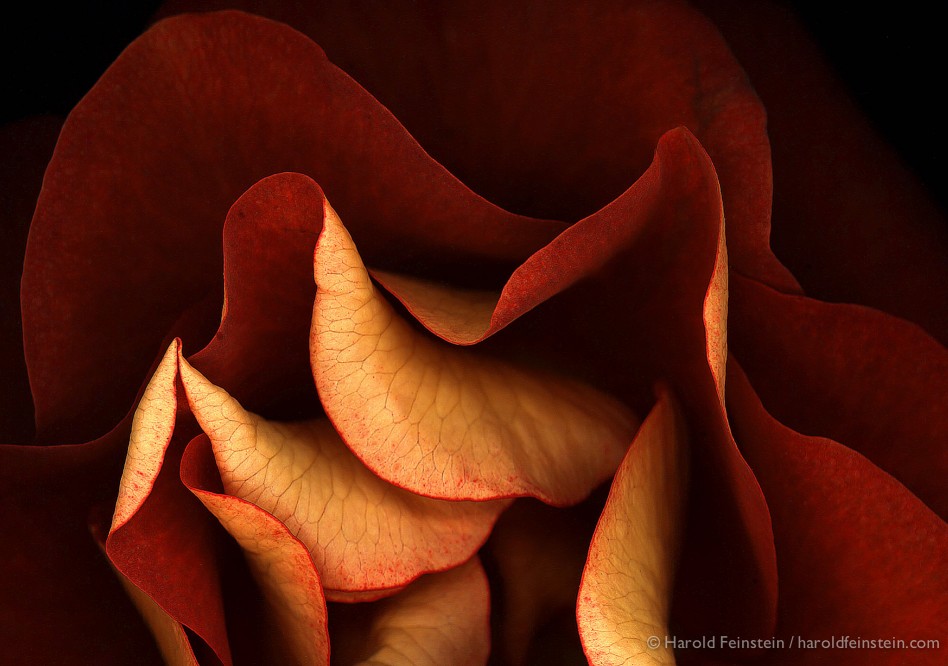
B. Side Light floodlight with diffusion: brings out texture.
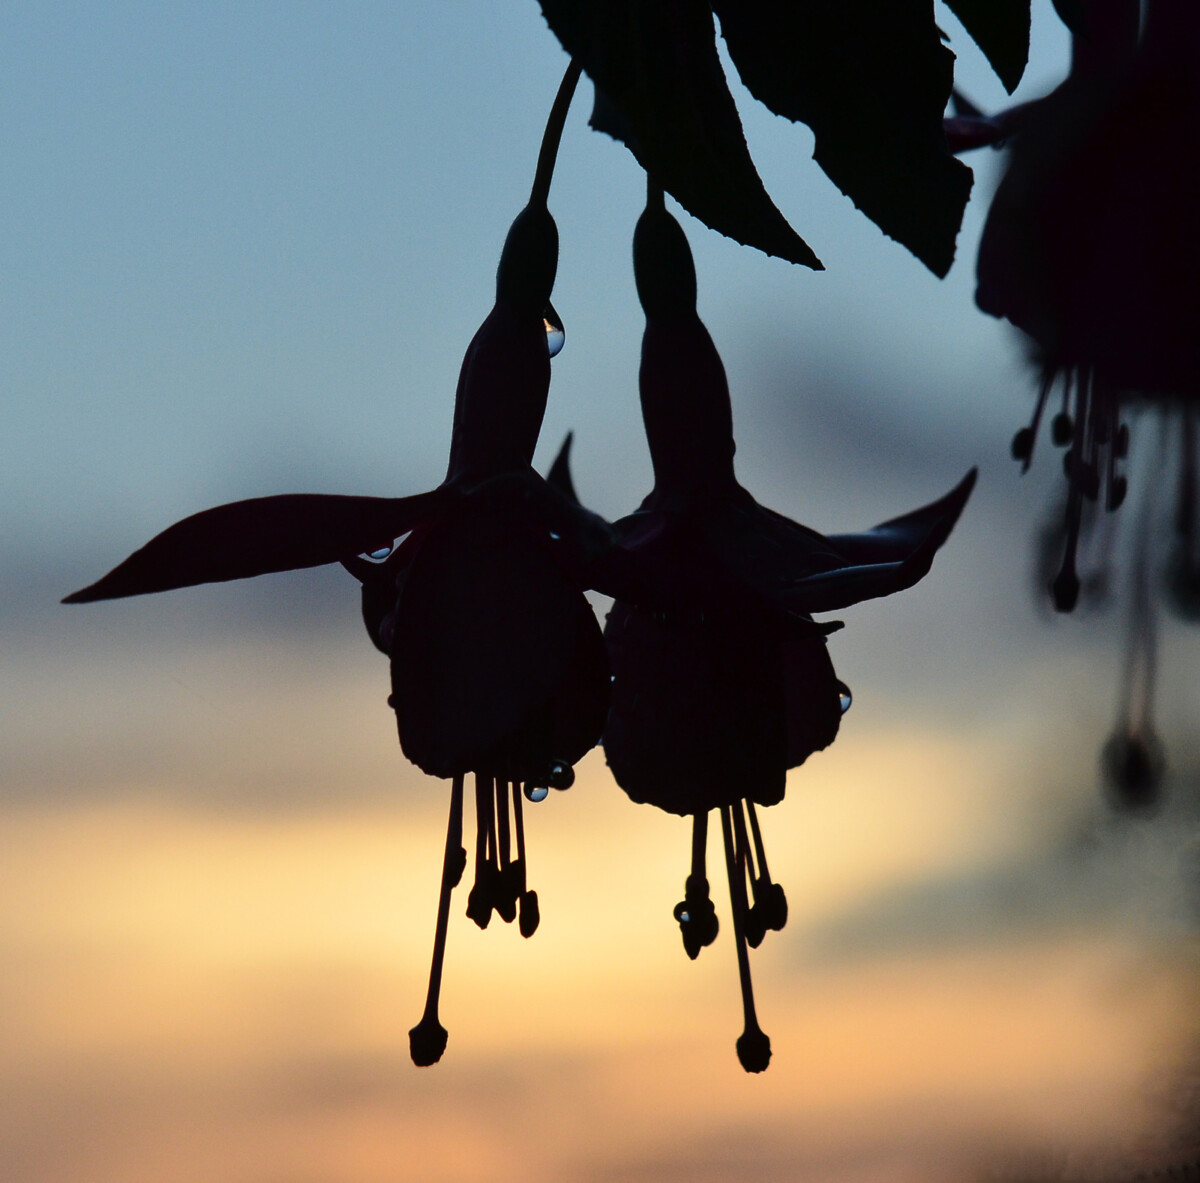
C. Back Light: shoot the subject against the light-shooting towards the lights.
2. Spot Light
A. Front light: reduces detail, low contrast
B. Side Light spotlight: brings out texture, high contrast
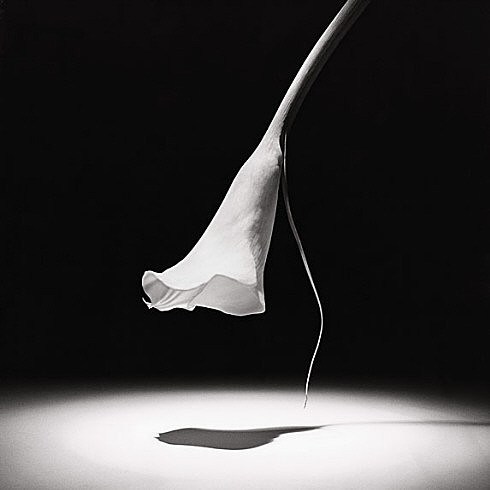
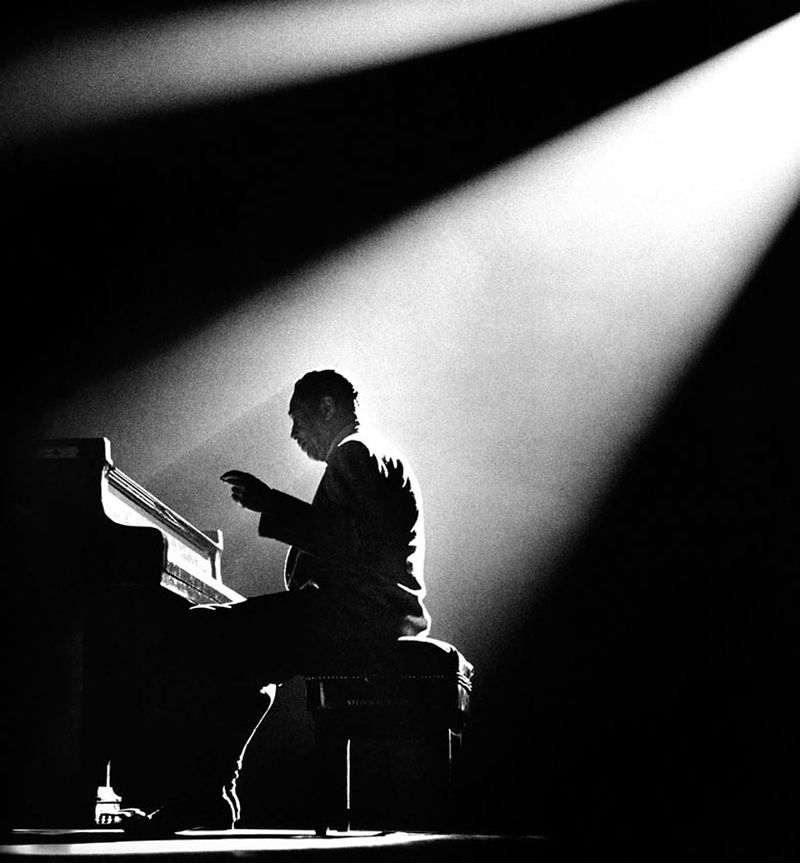
C. Back Light – Point the light at the background only to create a silhouette of the flower.
Either Light
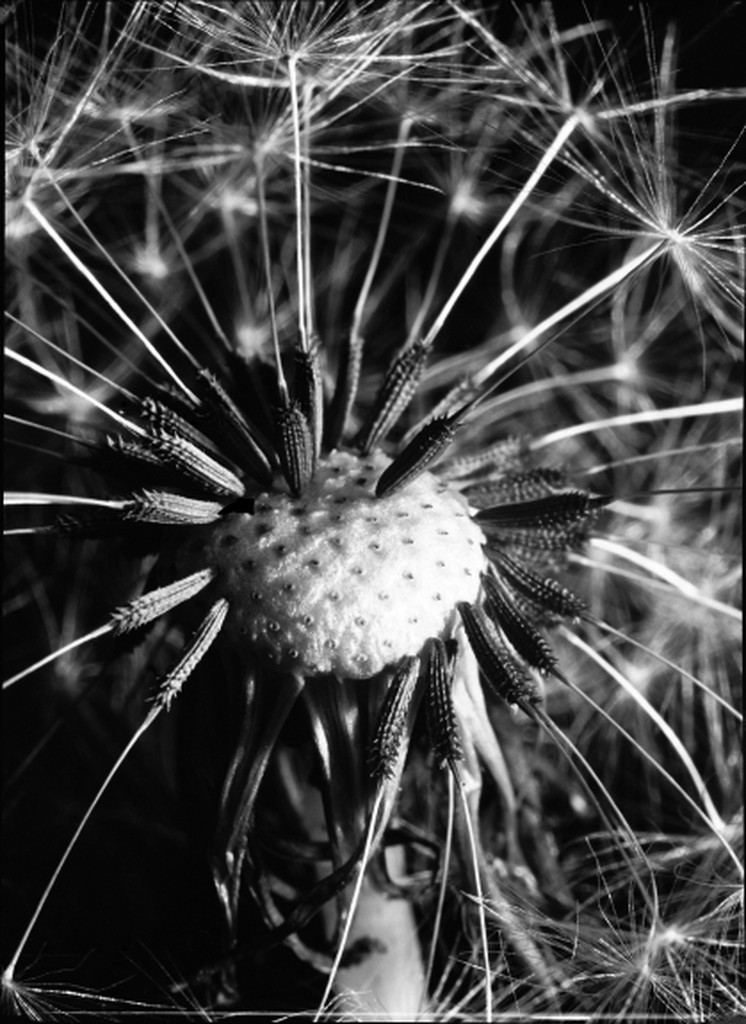
D. Extreme close-up for texture-use extension tube
Put your best 20 in an album on Flickr. Include at least one for spotlight: front, side, back and one for flood light: front, side, back. Please label your images accordingly so know what you intended. Send your best two to the class group.
Next week, Quiz 1: composition, shutter speed, aperture and depth of field, perspective, lighting direction and quality
Light Quality
Direct light or hard light – the rays of light are nearly parallel and strike the subject from one direction creating hard edged dark shadows with little detail. Examples: a spotlight, sun on a clear day, or a bare flash
Diffused light or soft light– the rays of light are scattered and coming from many directions. It appears even and produces indistinct shadows. Examples: overcast daylight, a light covered with tracing paper or other translucent material.
Front light comes from in front of subject from the camera position and the shadows fall behind the subject not concealing any details.
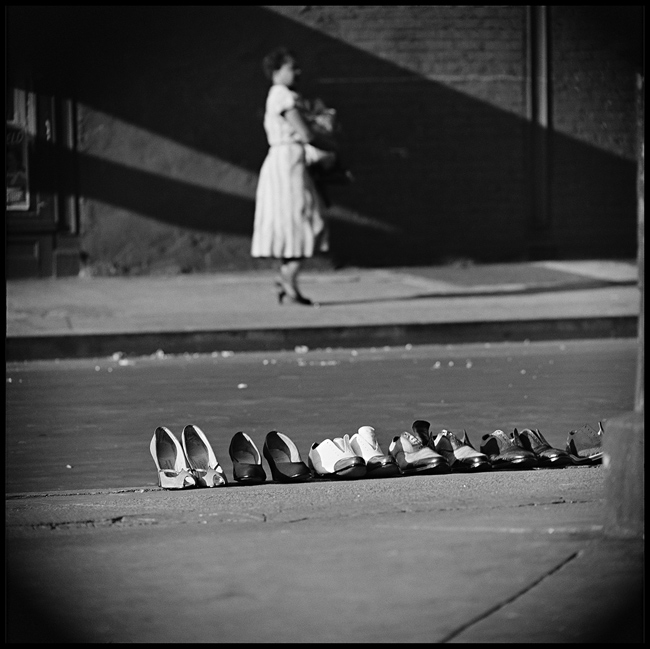
Side Light comes from 90 degrees to the camera. it adds dimension and texture to the subject.
Backlight comes from behind the subject towards the camera.
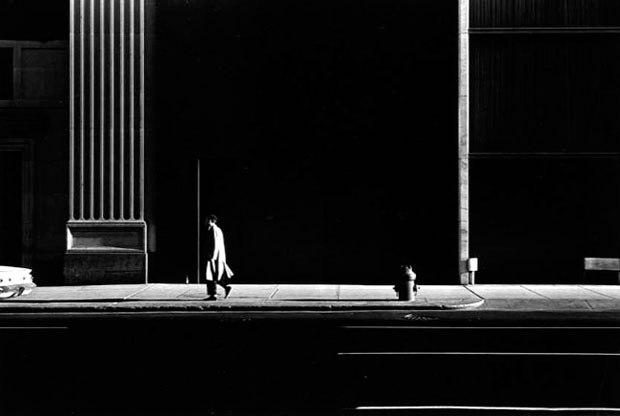
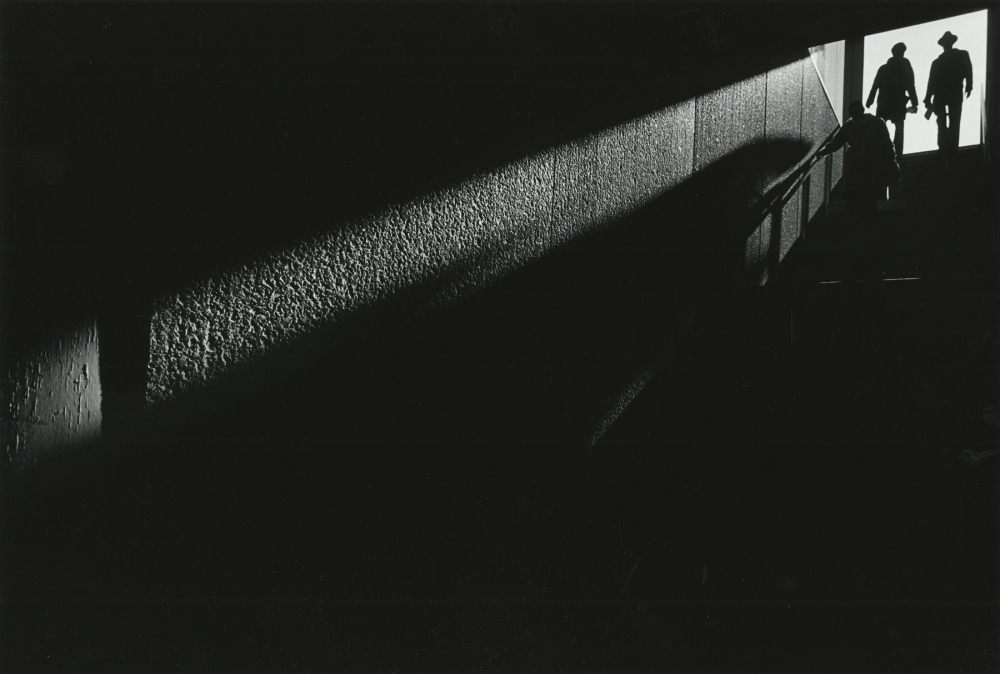
Front light Photographer: Manual Alvarez BravoSide Light Photographer: Ray MetzkerBacklight Photographer: Ray Metzker
Inspiration
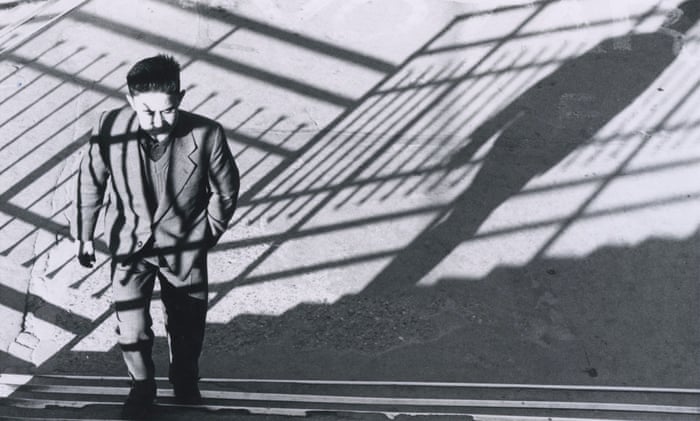
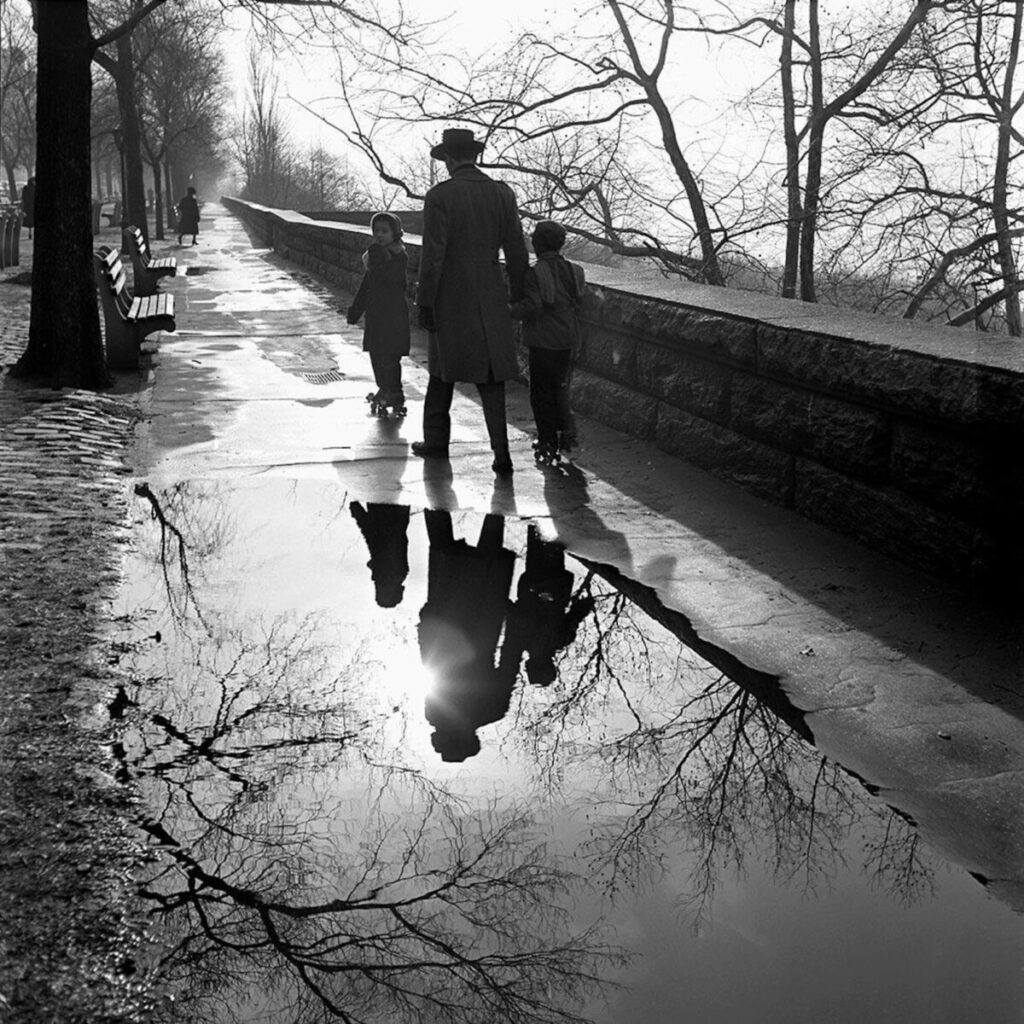
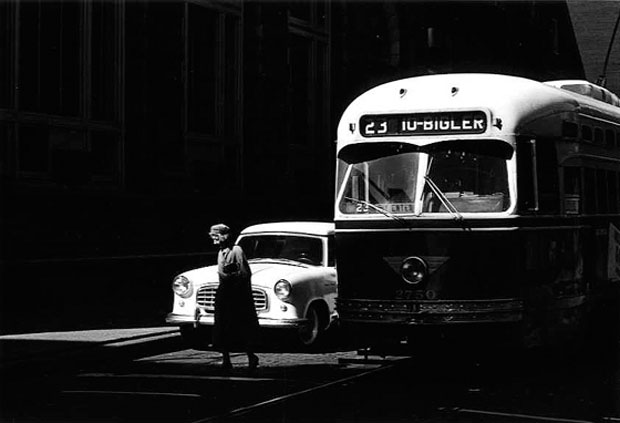
Photographer: Gordon ParksPhotographer: Ray MetzkerPhotographer: Roy de CaravaPhotographer: Ray metzkerPhotographer: Vivian MaierPhotographer: Ray Metzker
4 pts. Due Sept 26, 12 noon. 30 photos in an album on Flickr.
Shooting outside during the day at a location of your choice:
Take at least 10 DIFFERENT long shot photos that use perspective to depict deep space. This can be either converging lines or diminishing scale or both. These photos should use extensive depth of field meaning everything from near to far should be sharp. This may not be possible in dark indoor spaces but should be possible outside or in bright indoor spaces.
Take at least 20 DIFFERENT close up photos that use shallow depth of field to isolate the subject from the background. The subjects of the photo need to be at varying distances from the camera.
If you are shooting with a camera phone, you can get real shallow depth of field vs blur created by an App by getting very close to the subject and having actual space between it and the background.
Put your 30 best photos in an album on Flickr. Send your single best photo with deep space and perspective to the group as well as your best example of shallow depth of field.
Take at least 10 different long shots that use perspective to depict deep space. Look up at a tree or along a path. Use either converging lines or diminishing scale or both. These photos should use extensive depth of field meaning everything from near to far should be sharp. Using the shooting mode Av, set the aperture to f11. Use auto ISO.
Take at least 20 close up photos of individual plants that use shallow depth of field. There should be something in the foreground and something in the background. Don’t shoot from an aerial or bird’s-eye view for these photos. Sometimes the foreground should be in focus, sometimes the mid distance and sometimes the things in the far distance. Use the shooting mode Av, set the f-stop to f/4 with auto ISO. Make sure that your shutter speed is faster than 1/60 th of a second and that the blur in the photo is shallow depth of field and not motion blur.
Put your 30 photos in an album on Flickr. Send your best example of perspective and of shallow depth of field to the class group.
Depth of Field-The distance between the nearest and farthest points that appear in acceptably sharp focus in a photograph. Depth of field can be shallow or extensive. While the term includes the word depth, depth of field refers to focus.
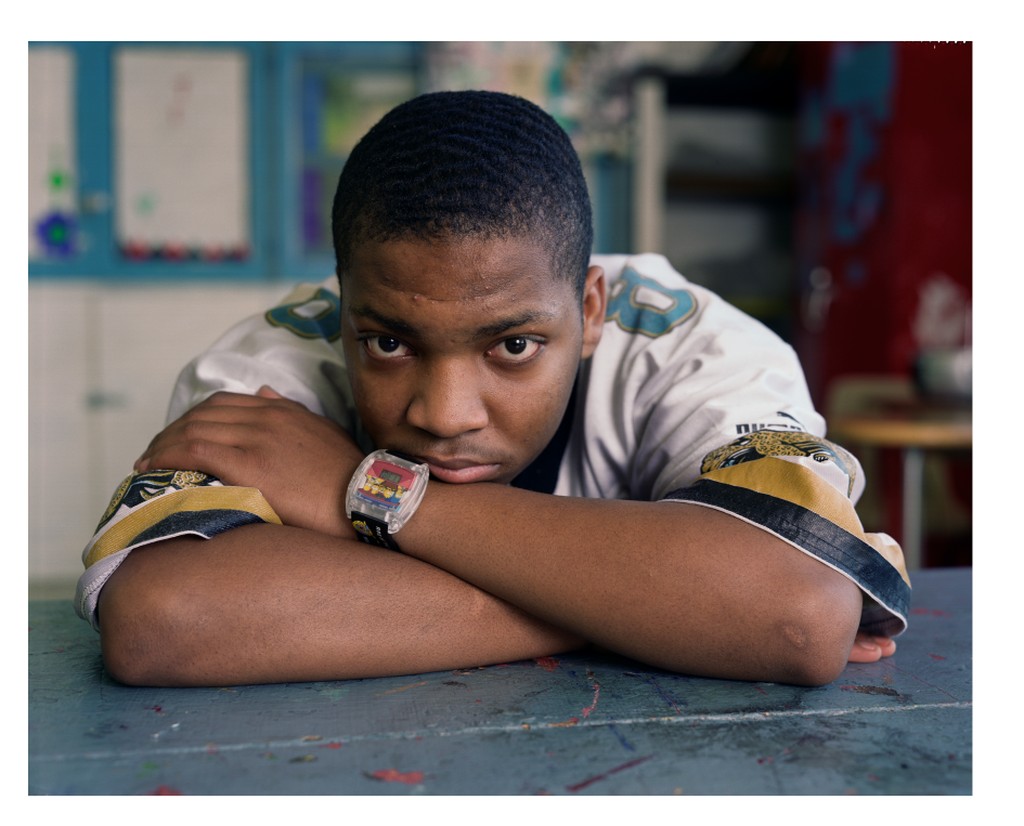
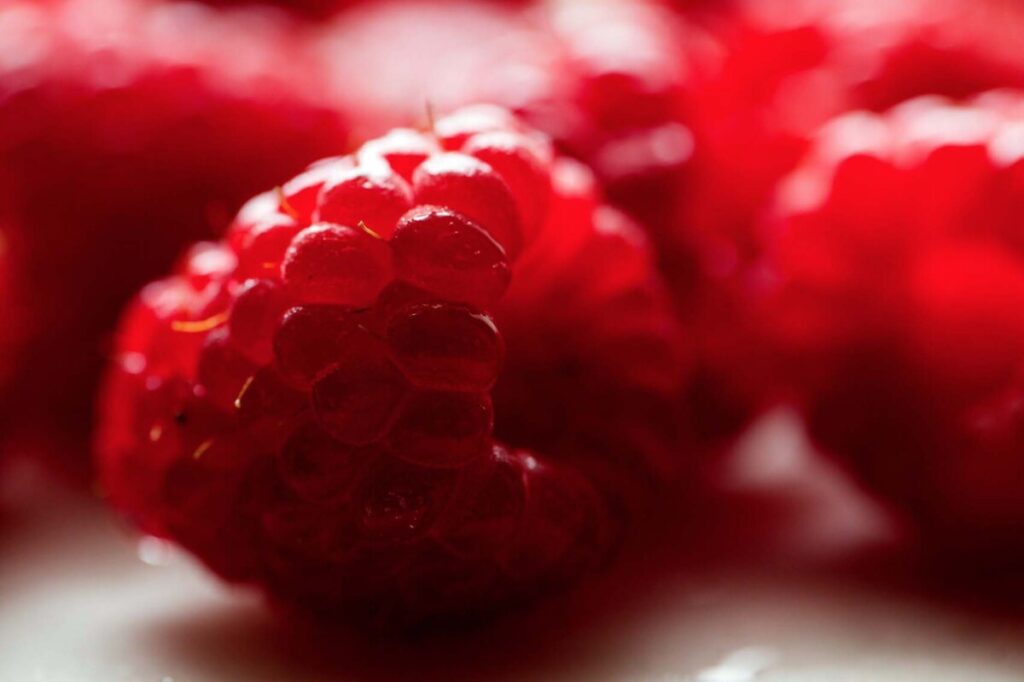
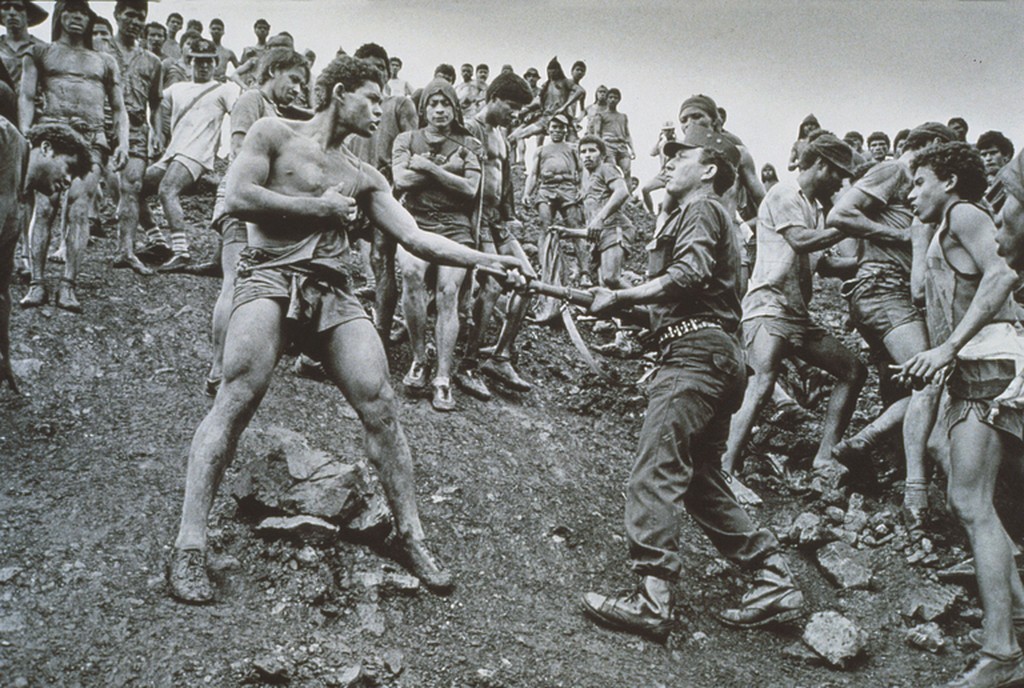
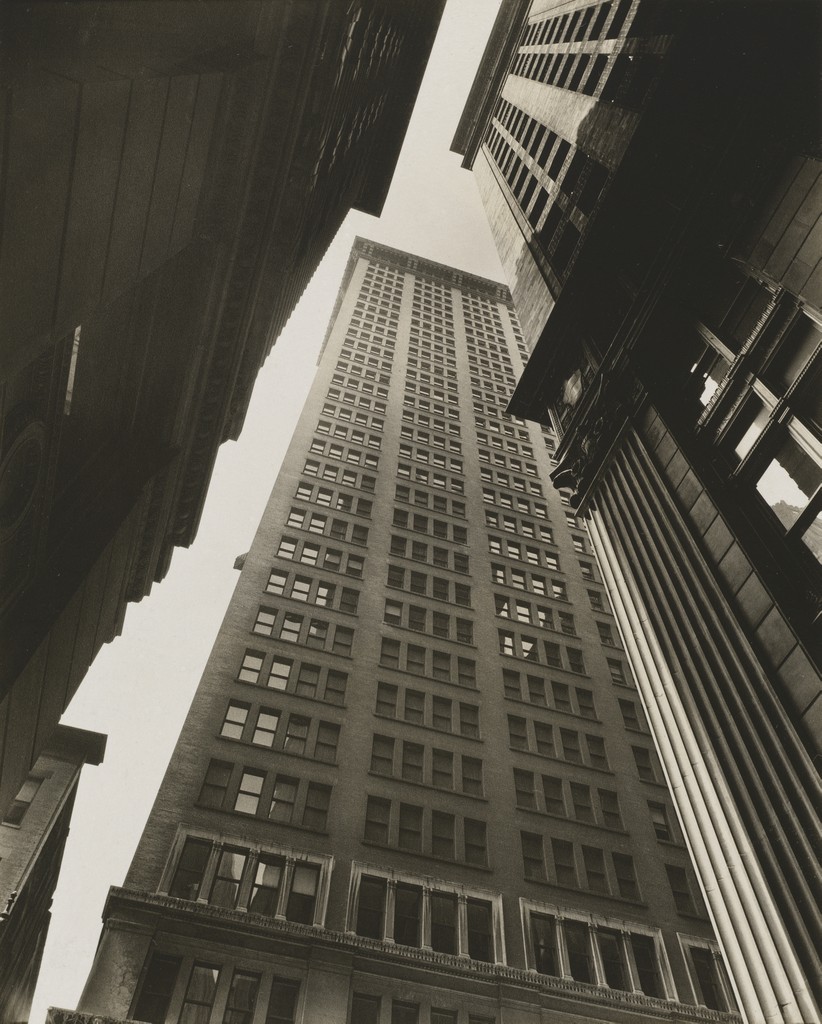
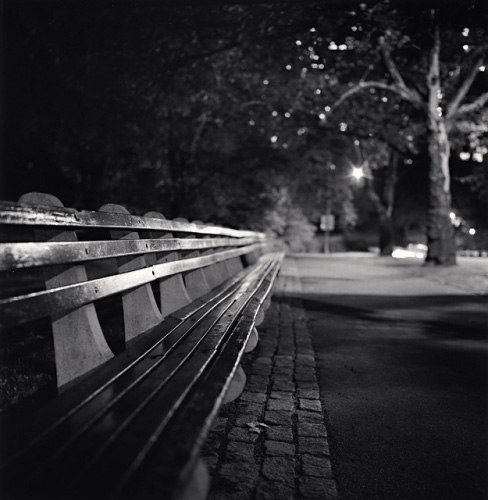
Photographer: Roy DecaravaPhotographer: Bill BrandtLeft photo: shallow depth of field, Right photo: extensive depth of field
Shallow Depth of Field
Shallow depth of field is commonly used in portrait photography to separate the subject from the background and in food photography.
Dawoud BeyAndrew Scrivani
Extensive Depth of Field
Extensive depth of field is often used in landscape photography and photojournalism.
Richard MisrachSebastio Salgado
The depiction of space
Perspective-the representation of a 3-dimensional space on a 2-dimensional surface by converging lines, diminishing scale and/or atmospheric perspective.
Aperture is the size of the opening that allows light to hit the camera’s sensor when the photograph is taken.
Aperture values are expressed in numbers called f-stops. A smaller f-stop number means more light is coming into the camera and will create shallow depth of field. A larger f-stop number will let less light into the camera and create extensive depth of field.
The full stops for aperture are: F2, f28, f4, f5.6, f8, f11, f16, f22, f3
Focal Length is the distance from where the light converges in the lens to the sensor. If it is a short distance then the lens is a wide angle lens and shows a lot of the scene. If it is a long distance, the lens is a telephoto lens and it magnifies the scene. Wide angle lenses create extensive depth of field while telephoto lenses create shallow depth of field.
Camera-to-subject distance is how far the subject is from the camera. If everything is far from the camera, it is easier to achieve extensive depth of field. If the main subject is very close to the camera and the background elements are far from the camera, it is easier to achieve shallow depth of field.
It is the small size of the sensor that makes cameraphones so good at achieving extensive depth of field. It is also the main reason it is so hard to get your cameraphone to achieve shallow depth of field.Sensor size-the smaller the sensor the easier it is to achieve extensive depth of field. Bigger sensors allow for shallow depth of field.
Bokeh-Bokeh comes from the Japanese word boke (ボケ), which means “blur” or “haze”, or boke-aji, the “blur quality.” Bokeh is pronounced BOH-Kə or BOH-kay.
— From http://www.nikonusa.com/en/learn-and-explore/article/h0ndz86v/bokeh-for-beginners.html


Recent Comments